Retouching can be a daunting process for the inexperienced photographer; however, it's an essential part of any well-crafted beauty or portrait image. Quentin Decaillet has spent his career refining his retouching process using both Capture One and Photoshop. In this tutorial, he will cover his full workflow on how to edit a picture from start to finish.
A Complete Workflow
Quentin approaches every beauty and portrait image edit with the same process. Once you've learned it, you'll be able to apply it to every one of your own images.
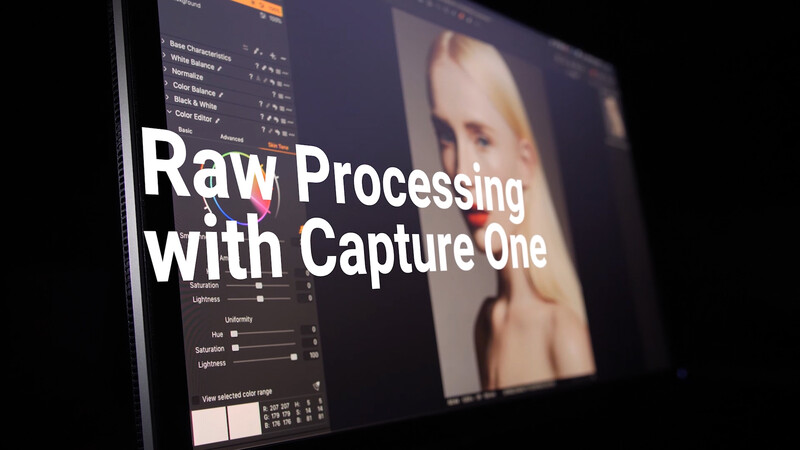
The first step is to bring the raw file into Capture One and push it as far as possible to get the most amount of detail and color in the image. If you don't have experience with the software, Quentin starts from the beginning and will show you how to import your image. Next, he walks through creating selections to clean up colors and luminosity issues in the skin. Once the base file has been prepared, Quentin takes it into Photoshop for the retouching portion of the tutorial.
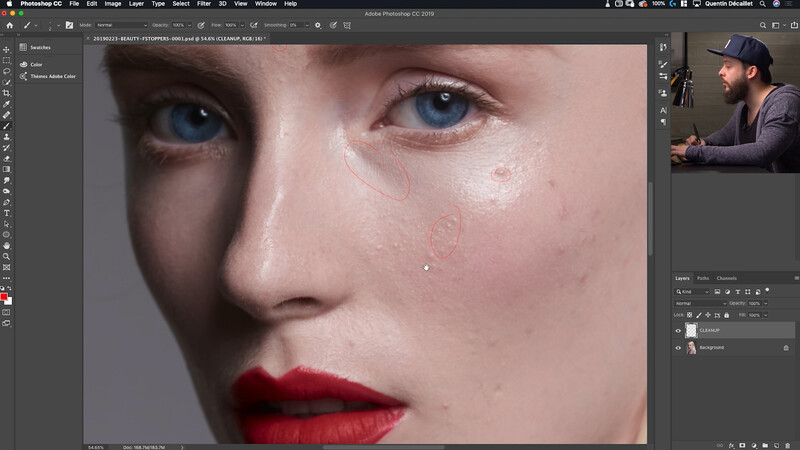
Quentin's workflow in Photoshop is always composed of four steps. The first step is to take care of any blemishes or texture problems. Second, he moves on to luminosity work and smooths the transitions between highlights and shadows using dodging and burning. Although some of the color issues are addressed in Capture One, the third step refines those adjustments in Photoshop. The final step polishes off the image with sharpening and the occasional use of the liquify tool.
Concepts Covered in Capture One
- Importing
- Cropping
- Exposure Adjustments
- Creating and Refining Masks Using Color and Luma Ranges
- Using Layers
- Adjusting Skin Tones and Saturation
- Create Contrast Using Curves
- Sharpening
- Exporting to Photoshop
Concepts Covered in Photoshop
- Using the Cloning and Healing Brushes
- Cleaning up Flyaways in Hair
- Dodging and Burning
- Frequency Separation
- Color Correction in Shadows, Midtones, and Highlights
- Curve Layers
- Creating Custom Brushes for Hair
- Liquefy Tool
No comments yet