
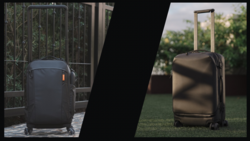
Gura Gear, a company known for its durable on-the-go focused bags, is back with an update to its Chobe shoulder bag. This time around, it comes in two different sizes and multiple configurations, but maintains that same excellent construction of the original bag. Let’s take a look at the new Chobe 2.0.
The company reached out recently to let me know that they’d be releasing an updated pair of bags called Chobe 2.0 and asked if I’d like to take a look at them for our readers. They had seen my review and taken note of all the cons I had mentioned at the time. The new bag promised to fix all of these, and they wanted me to put it through its paces for Fstoppers.
Construction
The Chobe 2.0 is again made of extremely durable sailcloth. After several years of airline and train travel, plus living out of this bag on stays in rural villages, I eventually retired it when I downsized my kit. The fabric survived everything I could throw at it, so I expect nothing less from this second iteration of the series.
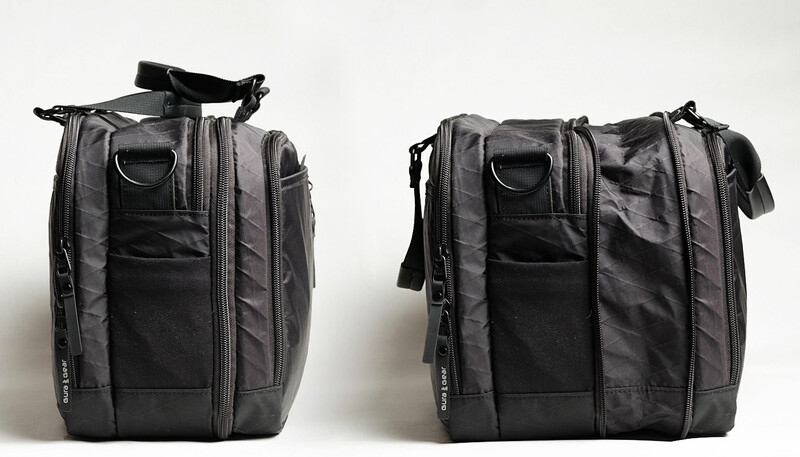
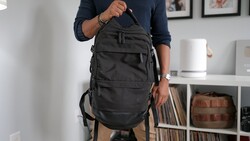
Gura Gear has chosen to continue the line with the same expandable design found on the last bag as well. Basically, this means you can expand or contract the bag depending on your needs for the day with a simple zip. This was my favorite feature of the original Chobe and one of the main reasons I purchased it. This feature still works extremely well on the new bag, and you can go from a small satchel to a full-blown camera bag in just a couple of seconds. More on that below.
One thing that I didn’t mention in my original review, although you can see it in the pictures there, is that the handles were always in the way on that bag. They would flop down into the open bag and constantly be hindering your access to gear. With the new bag, GuraGear has mounted them on metal loops to ensure they flip out of and stay out of the way.
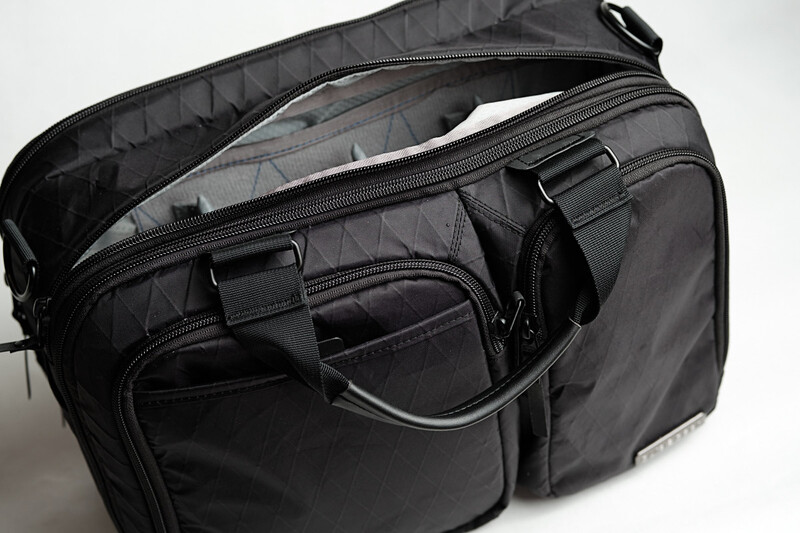
The shoulder strap loops have also been updated. While the original bag had small loops to ensure the strap would stay facing the right direction while it was on your shoulder, it would often twist a few times when you set the bag down and take a few moments to get straight before shouldering the bag again. The new D rings allow for a much smoother experience. The main strap is still completely detachable, though, which is great.
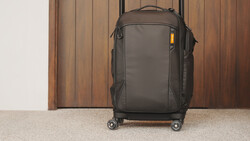
On the back of the bag, there is still a sleeve that allows the bag to be slid over the handle of a rolling back. This is great for airport travel or if you need to have a rolling bag full of gear and then a more portable one to work out of at something like an event. I’ve done a test pack for a photo booth I’ll be running later in the week and having all of my lighting gear in the rolling bag plus a small kit in the shoulder bag for photographing the event proper is great. It means my subway commute will be pain-free and I won’t be in the way of other passengers.
Finally, there has been some additional padding placed at the bottom of the bag to absorb any shocks as you place it on the ground. The great thing is that it can be folded out to pad the bottom of the larger insert as well. This is a great addition as the original bag only really had the sailcloth between your gear and the hard ground. That was another reason I liked to have a spare shirt underneath.
Storage
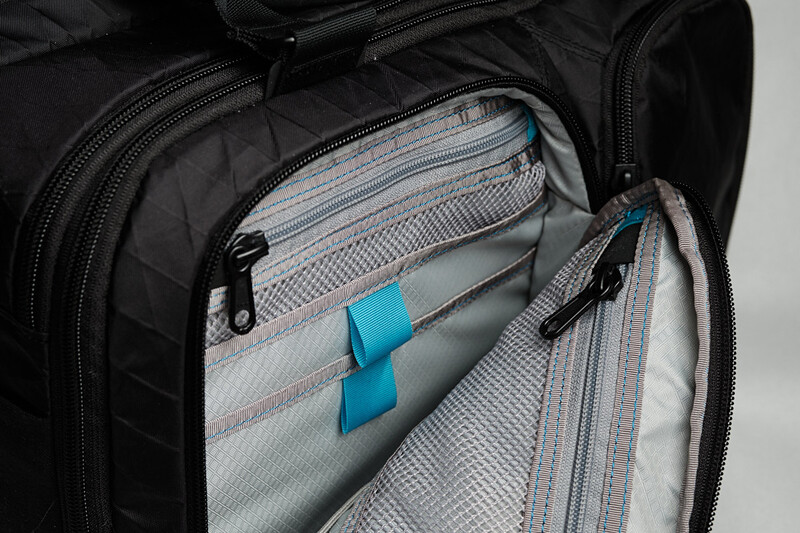
There have been a couple of upgrades to the external storage on the bag for this second model as well. The two pockets on the front of the bag remain and are still filled with dozens of little pockets just begging for the organizationally obsessed among us to fill with all of our daily accessories. These are layered so that passports, phones, cards, pens, etc. can all be tucked away individually.
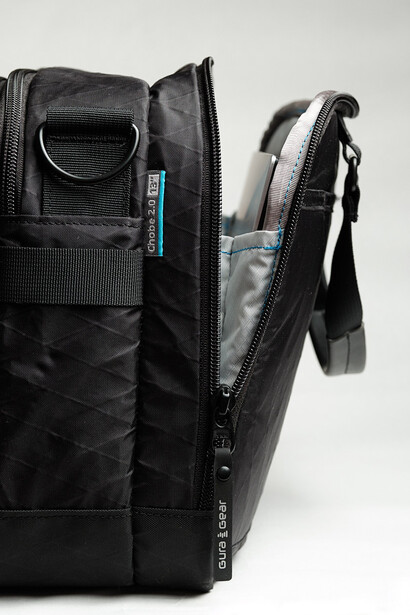
On the back of the bag, the laptop section has received another big upgrade. While the original bag had a simple zipper that could be opened and a laptop dropped inside, the new pocket folds open, much like you see on Think Tank Photo’s Airport Navigator. This wider opening allows a laptop to be placed without potential scratches from the zippers. There’s also a tablet sleeve inside there as well that could also be used for documents or a Wacom tablet.
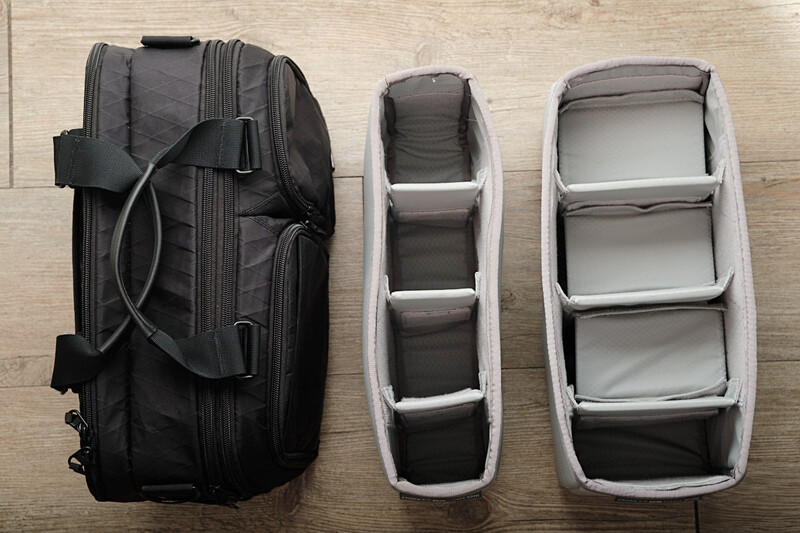
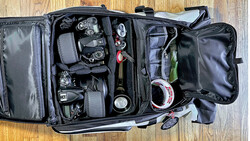
The main change for photography storage, though, is that two sizes of inserts are now available for the two different bag configurations. These are also deeper than the original bag and take up the whole inside of the bag (with the original, the insert only filled half-way up the bag). For those planning to fill the bag with camera gear, this is a positive change. The inserts come with plenty of dividers to allow you to stack lenses on top of each other or configure smaller and larger spaces for differently sized gear.
Gura Gear sent me the 13” version of the bag to accommodate my Dell XPS 13 and Fujifilm X series gear. This is a much smaller bag than the previous Chobe that I owned, and in its small configuration is a little tight, even for Fujifilm X gear when used in its contracted setup. Opening the bag out to its larger size allows a decent amount of gear for something like a wedding or event. However, since the inserts now take up all the vertical space in the bag, there’s no more throwing an extra shirt under the insert or a flash or larger lens on top of it.
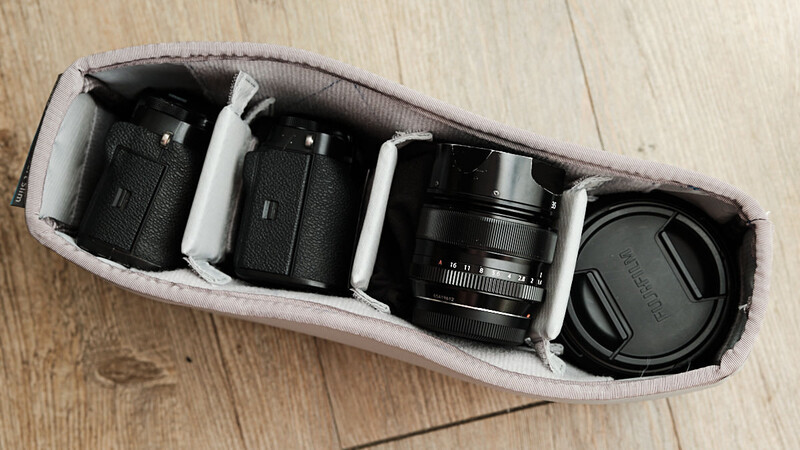
In the small insert, I have been able to take my X-T3, X-T4, XF 23mm f/1.4, XF 35mm f/1.4, XF 50mm f/2, and XF 16-55mm f/2.8. That’s a lot of gear for a little bag, but it can be difficult to insert and remove that gear while the bag is contracted. I’ve found that expanding it is the only way to easily remove gear from this small insert. With Fujifilm’s smaller f/2 lenses or, for example, small Micro Four Thirds lenses, this would be much easier.
The larger insert is definitely the one I would recommend for those using a full-frame system. I might even opt for the 16” version of the bag regardless of laptop size if I used a larger camera with larger lenses. I still have a D800 at home, and it takes up a significant amount of space in the 13” bag. I used the large insert on a corporate event shoot earlier in the week and was able to fit the same kit as above, but I replaced the 50mm f/2 with the 50mm f/1 and added my Godox V1 and Dell XPS 13 into the mix. This all fit comfortably and, having the bag in its expanded configuration, allowed easy access to the gear. Again, due to the vertical nature of the bag and insert, I did have to stack lenses, but the included dividers made that easy.
The only section of the bag that is a bit difficult to get into is the internal fabric pockets. These are just inside the lip of the bag and get completely covered when an insert is placed inside the bag. The insert needs to be removed to gain easy access to these. While traveling, this might be a good place to store valuables or extra cash for the day but don’t put anything there that you need easy access to.
Extra Organization
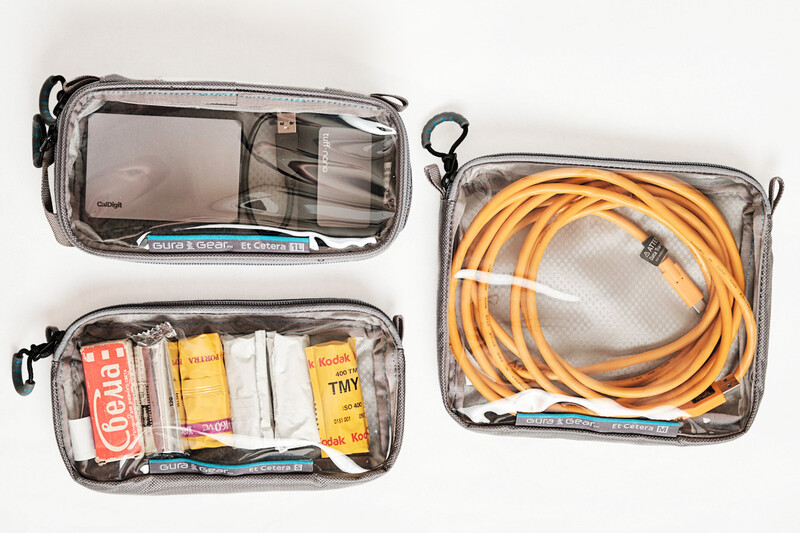
Along with the Chobe 2.0, Gura Gear has also released a series of additional pouches to organize your smaller accessories even more if you fancy. These are called “Et Cetera” and can be purchased separately for those who need to slide a few extras in. I’ve found the medium pouch to work well for keeping my Tether Tools cable out of the way, and the small can hold a few additional batteries or pens and business cards. The large one doesn’t actually fit in the bag separately with an insert inside, so it does take up a slot in your insert. This, however, is large enough for those living the dongle life, so if you’re headed into a client meeting and need a charger and other cables, this could be a great way to keep them organized.
In Conclusion
Gura Gear has done a great job of refining an already great bag. The additional padding, refined storage, and differently sized inserts make this an excellent option for taking your kit into demanding situations. I, for one, am extremely happy to have a great shoulder bag option for my kit again.
What I Liked
- Same tough construction
- Same excellent organization
- Same expandability
- Additional inserts available
- Extra padding
- Better laptop sleeve
What I Felt Could Be Improved
- Offering a shallow insert to allow for things other than camera gear to be stacked
- Easier access when the small insert is used
Purchase
GuraGear is currently running a Kickstarter campaign to pre-sell their first run of the Chobe 2.0. You can find that here and take advantage of their early-bird pricing.

Join the Fstoppers community for free
-
Post comments and join in the discussions
-
Browse the site ad-free
-
Share your work and get featured in the community
-
Compete in the photo contests for fun and prizes
No comments yet