
Urth produces environmentally friendly, high-quality screw-on filters. They just made some changes to their range, improving the quality further. How does their ND1000 stand up in the field?
What Is an ND1000 filter?
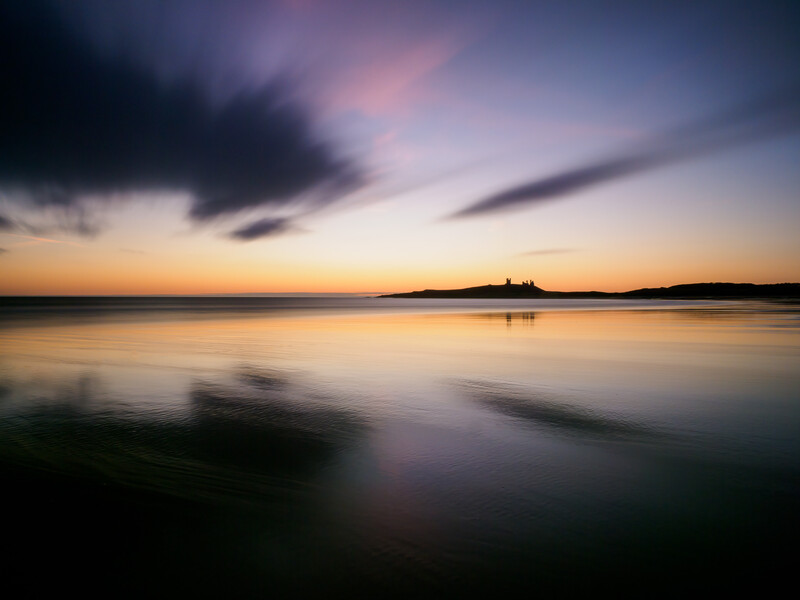
As a seascape photographer, a ten-stop neutral density (ND) filter is an important part of my kit. Being able to hide the movement of the waves or show it in the clouds helps to create an ethereal look that appeals to me. I especially like screw-on filters because they save all the hassle of carrying a mounting kit, and I can put them in place before I head off to the location. I rarely take a kit bag with me and am in the habit of carrying just a camera and one lens with the filter already attached on planned photoshoots. Often, I don't even take a tripod because the in-body image stabilization of my camera has made it redundant.
Added to that, like many nature photographers, the environmental impact of what I do and use are an important consideration. Urth, until recently known as Gobe, is widely respected because with every purchase, they plant trees in rainforests. Earlier this month, they announced they had planted four million so far.
ND Filters Explained
An ND filter is a dark piece of glass that you put in front of your lens to reduce the light reaching the sensor. The higher the ND number, the darker the glass.
The easiest way to understand the ND labeling system is to turn it into a reciprocal. In other words, the ND number becomes the denominator (bottom number) of a fraction, with the number 1 as the numerator at the top:
ND2 becomes 1/2, allowing half the amount of light to pass through it, or one stop.
ND4 becomes 1/4, allowing a quarter the amount of light to pass through it, or two stops.
ND8 becomes 1/8, allowing one eighth of the amount of light to pass through, or three stops
ND1000 allows 1/1,000th of the light to pass through, or ten stops. Strictly speaking, it should be 1/1,024, but like shutter speeds, the number is rounded to make mathematics easy.
So, if you start with an exposure of 1/1,000th of a second and add an ND1000 filter, (assuming the light, aperture, and ISO remain the same), your exposure should end up with a shutter value of 1 second. 1/500ths becomes 2 seconds, 1/250 becomes 4 seconds, and so on.
The UV Filter Argument
Whatever the good intentions of businesses, we do need filters that produce sharp results. I was impressed with the previous filters manufactured under the Gobe label. How does the new range of pro filters stand up?
Before I get on writing about this ND1000, I want to talk about the quality of filters. Cheap filters result in a drop in image quality. There are arguments that even good-quality filters cause a reduction in sharpness, and it's a contentious subject, I know. There are heated debates about it on most internet forums and Facebook photography groups.
I've always protected my pro lenses with their top-grade, 3Peak UV filters since making an expensive mistake: I scratched the front element of a $1,500 lens during a nighttime beach shoot. Seaspray had splashed my camera. I blotted it dry with a lens cloth, and the front element became scored by the sand. The repair cost me a lot more than a replacement filter. After that, I bought Gobe 3Peak UV filters to protect my lenses. After carrying out extensive tests, I saw no drop in quality between the filters being attached and not.
Similarly, a wedding photographer I know had a brand-new lens accidentally sprayed with a bridesmaid's hair lacquer, and he now uses UV filters. However, another photographer I know had his lens's front element smashed when dropping it onto rocks. Now, he keeps his lens hood on all the time. So, UV filter or lens hood?
My answer to that is both if your camera manufacturer was forward-thinking enough to allow that to happen.
Don't Buy Cheap and Nasty
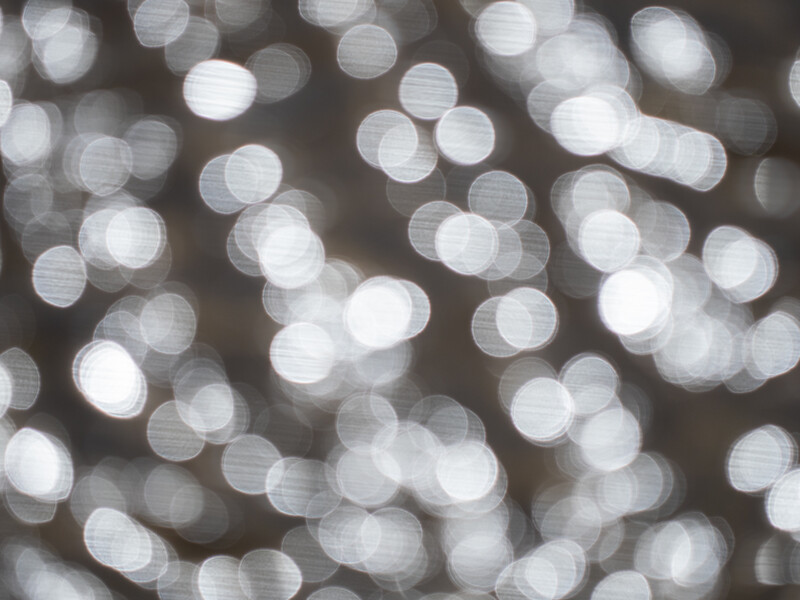
But, do choose a filter that is of good quality. I have tried some cheap filters, and there is a discernible difference with a reduction in sharpness and parallel lines appear through bokeh light balls, making them look like photos of Jupiter. Really cheap filters from eBay and Amazon, which I sometimes use for creative experiments when smearing the filter with gunk, can even produce double images.
The Gobe 2Peak ND 1000
So, does the new ND1000 filter match the quality of the 3Peak UV filters? I previously used the Gobe ND1000 (10 Stop) Filters. These are their mid-range, 2Peak products. At the time, that was the only grade of neutral density filter they made. They used Japan Optics Glass and had 16 layers of nano-coating. Despite only being their mid-range, I was impressed with the quality.
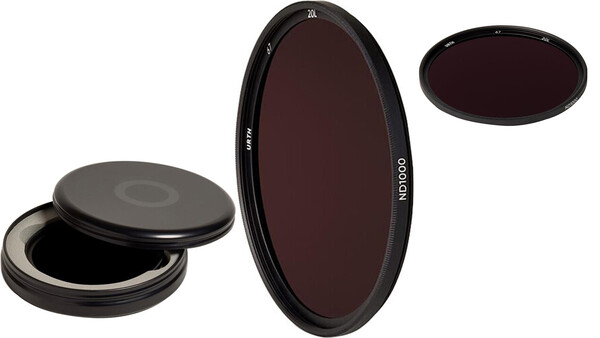
I was excited when learning that they had released a pro-grade filter, so I placed an order. The Urth Plus+ ND1000 (10-Stop) Filters are made from German SCHOTT glass and have 20 layers of nano-coating. Priced between $36 and $84 depending upon the size, they are still of great value compared with some other systems.
The filter arrived well protected in a metal case. The filter ring is robust with no flexing. The performance was outstanding.
Urth ND1000 (10-Stop) Lens Filter (Plus+) Lens Test
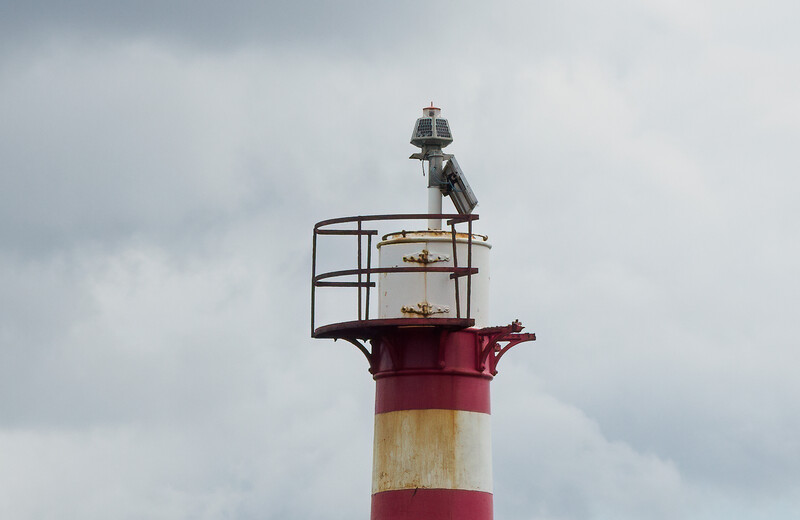
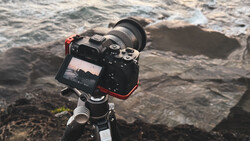
With the filter mounted on my M.Zuiko 12-40mm f/2.8 pro lens, I took it out during a hazy summer lunchtime, putting it through its paces by shooting the light beacon at the end of the pier near my home.
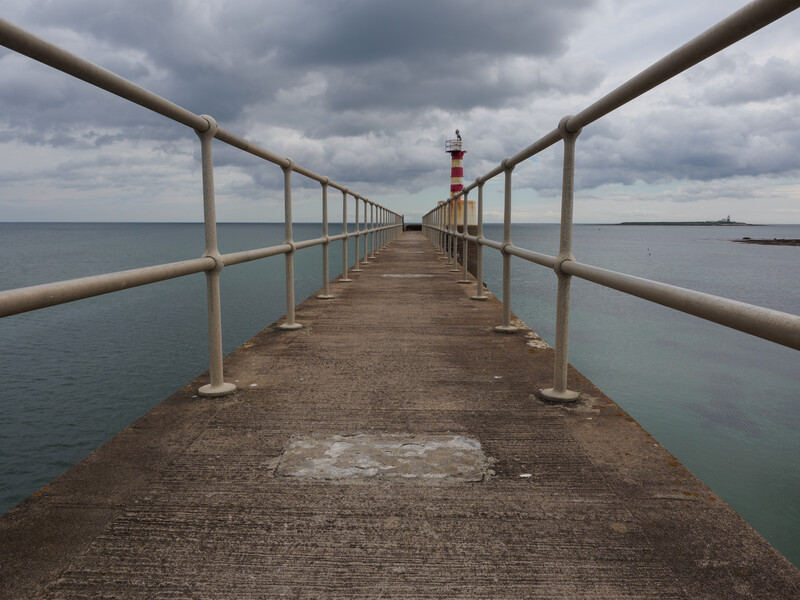
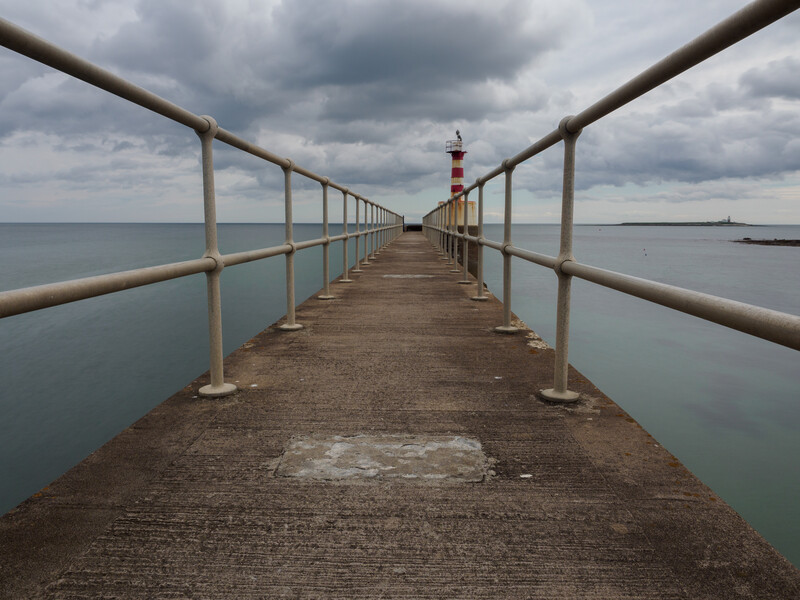
These two shots were in aperture priority, ISO 200, 12mm, f/9.0. The first at 1/320 of a second and the second, with the filter attached, 2.3 seconds. The beacon at the end of the pier is 60 yards from where my camera was positioned. The lighthouse on the island is 1.3 miles away.
The clouds were quickly moving across the sky. Consequently, the variation away from precisely 10 stops and the slight change in the tones of the concrete walkway were caused by the differences in the light. Later tests indoors shot under stable lighting showed the filter cut the light by slightly more than the 10 stops, but as I am usually using a 10-stop filter to achieve as long exposures as possible, that is an advantage.
The sharpness of the image through the filter was impressive, and I could not detect any reduction in contrast when using the filter. Nor was there was any discernible color cast difference between using the filter and not. Nor were there any signs of vignetting.

These heavily cropped photos were taken handheld at 40mm with an Olympus OM-D E-M1 Mark II, one with the ND1000 filter and one without. The one with had a shutter setting of 2.5 seconds and the other of 1/400 of a second. Can you tell which is which? I had to go back and check the metadata. The second one has the ND filter attached.
What I Liked and What Could Be Improved
Urth's Professional ND1000 Plus+ filters hold their own against the competition and at a fraction of the cost of some bigger name brands.
They are a screw-on filter, and that means you may need more than one filter to fit different lenses. However, if you want to save on kit, buy for your largest glass and then look for step-down rings for your smaller lenses.
Screw-on filters don't suffer the risk of light leakage, which can be an issue with some slide-in-type filters. However, I know some photographers prefer square filters, and I do get that, especially those who would combine the ND1000 with an ND graduated filter. Urth does make screw-on NDs, but the placement of the graduation is fixed for these types of filters, they cannot be slid up and down as they could with a square type. However, for my minimalist approach to carrying kit and preference for setting up my camera in a more sterile environment than the beach, these suit me.
The filters come in a screw-lid tin with a small lens cloth. But, best of all, when you register your purchase, you are financing the planting of five trees in a fain forest.
Most importantly, the image quality is tremendous. I can highly recommend them.
If you love travel and photography, consider checking out our Photographing the World Series with Elia Locardi where we go to some of the most beautiful locations in the world and teach the process of creating world class landscape images. Save 15% by using "ARTICLE" at checkout.


Join the Fstoppers community for free
-
Post comments and join in the discussions
-
Browse the site ad-free
-
Share your work and get featured in the community
-
Compete in the photo contests for fun and prizes
2 Comments
What filters do you use? It would be interesting to hear about the pros and cons of other filter systems.
I use he Marumi polarizer. Slim, so no vignetting. Good sharpness. Perhaps some color cast to green with my lens in some circumstances that you can decrease the effect by rotating the filter.