
What a time to be alive for photography! Advances in technology, combined with reduction in pricing and the “gear wars” that brands wage against each other continue to make image-making hardware of the highest quality more and more accessible to the every person. This market process continues to make it possible for us to minimize sacrifices in image quality we once made when shooting in less than optimal conditions.
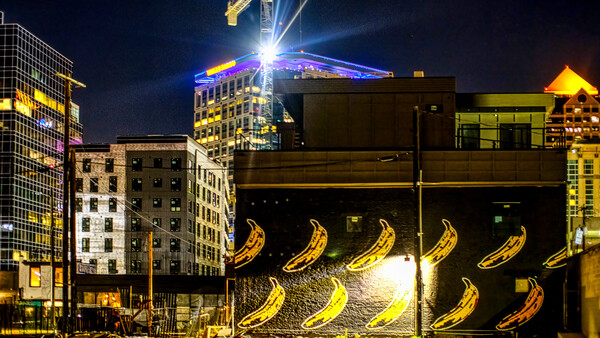
In the realms of street and cityscape photography, a few key advancements in the market are becoming especially handy for those of us who prefer shooting after dark, a time when the dynamic interplay of light and darkness can boost the impact of your photos dramatically. There is a big difference between the lazy calm of a city under the afternoon heat of the sun and the buzz of life that springs into action when the sun goes down, firing up the nightlife and bringing colorful characters and neon lights into our scenes.
I will detail the advancements that have made city nightlife photography more and more accessible to me and everyone else and walk you through my workflow for minimizing image quality sacrifice in pursuit of your night shots.
Equipment
At one point, the most common digital cameras among amateur photographers were often things like the Canon Rebel and Nikon D3XXX series of cameras. Their low price point, combined with commonly bundled kit lenses, made it easy for people to get going with photography, but their low-light performance was never brilliant, and they lacked a key feature for nightlife photography: in-body stabilization (IBIS).
The advent of IBIS in compact, affordable mirrorless camera bodies such as the Sony a6500 or a6600, a number of Fujifilm cameras, and many micro four thirds options have placed this valuable tech squarely in the hands of budding street photographers, and the ability to shoot handheld at shutter speeds of 1/15 s or less becomes invaluable for both the minimization of high-ISO usage (and reduces the noise that inherently comes with it). This unlocks more ability to express motion in your scenes while retaining a discreet, high-mobility camera setup.
Sure, you can bring a tripod out to play, and the value of a truly solid tripod in night photography cannot be understated, but if you are like me, you want to be able to keep a low profile while staying mobile and not lugging around a ton of gear as we explore the backstreets of a city at night. Staying low profile can prevent you from becoming a target for robbery, and perhaps most importantly, will reduce the camera awareness of people that may show up in your photographs.
The value of a compact, modern mirrorless camera for this type of photography extends beyond the use of IBIS as well. By forgoing a mirror and the use of the electronic viewfinder, mirrorless cameras make the use of manual focus lenses far easier through the implementation of focusing aids such as focus peaking and digital magnification. This is possible through adapting fast, vintage glass or using one of the many native mount manual focus lens options that have burst onto the market along with the widespread adoption of the mirrorless cameras that allow their use easily.
It is this new burst of manual focus lens options to the market that brings with it another key reason why the everyman is more able to embrace handheld night photography. With all this new, affordable lens choice comes a handful of affordable, ultra-fast options. Once upon a time, f1.2 was considered bleeding-edge fast, but a slew of f/0.95 lenses has hit the scene. Brands like Mitakon, Loawa, Voightlander, TTArtisans and 7Artisans have all released relatively affordable f/0.95 manual focus lens options for a myriad of APS=C cameras and even a few options for full frame, which once only had a route to ultra-fast glass through ultra-high price tags.

These ultra-fast lenses, such as the 7Artisans 35mm f/0.95 lens I attach to my IBIS-packing compact mirrorless, the Fujfilm XS-10, allow you to shoot in the very lowest light conditions, while still keeping your ISO at a relatively low level. Any noise incurred is managed extremely well by modern mirrorless cameras, at least by comparative standards to their affordable DSLR predecessors. The combination, with the addition of the Rokinon 12mm f/2 for wider shots, allowed me to say goodbye to tripods in the city for good.
Alternatively, these kind of speeds are also obtainable by using focal reducers, or “speedboosters,” to give fast vintage glass an extra stop of light. Several brands manufacturer them, and some even allow you to retain use of autofocus, such as the Viltrox Autofocus Speedbooster and adapter, which allows you to convert full frame Canon EF glass to an APS-C lens, all while increasing its speed by one stop. It also provides the same field of view on the adapted full frame lens as you would see on its native full frame camera. For example, attaching my Sigma 50mm f/1.4 resulted in an image that a non-boosted 33mm f/1 lens would produce if it were a native Fuji X-mount lens. The autofocus aspect can be hit or miss, though, especially in a low-light setting, which leads me to prefer using a manual focus ultra-fast lens with a native mount, especially considering the entry price is now so low. I bought my 7Artisans 35mm f/0.95 on sale for just over $200, a stunning value compared to the investment it once would have taken.
Even lenses that fall into the more traditional fast speed levels, such as f/1.4 and f/1.8, can serve you very well. I have used my beloved Fujifilm XF 35mm f/1.4 and Rokinon 12mm both to produce excellent results, albeit sometimes requiring me to ride the ISO to higher levels, such as ISO 3200 or even 6400. Luckily, my little Fujifilm camera still does well at these noise levels, and modern noise reduction software such as DXO PureRaw and Topaz Denoise AI can help immensely when dipping your toes in the high-ISO waters.
Technique and Workflow
Once you are suitably equipped to shoot the streets at night, your next step is to make the best out of the equipment you’ll be using. If outfitted in a similar manner to myself or my suggestions, you will find some adjusting to your shooting workflow may be required. The biggest will likely be adapting to the use of the manual focus lenses, but thankfully, modern manual focusing aids such as the aforementioned focus peaking and digital magnification make this a relatively simple process, and, I find, simpler than trying to rely on autofocus in low light. The process of manual focus slows you down some, which I find to be a boon to my goal of intentional creativity in my shots. As I compose and focus manually, I am more mindful of my scene and in the moment, leading me to really think about my composition, shot timing, and settings.
The lights and color of the city will add sparkle, and the play of darkness in the shadows against the light will add drama, and when you bring it all together with interesting subject material, what you get out of the deal is excellent photos with minimal image quality sacrifice and high city mobility.
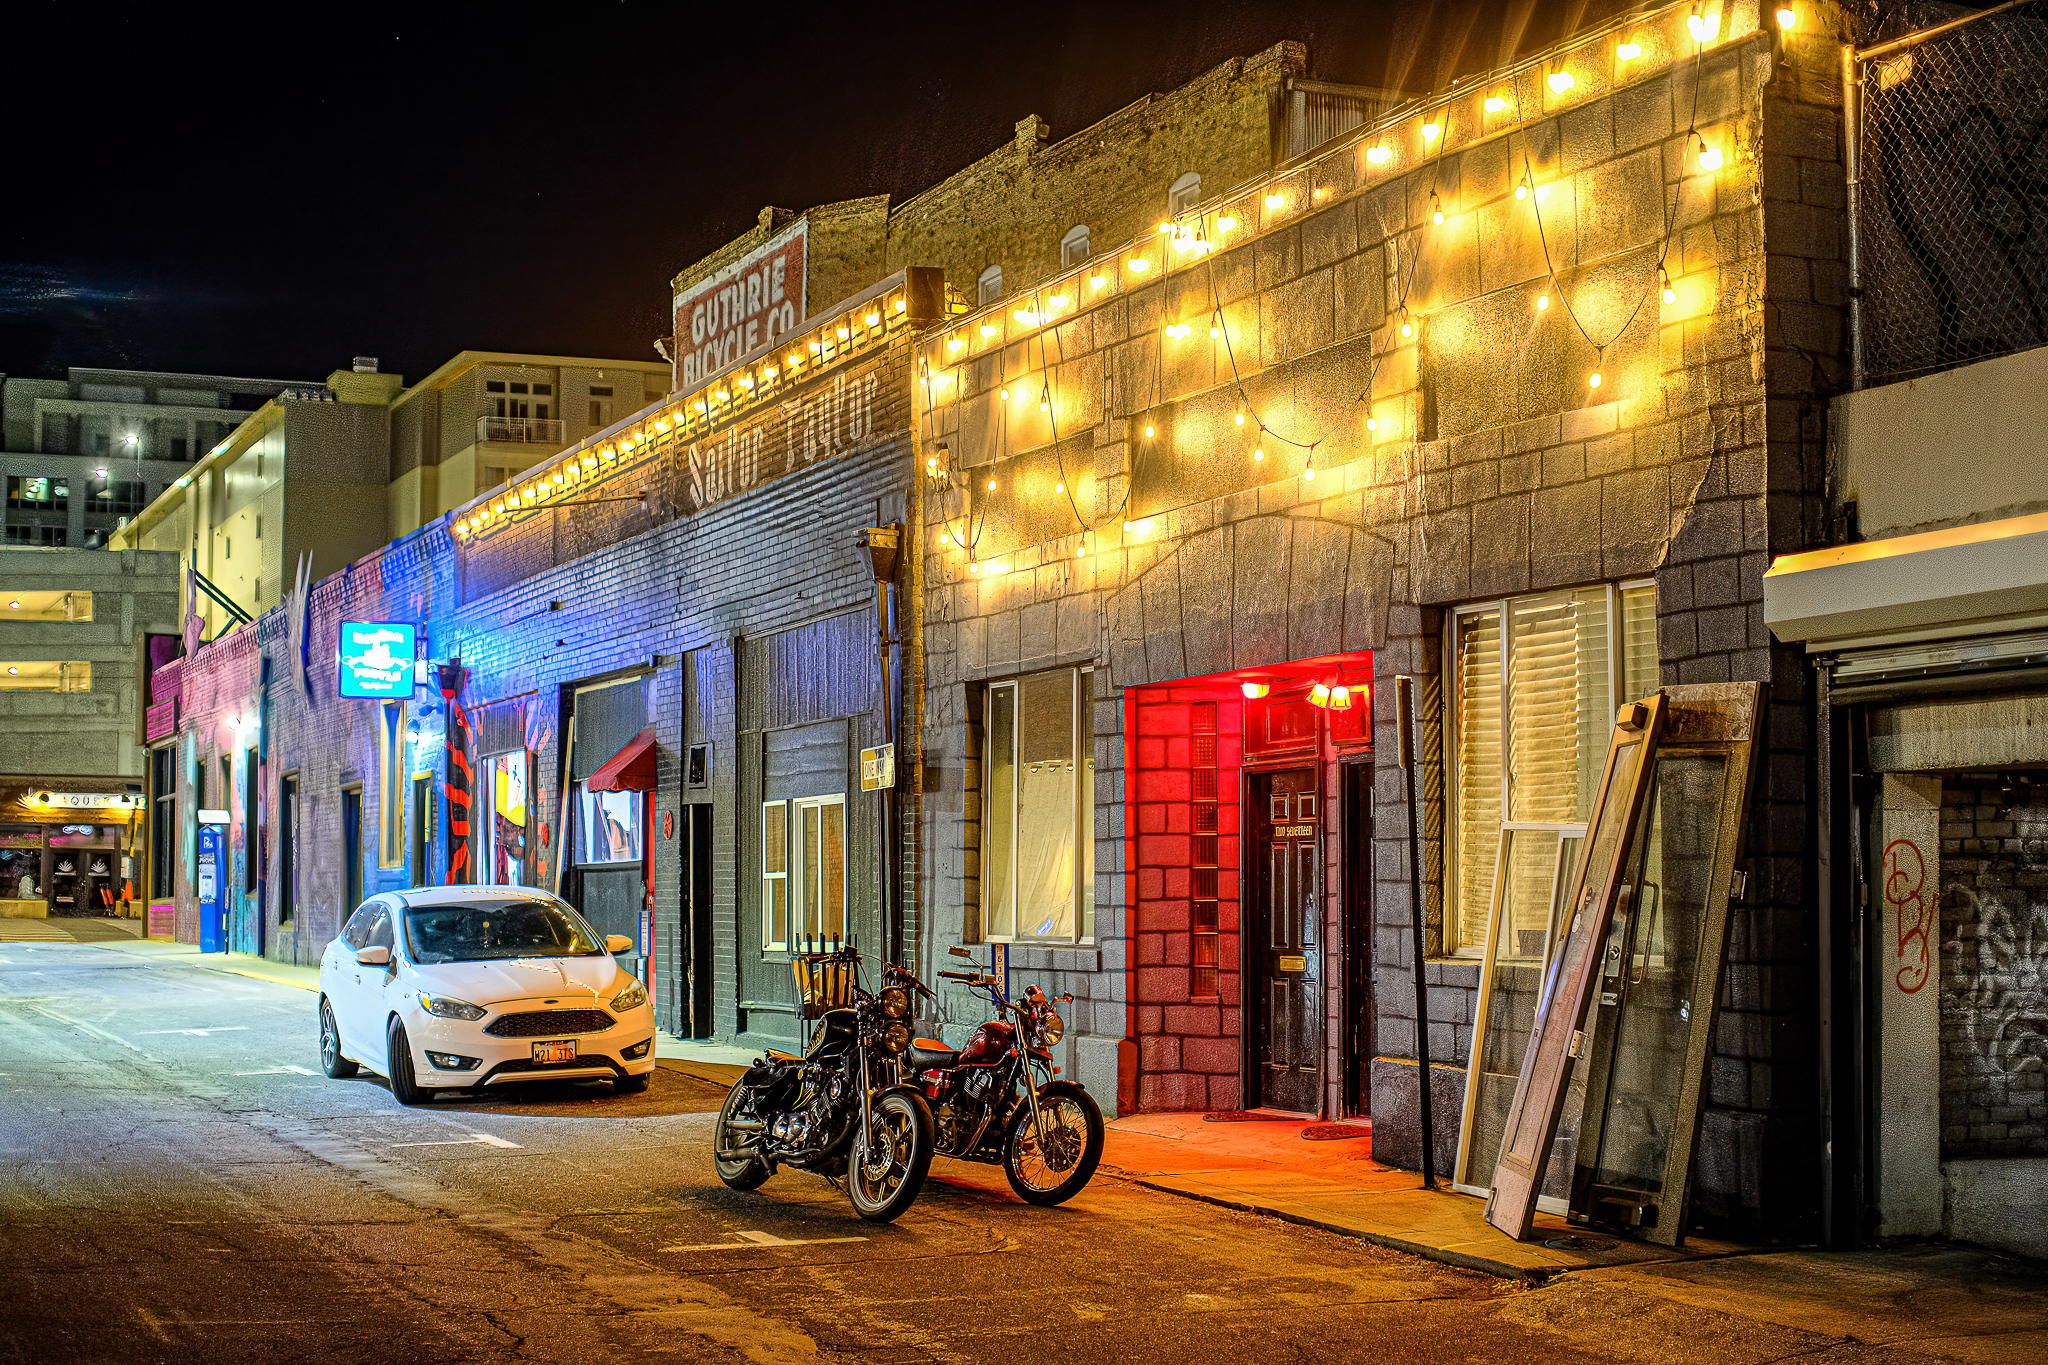
To make the most of my IBIS-equipped camera, I will vary my shutter speeds dramatically to contrast the dynamic nature of movement against the remainder of the city scene, which stays static as long as your grip is steady, even at shutter speeds as low as 1/5 second. For example, I may show an ambulance streaking by in red light trails while the city around it remains constant and sharp, with skyscrapers tower in the background, office lights twinkling against the sky.
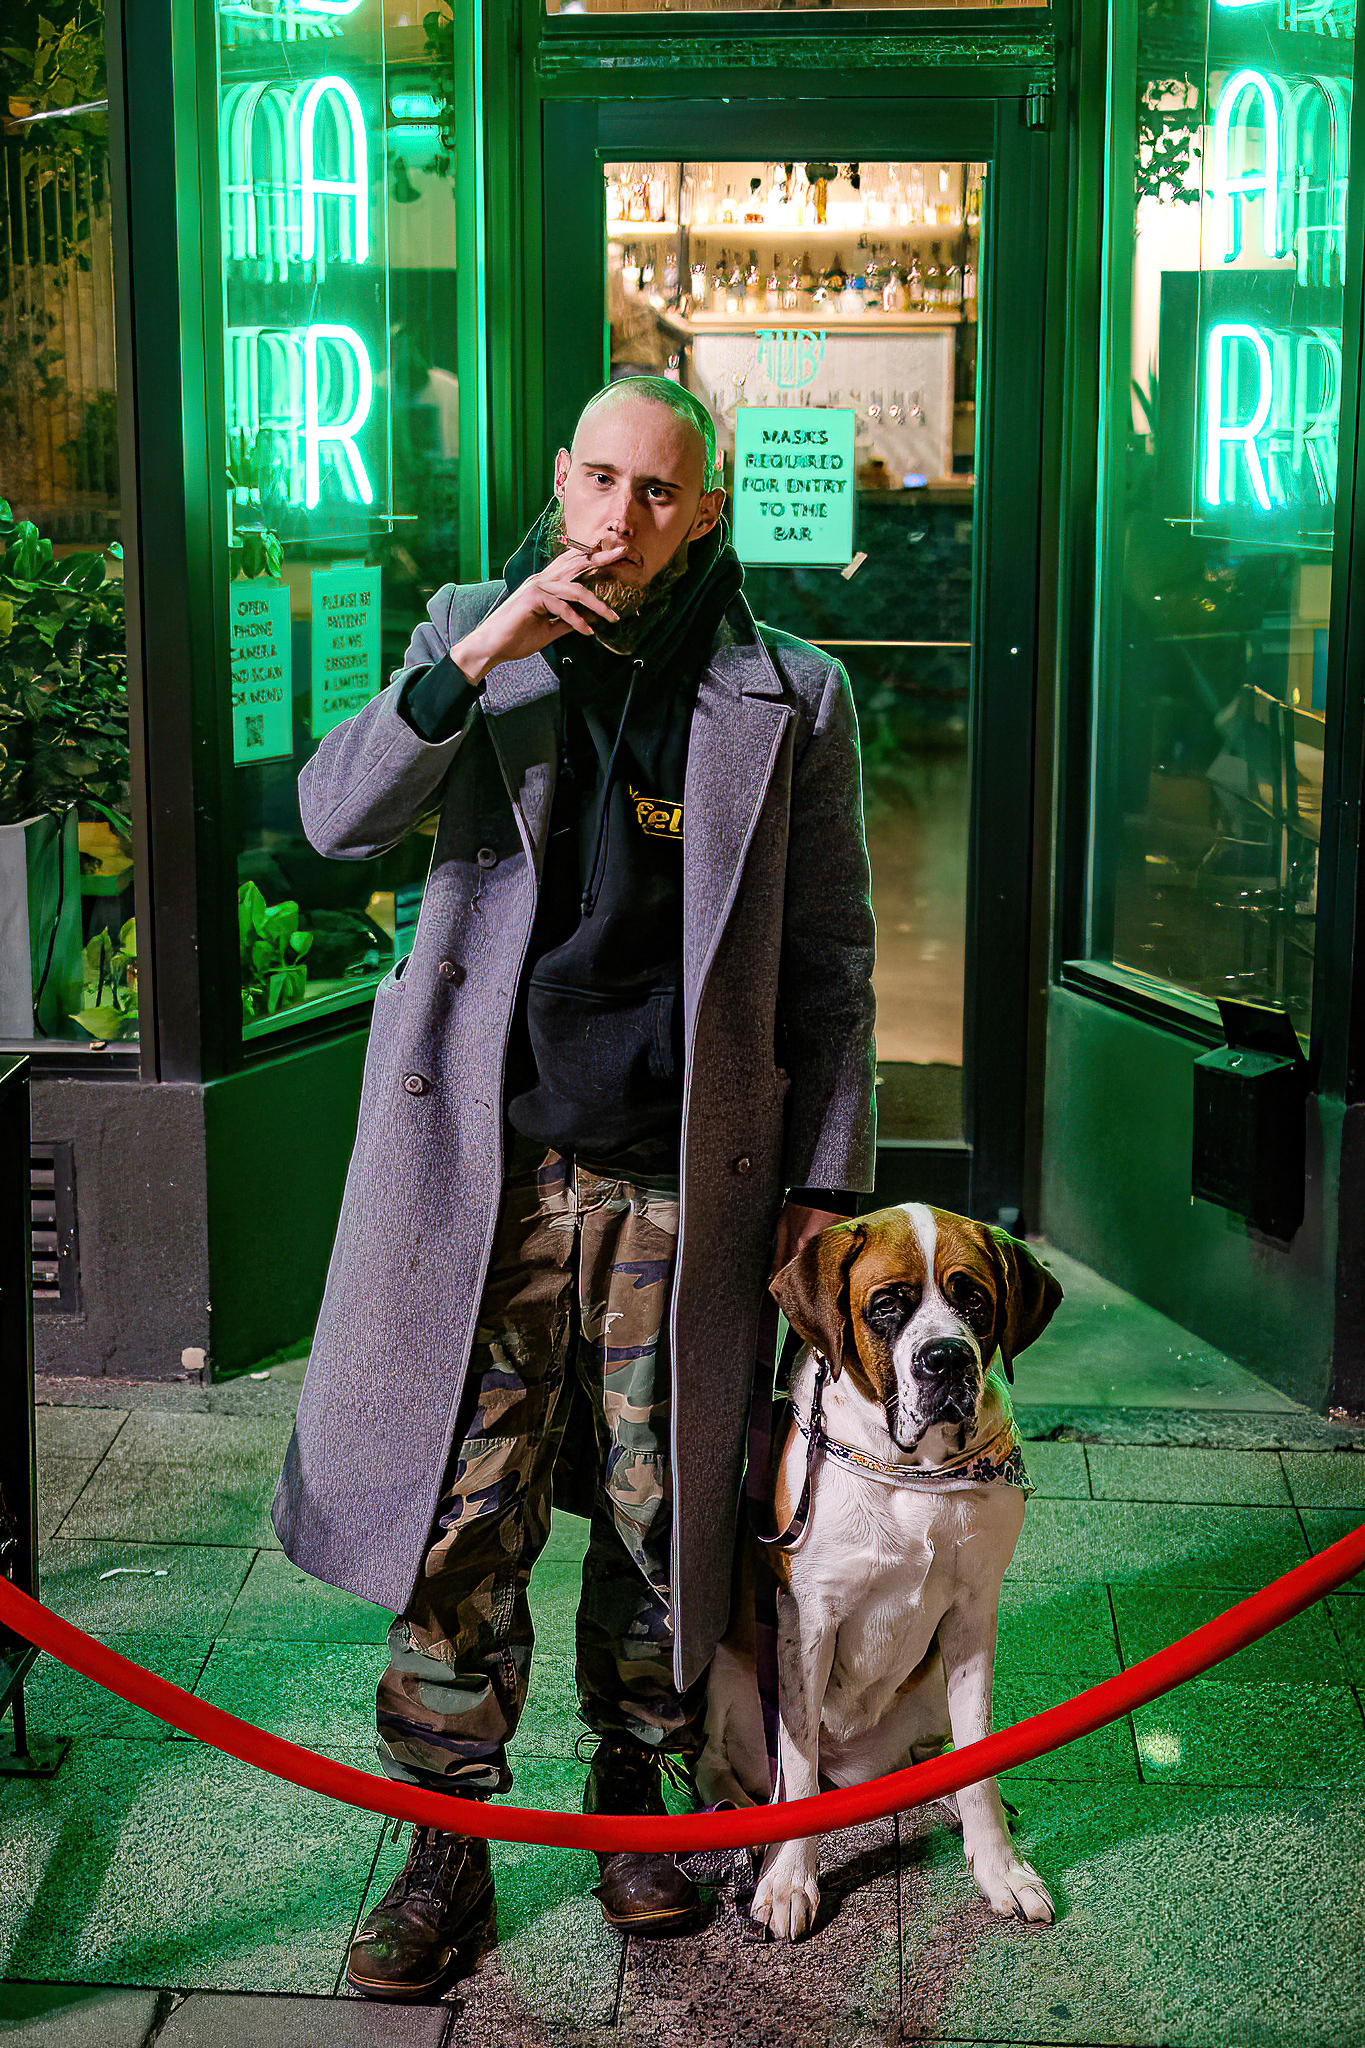
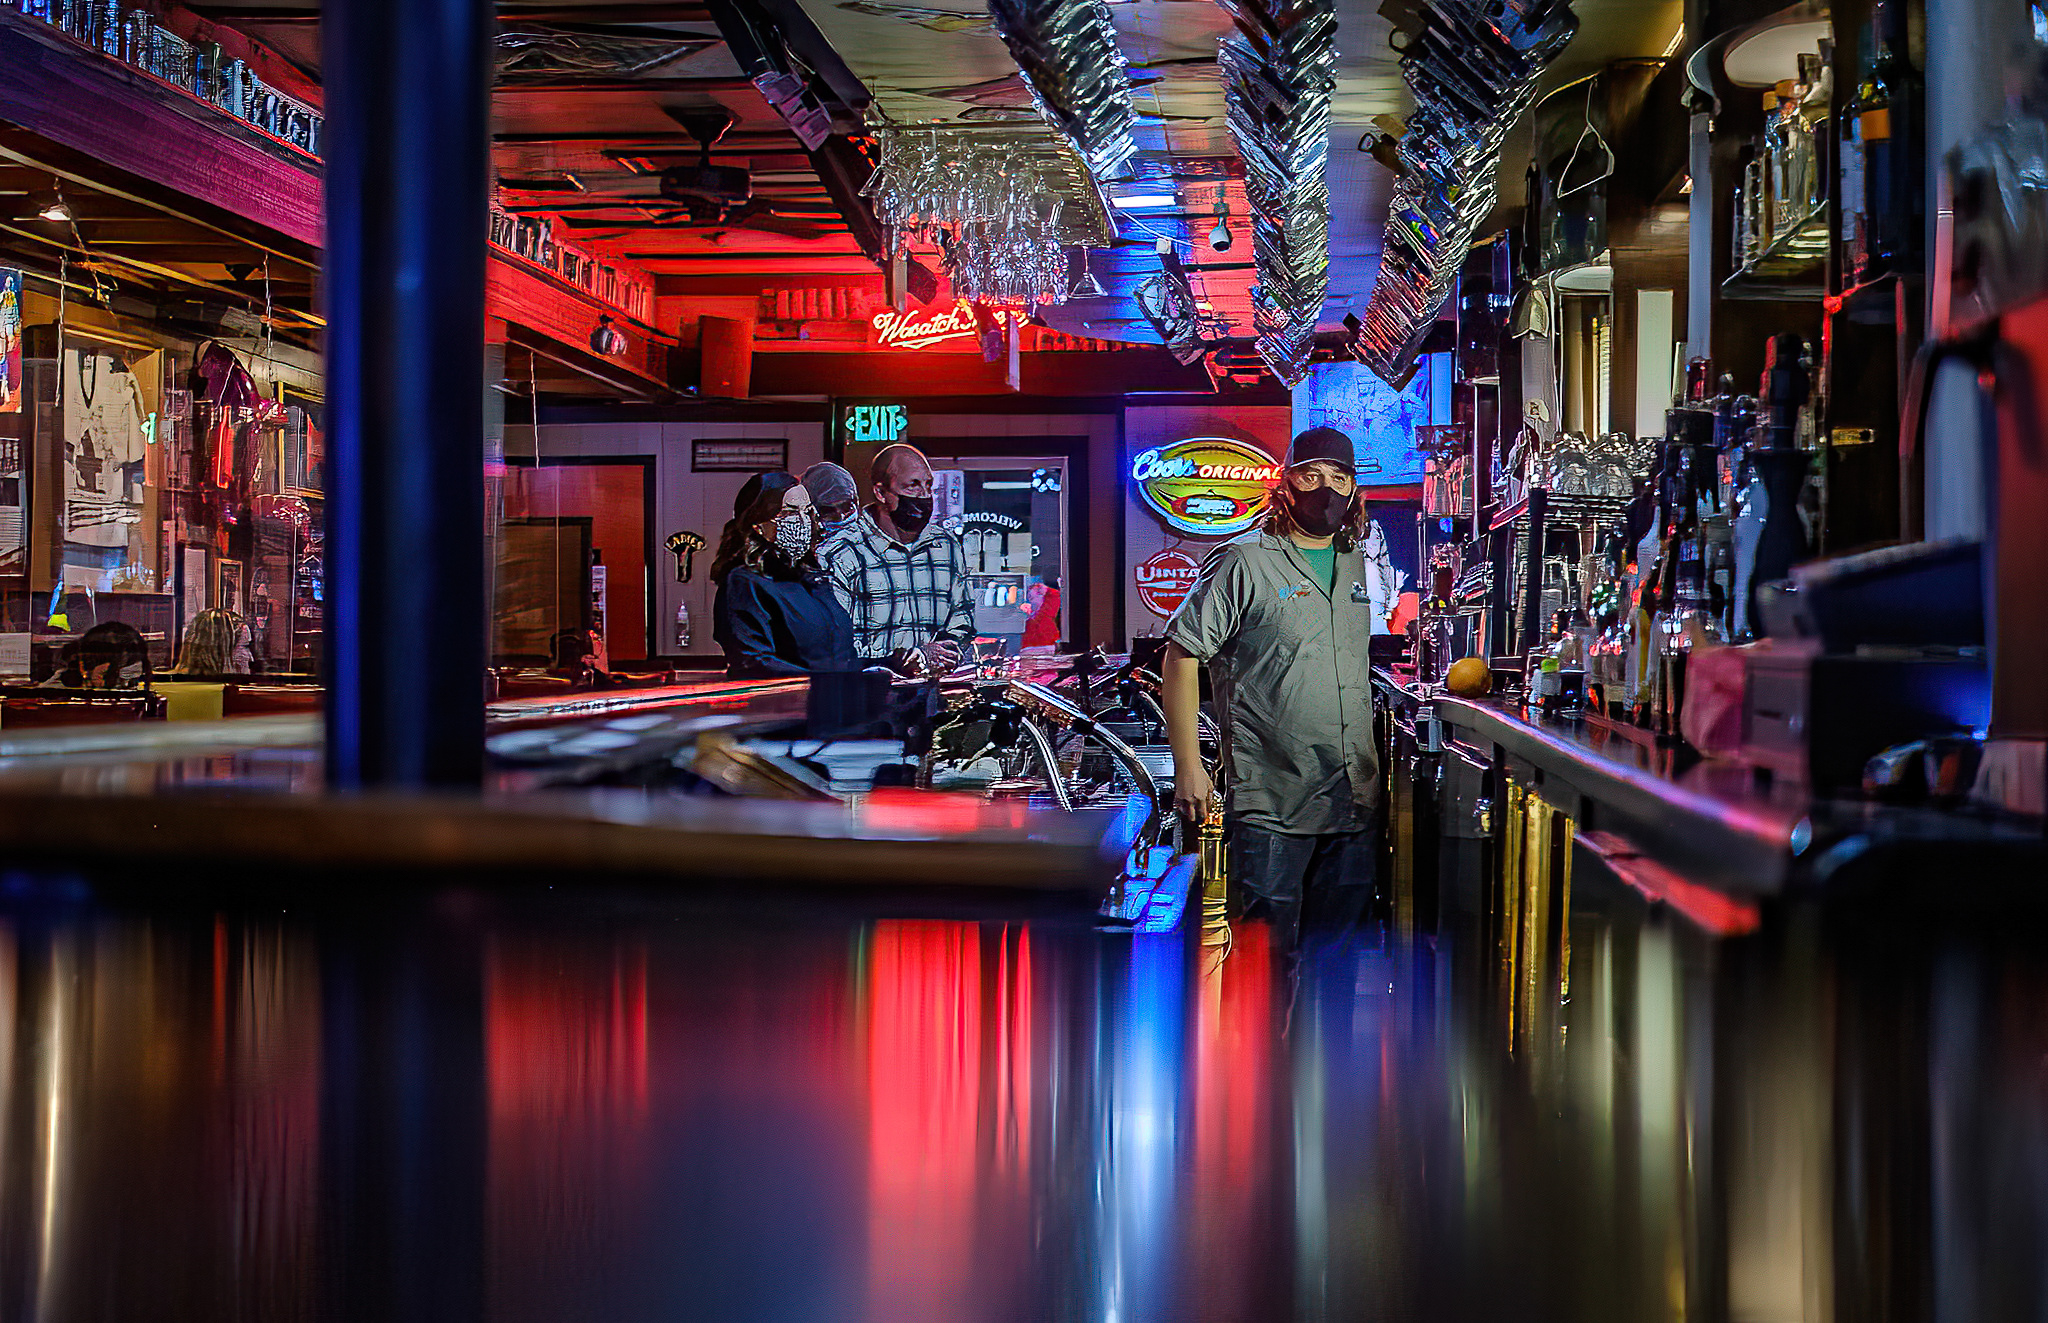
If you are the type to punctuate your nightlife shooting with a brief respite in one of the many pubs or clubs that buzz with life at night in a city, you will be treated to very interesting and colorful subject material, and your fast glass will let you capture it with good results. Some of my favorite street portraits and people photography have been centered around the many watering holes that exist in the cities I visit. I find people who are out enjoying the streets and bars at night are often in a good mood and more open to having their portrait taken or simply less concerned about your candid photography.
By retaining a compact, lightweight, and mobile setup, you make it much easier to cover ground in a city as well. While I often canvas a city on foot, one of my ultimate secret weapons for maximizing the ground I can cover is my electric bicycle, a City Grounds Crew Dart 2.0 EBMX, which lets me get in and out of a situation quickly and comb the city streets in record speed. Also, public transportation options can offer their own selection of interesting subject material. Failing the use of my bike or a regular bus or subway option, I will just park somewhere safe, walk until I can’t anymore, and Uber back to my vehicle. I urge you to cover as much ground as possible, as it will only expand your number of keepers each night. It is not uncommon for me to return home from a night shooting session in the city with more than a dozen photos I am proud of, thanks in part to the ground I covered, on top of the overall increased amount of interesting photo opportunities to be found after dark.
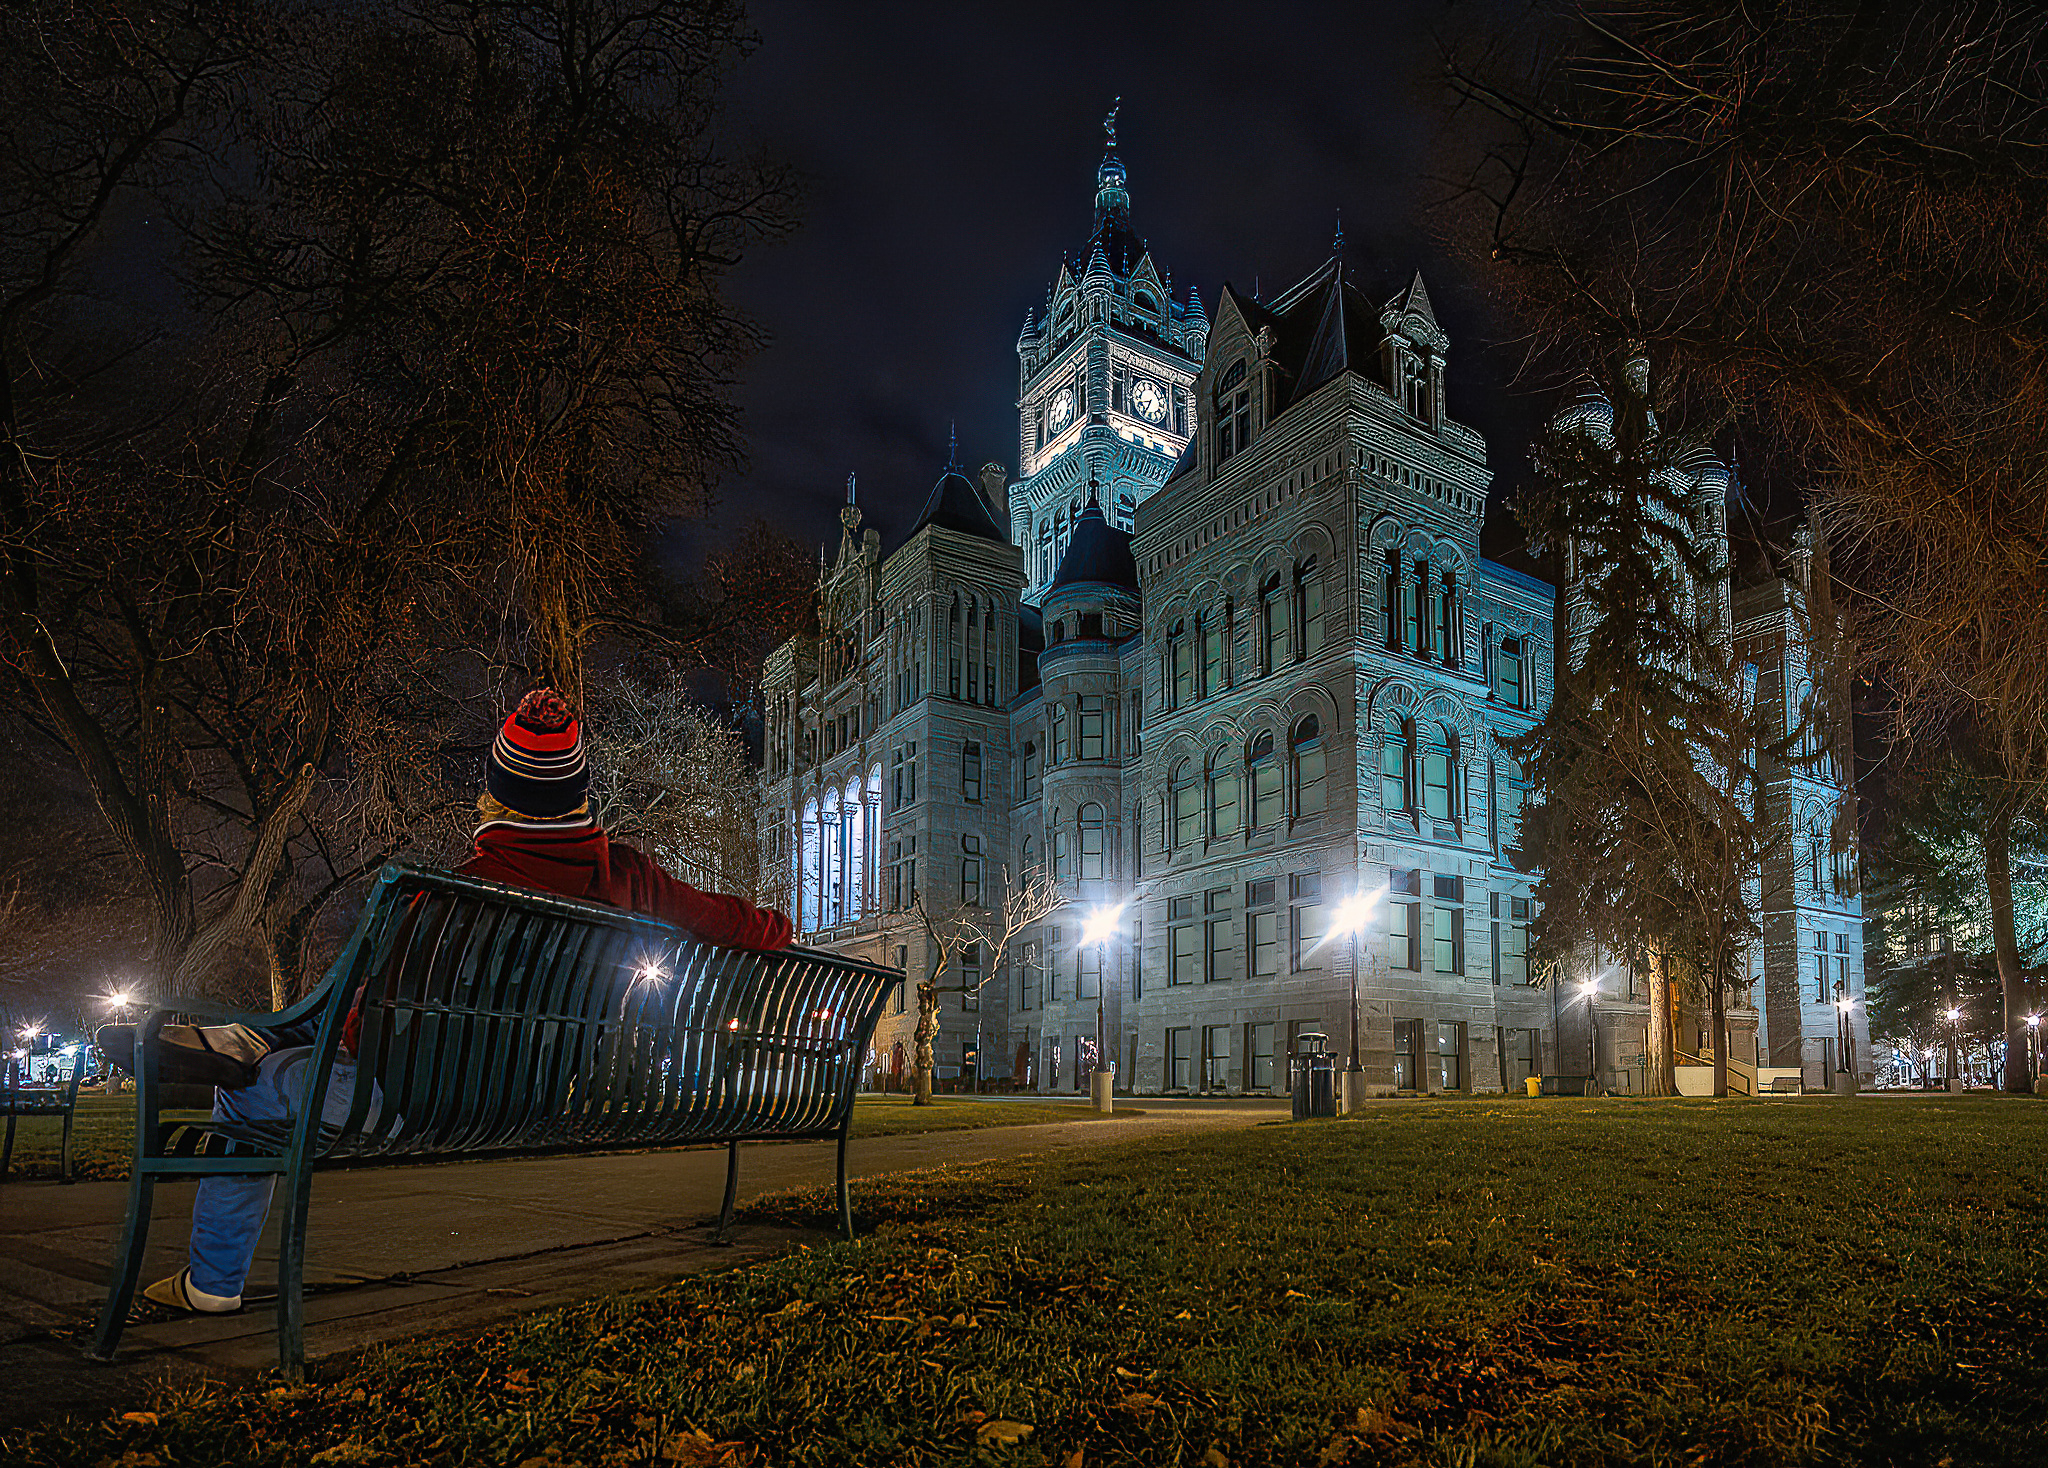
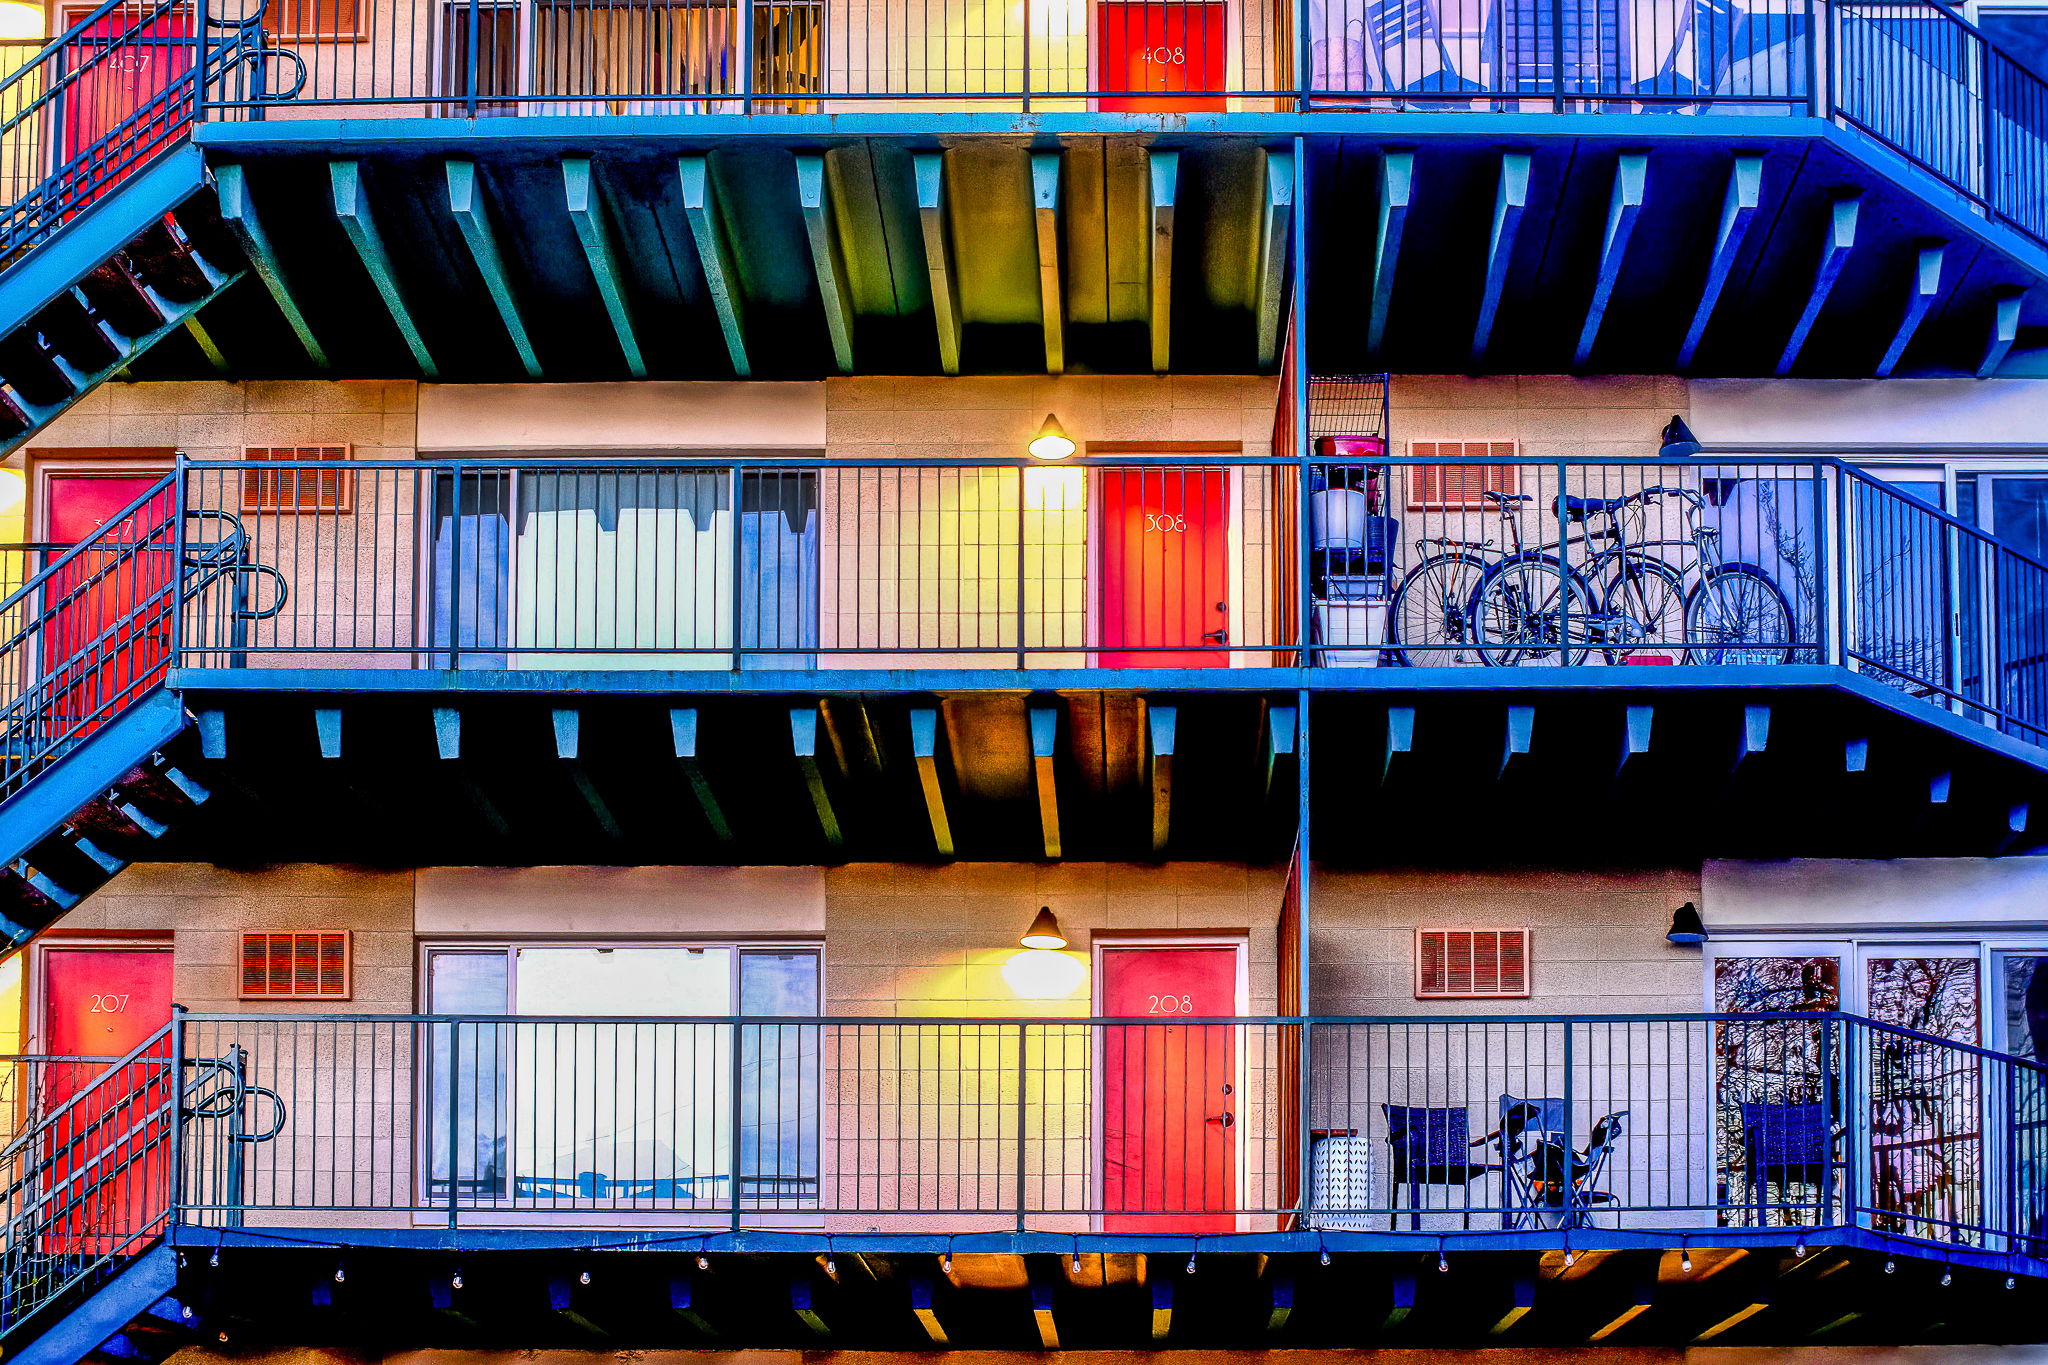
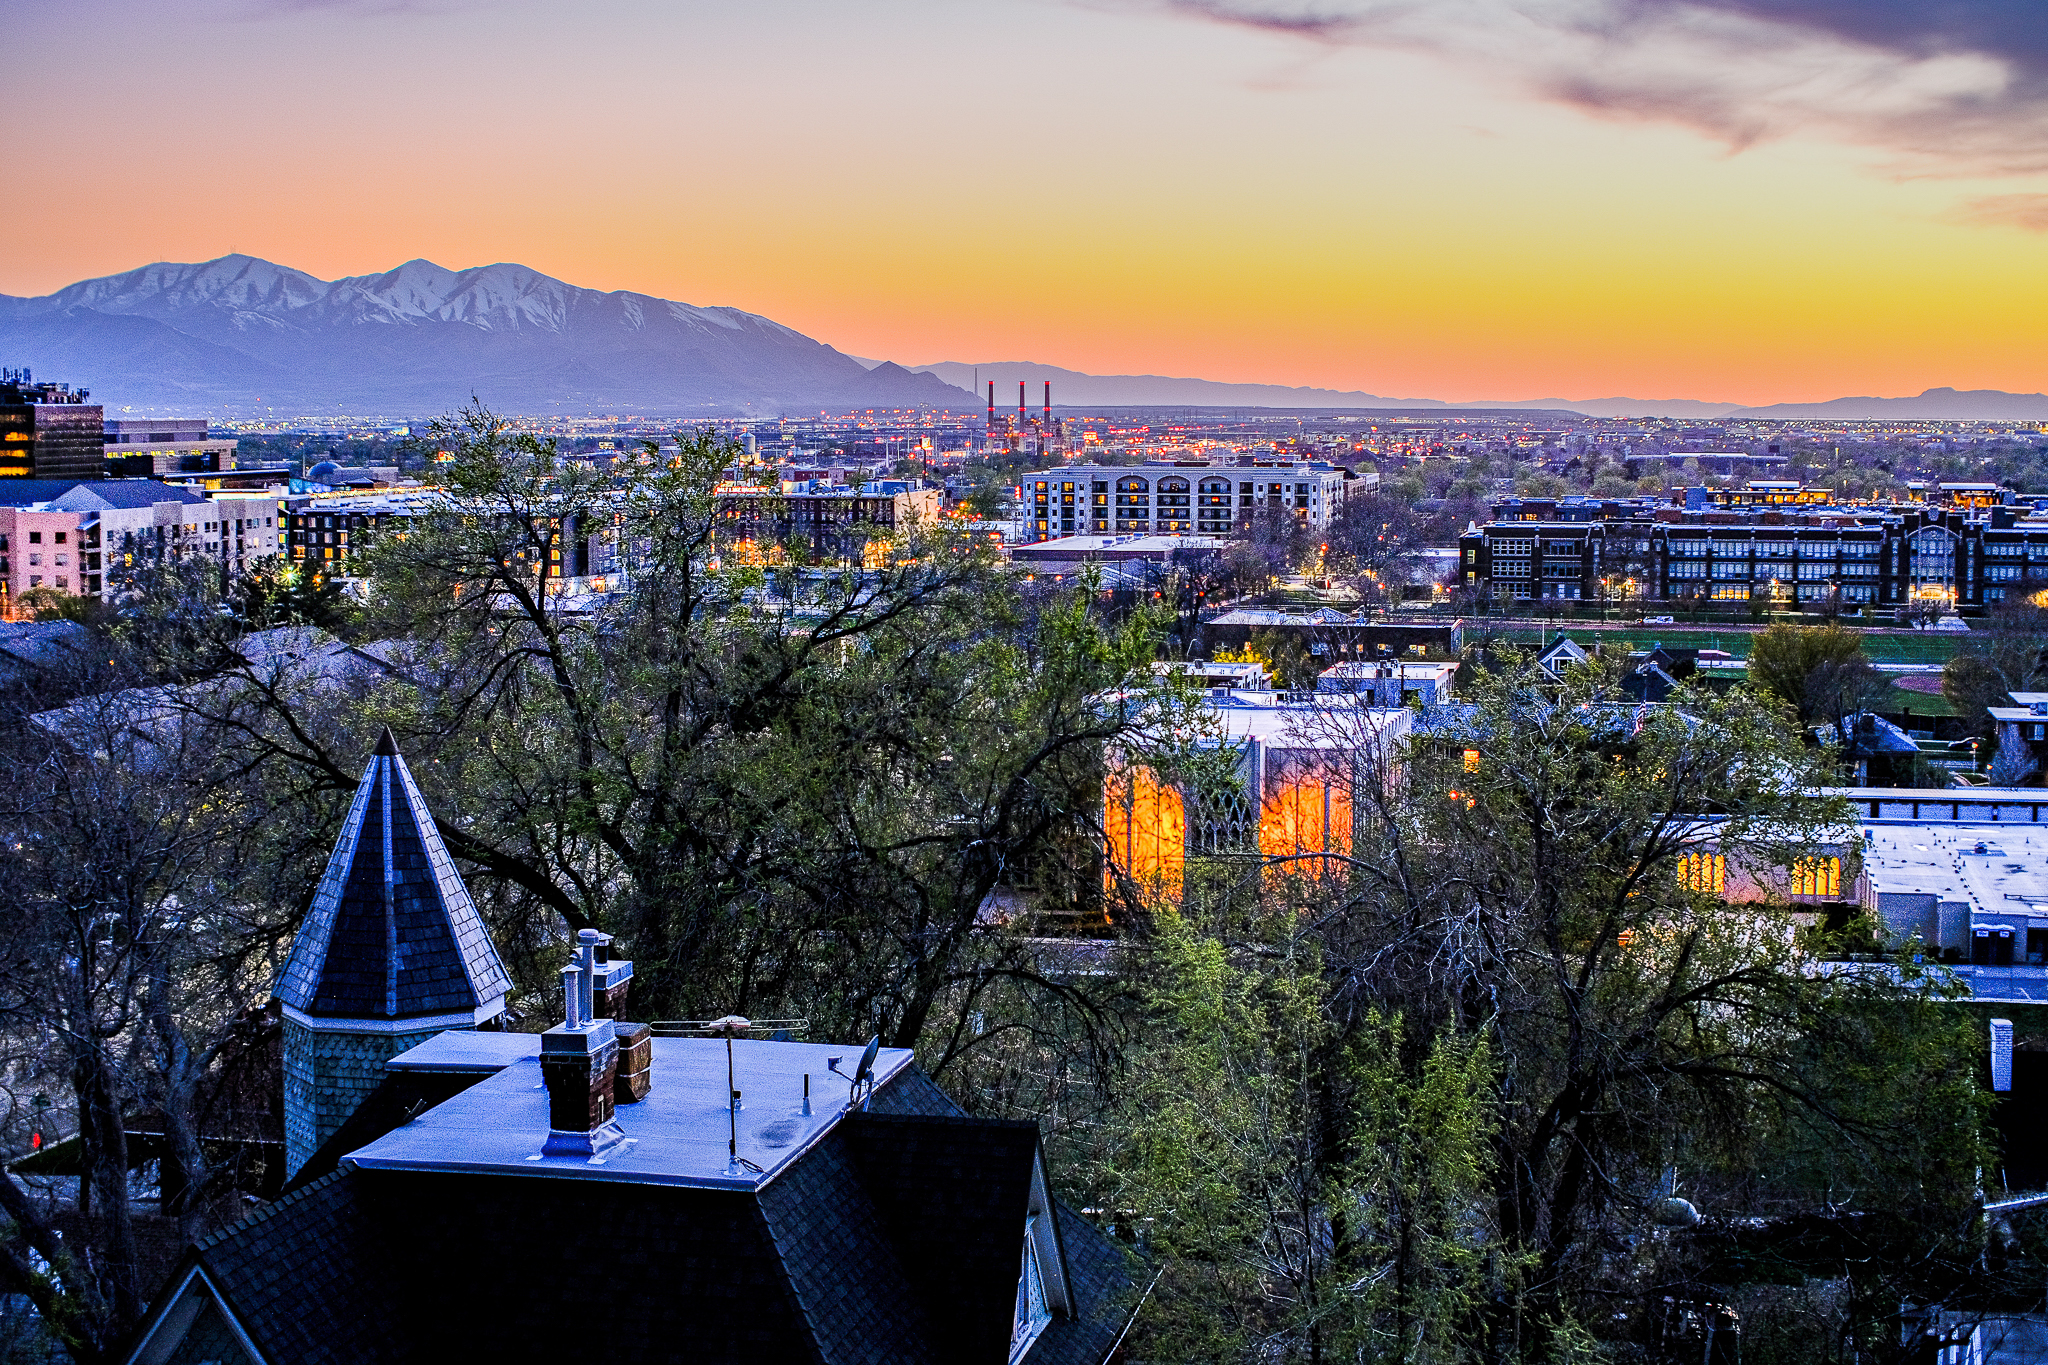
As you canvas a city with your camera, an important tip to remember is to think vertically. If you only keep your eyes glued on street-level scenes, you are potentially missing a lot of shots. Look up at balconies, which may be occupied and lit, providing a scene that pops out against the dark night sky with luminance and sometimes people, who invariably do not notice you and your camera due to the difference in verticality between you. Conversely, try to find high vantage points to shoot down from onto the lit city streets and skylines. Often, tall parking garages will have accessible roofs, as well as observatory levels in some skyscrapers or even a plain old high hill to peer down from. When you do have a high vantage point, consider taking multiple photos to stitch together into a panoramic image.
When I do return home from a nightlife session, it can be very rewarding to go back through and look at the images you have taken and see how the magic of the city night translates to photo form. I believe that the better a photo is from the beginning, the more it can improve with polish as well, so even though my setup allows me to take sharp photos with minimal noise level, I often still process my favorites through Lightroom and the Topaz Denoise and Sharpening suites, which provide an even further level of quality and creative intent to the images.


Join the Fstoppers community for free
-
Post comments and join in the discussions
-
Browse the site ad-free
-
Share your work and get featured in the community
-
Compete in the photo contests for fun and prizes
1 Comment
But you should also not forget that processing can make a picture more unrealistically cyberpunk and some kind of "non-ideal" can add uniqueness and style to a picture.