
When talking about bokeh, the majority of the photography community instantly thinks of those nice creamy out of focus backgrounds. This is because most of the photographs we see only involve a subject and a background. Once you start to incorporate foreground elements though, you will quickly see that bokeh in front of the subject can be just as important and impactful as having bokeh behind the subject.
How It’s Done
The thing to keep in mind is that foreground bokeh acts very similar to background bokeh. If you focus on your subject and there is an element far off into the background, that element will be more out of focus than elements that are closer to your subject. Likewise, if you have an element really close to your lens, that element will be more out of focus than an element closer to your subject. The difference here is that the closer an element gets to your lens, the larger it appears; whereas the further an element gets to the background, the smaller it will appear. It’s because of this fact that we can use a small little Christmas light to create large bokeh that fills up a frame.

Lens Choice
Now that we have a good understanding of how foreground bokeh is achieved, we need to understand how lens choice affects our end result. Like most things in photography, the lens we choose plays a very large role in the final image. The first thing we will look at is focal length. Since we already know that the closer the lights are to the lens, the larger they are, we are going to look at the differences caused by focal length when the lights are pressed right against the lens. When the lights are pressed right against the glass of an 85mm lens, the bokeh will fill more of the frame and appear larger than when compared to a 35mm lens with all the same settings. Below is a comparison of an 85mm, 35mm, and 20mm with all the same settings (except the 20mm is at f/1.8 instead of f/1.4).

Aperture also plays a large role into how the bokeh will look. Like the example above, if we have the lights pressed right against the glass of a 35mm lens and change the aperture, you will see that the size decreases as the aperture increases. This is because the lights are becoming more in focus. The below example is a 35mm lens going from f/1.4 to 2.8 then to f/5.6. Notice that 35mm at f/5.6 looks very similar to the above 20mm at f/1.8.

Other Elements
Using Christmas lights for this effect is all well and good in the winter months surrounding the holidays, but what about the rest of the year? Or what about when you get tired of seeing Christmas lights in all of your photos? The good news is that bokeh is bokeh no matter what it is made from. I used Christmas lights in the above examples because everyone knows what they look like in focus, so it’s easier to relate that knowledge to the out of focus image. But the truth is, most of my foreground bokeh images don't use lights at all. Instead, a lot of my images that use this effect are created using elements that are found within the surroundings that I’m currently shooting in. I do this for two reasons. The first reason is because it can be a pain to have to carry around a bunch of objects that you plan on holding in front of your lens (I still do this, but a lot less then I used to). The second reason is because I want whatever object I use to make sense. The best way for the object to make sense is to use something that's already in your surrounding. The best example of this is when shooting in a forest or at a local park. There are going to be trees and grass in the background, so it makes sense to have trees and grass in the foreground.
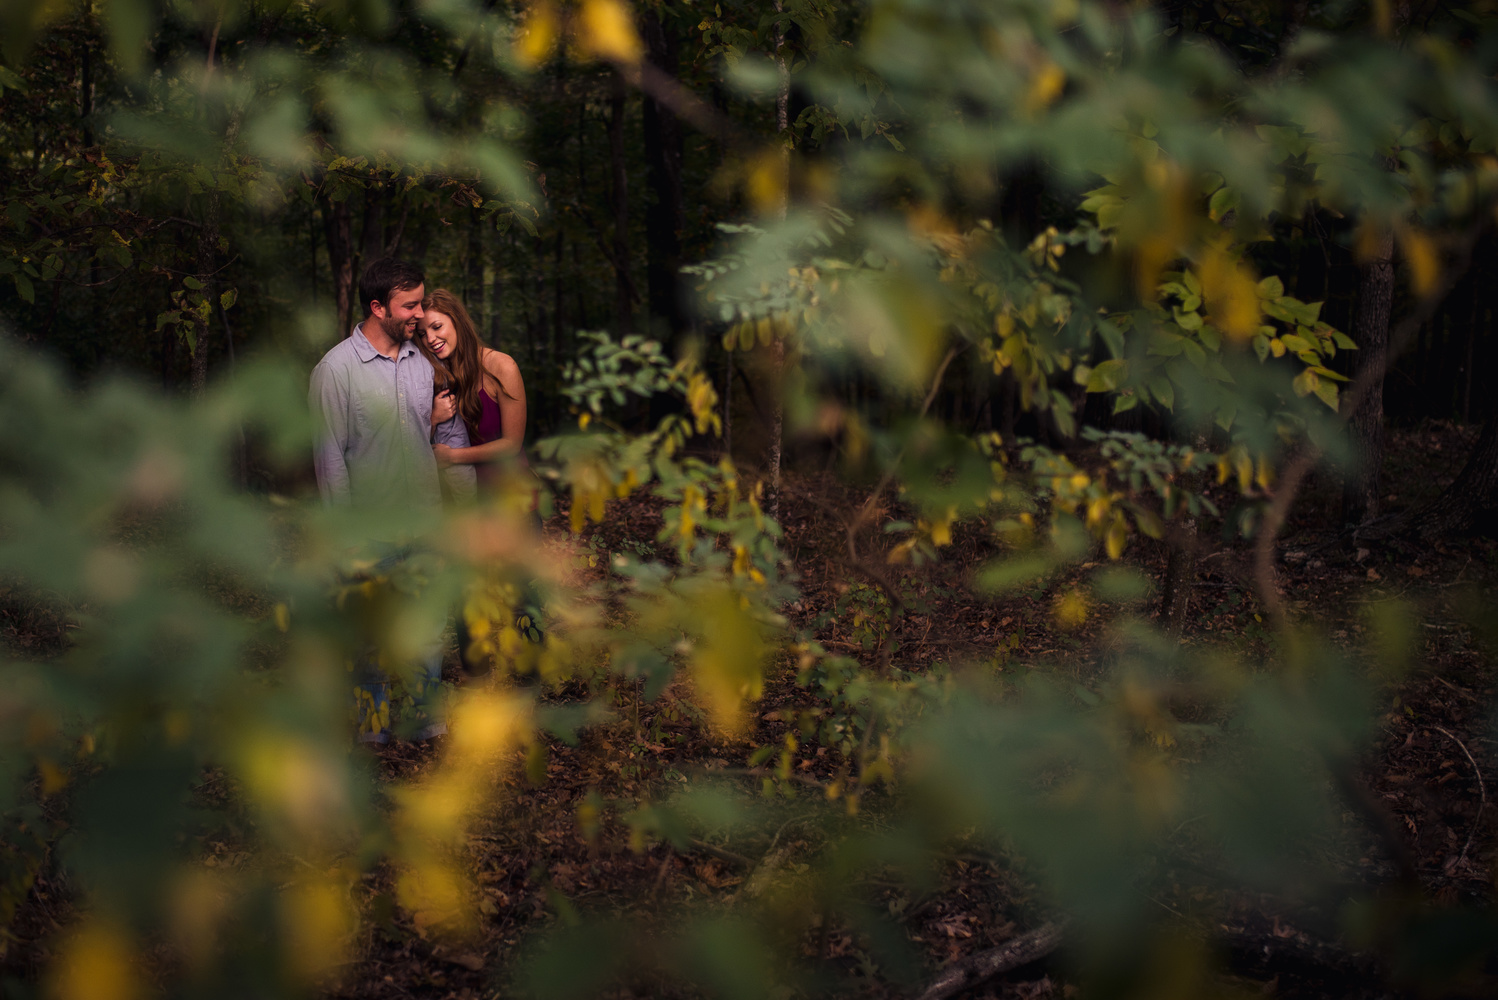
What I have found is that light is the key. If the elements that you have in front of your lens are being lit, they can cause some interesting effects. Like all situations where you are adding light, the location and direction of that light has a large impact on your final result. Backlighting an image will have a completely different feel than front or side lighting. Below is an example of having backlight versus no light at all. I don't think that one image is worse than the other, but they both have a completely different feel because of the light, and this light also affects the foreground elements.


Taking It Up a Notch
So far for this effect we have used Christmas lights, trees, and grass. But there are an infinite amount of possibilities when looking for other objects. One of my favorite go-to things to look for though are objects that are shiny and sparkly. An example that is at every single wedding venue is a drinking glass.

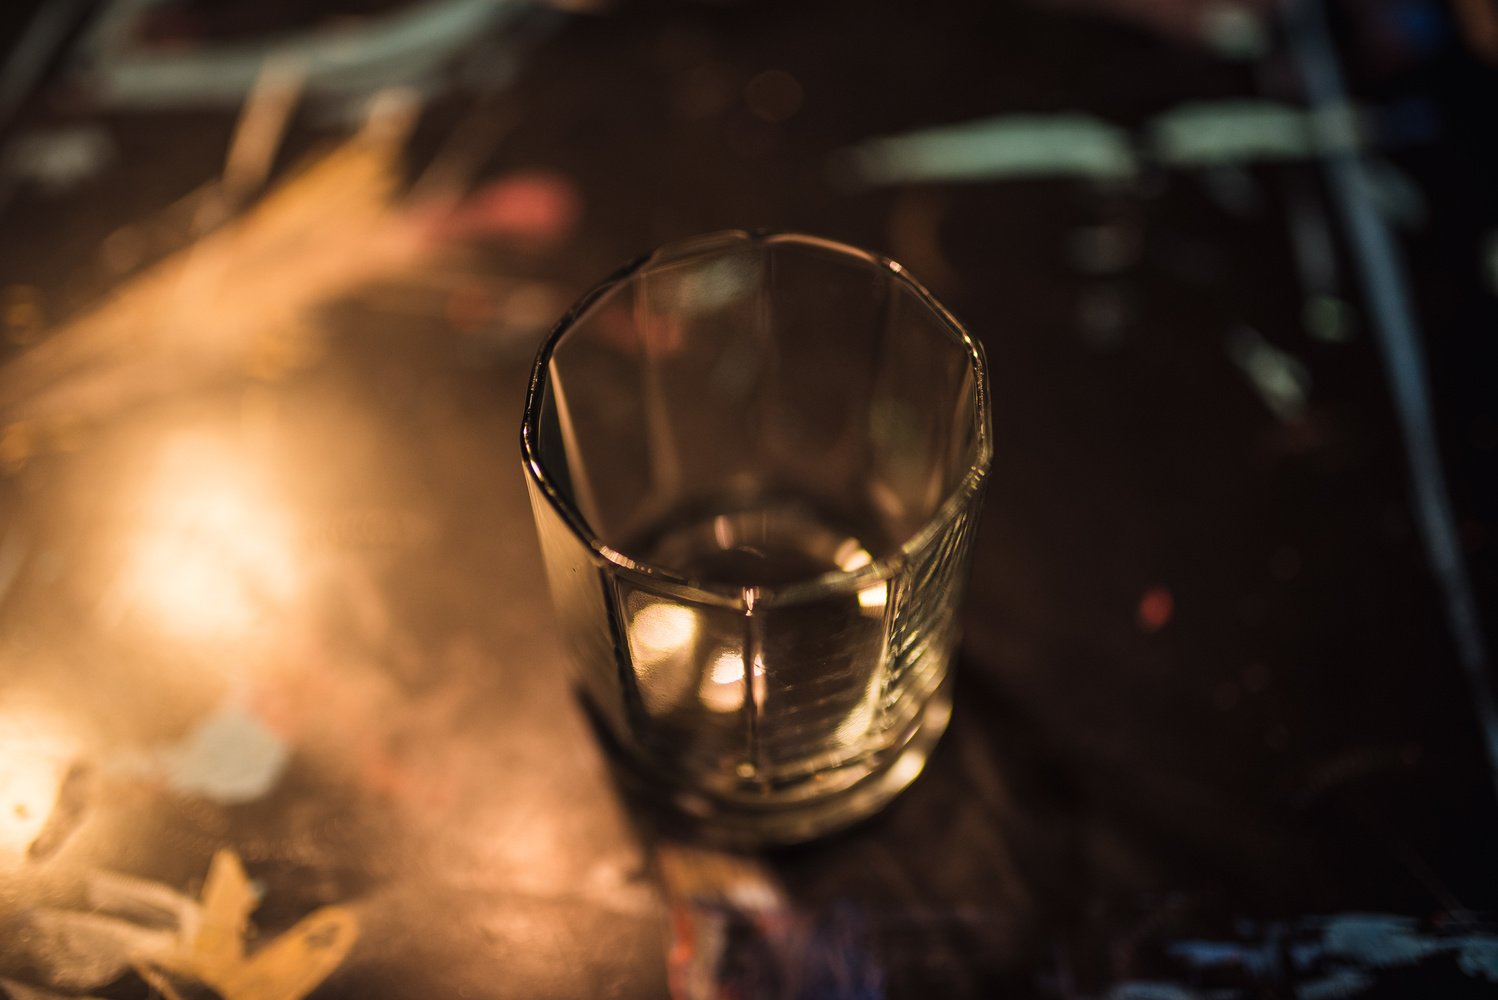
The benefit to using drinking glasses is that there are so many different types and each type gives a different look.

Another very common item to find are things with glitter. This can be table cloths with sequins or I have even used the dress of a bridesmaid before. Anything that reflects light in an interesting way.


Lighting
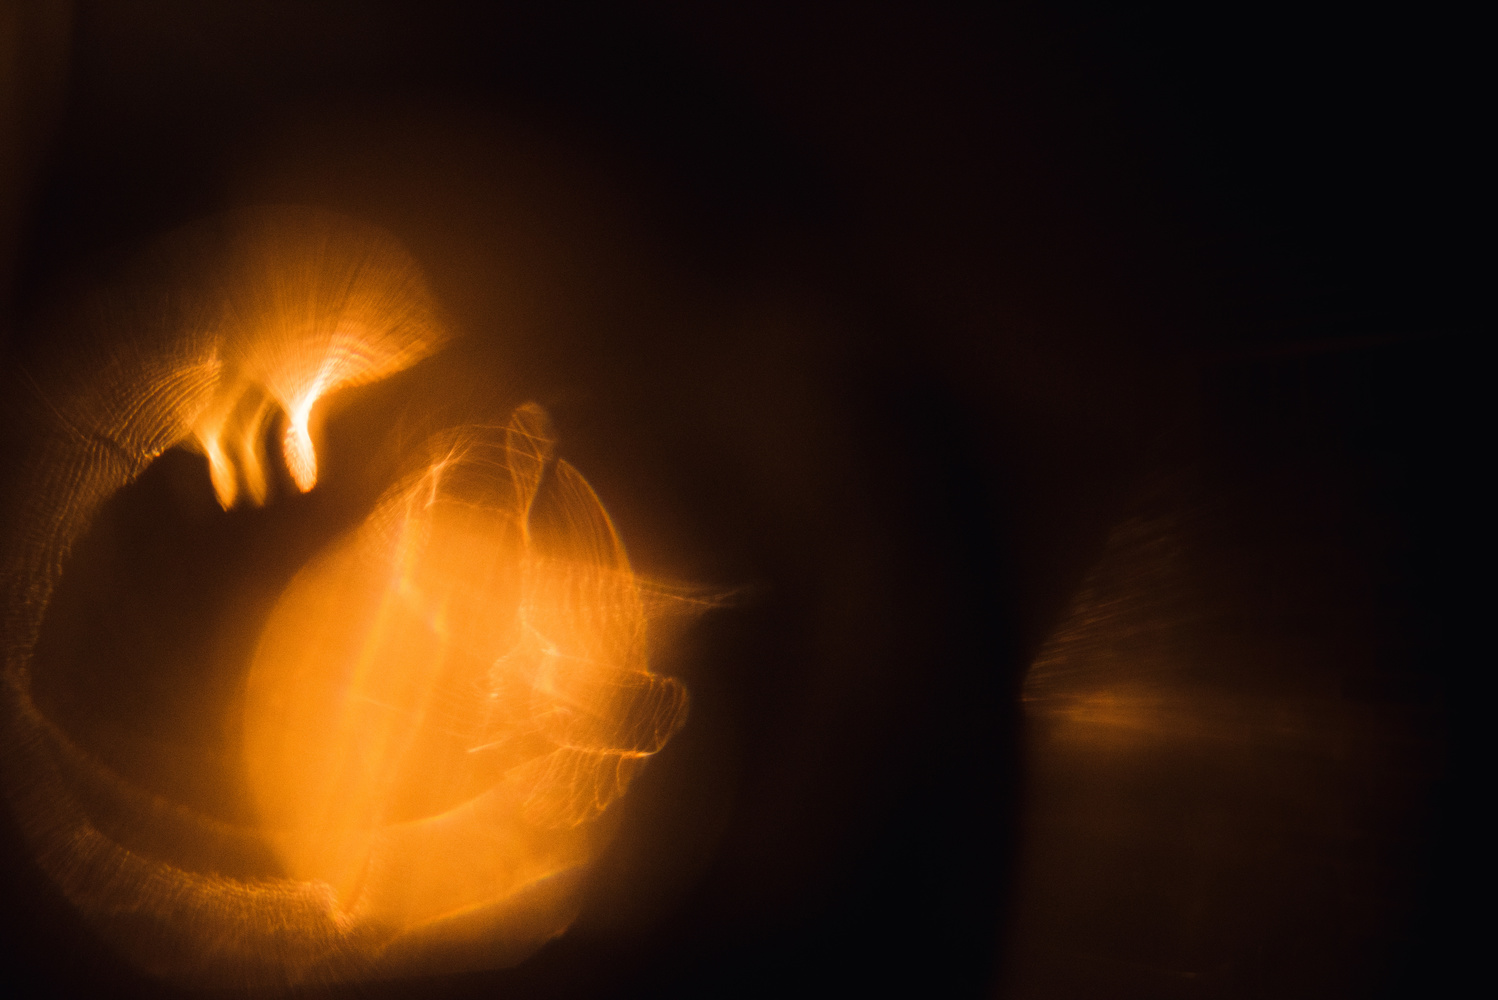
As you can see in the examples of the drinking glasses and Christmas tree ornament, the foreground bokeh is interesting and there is a good amount of black area still present in the frame. This is where your subject needs to stand, and in order to see your subject, you need to light them. My favorite way to do this is to expose for the bokeh, then add an off-camera flash to expose my subject to match. The trick here is that if you light the entire scene, the bokeh will not stand out, because having a light on in a bright room doesn't stand out as much as in a dark room. So grids are going to be your best friend for this. My favorite setup is the Magmod kit seen below. It’s super easy to take on and off and you can stack grids on top of gels if you need to match (or compliment) the color of your bokeh.

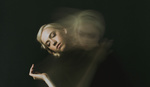
The bokeh image without the subject below is taken at a different time, but you can see the idea. I exposed for my bokeh and then placed the subject in a dark area between the balls and lit them with an off-camera flash using a Magmod grid.


A Few More Examples

Prism, subject back-lit by car headlights

Hairspray bottles, subject lit by off-camera flash with Magmod grid

Road flares

Crystal, subject lit by DJ lights
What questions do you have? Have you ever done this before? Share your thoughts and examples in the comments.
If you're passionate about taking your photography to the next level but aren't sure where to dive in, check out the Well-Rounded Photographer tutorial where you can learn eight different genres of photography in one place. If you purchase it now, or any of our other tutorials, you can save a 15% by using "ARTICLE" at checkout.


great writeup, I enjoyed all the photos
Dude, I love your articles. U are a boss!
Thanks a lot kyle!
Maaan! this is one of the best articles. I enjoyed it a lot. so creative stuff in here!
Yesterday, I was experimenting with lights and gels. Here is the result:
https://fstoppers.com/photo/102404
All the light effects where added in photoshop later on. But after I read this article it sounds more creative, and fun to do it directly on camera.
Will give that a try for sure.
Thanks so much for sharing :)
Nice man! Share what ya get from doing it in camera!
I stumbled across this technique at a Christmas party I was shooting a couple of years ago. They had these decorative sparkly pipe-cleaner things in the centre pieces and I realized that they caught the flash if I held them close to the lens. It made for some fun shots, even if I looked ridiculous holding these things in front of my lens.
An amazing article. Yesterday I took a photo with this type of technique. I am attaching it. But I have a question... sometimes I have seen a kind of circle with rainbow colors in front of the subject, any idea of how to get it ? I've tried prism and bubbles
ya that's effect is with a prism, you just have to rotate the prism until you get the rainbow. It's a fine line to get it to work. I have also used plastic prisms and it does not work very well... so make sure you are using a glass prism.
Another great article Jason. Thank you!
Gotta love Christmas trees year round! :) Great read!