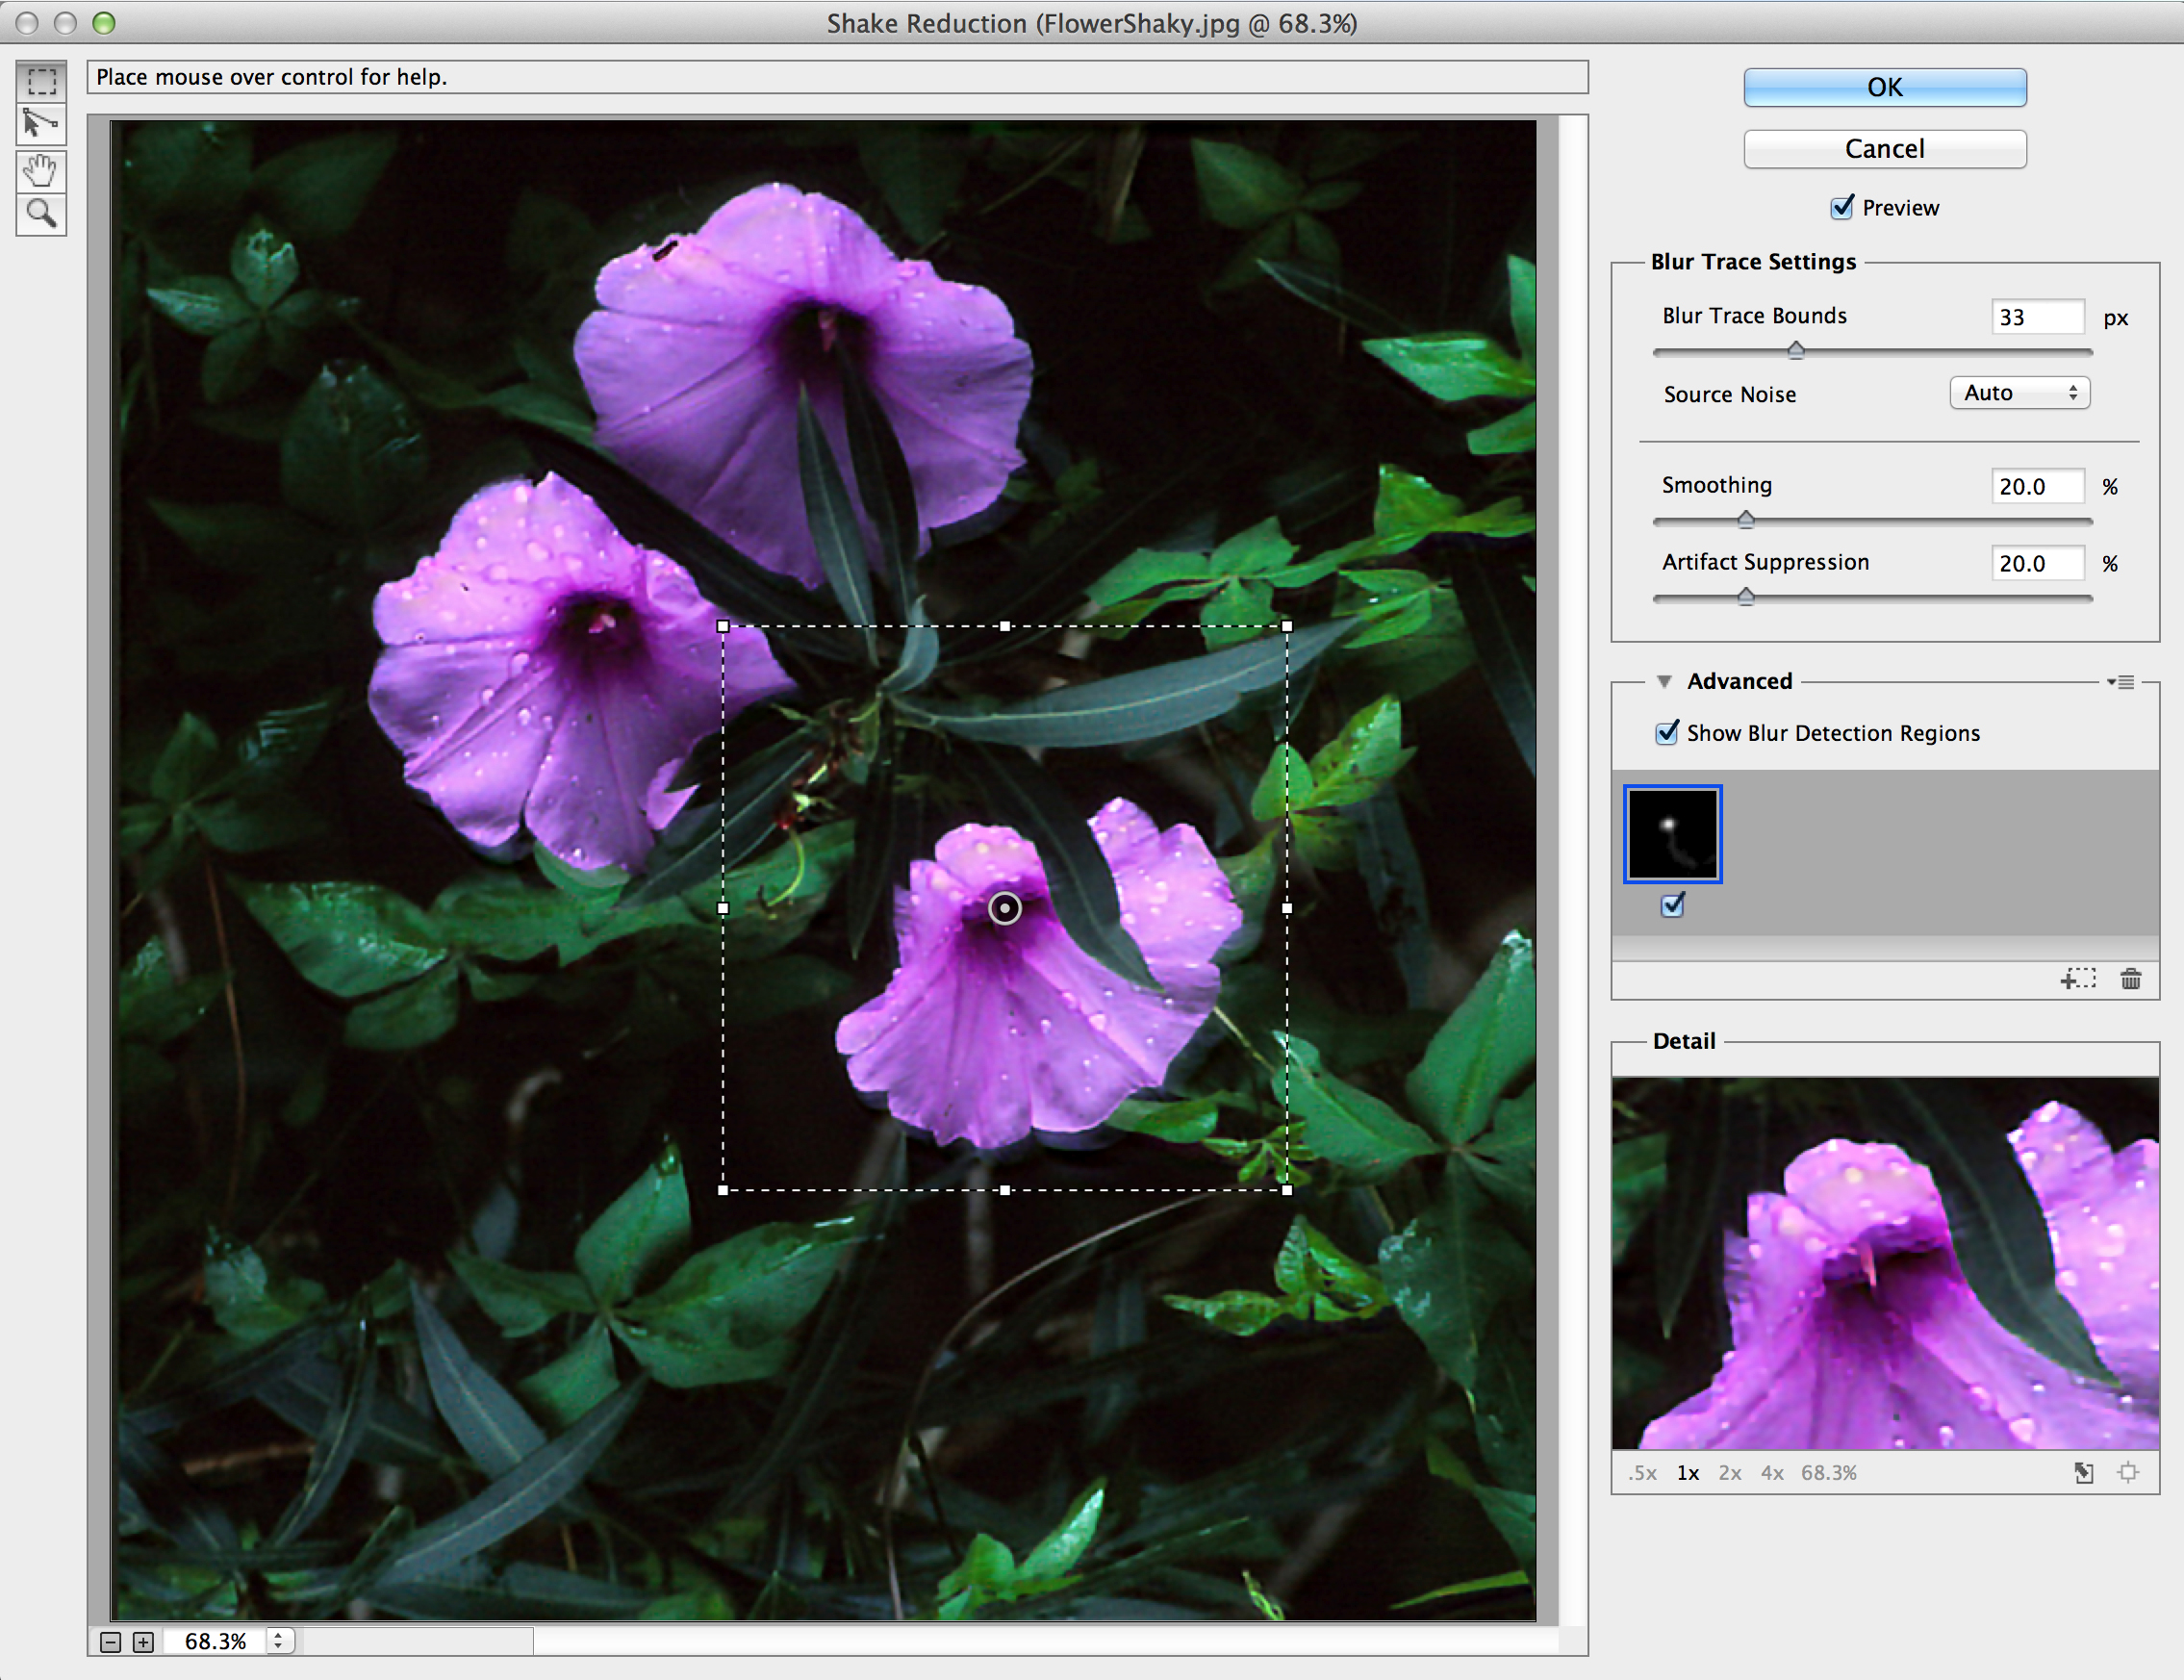
Adobe Photoshop’s new feature “Camera Shake Reduction” has been has been carrying a ton of hype, likely due to the publicity Adobe has been putting behind it since last year (and more recently just a couple weeks ago). However, what it actually is and how it works is somewhat misunderstood. Many were prepared to hate the program, thinking it a panacea for all bad, blurry images. It’s not the all-healing-blur-fixing-magic-of-the-gods some of you might think it is, but it’s still really flipping amazing.
Camera Shake Reduction does exactly what it sounds like: it removes or reduces the blur that occurs specifically due to camera shake. This differs from motion blur in a very specific way. Motion blur is caused by a subject within the frame moving during the passage of a shutter, while camera shake is caused by the camera creating blur due to the motion of the camera during the passage of a shutter. This is a very important distinction to make, because the way Camera Shake Reduction works is based on fixing the latter situation.

When your camera moves, it drags and blurs the image as a whole, but in a traceable way. Let’s say you take a photo and someone bumps your shoulder. Your entire image will be blurred, but in the motion that your arm took as a result of that bump. In contrast, when a subject in a shot moves and creates motion blur, only that subject is blurred while the remainder of the image remains in focus.

Camera Shake Reduction uses an algorithm that is capable of tracing the path of a camera’s movement through a shake, then compressing that path into one un-blurred image. While using the filter, you can determine where on the image you want to focus on getting the best blur removal, then the software is able to trace the path of the blur and remove it. It’s really awesome and works pretty darn well. Remember though: “garbage in, garbage out.” That means that if what you put into the filter is really badly blurred, it can only be fixed so much. This tool is going to be used best to make small adjustments, like when an image looks perfect in your LCD, but is obviously blurred when you finally get it into Photoshop. That kind of image usually gets thrown away, but Camera Shake Reduction is a step in the right direction to save otherwise unuable images.
What the filter can’t fix is motion blur because motion blur doesn’t affect an image as a whole, but only a segment of the image. The algorithm isn’t designed to fix parts of an image, and though it may fix some motion blur images, Adobe makes no claim that this is normal. Those of you who were ready to cry foul about how this filter is going to contribute to “fauxtographers” and legitimizing poor shots need not worry: you still need skill in order to get the most out of the software. Again, “garbage in, garbage out.”


Great followup on the previous article surrounding this new filter. Thanks!
Damn! And here I thought I would finally become a legitimate fauxtographer...
Is this translational only, or also rotational?
I think this is the paper. They use edge detection to construct the Radon Transform, and then invert the transform. Unless the implementation divides the image into regions, and finds a blur kernel for each region (then interpolate), it looks like this alg is only translational... Which also means it doesn't do out-of-focus images...
http://people.csail.mit.edu/taegsang/Documents/RadonTransform_CVPR2011.pdf
Any documentation for the Camera Shake Reduction?
Hi, Anders: here's the documentation for the Camera Shake Reduction feature:
http://helpx.adobe.com/photoshop/using/reduce-camera-shake-induced-blurr...
I was asking for documentation, ie "how it works"/"what algorithm is implemented", not "how to use it".