
For those of us in the northern hemisphere, the season of shorter days and more time spent indoors is upon us. Indoor pet photography can be tricky, but it doesn’t have to result in leaving the camera down until spring.
When shooting indoors, there are a handful of things that you can do to help make the process less frustrating and result in more frequent successful images. And, while these tips below are geared towards pet photographs, the same principles can apply to portraits of humans or even general shots of your home as well!
Light
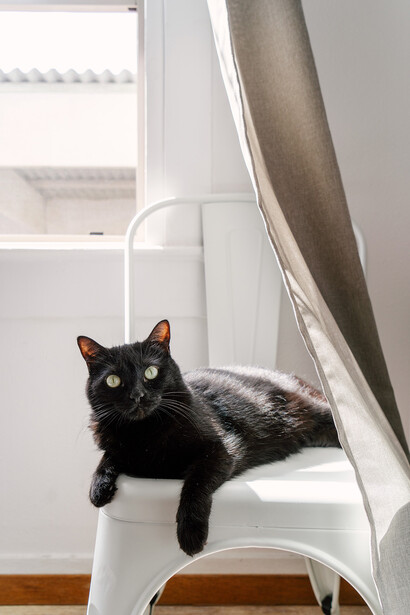
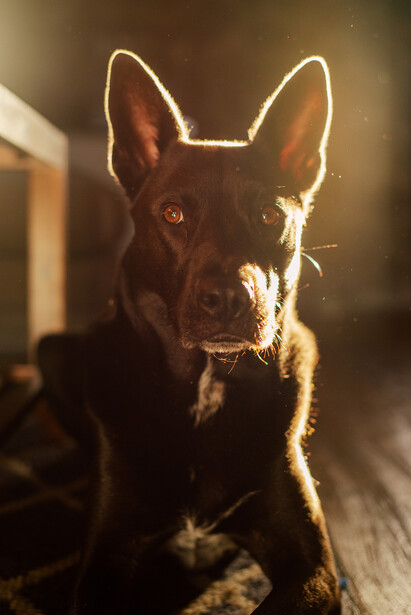
Perhaps the biggest challenge with indoor photography is getting enough light. Indoor spaces typically are much darker than outside and can lead to some frustrating photography conditions, especially with an animal that likely isn’t entirely cooperative with photographs. For this reason, windows will be your best friend. In fact, light coming in through windows can be some of the nicest light to photograph in, as it is softened but still plenty bright. Shooting near a window, even on cloudy days, will usually give you enough light for a sharp image, so seek those out! For those animals that like to look out windows, take advantage! Those images can be super cute and will be beautifully light-filled.
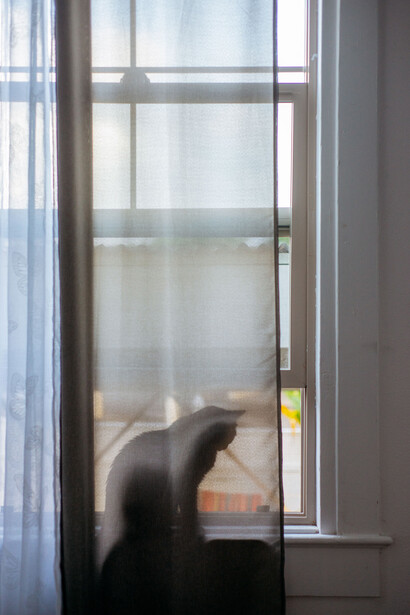
The potential risk of shooting in front of windows is ending up with harsh backlighting, which makes getting a correct exposure tricky. If you are shooting a subject with a window directly behind them, you will need to find a happy medium for exposure that will result in your window not being blown out but your subject not being too dark to recover. Knowing which way to adjust your exposure will depend on your subject, the amount of light coming in the window, and your metering mode, but in general, it is best to get an exposure that results in the highlights being close to properly exposed, as it is more possible to recover shadows than highlights. Sometimes, the best thing to do is embrace the silhouette and let the shadows stay dark as well!
Location
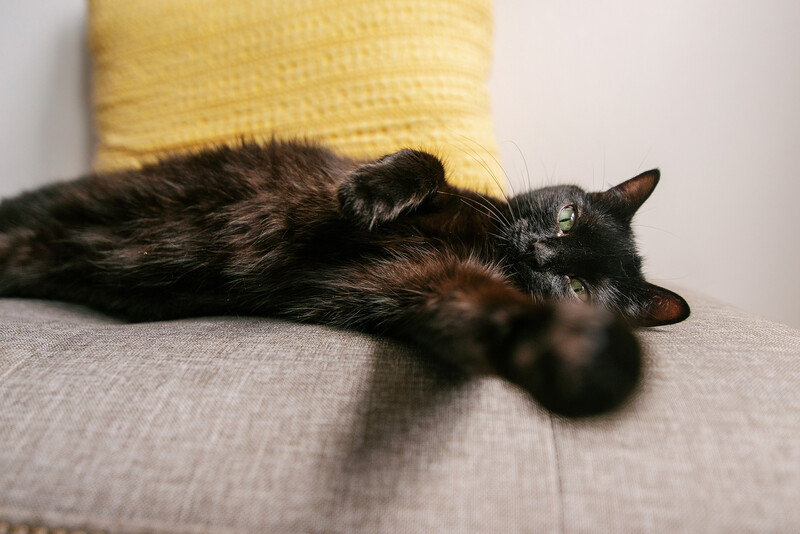
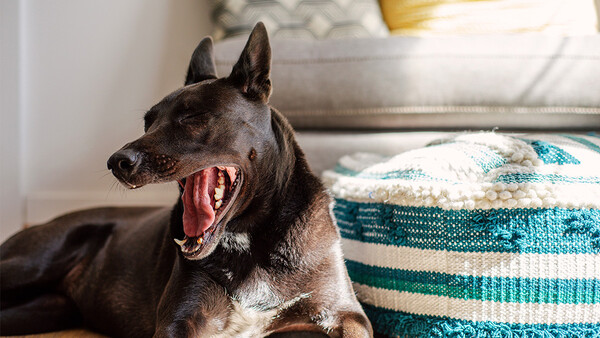
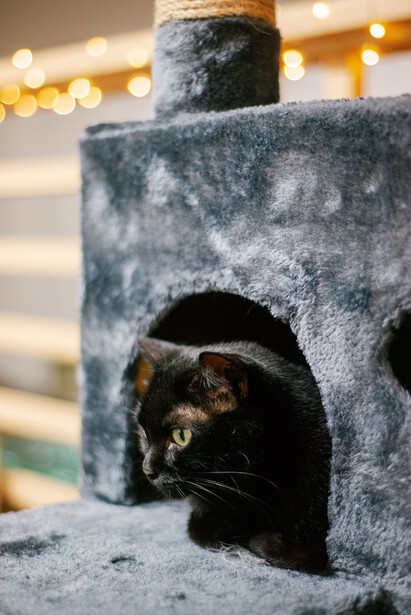
Another challenge with indoor images and especially in-home photos is backgrounds. It can be difficult to find a spot in a home that doesn’t have distracting things in the background, especially if you are human and don’t have a constantly magazine-ready home. A decently clutter-free spot is ideal whenever possible because simple backgrounds are going to keep the visual attention on your dog or cat (or whatever pet you are photographing), as opposed to whatever else is in the room. If your dog is allowed on furniture, a couch or bed is a great spot, as they are usually against a wall and can serve as a mostly simple backdrop!
That said, too solid a background can get boring and produce a flat image. It can even verge on mugshot style. If you do want a uniform background and as a result are shooting against a wall, try moving your animal away from the wall at least a few feet (if space allows) to create some depth and separation from the background. Also, keep in mind that sometimes, some background info can add to the mood or story of an image, so don’t be afraid to include some! The lights of the Christmas tree or a cozy couch filled with blankets and pillows can very much set a mood and add to the image. You will generally want to avoid an overly busy image with too much going on in the frame, but including some context can be a good thing.

Exposure Settings
For those times when you can’t be near a window or perhaps it’s just dark out, don’t be afraid to bump up your ISO! Using a slow shutter speed will result in motion blur (your subject moving) and/or camera shake (the camera moving during the exposure), so you want to avoid that, and a higher ISO will help. Yes, a high ISO results in noise, but if you underexpose by too much in order to have a faster shutter speed, you will get noise from trying to brighten the image in editing anyway. You are better off just using a higher ISO and not having to brighten as much later. Plus, new cameras can handle a high ISO just fine!
A wide-open aperture will also help with indoor photography, as it will let more light in. Plus, with a wide aperture comes a shallower depth of field, so you can have any potentially distracting background items fall out of focus. A shallow depth of field with holiday lights also can create some fun and festive bokeh, which can be a great background for your furry friend!
White Balance
Another potentially challenging thing with indoor photography is white balance. If you are shooting with lots of natural light, it won’t be an issue, but if you are using lamps and other artificial light sources, chances are, white balance will get tricky. Generally speaking, auto white balance will get you close enough, but at times, artificial lights can throw things off too much. As long as your white balance is close to correct, you can adjust the final amount in editing. But, when white balance is extremely inaccurate, it can be very difficult to correct and have a natural-looking image. Because of that, you may need to switch off auto white balance. Usually one of the camera’s preset WB settings will get you close, so don’t be afraid to play around and try those different options!
Try New Angles
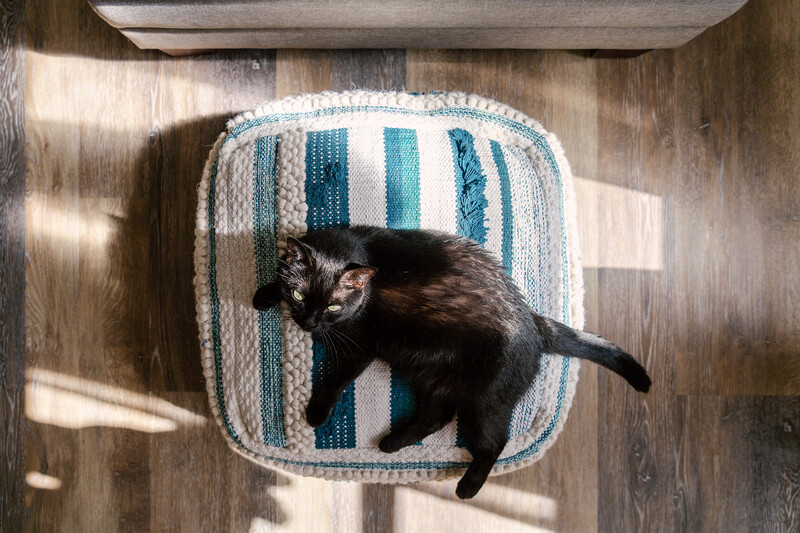
The last piece of advice I have for indoor pet photographs is the same advice I give for most situations: try new and creative angles. Get low to the ground to be on your pet’s level and provide more of their perspective. Or, stand above them and shoot straight down so that you don't have to worry about clutter in the background. Changing up your angles to different viewpoints will make a huge difference when it comes to having interesting, successful images.


Join the Fstoppers community for free
-
Post comments and join in the discussions
-
Browse the site ad-free
-
Share your work and get featured in the community
-
Compete in the photo contests for fun and prizes
No comments yet