
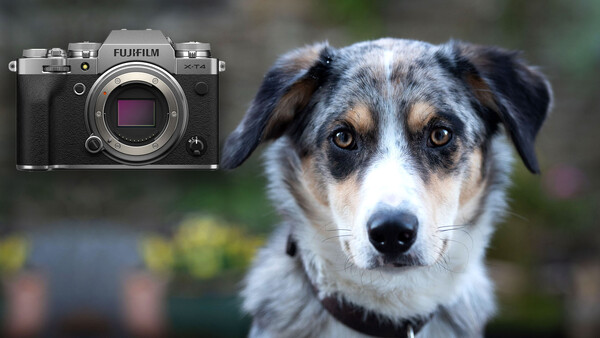
If you've been trying to get some portraits of your furry friend but your images aren't quite cutting the mustard, then these seven simple techniques might be just the thing you need.
Getting a phone snap of your favorite fur-baby might be simple enough, but trying to get a nicely polished portrait of your pooch (or other pet) is on another level. There are so many aspects to pet photography that make it notoriously tricky to master. From poor indoor lighting, bad composition, and busy backgrounds, to shots coming out blurry, grainy, or worse, out of focus, there's a lot that can go wrong. But with a few simple tips and tricks, you can get your pet portraits looking better than ever.
Get Down on Their Level
The best pet portraits give us a sense of connection to our pets. We're so used to looking down on our pets from a few feet off the ground that it's natural to keep the camera up at that high level and capture shots that look down on them. However, getting a pet's eye view of the pet itself is a fantastic way to transform your portraits. Crouch down or use an upturned monopod with the rear screen tilted out if you can't crouch to shoot the pictures. Get down to eye level if you can, as this will help give a good sense of scale relative to the environment around them, whether it's a cat sat next to a door or a dog lounging on the bed.
Continuous Autofocus
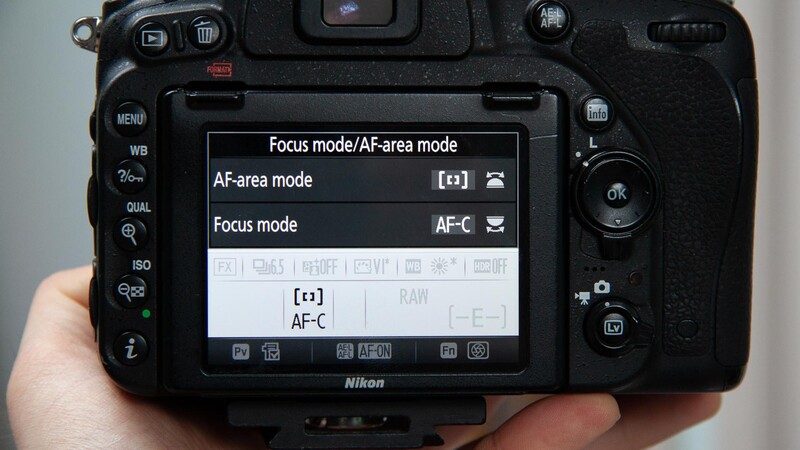
Depending on your pet, you may find it hard to keep them still for any length of time to get a good photo. My Border Collie, Benji, is a particularly energetic puppy and finds it difficult to sit still. That means getting a sharp photo is tricky, to say the least. The best autofocus mode to use to ensure that your shots are sharp every time is continuous autofocus. This mode will make the lens focus continuously while the focusing button is depressed (whether half-pressing the shutter button or using the back button to focus). That means you can track your pet and keep things sharp until you're ready to fire off some shots.
Burst Mode
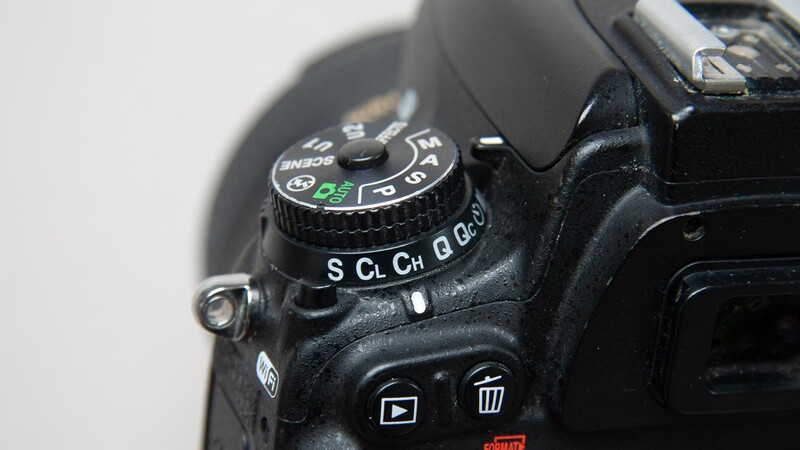
Much as continuous autofocus helps to get sharp shots of animated pets, so too will the capture mode on your camera. Single shot mode will have you repressing the shutter button again and again to get multiple photos, but switch over to burst mode and the camera will capture photos for as long as you hold down the shutter release button or until either the camera buffer or memory card slows. You'll notice this slowing down quite quickly unless you're shooting on high-end kit, so bearing that in mind, it's best to shoot in short bursts when you're happy with the composition. Aim for 3-6 shots per burst and then give the camera time to catch up before rattling off more.
Aperture Priority Mode
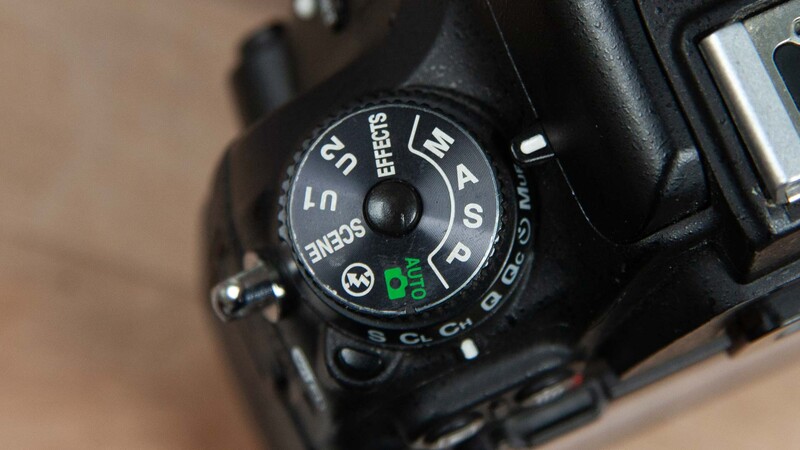
As the light changes and your pet moves around, it might be tricky to change the camera settings to keep shooting well-exposed images. Therefore, it would benefit you to switch to a semi-automatic mode such as aperture priority. In aperture priority mode, you can still dictate the aperture selection on the lens (and therefore, the depth of field you want to capture), but the camera will take care of the rest by balancing the shutter speed accordingly to give a well-balanced exposure. If you want to brighten things up or darken them down a bit, you can always use exposure compensation to refine this a little.
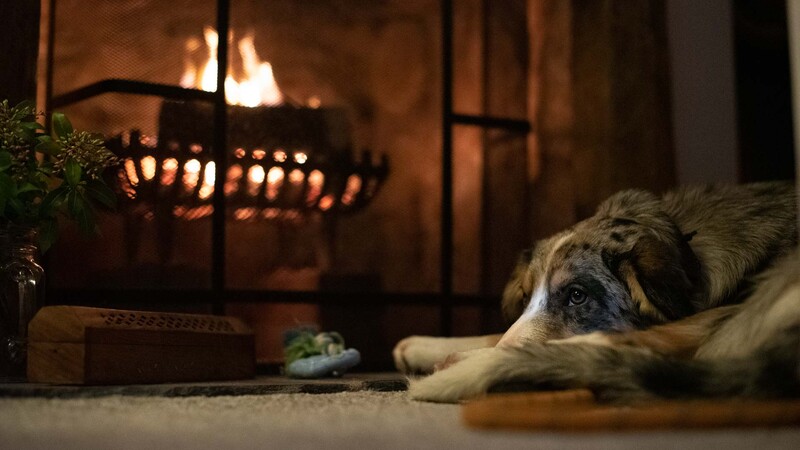
Look for the Light
Above all else, more important than camera modes or focusing types, the holy grail of good photography is decent lighting. Now, there are many different types of lighting that give amazing results, and which one you choose (or just happen to be working with) will depend on how you want your shots to look. But here are a few tips for making the most of the light both indoors and outdoors with your pets.
- When indoors, use window light to illuminate your pet from one side, as the gradual light falloff across their face or body gives a pleasing look. Try to get their face either looking at a right angle to the window (and at your camera) or facing directly out.
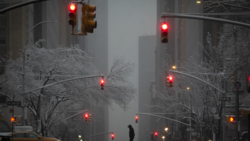
- Outdoors, overcast days are perfect because the diffused light gives a soft, wrapping quality to the shadows. Place the sun (or where the sun should be) behind you to get your pet's face nicely lit.
- If shooting in or near woodland, aim to place the pet at the edge. This open shade lights one side of your pet with bright (but still diffuse) light, with the woodland darkening the other, a little like the window light indoors.
- When capturing in direct sun, you may want to place the sun just over the shoulder of your pet and opt for a small reflector to bounce the light back into the shadowed areas on your pet's face.
Focus on the Eyes
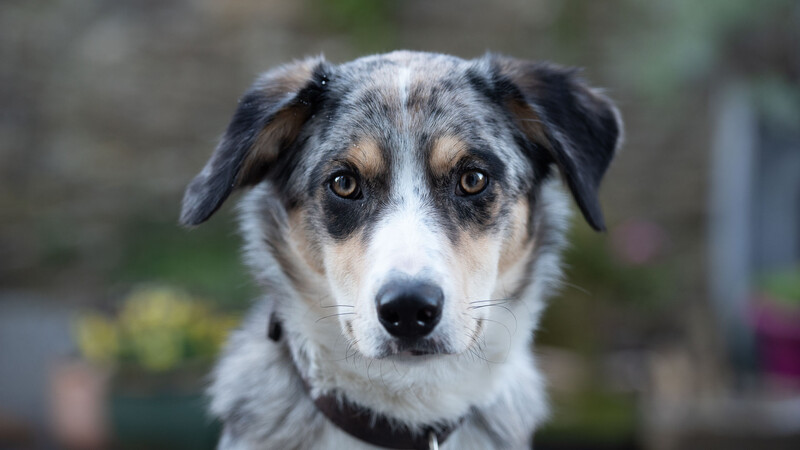
Most of the time, a nice portrait means eye contact or at least will feature your pet's eyes in the frame. Unless you're specifically going for a certain artistic style, it's best practice to always keep the eyes in focus. If one eye is closer than the other, then focus on the eye that's closest to the camera. Move the autofocus point around until it's roughly over the closest eye, focus up, and then recompose if you need to before shooting.
Keep Their Attention
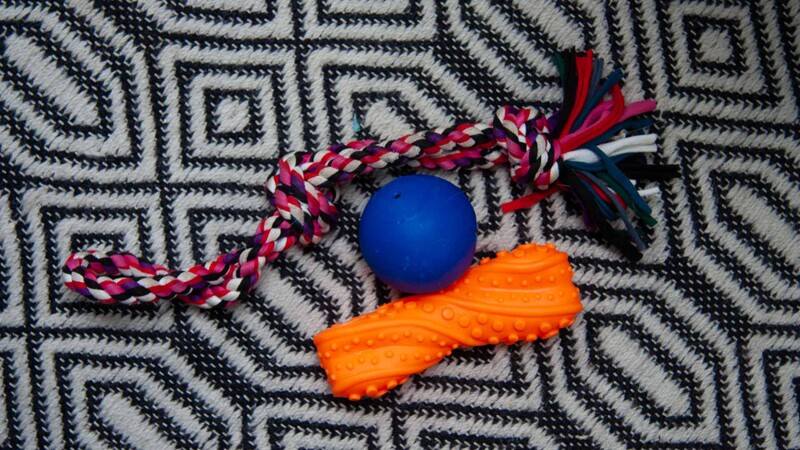
Benji is particularly good at maintaining eye contact when inside, but when we're out and about, he'd much rather prefer to keep a watchful eye on everything else. Whether it's a gust of wind blowing some leaves, a jogger, or another dog, he refuses to look me in the eye or at my lens. That's why I use a couple of tricks to keep his attention when outside. I keep a little squeaky toy that he loves to play with and squeeze it just above my camera before I rattle off some shots. Sometimes, he likes to run over and try to snatch it off me, but that's when I bust out his favorite treats. After a quick look at the treats in my hand, I can usually get him back into position before heading back to where I was to get some more photos. Of course, he gets plenty of play and food afterward to build up a positive association with photos and posing.


Join the Fstoppers community for free
-
Post comments and join in the discussions
-
Browse the site ad-free
-
Share your work and get featured in the community
-
Compete in the photo contests for fun and prizes
2 Comments
I agree with everything except Aperture priority. I have some high energy critters and the only way to get a shot that isn't a total blur is manual shutter speed. Auto-ISO is my friend.
I have to sneak pictures of my pup. If he sees me point my camera at him (camera, not phone), he looks at it like it's gonna steal his soul