
When Dwarflab announced the development of the Dwarf 3 Smart Telescope, I could not contain my excitement. I thoroughly enjoy astrophotography. For me, that has been limited to subjects like the Milky Way or Aurora Borealis. Deep Space photography and solar imagery have always been a dream of mine, but the learning curve and costs can be extraordinary. The Dwarf 3’s promises are big, but does it deliver? In this article, I put this smart telescope to the test.
I love space! Seriously! Whenever we have clear skies, I really appreciate spending my time looking up at the sky and letting my imagination run wild. I wonder: What else is out there that we have not yet discovered? What is it like to be in space? I truly believe there is going to be life somewhere out there in the vastness of space.
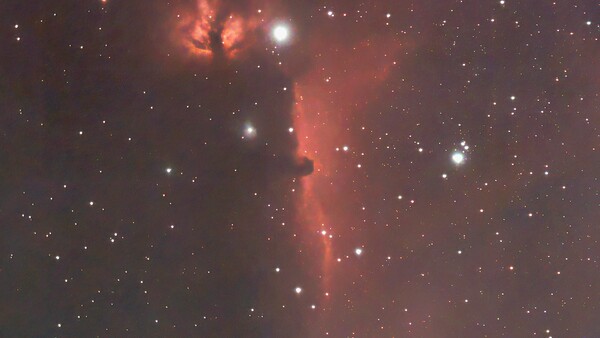
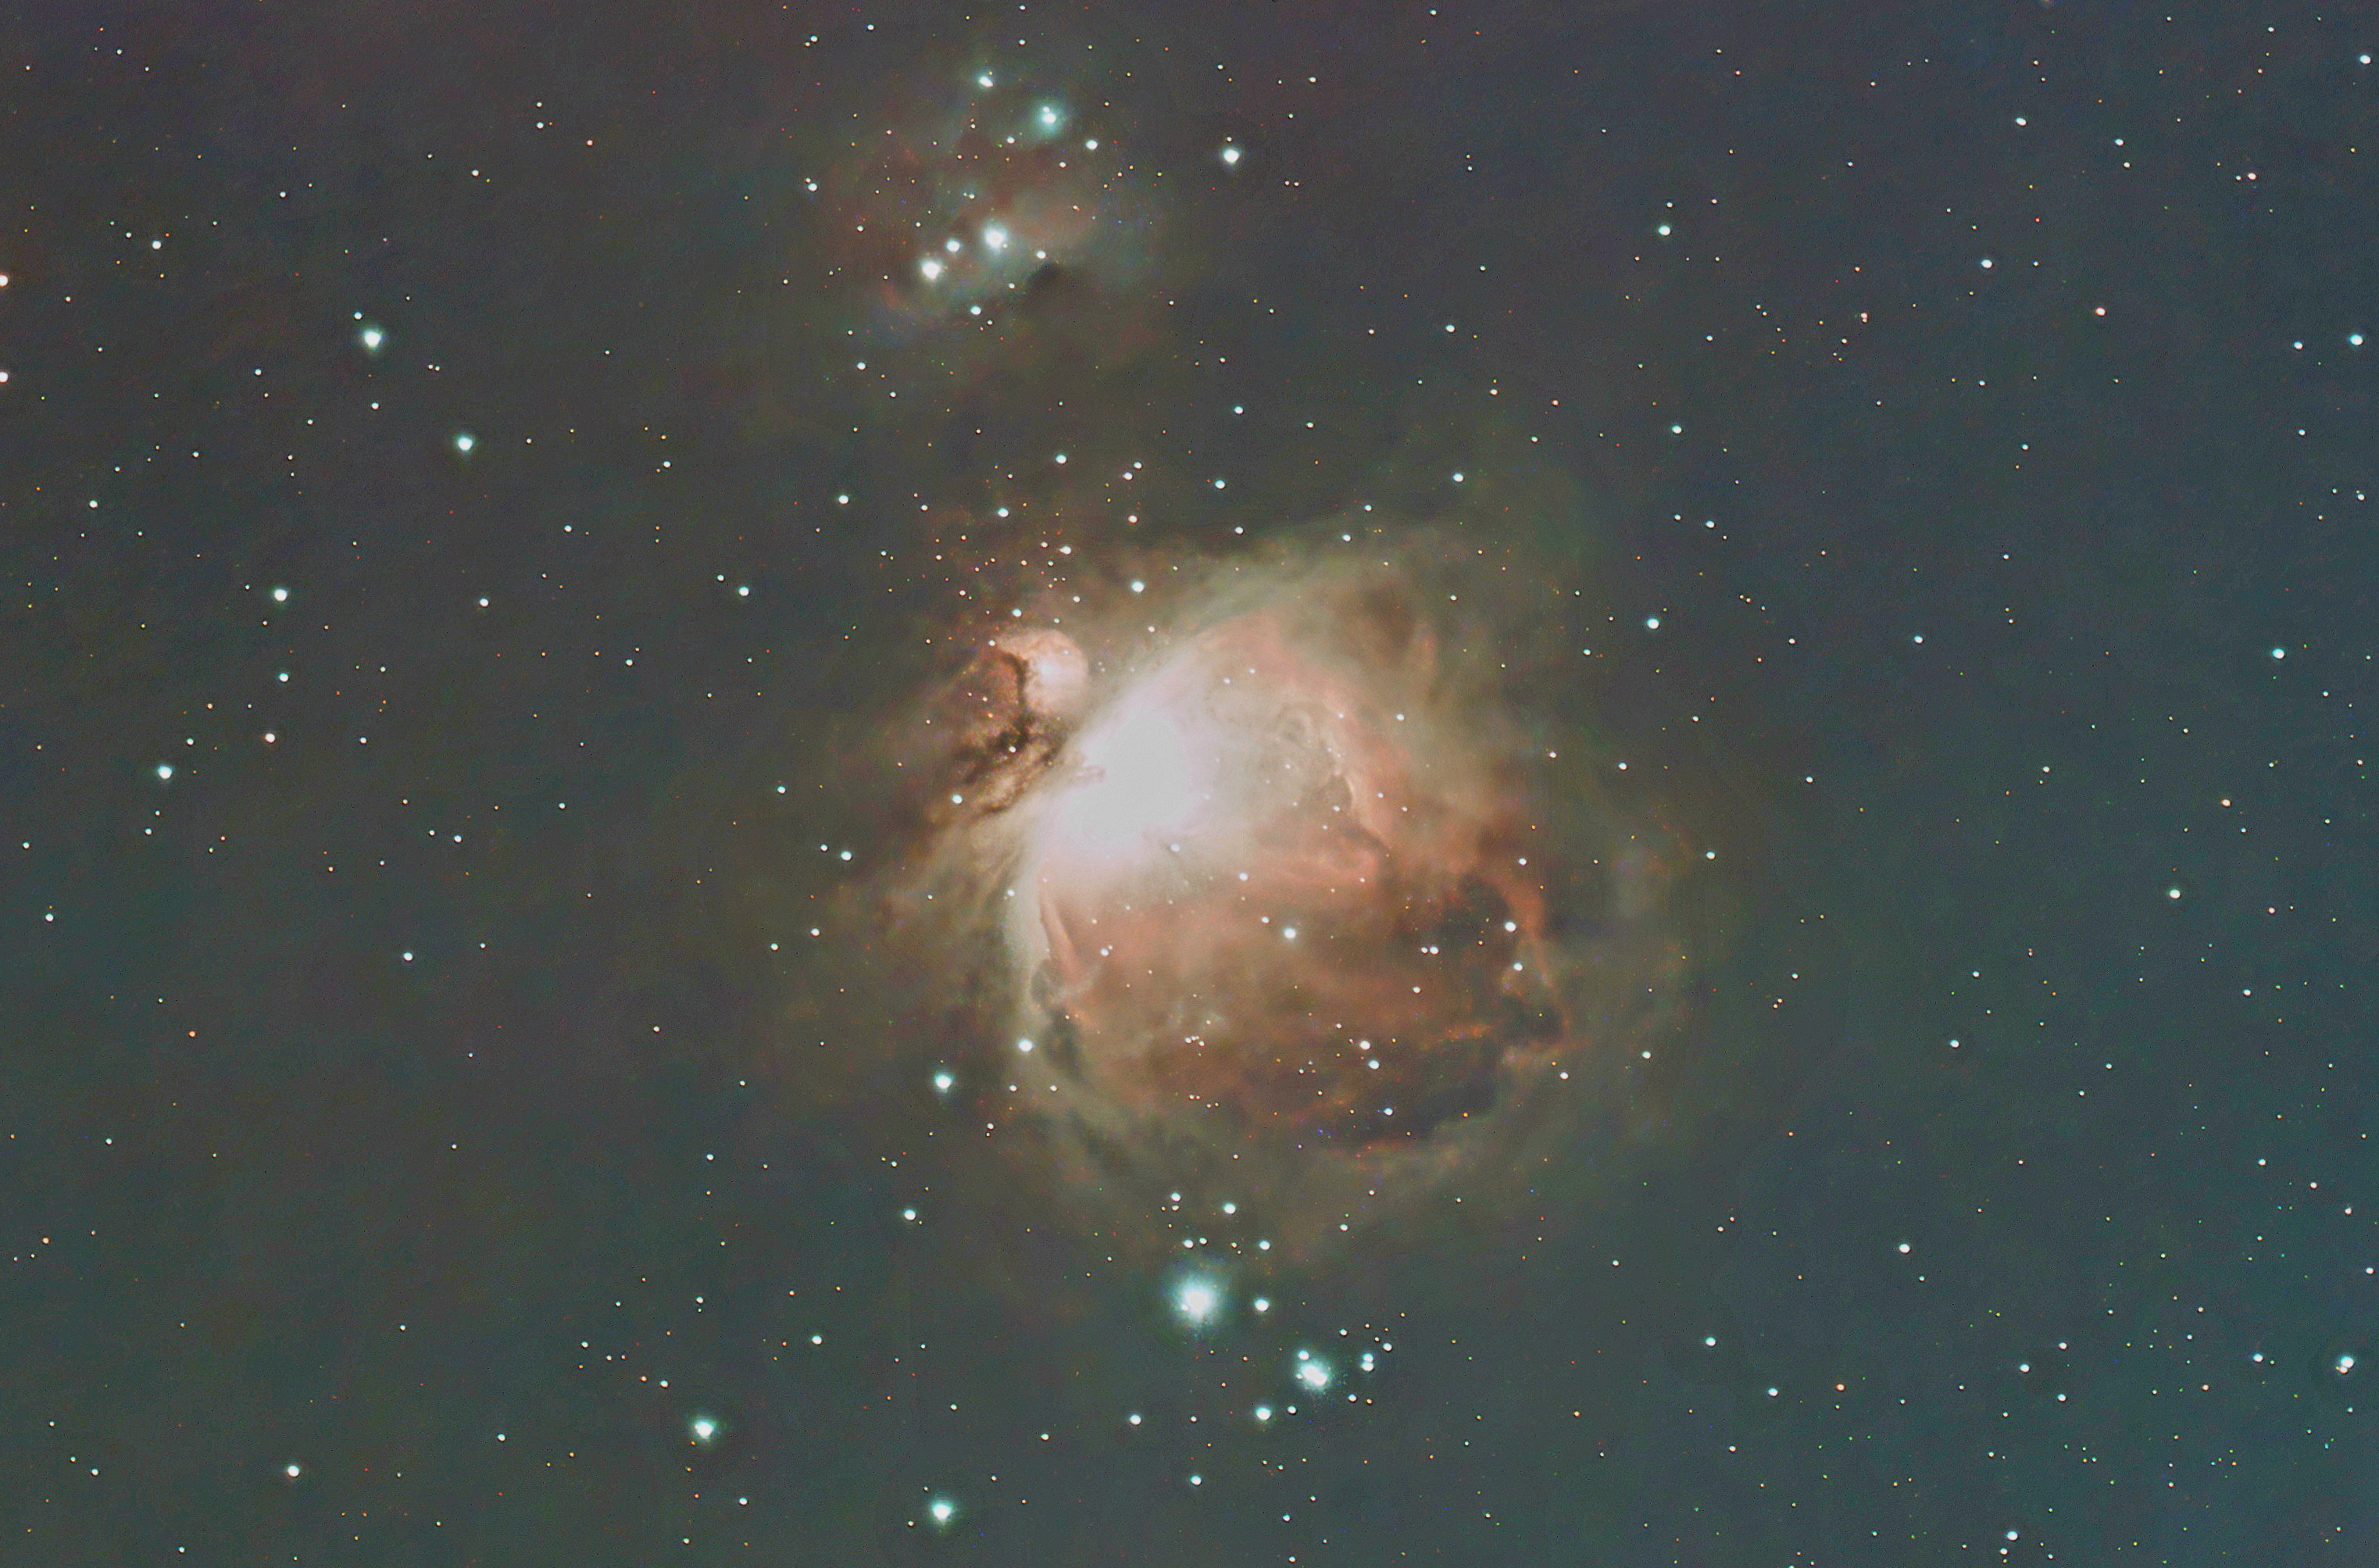
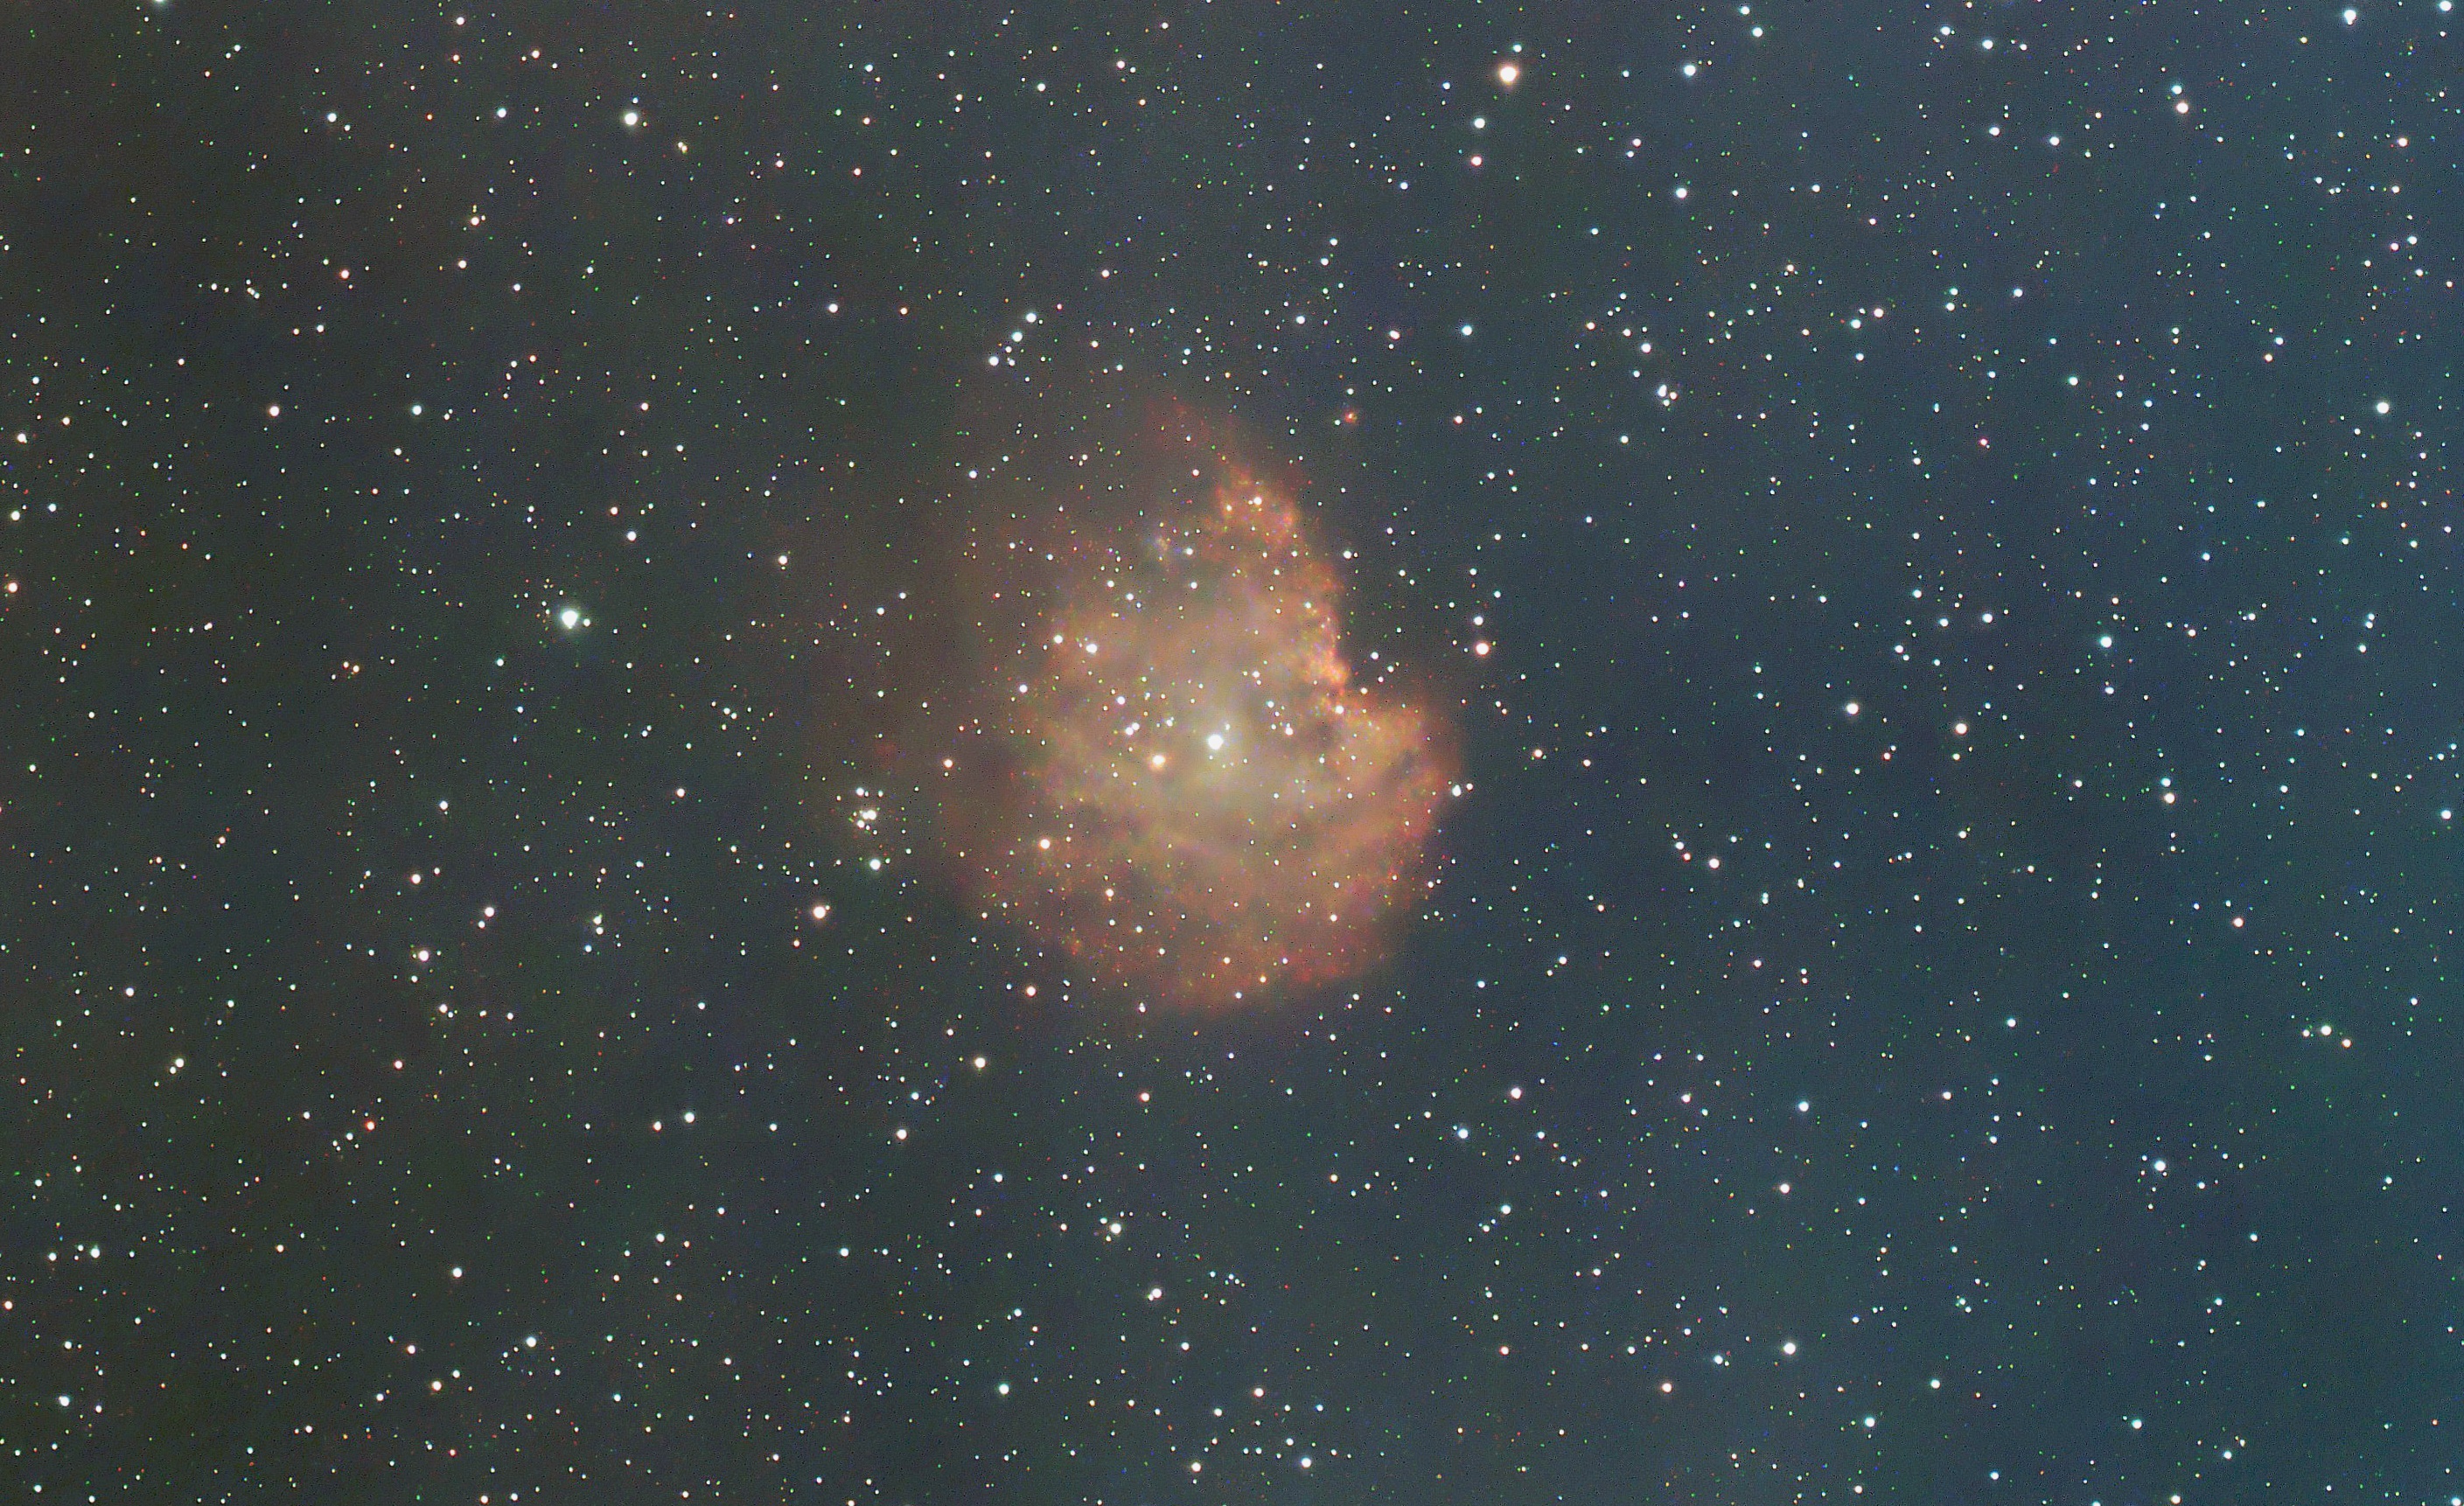
I always love seeing incredible images of Deep Sky targets such as the Orion Nebula, Andromeda Galaxy, Heart Nebula, Pacman Nebula, and more. The list of incredible objects in our sky is endless.
Several years ago, I bought a cheap telescope on a motorized mount to have a go at Deep Sky. I attached my DSLR camera to it, but polar alignment was always a nightmare for me, and I did not have as much fun as I had hoped. The weight of the gear was very cumbersome. Trying to take the telescope and camera to somewhere dark was frankly a pain, so I sold the telescope and gave up.
This has now changed...
Dwarf 3 Specs
The Dwarf 3 packs a punch compared to the previous model with a whole host of amazing upgrades.
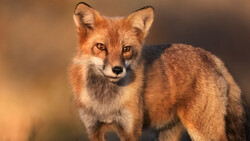
Featuring the Sony IMX 678 Starvis 2 sensor, the sensor has a pixel size of 2 µm and a resolution of 3,840 x 2,160 pixels (8.3 MP). The Dwarf 3 has two cameras on board: one for wide field, which you can use for landscapes, the Milky Way, and even wildlife, and the other is a powerful telephoto lens for Deep Sky targets, the Sun, and the Moon.
The telephoto lens is 150mm but equivalent to 737mm. It is a heavy crop for such a small camera, but the quality for this small device is still very impressive.
Built in, we have 128 GB of storage, several filters depending on the subject you are photographing (e.g., Dual Band for Nebulae or Astro for Galaxies), and a 10,000 mAh battery, which is chargeable via USB-C.
The new model also introduces EQ mode (equatorial mode). This allows you to polar align the telescope properly, enabling even longer exposures (up to 120 seconds). This is a massive benefit for capturing more data, which should result in greater detail in your images and less noise at lower ISO.
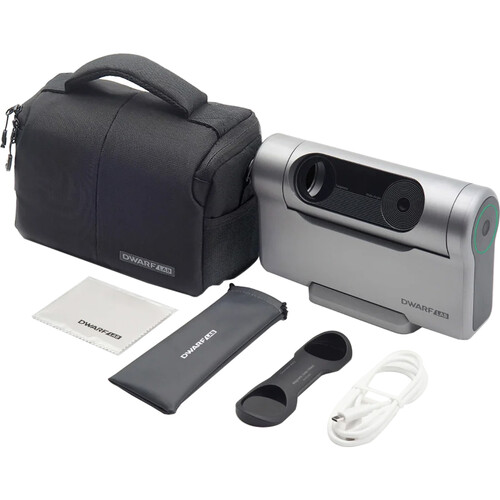
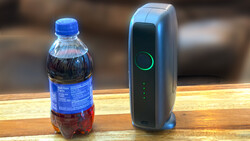
In the box, we have a great carry bag, a USB-C cable for charging or transferring data to your computer, a solar filter and pouch, and lastly, a lens cloth.
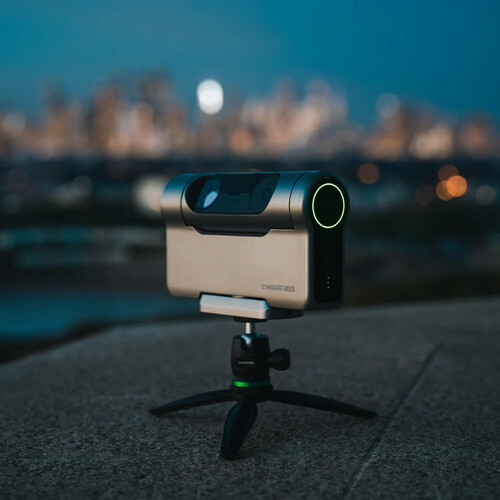
The Dwarf 3 weighs just 1.3 kg (2.87 lbs), which is very lightweight, and it is about the size of a large book (less than 30 cm across).
First Light
It is the middle of winter right now, and I live in Scotland, so clear skies are incredibly hard to come by. I did have to wait a few nights after receiving the telescope before I got my first chance to use it, but once I did, I was like a kid in a candy store.
The first thing that impressed me was how quickly it set up. I switched on the telescope and downloaded the Dwarflab app. Connecting my phone to the Dwarf 3 took about one minute, and after that, I downloaded the latest firmware, which again took a couple of minutes.
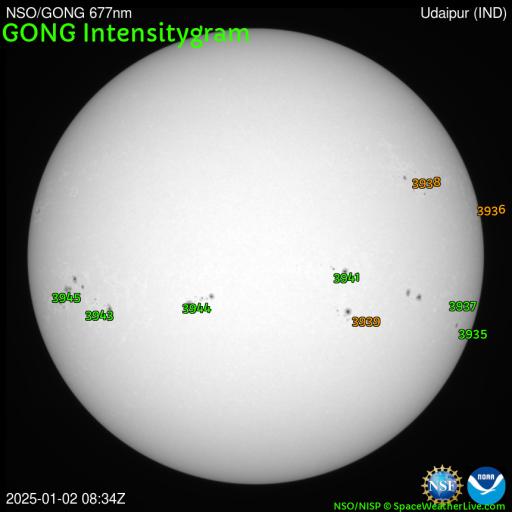
My first target was the Sun. I wanted to see if there were any sunspots following recent aurora activity. I put on the included solar filter and used the app to move the camera to my target. I messed around with the exposure time in the app, and voilà:
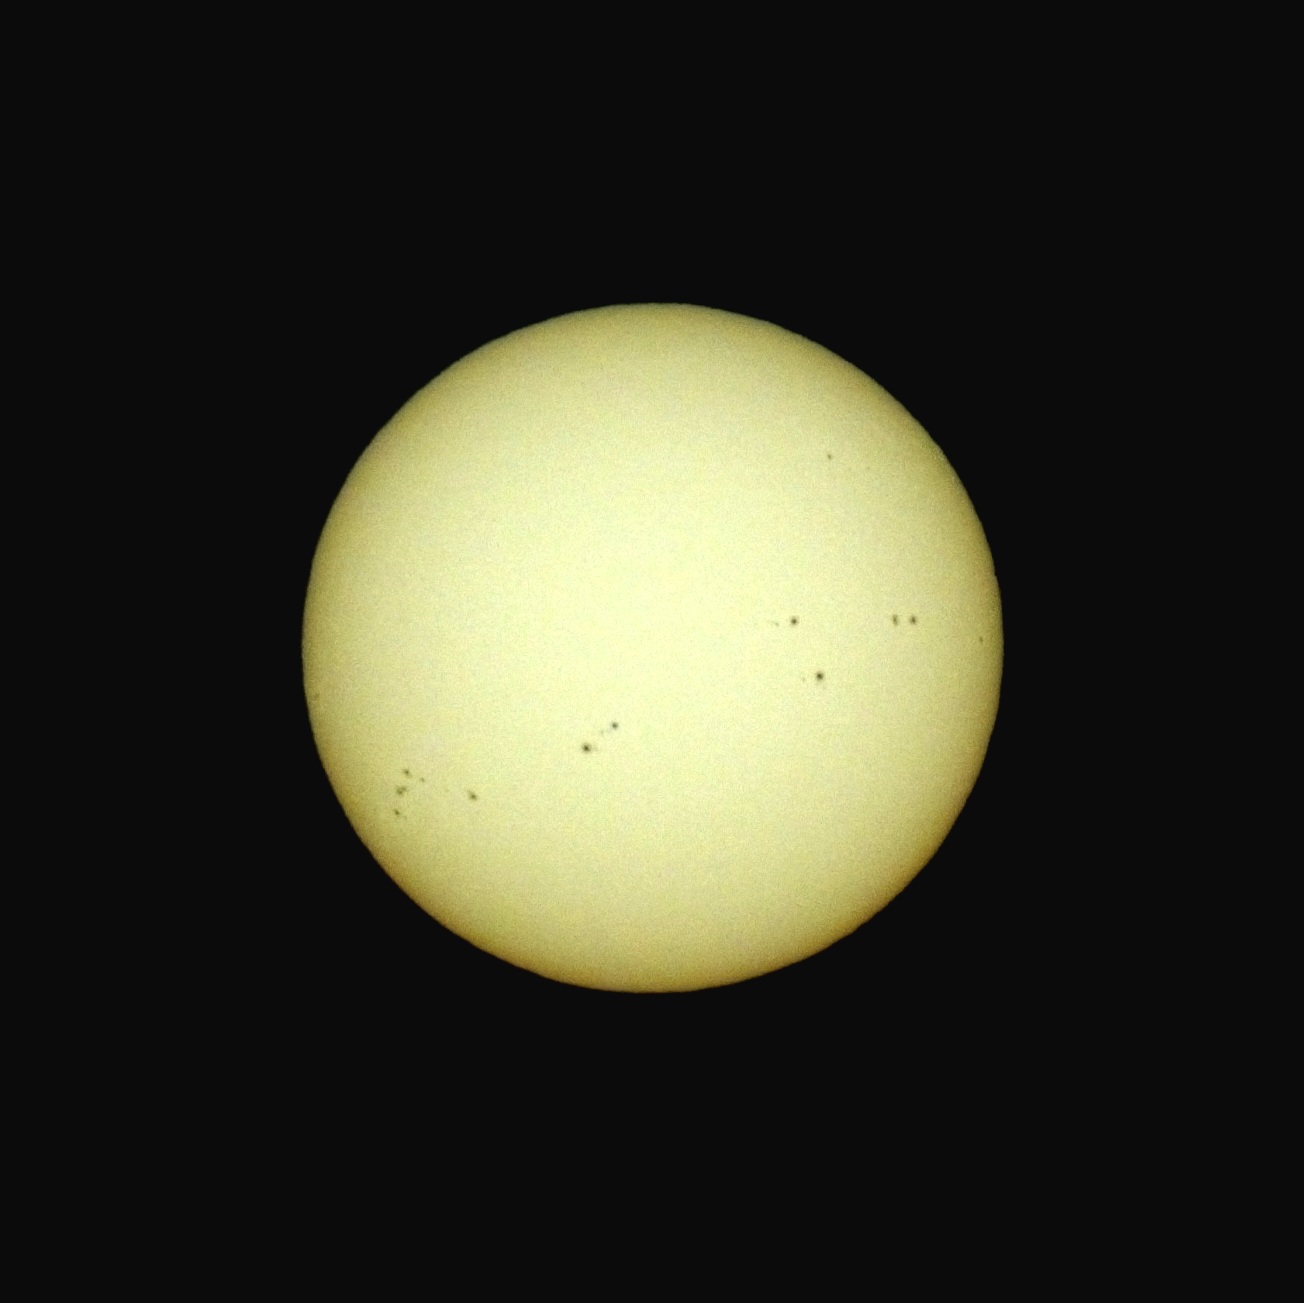
Considering I captured this image with the telescope shooting through a window, I was very impressed. I wanted to learn more about those sunspots, so I looked on Spaceweatherlive and could see they were all named.
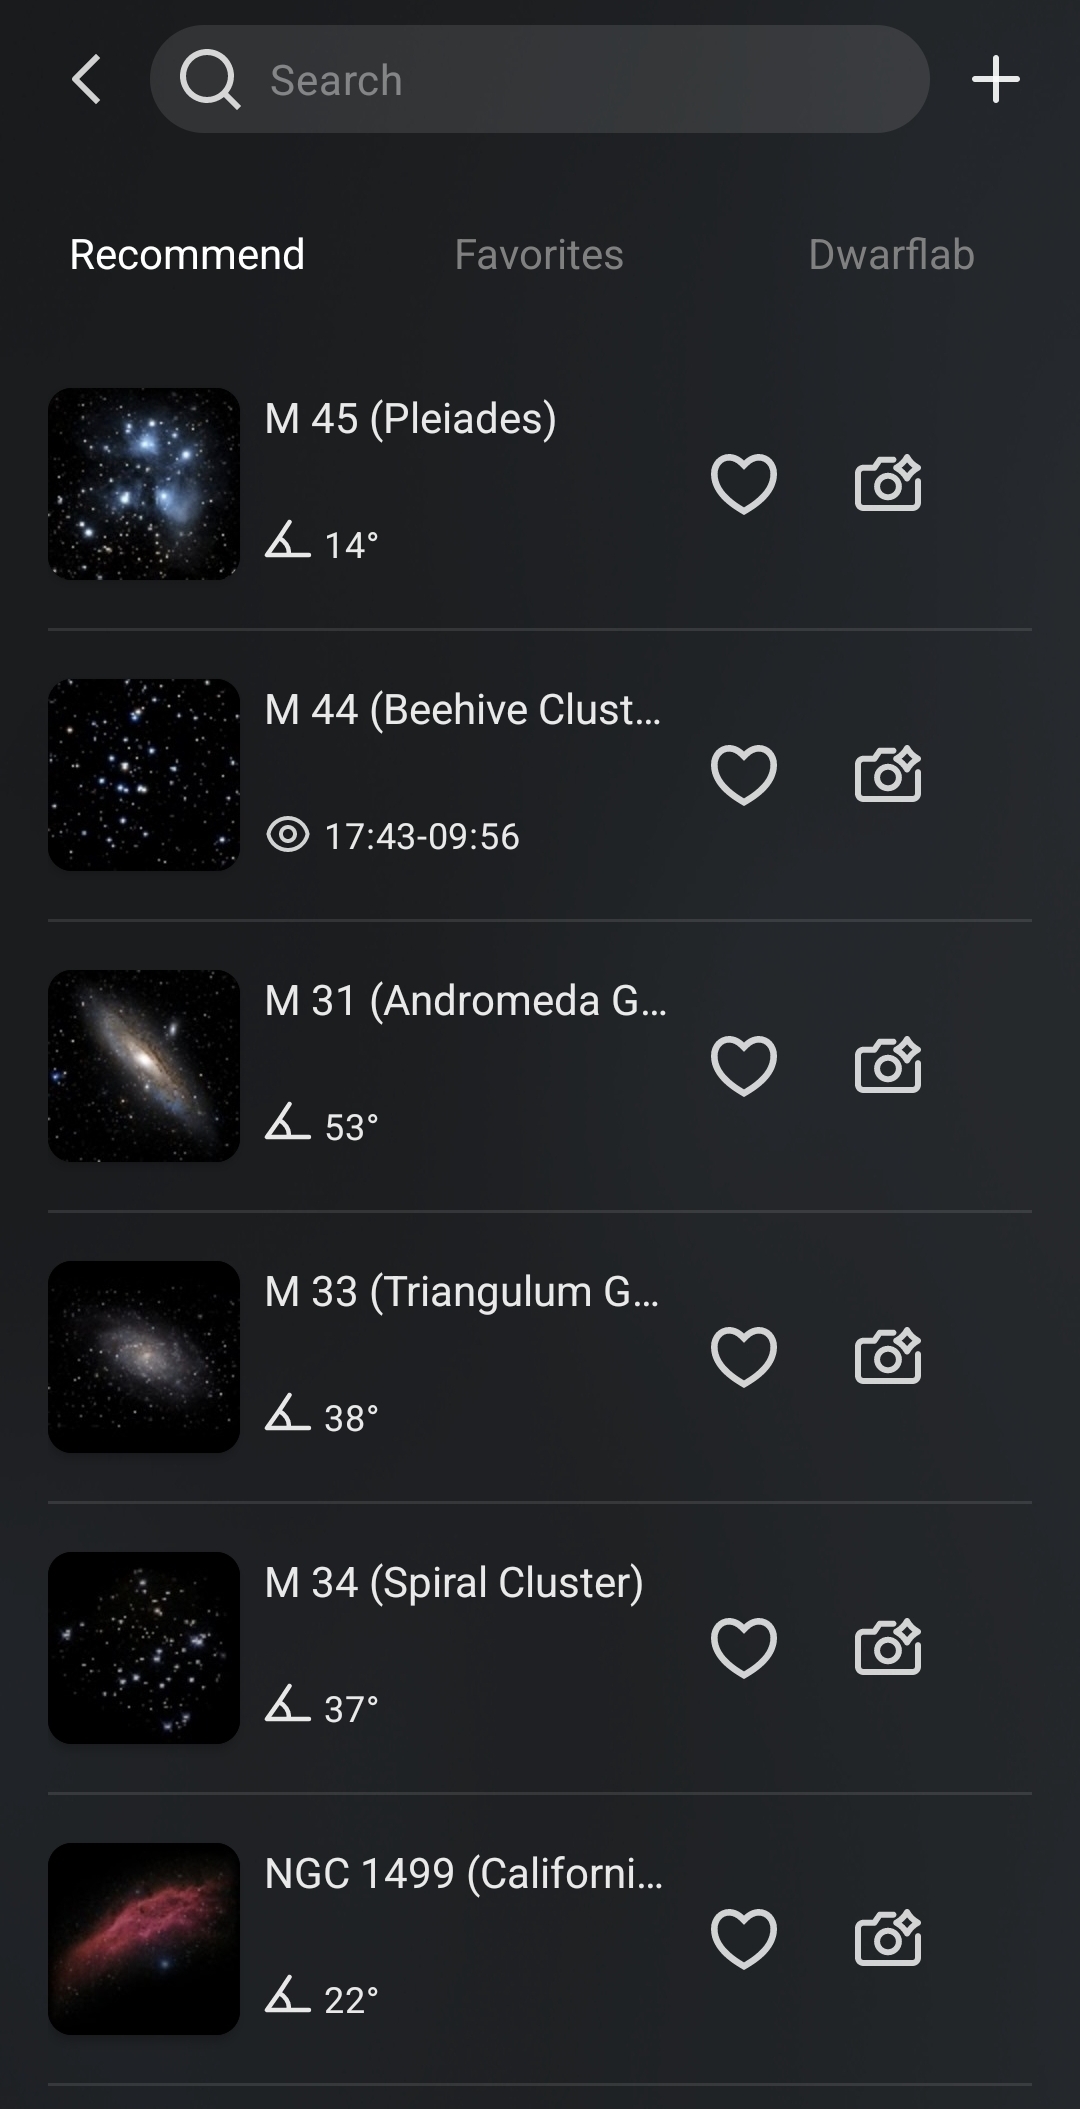
Once the Sun had set, I could not wait to capture some Deep Sky targets. One thing I love about the app is the built-in Atlas, which enables you to view recommended targets for your location:
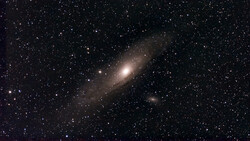
From the recommended list, I chose Andromeda. I pressed the camera symbol on the app, and the Dwarf 3 telescope began scanning the sky to work out where it was, which is known as plate solving.
After a minute of calibrating, the Dwarf 3 slewed over to Andromeda and informed me that my target was now in view. I could see a bright star in the middle, but you couldn’t really tell what it was. I adjusted the settings and began taking images. Gradually, after 2 or 3 images, all was revealed.
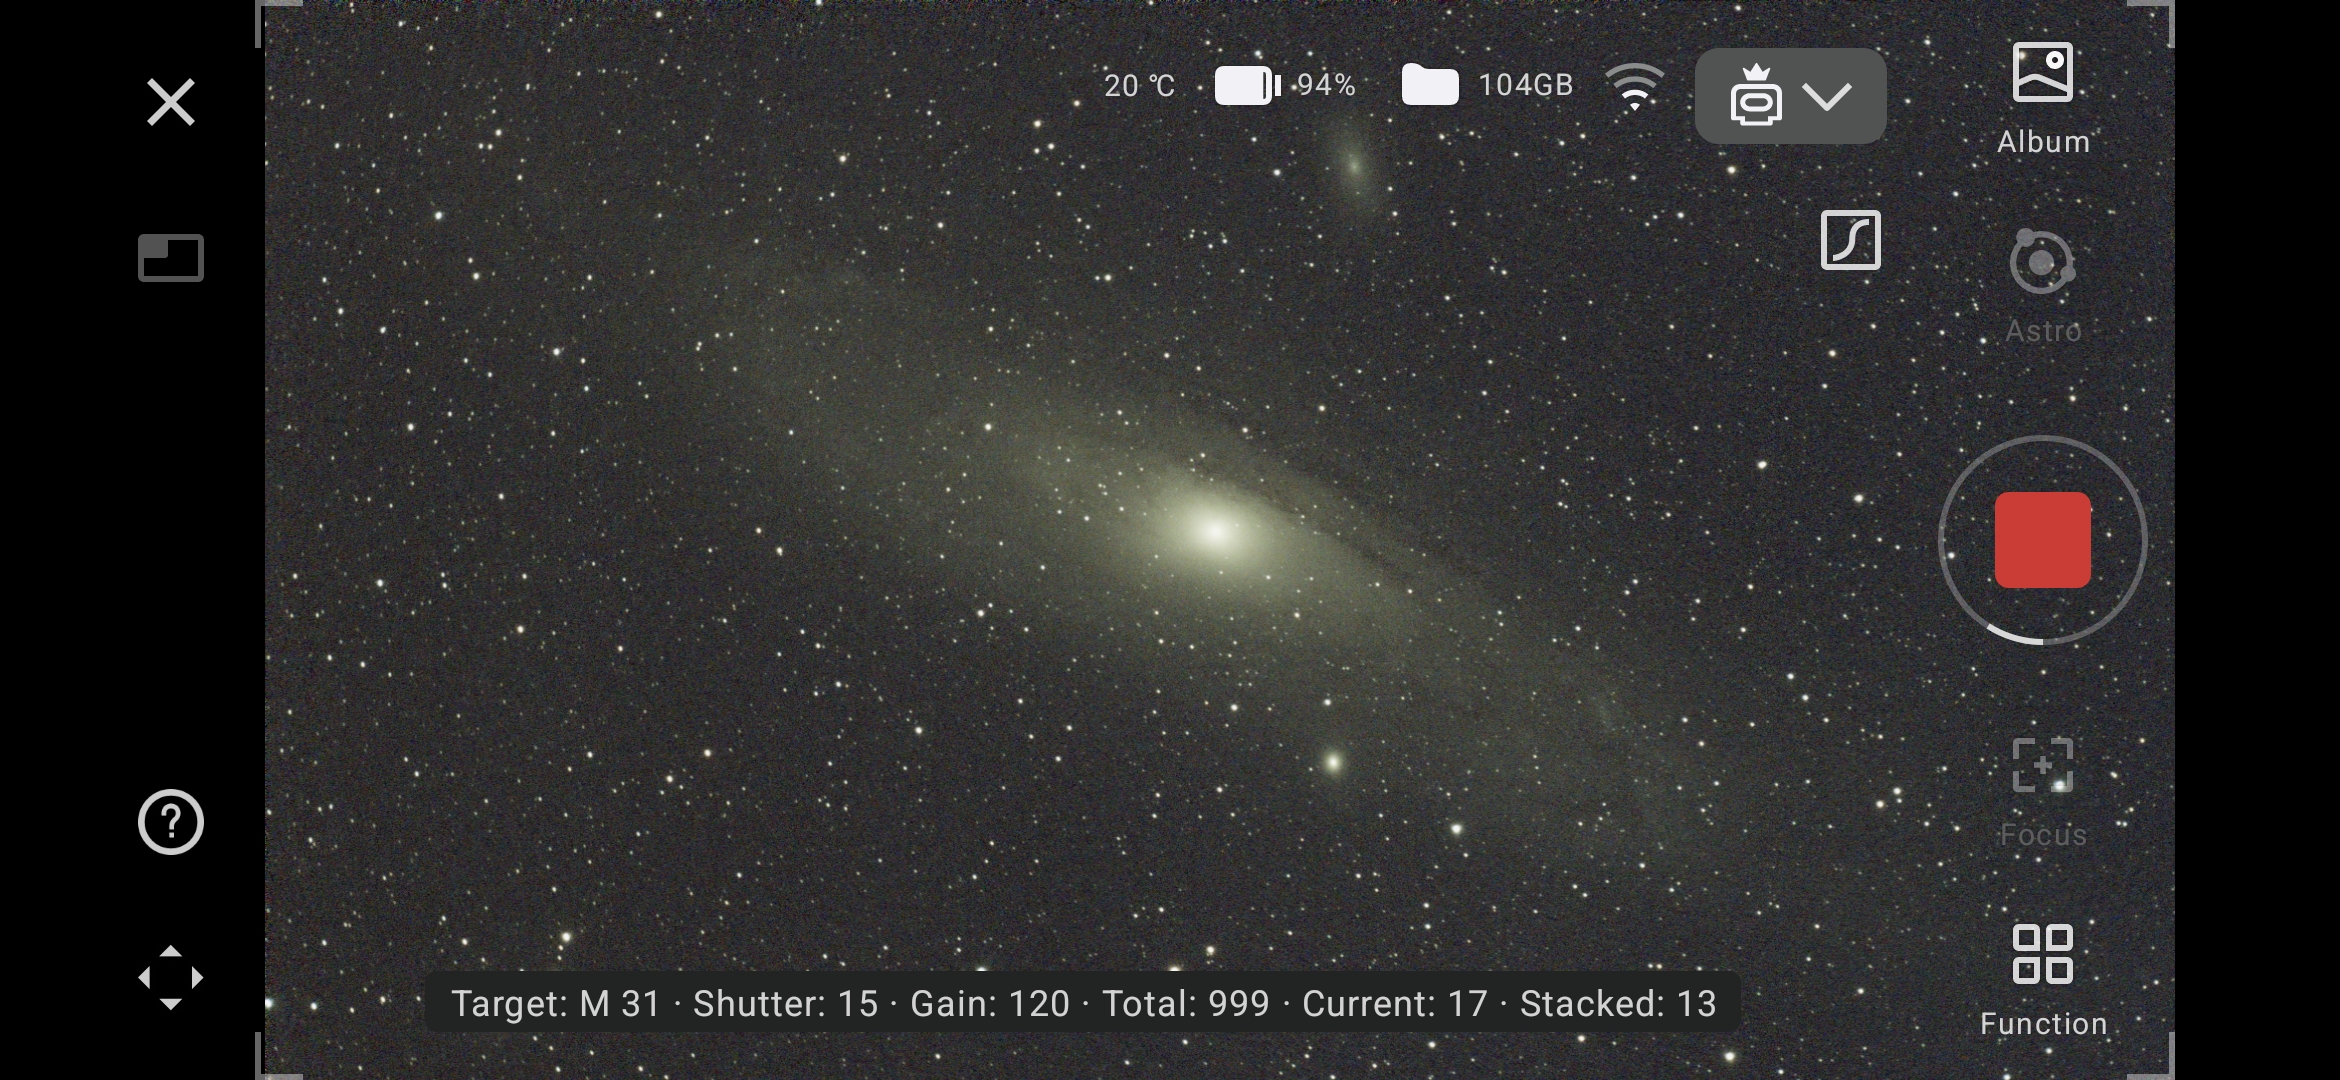
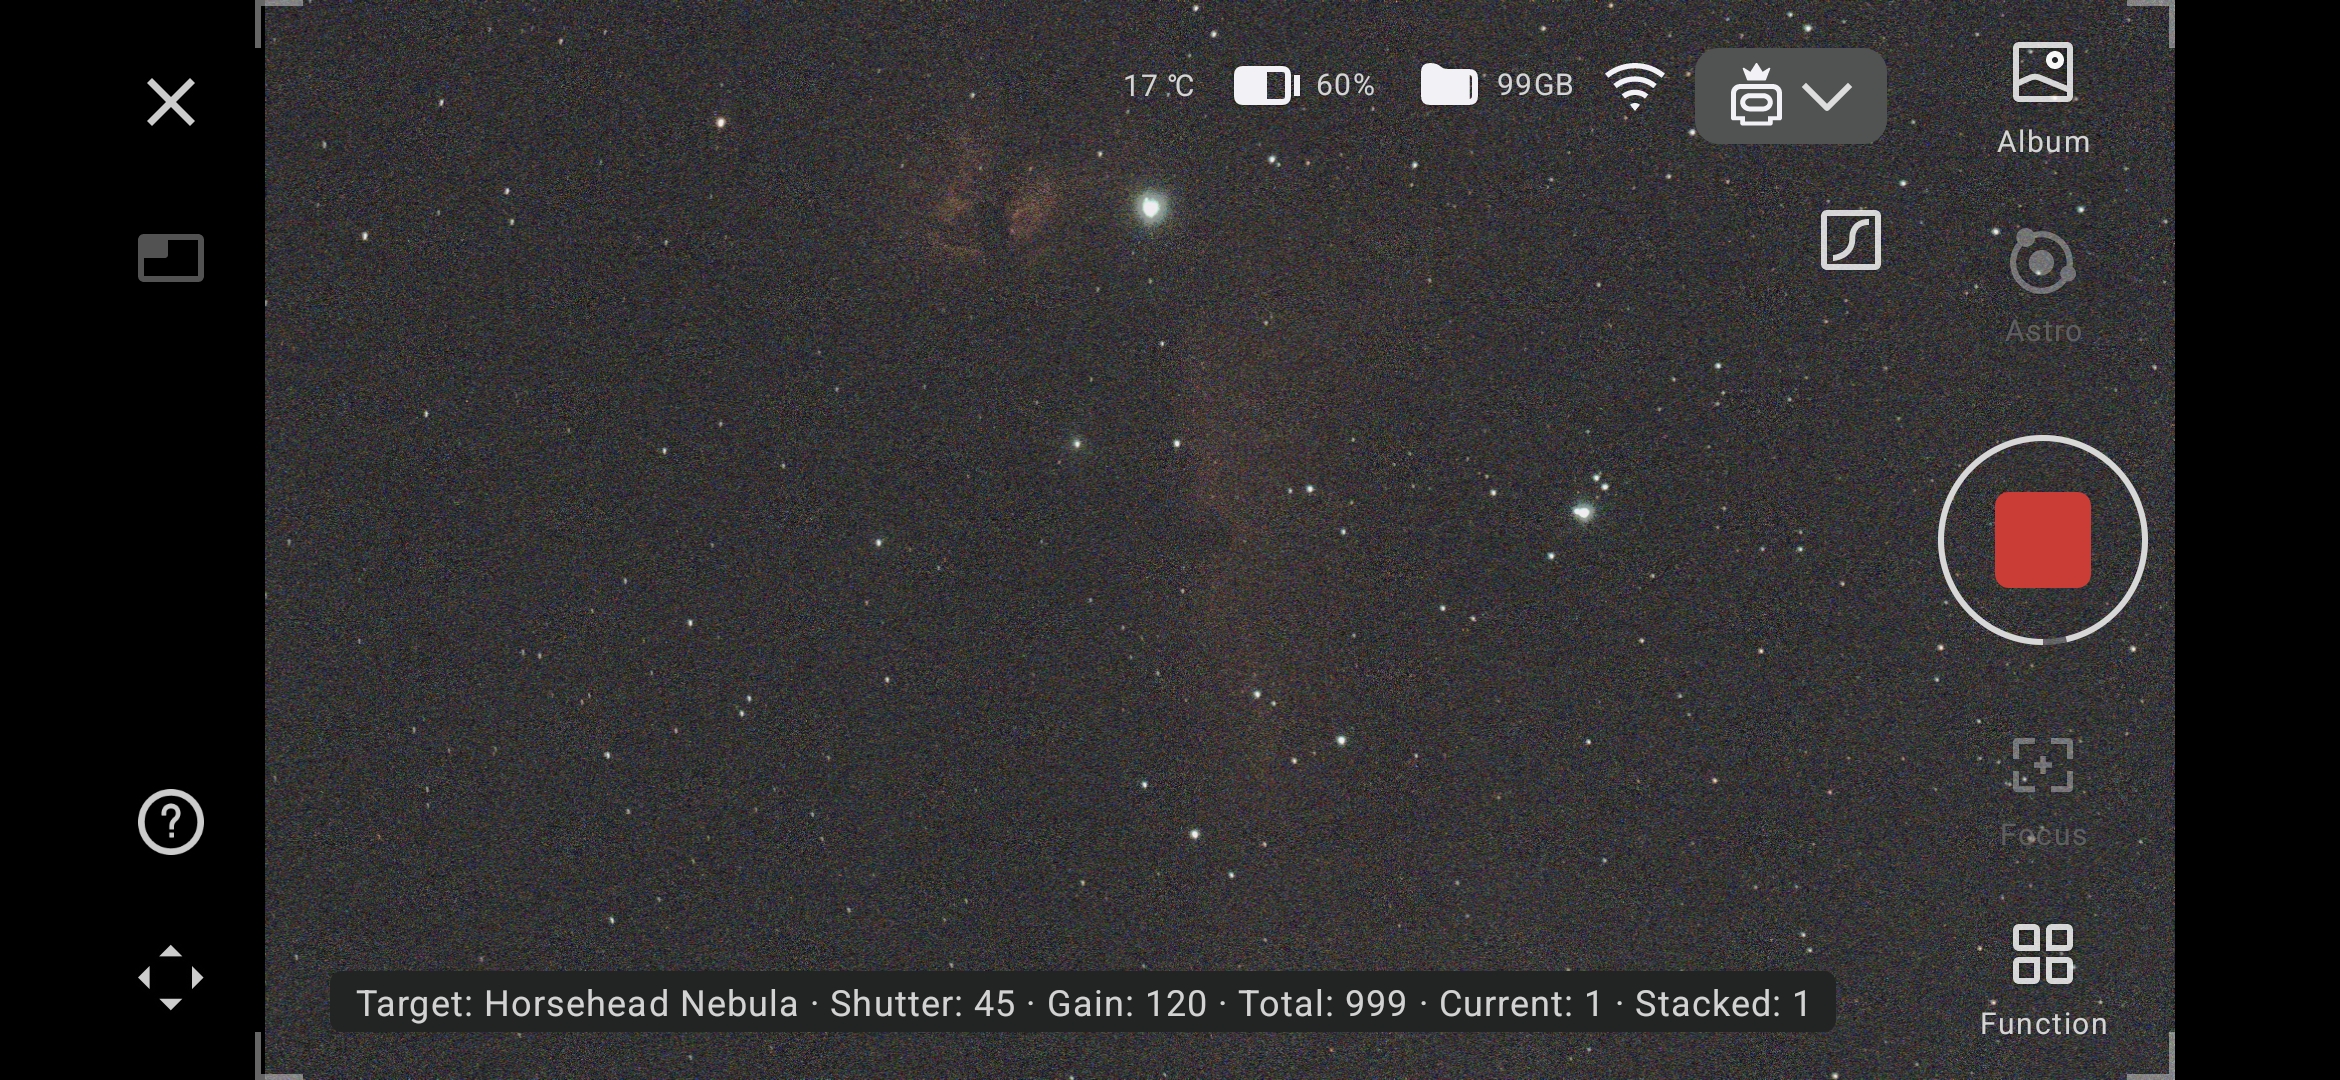
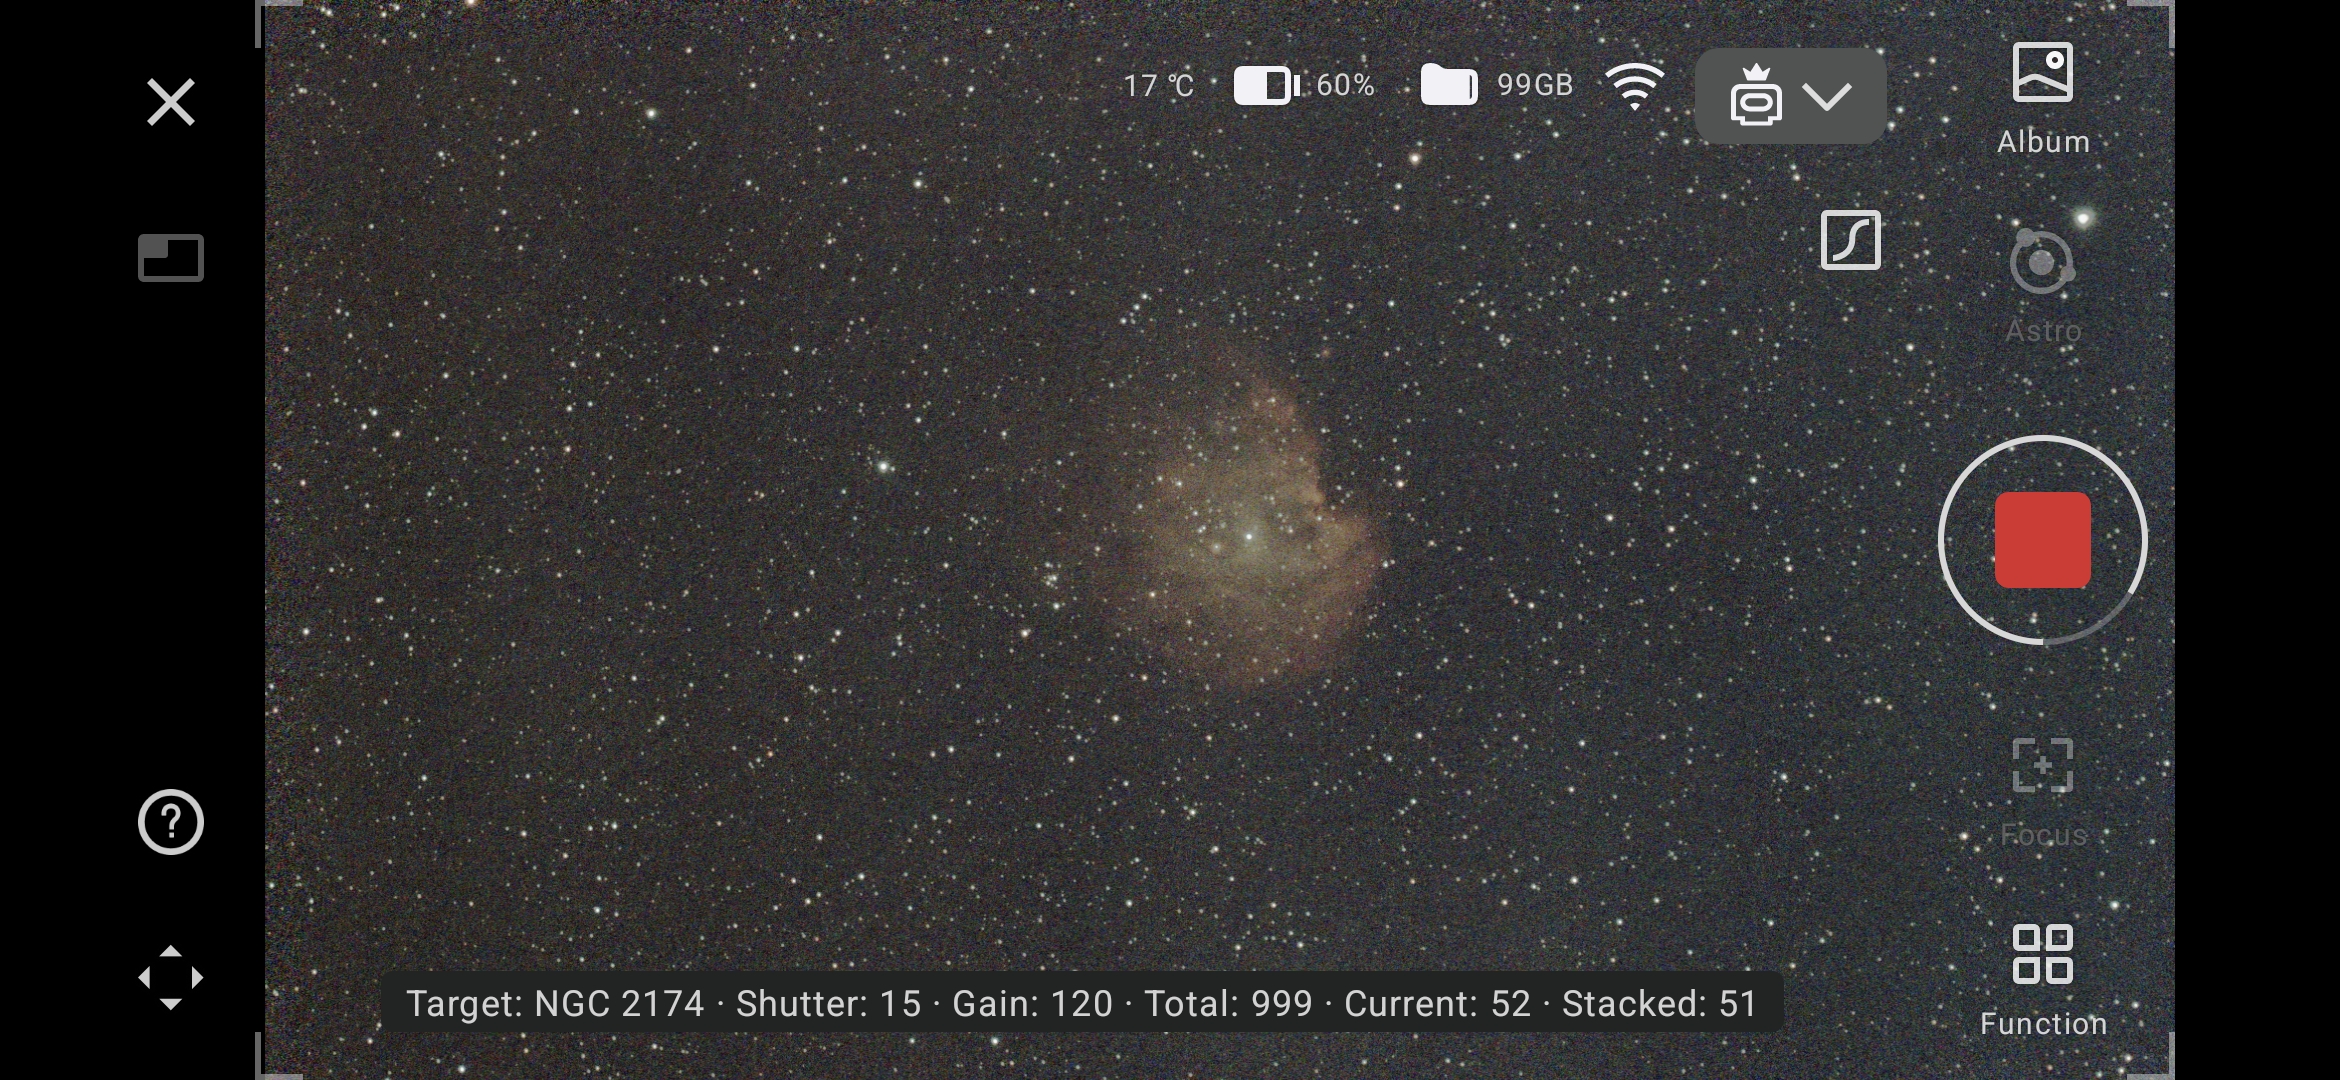
The above screenshot from the app shows a lot of information, such as the Messier name of Andromeda, which is M 31, shutter speed, ISO (Gain), how many images I have taken, and how many have been stacked.
After each image is taken, you begin to see more and more detail of Andromeda appear on your screen. This is due to the in-built stacking process, which is incredible.
I ended the session after just five minutes, as I could see clouds were going to roll in, and this was the final shot:
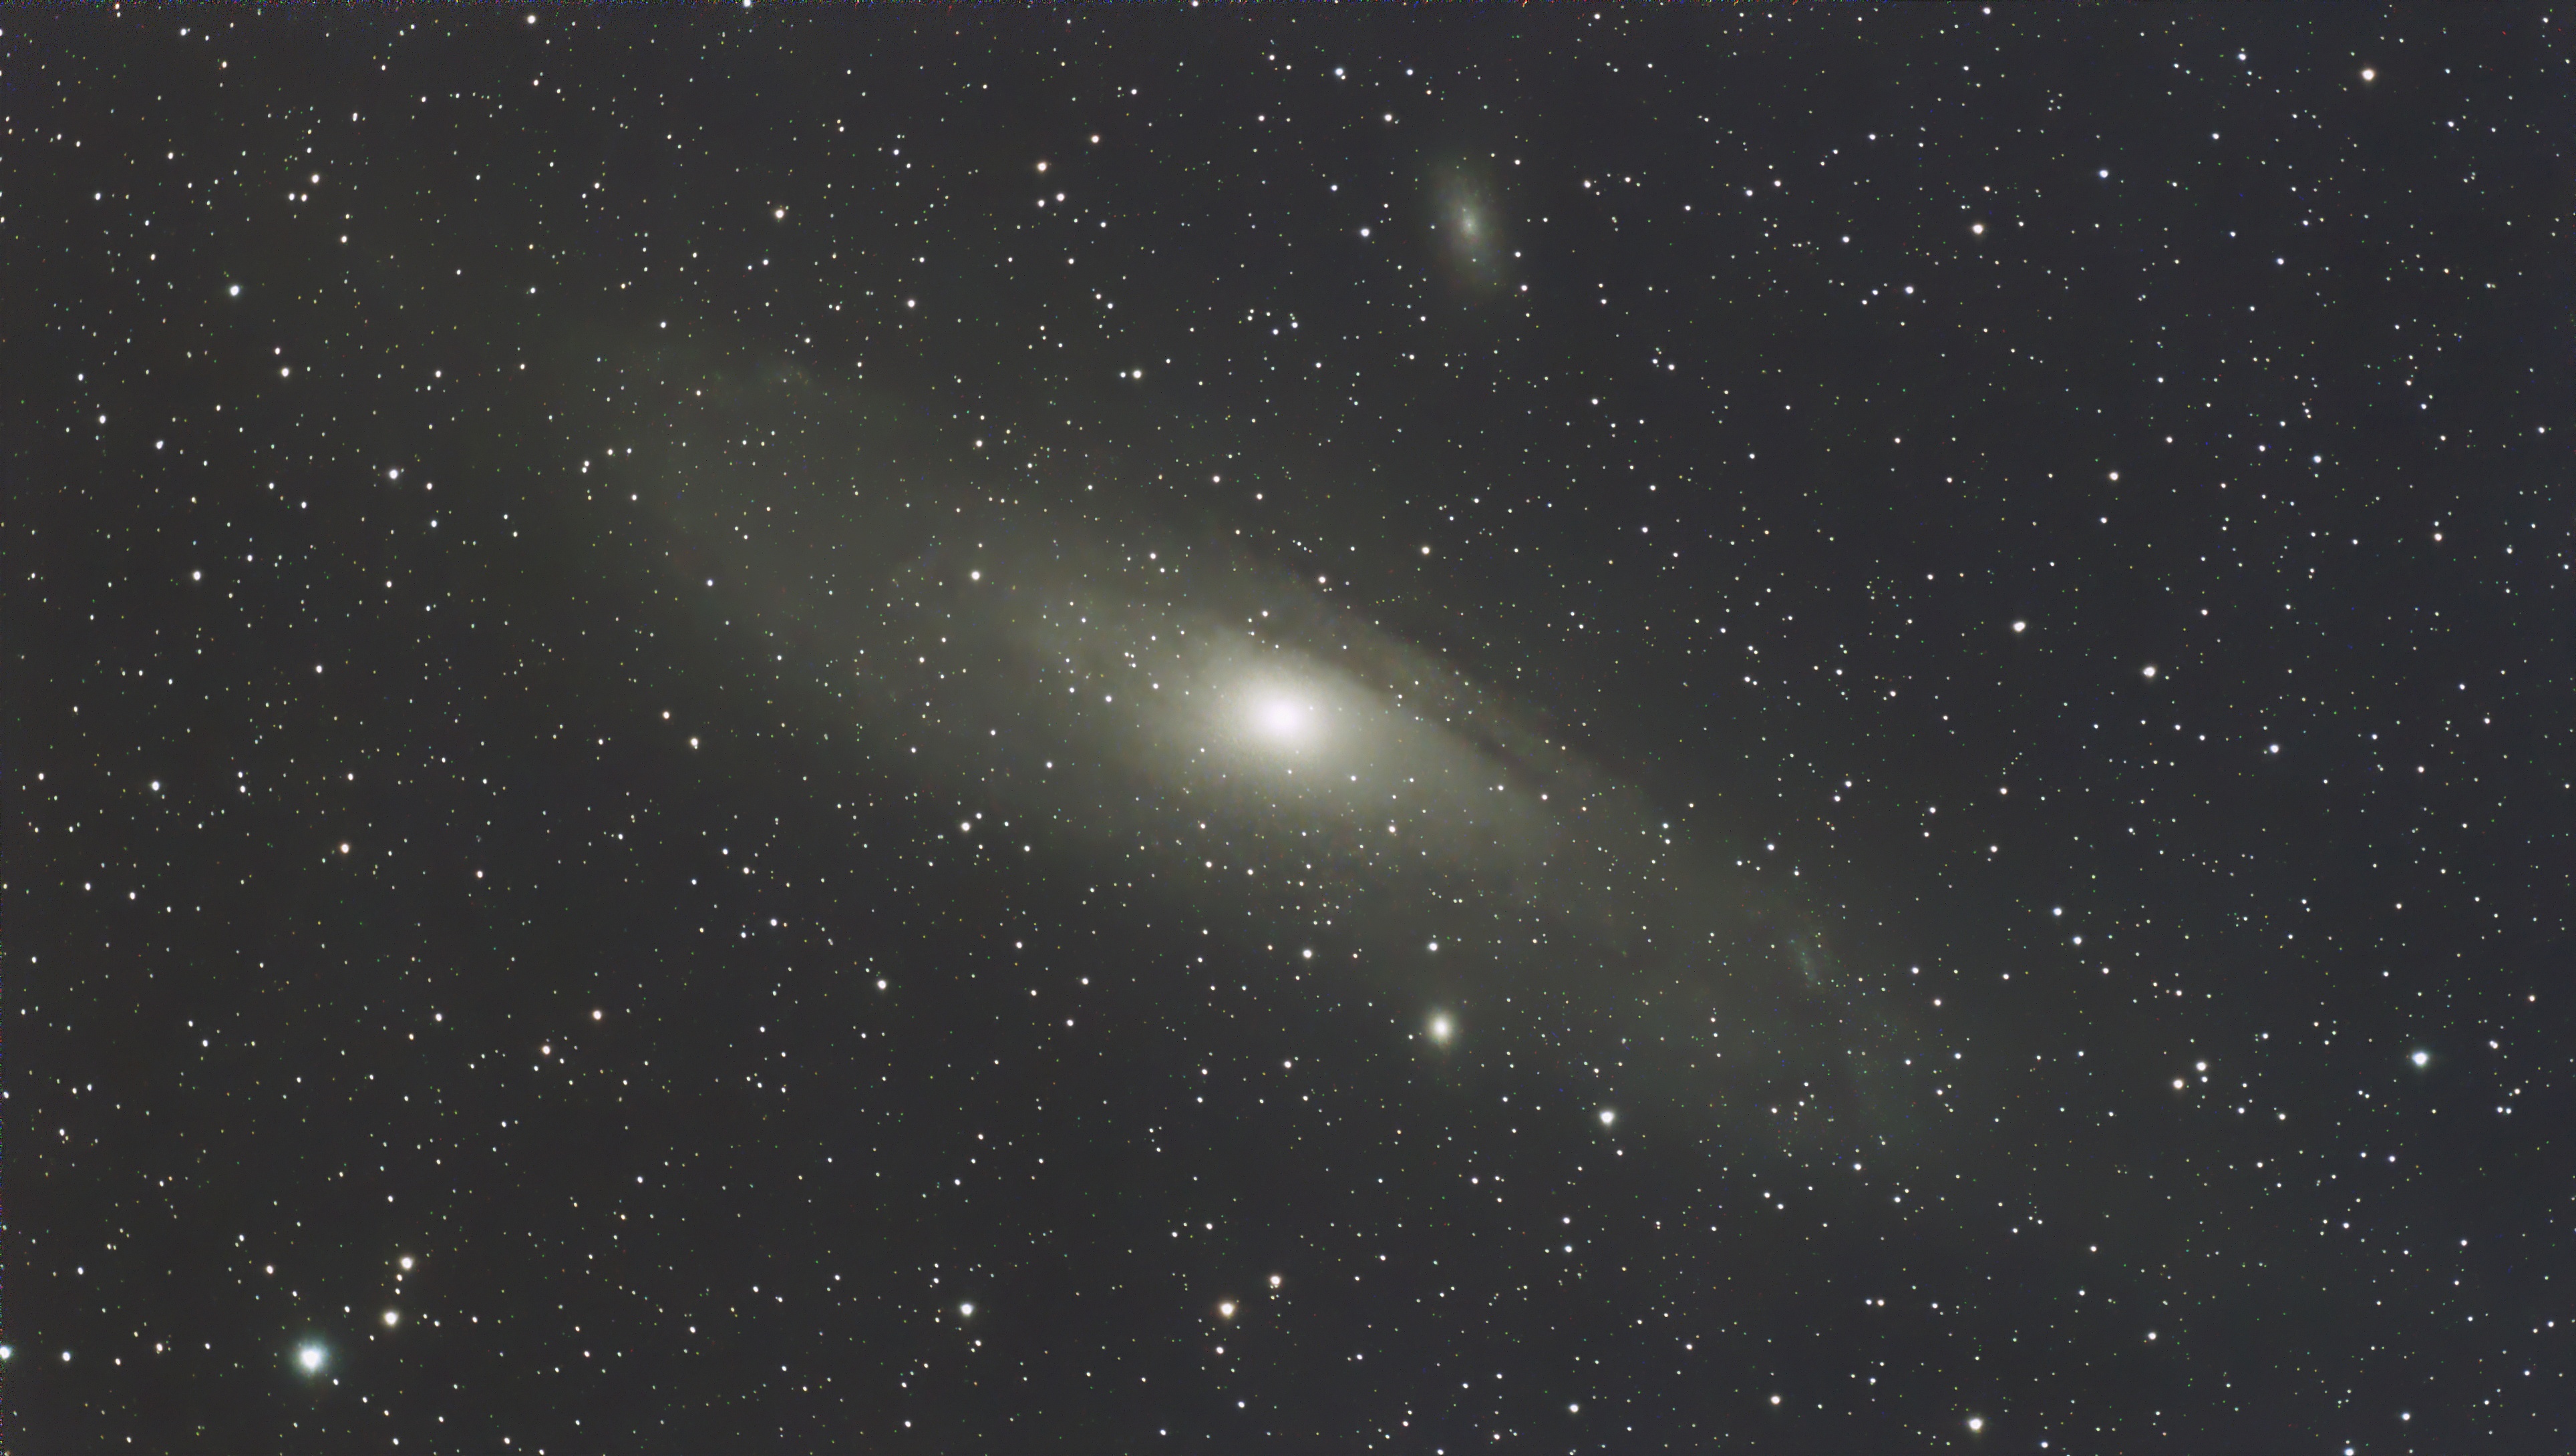
For such a small amount of exposure time, I am super impressed. The image looks clean and sharp, and the detail is very impressive for a minimal amount of data on the target and no dark frames taken.
Fun for Everyone
I had so much fun with the Dwarf 3 that my wife was intrigued to see what she could capture. I gave her a quick tutorial on how to use the app, and within minutes she was taking images of the Pleiades, Orion, and a few Nebula targets. We only spent a couple of minutes on each target just to see what would appear on the screen after several images were stacked, and she loved it.
My wife was even getting carried away sometimes, looking at the atlas and picking target after target, and I would be like: "whoa, slow down, I thought you wanted to look at that other one."
I asked her what she loved and she said:
It opens up the sky to everyone. For even those who do not do photography, this brings the night sky to life, and it is very impressive to see what is out there. It is also very educational.
The portability, ease of the app, and watching targets reveal themselves in real-time as you capture images make the Dwarf 3 incredibly fun for the whole family. I know my nephew would love this, and next time we visit him, I will be sure to take the telescope with me.
Some patience is required for certain targets, though. Some Nebulae or small Galaxies may take a bit longer to capture enough data for a good image, but that is the beauty of Deep Sky photography. If Andromeda looks that good after just five minutes of exposure, imagine what one hour could look like—or three hours!
If you are a beginner to astrophotography and pace observation, then then the Dwarf 3 is such an incredible bit of kit. For those who are more serious, it is good for you too, and I'll explain why.
Going Manual
Whilst the autostacking, and AI powered noise reduction are fantastic and makes life super easy for you, you can take it even further.
The Dwarf 3 has a built-in 128 GB hard drive, which stores all the images and organizes them into well-labeled filenames. You can then transfer those files and stack/edit them manually using popular software such as Siril or PixInsight. There are different file type options available, but the main one for astrophotography is FITS files, and the Dwarf 3 uses FITS as standard.
You can connect the Dwarf 3 to your Mac or PC via the USB-C cable and transfer all the images for editing. Using a more manual process will bring out even more details from the images. Processing images manually is certainly a learning curve for me, and I am currently learning how to do it myself so I can take my astro images to the next level.
I will be sure to write up a follow-up article in the future once I have captured even more images and processed them myself.
Summary
There is a lot to love about the Dwarf 3 from Dwarflab. The size and portability are huge benefits, along with large internal storage, built-in filters, and the Dwarflab app itself.
I thoroughly enjoyed every minute using this intuitive telescope, and I loved watching my deep sky subject reveal itself more after each image was captured. There is a lot to cover on the Dwarf 3, and I am only just scratching the surface of what it is capable of.
I still need to use the EQ mode, process images myself, and try out the new scheduling feature, where you can leave the Dwarf 3 outside and, via the app, schedule different subjects for certain times and let the device work on its own.
Dwarflab is also great at adding new features via firmware updates and has lots planned for the future, such as Mosaic mode and more.
I will be sure to do a follow-up article in the coming months, where I push this device even further, hopefully after a few more cloudless nights. Right now, I am super excited.
My love for astrophotography is stronger than ever, and my wife, who is not a photographer, is also enjoying the whole experience and the discovery of the cosmos.


Join the Fstoppers community for free
-
Post comments and join in the discussions
-
Browse the site ad-free
-
Share your work and get featured in the community
-
Compete in the photo contests for fun and prizes
2 Comments
Very interesting review article. Thanks!
Thank you 😊