Posing a client during a boudoir session can be tricky if you are not comfortable yet in your flow. Creating a set of images that you can move through without disturbing the energy in the room takes practice and a few simple tricks.
A few months ago I posted about maximizing floor poses without ever leaving the floor. I recently shot an entire bed series that went along with the same concept of getting the most out of your session with minimal change in setups. Once my client is on the floor, a chair, or a bed, I want to maximize our time there so she can think more about getting into the mood of the story unfolding rather than worried about a whole scene change.
1. Start Off Simple
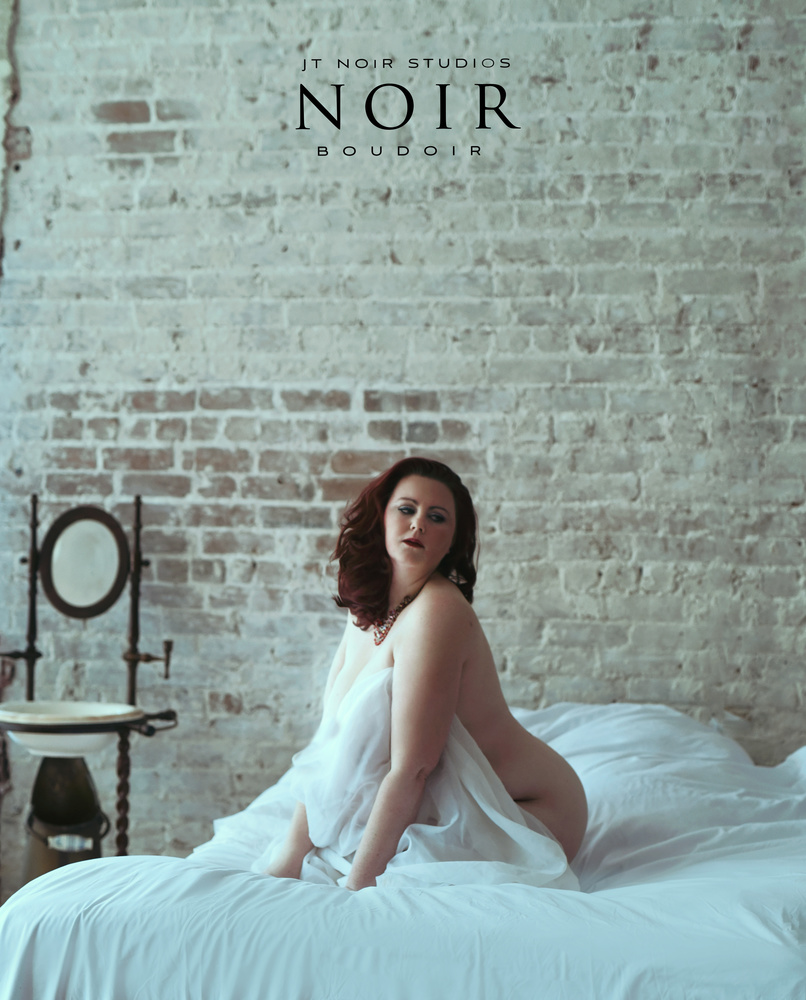
My client wanted an implied nude look on the bed. The question became how was I to maximize the poses in order to create multiple layouts in the album of implied looks? It is a mix of moving around the client as well as color toning in post for a new mood. The first setup I always start with is under the sheets, not only for a Sunday morning look, but also to help ease the client into the implied look. It is simple enough for direction as well as easing any nerves that may still be there for your client. It is usually when I get laughs, smiles, and generally getting the jitters out for the next few poses.

2. Shooting Other Angles
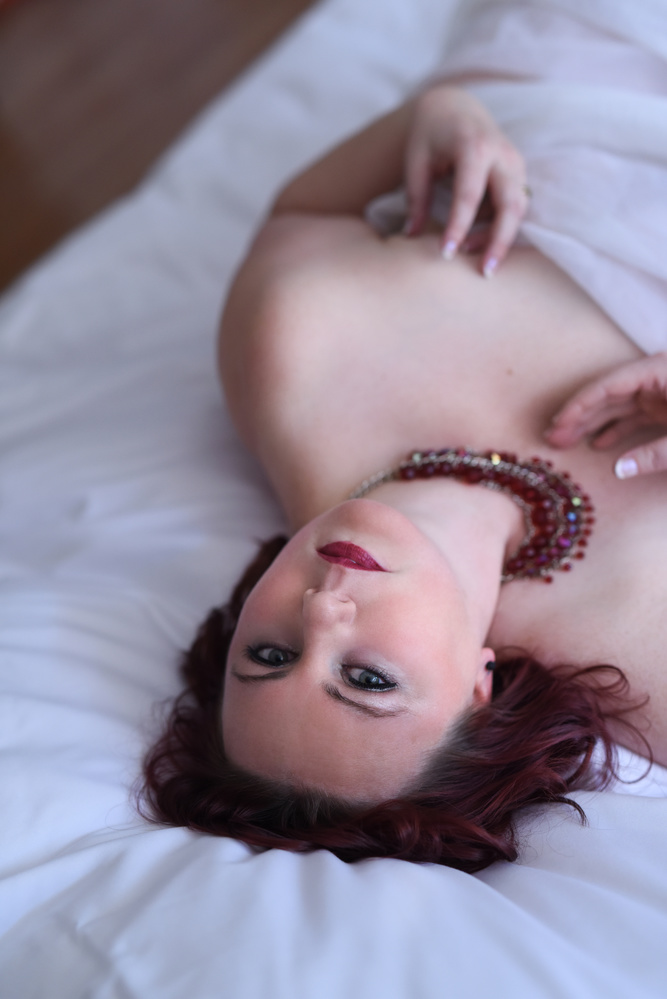
I cannot stress this idea enough as it provides an entirely different look for the session. Shooting straight on and changing your client's position will still have the same background and after a few spreads will start to lose the wow factor. I routinely get up and move around my clients to get different angles. While the client has never had to move, I am creating more images to fill her album. In the first shot I was angled towards her with the natural light from the window facing her. This image I moved to the other side of the room to get a darker, moodier feel.

3. Shoot the Details
If you are a wedding photographer you know how important the detail shots are, and with boudoir it is no different. Make sure to shoot the rings, the eyelashes, or any part of the body she loves.

4. Color Tone
Split toning a few images to give a moodier feel can help break up a set of the same angle. I prefer to use Photoshop for split toning an image, however it can be done with sliders in Lightroom. Using Photoshop for this method gives more control of where you want to place the color toning versus it being applied to the image as a whole.

5. The Three-Shot Spread
During a session I am shooting two things in mind: albums and wall art. The majority of my clientele appreciate the fine art look of wall art so I know they will be going home with at least one piece of framed or canvas image. The screenshot below of my Fundy album designer program shows how easily three shots can work with one another.

Bonus tip: I do not sell per page as I am not selling the physical album but rather the art itself. Selling per image will also become less confusing if she decides to have five images on a page versus one.
As with any session, you should be really thinking about how you are going to present the final product while you are shooting. I even go as far as to create an album spread that I think would work best and show it to them during the reveal. They appreciate the effort plus they can visualize the album instead of you trying to explain the look.


I always look forward to your articles. Thanks for sharing. I'd like to know more about the split toning that you talked about. Maybe that could be another article. Thanks again.
well thank you for continuing to read. And yes I would love to write one up on that! Great idea
I am a new visitor and member of your site, your article is very helpful for the photographer and I like it your hard work so keep it up.