
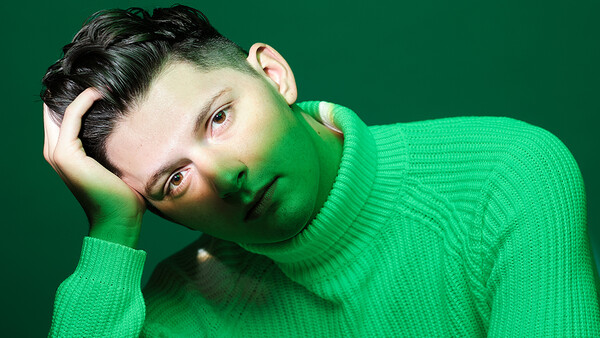
I absolutely adore the precise placement of light, and recently, during a model test, I decided to play around with it, utilizing a new tool, ending up with my first portfolio shot of 2020.
The Shot
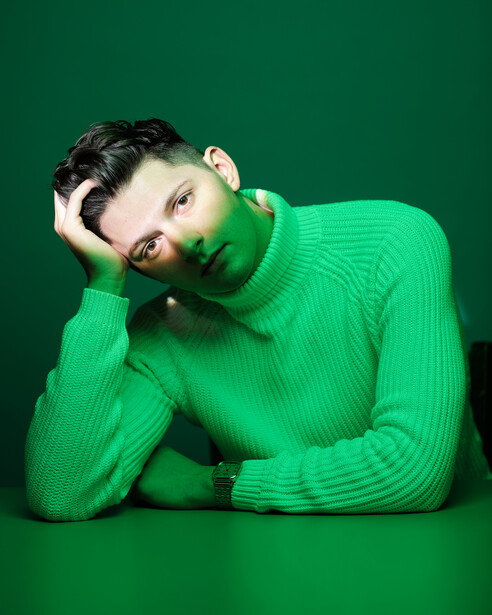
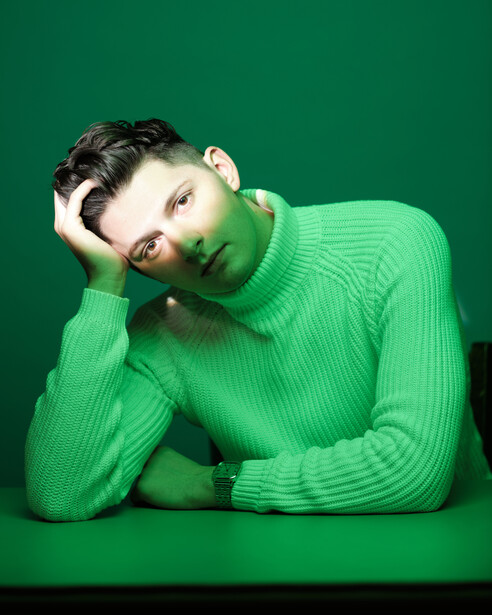
For this setup, I ended up with two different final, retouched shots, which is rather common when I have a setup I love.
The Gear
For my gear, I used my trusty combo of the Fujifilm X-T3 and the 56mm f/1.2. Light-wise, I used two speedlights: a Cactus RF60 and a Cactus RF-60x, triggered by the Cactus V6II. Lastly, my modifiers were a parabolic softbox with double diffusion and a MagMod kit, which is relatively new to my kit. I used the wide lens and the circle insert for that precise shape right on my subject's face. I also used a seamless backdrop in blue, so when hit with the green gel, it would turn more teal. I personally use the Rogue gel set, but really, any one will work.
The Setup
To set up the shot, I first got my parabolic softbox just barely camera right and above my subject using a C-stand. I dialed in my exposure with the gel already on my light, because if I were to dial it in without the gel, all of my settings would be thrown off once I added the green gel, as adding gels saps light like a sponge. I knew that when I added the second light, pointed straight at my model's face, I wanted it to be a couple of stops brighter than the green, so I underexposed by a stop or two when setting up the first light. A bonus to underexposing is that gels become more saturated the darker they are.
Next, it was time to add my second light. I set this just barely camera left, almost in front of my lens. I was sure to have the light at exactly eye level, because I wanted as little shadow as possible, and if I were to raise it up, I would get butterfly lighting or loop lighting instead of the no-shadow look I was going for. I took a few test shots to get the light exactly where I wanted it, and after a few photos, I nailed the positioning, ending up with a lighting setup that looked like this.
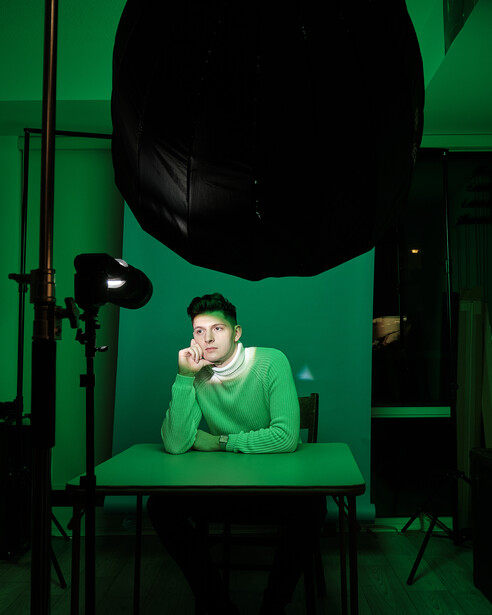
I love using that little side table, which is collapsible and easy to put away inside of my small apartment. This table, as you can see in both final images, gives my model something to lean on and pose with, giving me something different than my usual "stand in a void" style of portraits. Investing in a small table can really open up your portrait options in scenarios like this.
My settings were 1/250 s, f/2.2, ISO 160.
Post-Production
The post-production on this was very simple. I edited the photos in a combo of Capture One 20 and Photoshop with very minor adjustments. I upped the saturation about 23% and brought my highlights and shadows down approximately 18% and 41%, respectively. This reclaimed some of my detail while still keeping the super-bright look I loved.

Next, I opened up Photoshop and did some very minor skin retouching. Normally, I dodge and burn, but I felt that this image already had all the contrast I wanted in all the places I needed. I would have used the healing tool in Capture One, but I find that it is sometimes just easier to open up Photoshop and use that healing tool instead. Capture One's is good and getting better, but so far, I haven't found much that can compare with Adobe's healing tech.
Conclusion
As you can see, just by experimenting and going where your inspirations want to take you, you can come up with unique portraits that really pop. A set of gels is something that I think every strobe photographer should invest in, as they can really just open up a whole new world of possibilities.


2 Comments
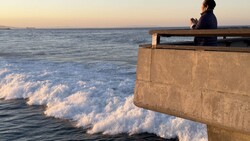
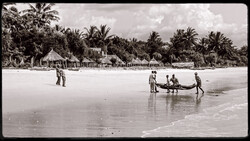
Looks fantastic. Always a fan of this type of creative lighting. Also wanted to show off one I did a while back with a Light Blaster.
I saw on instagram but in black and white?