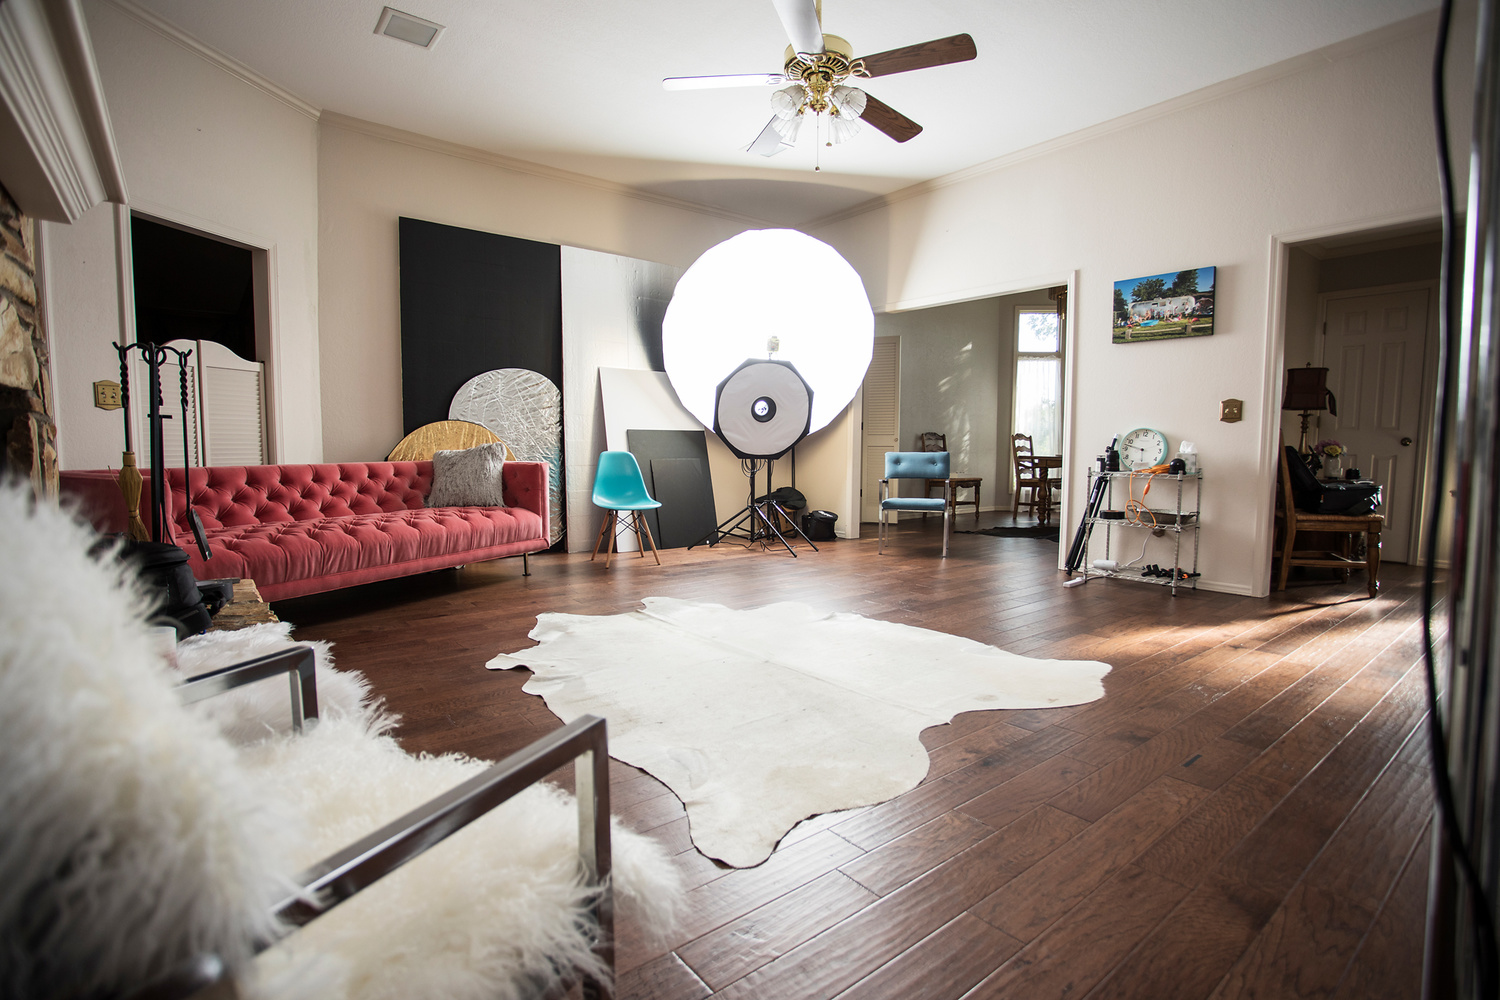
Are you thinking of designing and outfitting a portrait studio? I recently did just that, and through a little research and a lot of trial and error, I discovered some great, versatile finds that make life in a photography studio much easier.
Start With the Fundamentals
When I relocated early last year, I decided that I would build a beautiful studio in my home, and I set out to find the perfect house that would accommodate this. Happily, I was able to find a home in a beautiful neighborhood, with a space that would work perfectly as a dedicated studio.
One of the first things I invested in when I started designing my studio space was hardwood floors. The previous owners had never changed out the ivory-colored carpet from 1983, and it just wasn’t going to work for a studio setting. I chose a medium-dark, somewhat rustic engineered hardwood with a low gloss so that it wouldn’t be super reflective, and it photographs beautifully with my backdrops and polyboards. If I were working with a smaller budget, I would have simply removed the carpets and looked into finishing the concrete floors underneath.

Neutral walls and ceilings and classic hardwood floors provide the perfect base for a beautiful photography studio.
Another fundamental consideration when designing a studio is the wall and ceiling color. Mine were already a soft, creamy white, and I was happy to leave them that way. However, having a dark gray wall would have given me a built-in backdrop, and I do have to use black v-flats for negative fill in some situations. But overall, I have no regrets at all about leaving the walls white. I like the simplicity of them.
Invest in Multitaskers
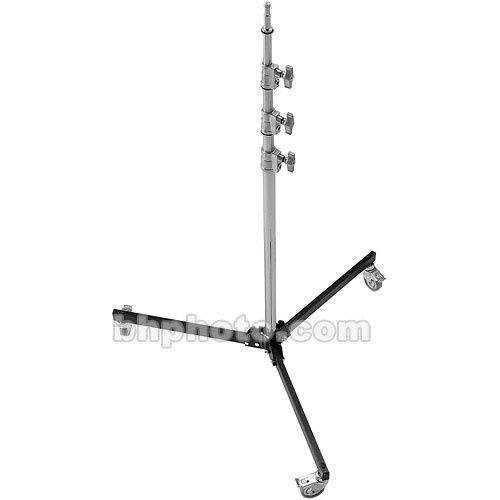
My actual dedicated studio area is about 20x20 feet, with 10-foot ceilings, so space is somewhat at a premium. When I began to fill my space with the necessary equipment, I wanted it all to be as multifunctional and easy to maneuver as possible, beginning with one of the biggest purchases, a beautiful Oliphant backdrop. I opted for a double-sided, 9x9-foot drop, which is a lighter gray on one side and dark gray on the other. I knew that I could survive for years without using any other backdrop if I wanted to, just by having this gorgeous multitasker. In order to be able to easily access both sides of said drop during a single session, for which I don't always use an assistant, I chose to hang it from these fantastic rolling Avenger stands from B&H. They are like a c-stand on wheels. The quality is great. They roll like a dream, and I am able to swap backdrops simply by wheeling the whole thing around. I love them so much, I bought a third to use as a light stand.

I also knew that I’d want to be able to use seamless paper from time to time, and I didn’t want to have to set up a separate stand for that, so I have outfitted my rolling stands with some Manfrotto Super Clamps at the top of each stand, and a chain roller system to raise the backdrop paper up and down as needed. I plan to add a triple roller system in the future, so that I can leave three rolls of my most used paper colors in place all the time.
Finally, one of my favorite, super-mobile pieces of equipment is an industrial stainless steel table, usually found in food-service applications. During consultations, I use it to display my various product offerings, but it gets a real workout during portrait sessions. It, too, has wheels, and it measures about 48 inches wide and 37 inches tall, so it is perfect to tether from, and I can move it with me from setting to setting as I flow through my session. It has a bottom shelf that is great for storing things like clamps and spare batteries. I can pretty much keep everything I need at arms reach with this thing.
Keep Furnishings Versatile
When it comes to furniture selection for both posing and consultation seating, my requirements are that it be both beautiful and useful. I considered the ever-popular simple white convertible sofa, but after much debate, I opted for a this pink velvet beauty that has become a signature piece in my studio. It is actually quite versatile for posing, and is easily transformed with a simple throw blanket to any color I require. During in-person sales, it provides ample seating for a family to relax and view their finished portraits. And with some cheap little sliders beneath the legs, it moves around the room with ease.

A pink velvet sofa becomes a conversation piece for each visitor to my studio. It is also versatile enough to use in many types of portrait sessions.
One cheap and readily available piece of furniture that every studio should have is a simple wood stool. These can be found at any superstore, in various heights. They work great for posing, as well as holding things like apple boxes to lean on, and reflectors for filling shadows.
DIY When Necessary
A selection of reflectors is useful in any studio. These can be as simple as a piece of white foam board from the local hobby store. In fact, when I was unable to source the big 4x8-foot foamcore v-flats that are popular in today's portrait studios, I opted to make my own out of four of these 30x40-foot foam board sheets by overlapping and taping them with gaff tape. By overlapping them by a couple of inches and taping well on both sides, you can ensure that they will not fold over. Then simply tape them to each other, leaving a bit of space in the seam so that they will fold easily. This is a great light reflecting tool in both strobe and natural light applications.

Gaff tape and foam boards from the art store make an easy, portable V-flat reflector.
The best thing about this DIY hack: they are super cheap, can be constructed easily on location, and it's not necessary to have super tall ceilings to use them.
Having a studio in my home has been a rewarding adventure, and a huge learning experience for me. With these simple yet effective pieces in place, my life as a photographer has become much more productive and rewarding. What are your studio must-haves?


Nice article, thank you. Nice work too. Good luck to you.
Thank you Heratch!
Great advice, thank you very much. I am about to move houses, and I like it how you solved things. Question: What is the modifier in front of the the large umbrella, some sort of "ring flash"?