
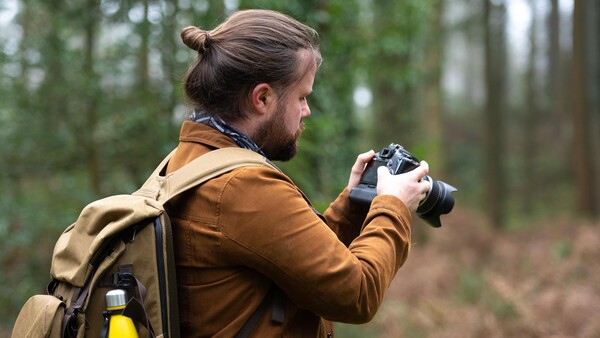
A photography workshop is a fantastic way to fast-track your learning, but going into it completely blind might cost you time and money, so it's essential you do these eight things before attending.
Just as you would learn mathematics, science, and history from a teacher in school, so too is it important to learn from a photography teacher. By learning from someone who's been around the block a few times, you can step past the simple beginner mistakes and head straight to shooting well and with confidence. But not everyone has the money to throw at a tutor as their sole port of call, or perhaps they've had a workshop booked as a gift. Either way, there are some essential things you should do before going on (or booking) your photography workshop that will help you learn faster and make the most of your time there.
1. Complete YouTube
Now, you might want to just dive straight in and bypass all the slow learning curve by hiring a photography tutor to teach you how to shoot in a workshop, and that's totally fine. In fact, it will save you a lot of time getting things wrong because the tutor has done all that and come out the other side. They'll be able to help you navigate small, silly, but ultimately costly mistakes and fast-track you to photographic success. However, for those that can't afford to throw money at the situation or perhaps for those who like learning on their own, heading to YouTube (and other video platforms) is a brilliant way to start learning about photography.
Of course, Fstoppers has a fantastic channel full of videos to help you along the way, with extra paid content that will prove to be invaluable right here on this site, but there are plenty of other top-notch channels and photographers to follow whether you want to learn the basics of shooting, filming, or image editing. There really is a lot of free content online that can help prepare you before you head off to a photography workshop.
2. Buy What You Need
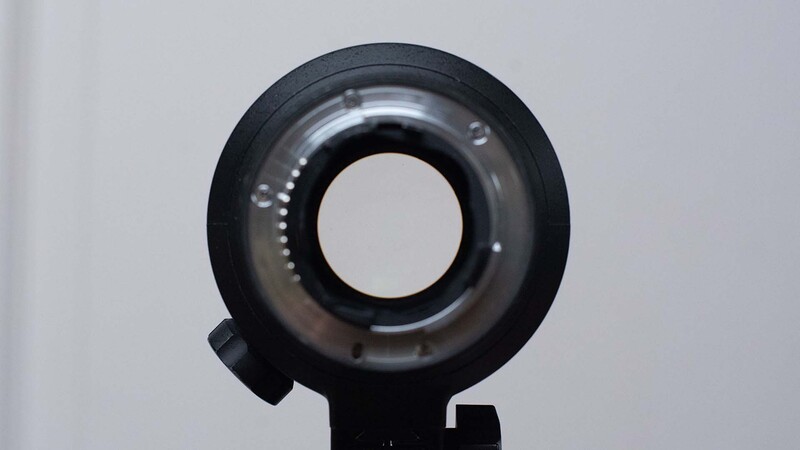
Far from the throes of gear acquisition syndrome where people part with their hard-earned cash for the latest piece of kit they don't really need, it is important to get the essentials in your kit bag if you're hoping to shoot something specific. For example, you may want to concentrate on macro photography in which case you might invest in a macro lens. Sensible choice, but you could also invest in a reversing ring mount for your camera and use an existing kit lens to dabble in macro photography before you book that workshop.
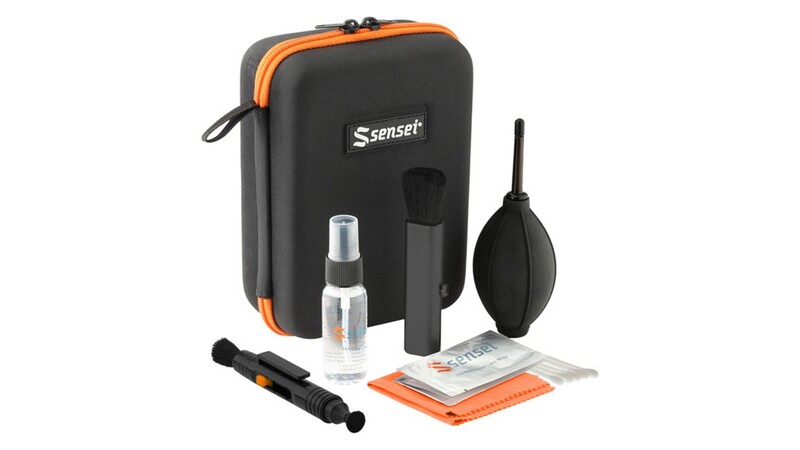
Things you may want to consider purchasing are: extra batteries, extra memory cards, a tripod, a flashgun, a camera bag, a remote shutter release, and a lens cleaning kit complete with air blower and microfiber cloth.
3. Take Inspiration From Others
While you don't have to learn the names of all the great and esteemed photographers out there, it's a good idea to have a look around online, in museums or galleries, and in books to discover what kind of photography you really like and take a deep-dive into their work. From here, you might be able to glean an insight into how they shoot, read interviews on their approach to photography and discover the best tips and tricks to help you achieve similar results. Failing that, you could always make a list of what you like about each photo and see if there are any common elements that link them up. With those common elements, you'll then be able to head out and practice what you've found in your own work.
4. Get to Grips With the Basics
Depending on the workshop you attend, whether it's part of a larger class or a private 1-2-1, it may pay to do a bit of basic theory first. The bare essentials of photography lie in the operation of your camera settings. The exposure triangle is the first port of call, as learning how to balance aperture, shutter speed, and ISO is key to achieving well-exposed, sharp shots. Next, you might want to think about white balance, focusing techniques, and some basics of composition, such as the rule of thirds and leading lines. Check out my post about the exposure square for a little more in-depth thinking into the exposure basics.
Whatever skill leave you're at, though, there's always more to learn, especially with a professional. Even pros that meet up will do things in different ways and always learn some key nugget of information from the other. Make the most of your workshop by learning the basics so you can spend more time developing your skills rather than establishing them.
5. Familiarize Yourself With Your Kit
What you don't want to do is turn up to a photography workshop and not have a clue how to operate your camera. Chances are, the photography tutor won't have used that specific camera model before either, so you'll both be spending time trying to figure out how to alter the ISO and turn on exposure delay mode before actually learning about photography. The best way to learn your camera is to read the manual and practice flicking through menus, changing settings, and experimenting with the different modes it has.
6. Prepare Your Equipment
Once you know how to use your camera and photographic accessories, you'll be booking and getting ready for your workshop. And as someone who regularly runs photography workshops, I can tell you that there are common errors beginners make when turning up. Here's some stuff you should prepare before arriving:
- Have a waterproof coat and appropriate footwear
- Clean your lenses before leaving
- Empty memory cards and format them in the camera if you can
- Bring spare batteries and come with them fully charged
- Bring extra memory cards if you can
- Check the weather and bring appropriate outdoor wear if outside
- Bring some food and drink if you're on location
- Make sure you tell the tutor what you're hoping to learn and what kit you have (include the full list, even if you think you won't need it)
7. Read the Reviews
Once you've found one or two tutors that might be viable, it's worth checking their online reviews. Google reviews, Trustpilot, Tripadvisor, and other places are great to see what other people are saying about the tutor and if they're worth their salt. Bear in mind that one or two clients may have had bad experiences through no fault of the photography tutor, so instead of going by the one or two bad comments, look for common threads through multiple reviews to see if something sticks out.
8. Find Someone Suitable
A studio photographer might be amazing at their job but a lousy teacher. And an amazing studio headshot photography tutor might be fantastic at both photography and teaching, but not be much help if your interest is landscape photography. Finding someone who's right for you and your interests is the most important thing when signing up for a photography workshop. Check their successes, read their about page, check if they have any award wins, discover who their clients have been in the past, see what they specialize in, and if you're still in doubt, give them a call and chat through what you want to do.


Join the Fstoppers community for free
-
Post comments and join in the discussions
-
Browse the site ad-free
-
Share your work and get featured in the community
-
Compete in the photo contests for fun and prizes
2 Comments
Under inspiration (and what to expect), I do a Google search on the location and select "images". That will bring up all kinds of ideas as you are critiquing the images to fit your personal style.
You said to bring fully charged batteries. I think you need to say and chargers to recharge them when the batteries are depleted. Certainly common sense to most, but there could be someone still wet behind the sensor that would think they'd last the whole time.