
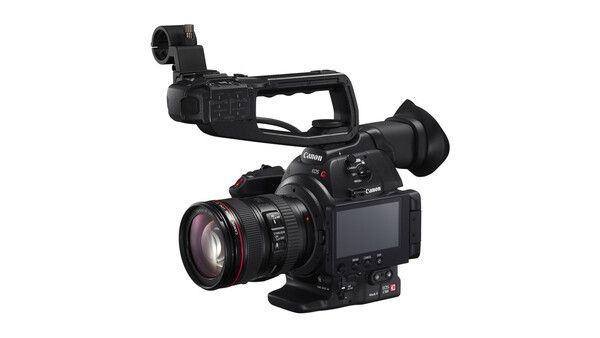
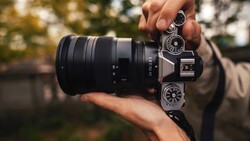
Like many photographers during the digital revolution, the idea of being able to capture high-quality video with my stills camera has always been enticing. Filmmaking is a different way to tell a story entirely, because of the addition of context. While a still photograph can certainly be moving, influential, and captivating, a motion picture allows for the beginning, middle, and end of a story to be shown in a constant visual style.
Aside from the distinct difference in the sets, equipment, and crew, filmmaking has one distinct aspect that trips up many photographers: cinematography. The camera doesn’t even have to move in a take for the relationship between camera and subject to be vastly different. While there are a variety of stabilizers that allow fluid handheld motion of cameras, the idea of the camera is entirely different. A still photograph is (almost) always from eye level if you think about it, at least in many storytelling or journalistic photos that we see on the news and in history books. Rarely though are cameras operated from a standing eye level in the world of cinematography.
This is something that every beginning cinematographer will struggle with. The camera angle plays into the feeling of a motion picture to such a greater extent because events are unfolding in time in front of it, unlike still photography where everything has to be implied. The idea that the camera can move through a set during a take to reveal or hide certain details is something that still photographs cannot convey. That’s exactly where the distinction between the methodology of photographic and cinematographic composition exists. My best advice is to get a tripod or a small stabilizer and shoot as much random footage as you can to get an idea for how best the camera can be positioned for certain projects. And like any craft, study the greats. Pay attention to the cinematography of movies and you’ll see just how different it is from the composition of many photographs.
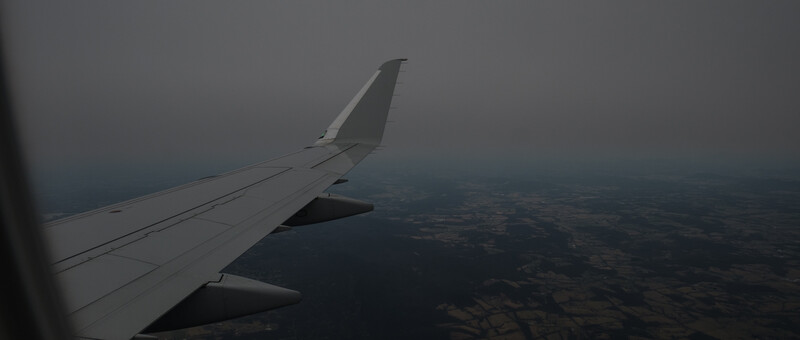
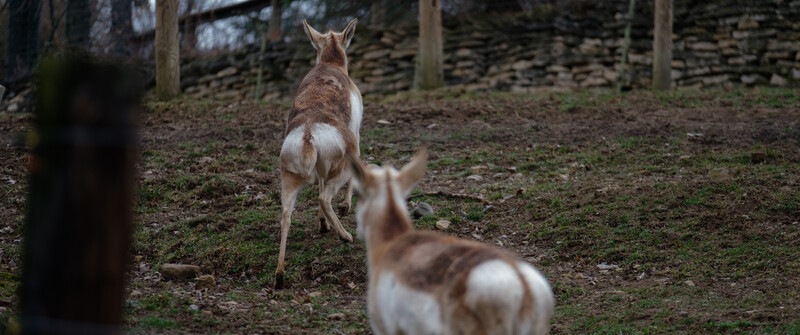
The next biggest hurdle also lies within the realm of composition, or aspect ratio. Most movies are displayed in widescreen which is not a format any stills camera will shoot in. Even mirrorless cameras from Sony and Fuji will only shoot as wide an aspect ratio as 16:9 which is your standard television aspect ratio. Cine widescreen as it’s often seen is either 2.39:1. Since most photographers are used to shooting in 3:2, which has a lot more height, framing can be tough. Here are a few tips I have for helping you to better see in 2.39:1 widescreen.
Use 16:9 Viewing
Yes, it’s not perfect but if you have a camera that will show you your framing in 16:9, use it. I use this setting on my Fuji X-Pro2 to shoot stills in widescreen. I always make sure to leave some room on the top and bottom for the 2.39:1 crop, but this gives a much better idea than the native 3:2 ratio. Not all cameras offer this unfortunately, so those of you with Canon and Nikon SLRs will have to be very careful to frame in the center third of your viewfinder.
Use Widescreen Preview
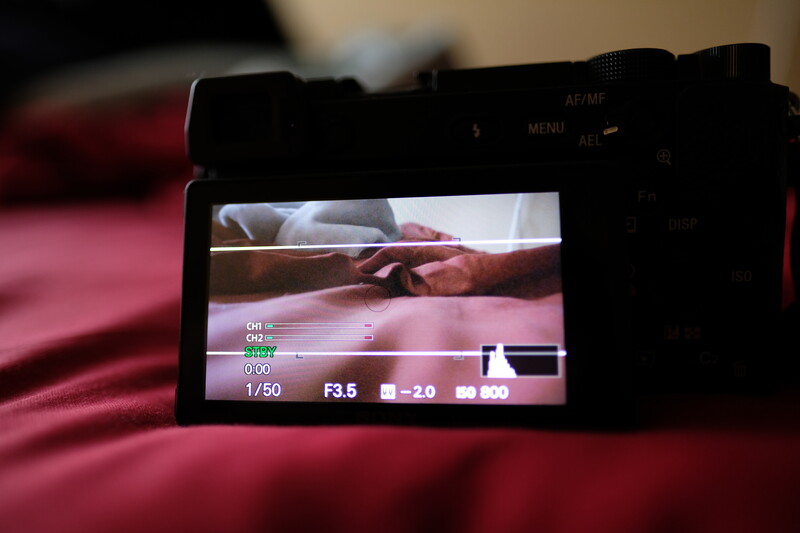
This comes into play for Sony shooters that are already using their video function. The Sony mirrorless cameras like the a6300, a6500, and a7 models offer a widescreen safety framing feature when the video mode is selected that offers two white lines through the 16:9 frame to show where you should compose for 2.35:1 widescreen. This mode is unavailable in still capture modes but it’s a nice feature if you don’t have an external monitor.
Use an External Monitor
While a good monitor is at least a few hundred dollars, these are game changers for many (myself included). Ever been bothered by the small LCD on the back of the camera? Buy a monitor. I didn’t want to go overboard with spending on video equipment initially because it was just something I was getting into for fun for some personal projects, so I picked the Aputure FineHD VS-2. At $278, it’s well spec’d. It has a 7-inch 1080p screen, HDMI in and out (for pass through to external recorders), and a headphone jack for those cameras, like the many mirrorless options, that don’t have one built in. The build quality isn’t as amazing as the Atomos recorders, which I’ll discuss below, but it gets the job done. It offers framing guides for 2.39:1 widescreen and even focus peaking.
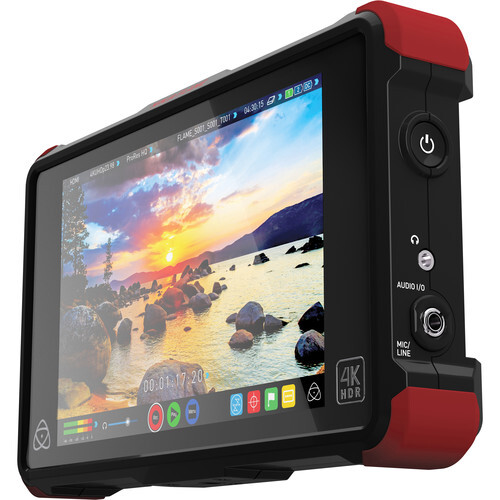
While they do much more than just show you what your camera is seeing, the Atomos brand of video recorders are top notch. My personal favorite is the Ninja Flame, which might be steep at $1,295, but it lets you record 4K at 30fps or 1080p at 120fps in a variety of ProRes and Avid formats for a smoother workflow and higher quality image. Atomos recorders will also give you exposure guides like a parade, vectorscope, and histogram. For hardcore shooters, there’s an anamorphic mode that will allow you to desqueeze and view anamorphic shooting (if you don’t know what anamorphic lenses are, read this). Of all of their amazing features, they also offer frame guides for those of us that aren’t shooting anamorphic so we can appropriately compose.
Keep Width In Mind
Framing in widescreen means that the visual information is spread along a wide, horizontal image. While vertical lines can still play into composition, the overall frame will need to work for widescreen. This is why I recommend using the 16:9 frame mode on your camera to best visualize a wide frame. If you’re trying to frame your main subject with other compositional pieces in the frame, they need to fit within in the short vertical edge of the frame. Starting out, I would often apply my crop in Premiere only to find out that I hadn’t paid proper attention to my shooting angle and suddenly something in the background or foreground that I liked was cut from the frame because it was well above or below the subject.
Try Wide Lenses
Suddenly your wide lens doesn’t make everything seem so spacious when you lose the top and bottom thirds (roughly) of your image. Just like crop-sensor cameras decrease your field of view, so does widescreen. You may find yourself needing a much wider lens than normal for certain compositions if you’re having trouble with tall objects. On the opposite end of the spectrum, long lenses will now feel even more intimate than they used to because of the widescreen crop. This can be used to great effect, but framing again becomes harder because you’ll need to be even farther from your subject to fit it into widescreen.
For a final tip, I recommend shooting people while you try this whole widescreen thing out. The reason being that once you see how to frame a face (a typically vertically composed object) in a horizontal frame, it’ll be easier to work the idea of wide framing into other objects you may encounter.
It’s important to remember that your equipment shouldn’t limit you here. Regardless of what camera you’re using, you can deliver video in widescreen using your favorite editing software with a crop layer. What will help more than anything is understanding how to look at things in a new light. If your camera doesn’t have a wide crop mode, there’s a way to see in widescreen that’s totally free: your own eyes. We see in a sort of widescreen with our peripheral vision. If you see a scene you like, grab your camera with a 35mm or 50mm equivalent and back up a few feet before snapping a photo. Venturing into video can be daunting for still photographers, but it doesn’t have to be. Get creative with your angles, and look for long compositions you may not naturally see. Above all, get out and shoot as much as possible to develop the skill. There’s no better way to learn.


Join the Fstoppers community for free
-
Post comments and join in the discussions
-
Browse the site ad-free
-
Share your work and get featured in the community
-
Compete in the photo contests for fun and prizes
No comments yet