
Optical snoots are inexpensive attachments that can open up a world of possibilities for precise light placement. Here is a detailed description of how to use them and what you need to start creating with them.
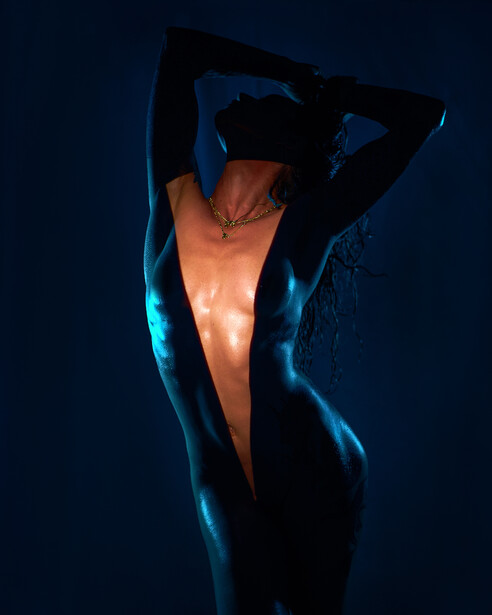
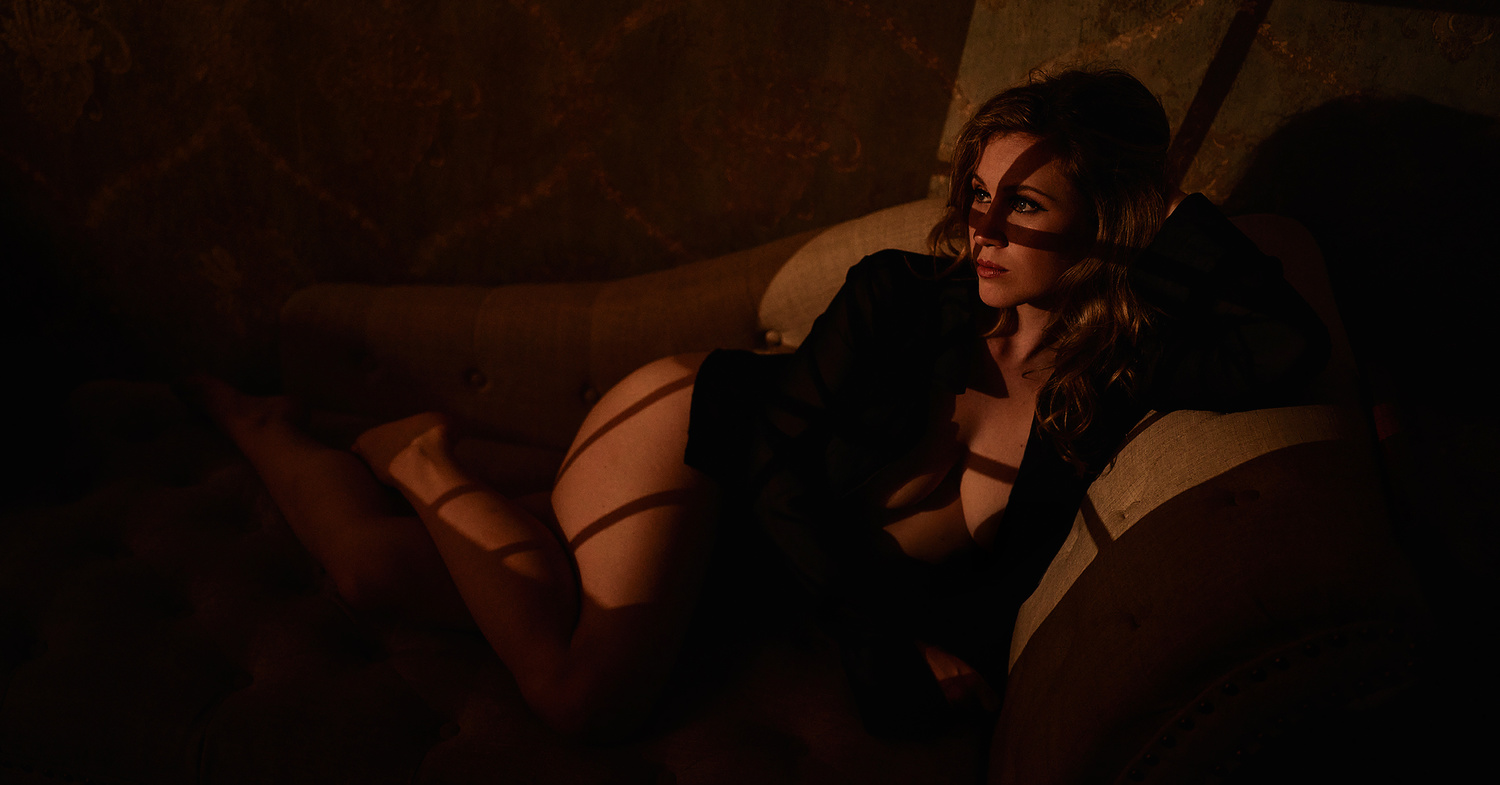
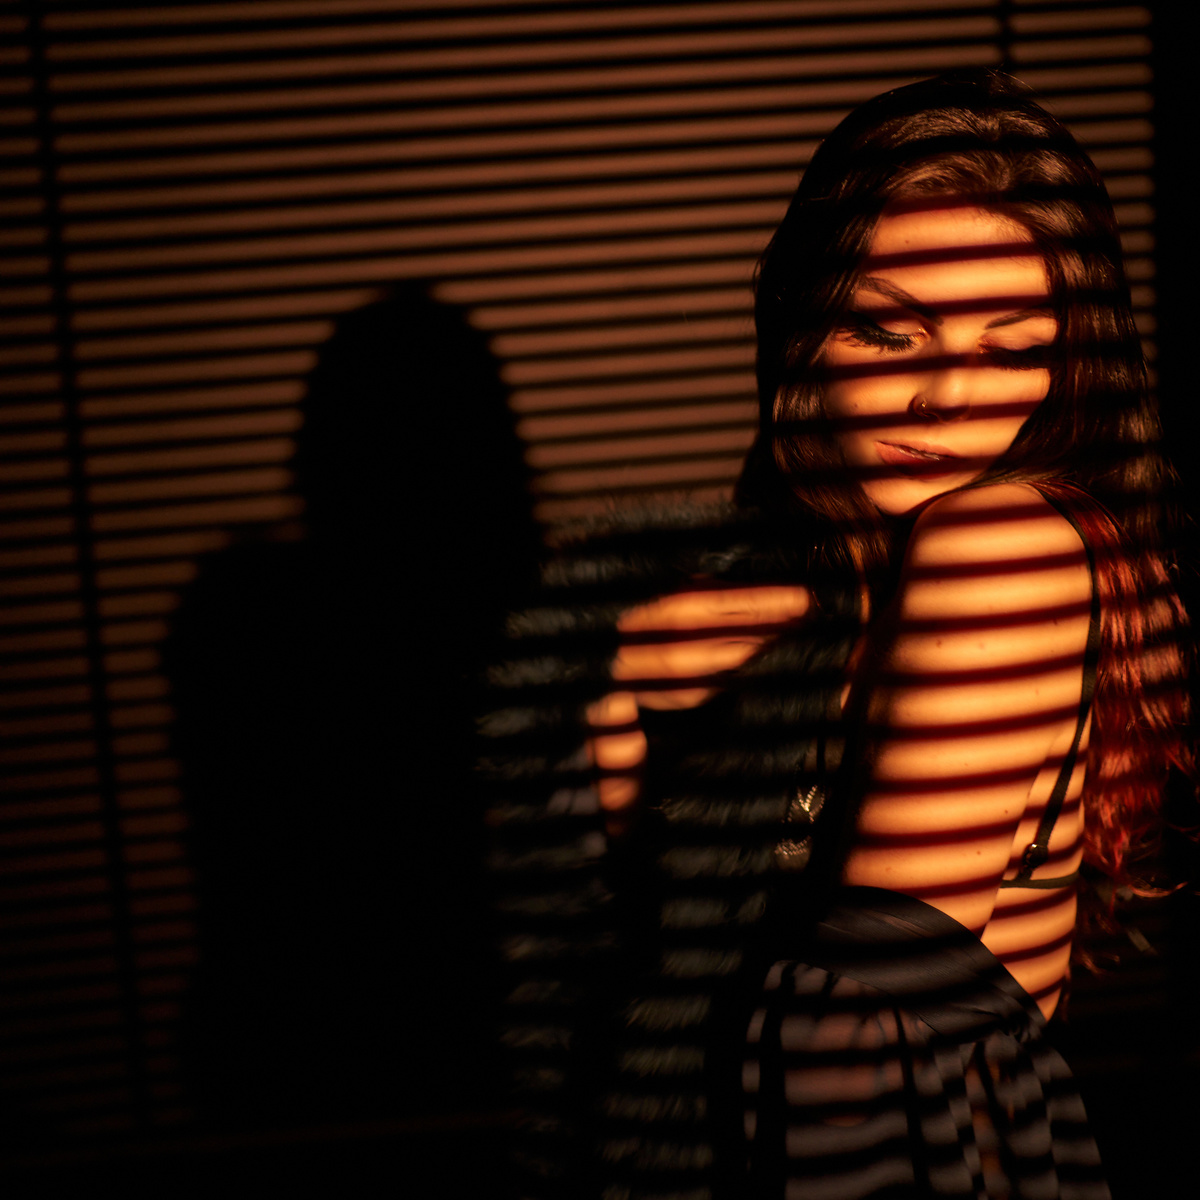
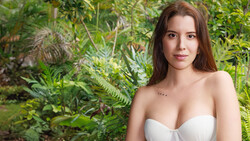
I created this 16-minute YouTube video breaking down how I created an image that was recently featured on the Fstoppers Critique the Community video here. Here is that image:
I created the video for an in-depth look at all of the pieces of the optical snoot kit, the colored LED light panels, the placement of the lights used here and the settings, and the other attachments that you can use with an optical snoot. I will summarize all of those points here so you don't have to watch a 16-minute video if you are not able to. I'll include screenshots of the video where I discuss each of these parts so you can jump right to the part that interests you.
The Optical Snoot Kit
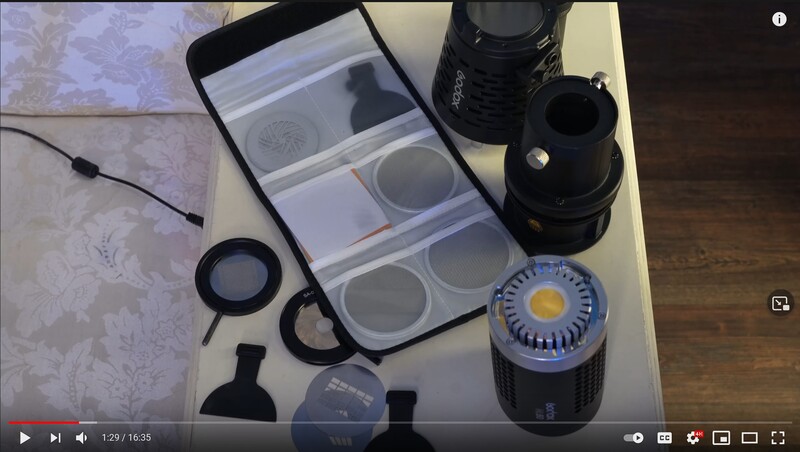
A snoot is an attachment that goes on the front of a light to narrow the light pattern. An optical snoot is the same thing, but it has a lens at the end that further refines the edge of the light pattern to make it a crisp spotlight. Once you have that crisp edge on the light, you can use different accessories that go between the light and the lens. The accessories are called "gobos." You will need the following:
- A light. Preferably an LED. Attaching an optical snoot to the front of your strobe prevents the heat from dissipating and can reduce the life of your bulb. Here, I have the ML60, a 60-watt LED from Godox.
- The optical snoot. This has a piece of glass in it and a place in the front for a lens. I purchased the Godox kit that had the optical snoot and the lens. If you don't buy the kit, you'll need to buy a lens. It has to be a lens that is made for the snoot. You can't just put one of your camera lenses on it.
- Mounting adapter. Because the Godox kit was meant to be used only with one specific light in the Godox line, you'll need an adapter that lets you use it with any Bowens mount light. There is a $45 adapter for that.
- Accessories. These include any gobos, flags, or other light-shaping tools. If you want to buy the specific gobos for this kit, there are several options. Keep in mind that you will need the gobo holder. I only found this out when I bought the gobos and then got an email saying: "Customers who bought that also like this item..." and they gave me a link to buy the thing that I need in order to use the gobos I just bought.
The Colored Rim Lights
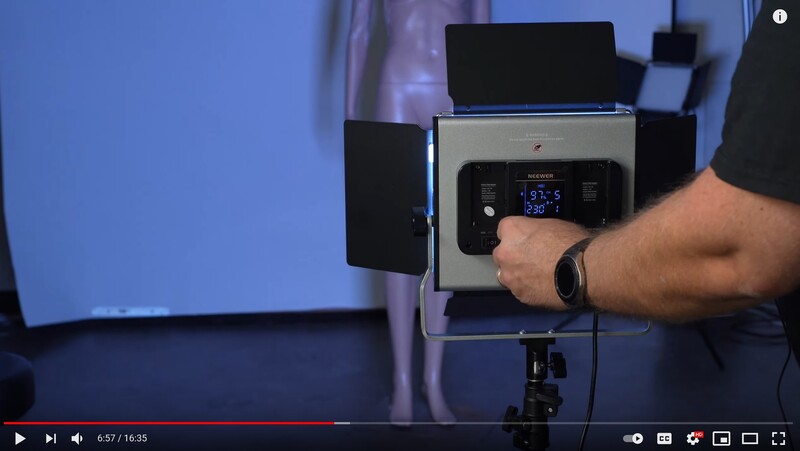
The lights I used on the side were the Neewer RGB light panels. These are great because you can control the hue, saturation, and brightness with a phone app. The phone app also lets you group the lights and change them together. I use the phone app so that I can place the lights and then adjust them precisely how I want them while seeing in real-time how the light hits the model. These particular lights are also bi-color, from 3,200-5,600 K.
Light Placement
I wanted to have the blue light act as a rim light but wrap around just a little bit to the front and still have the front be almost entirely black. The LED with the optical snoot is placed in front so the top of the spot light is just under the model's nose or chin.
Once you have the lights in place, it's time to start shaping the light with the flag attachments. This is actually very tricky, and you and the model will need to be patient while you get it just right.

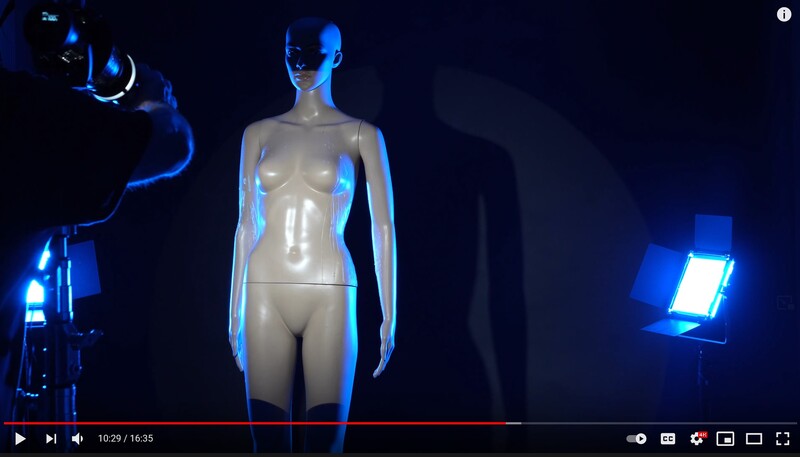
Here is a BTS picture that is not in the YouTube video where you can see the placement of the LED light panels:
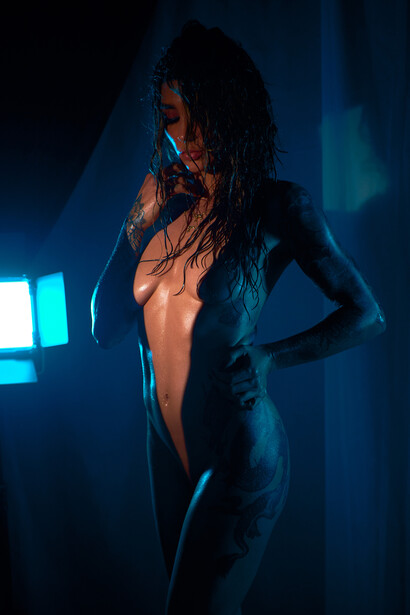
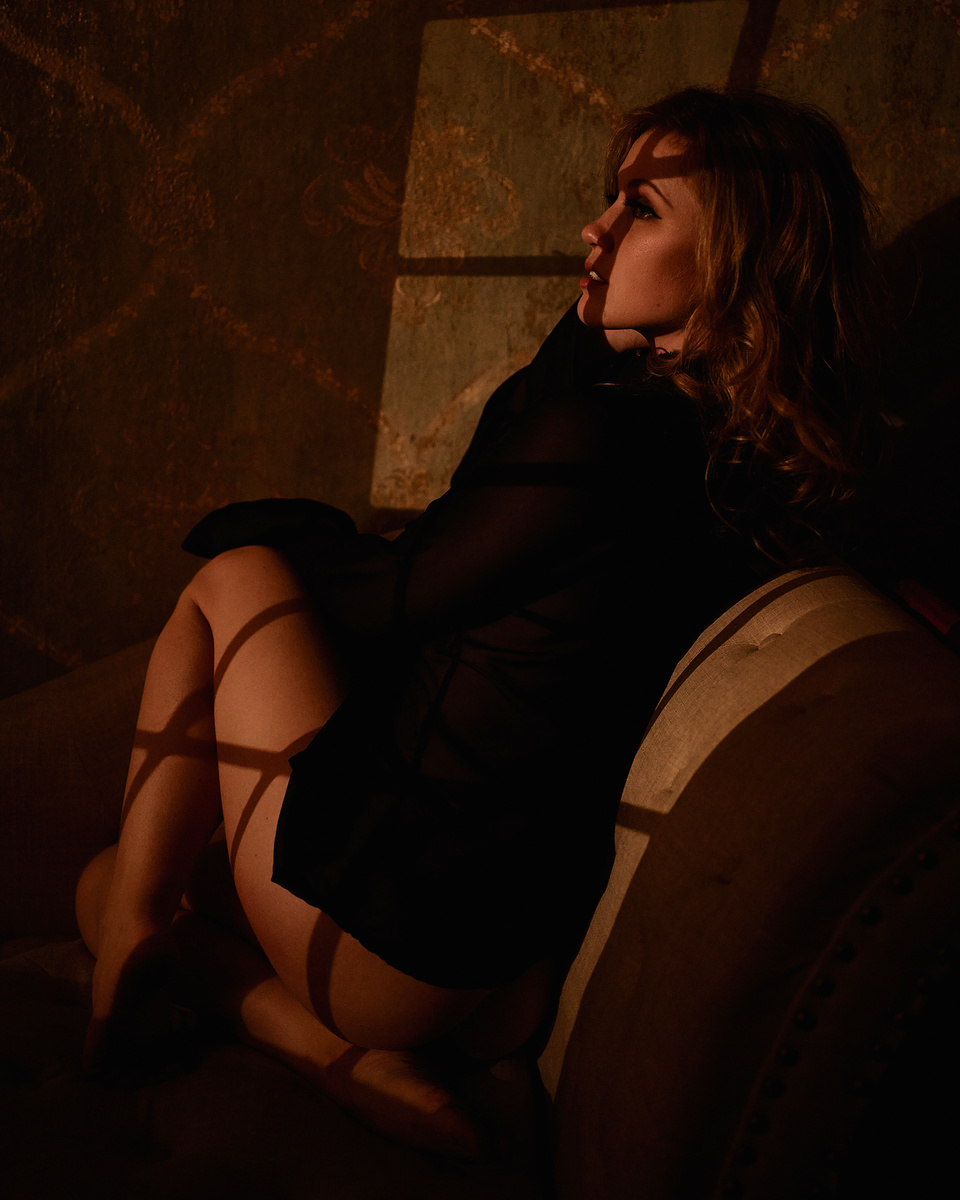
Once you have the triangle in place, you need to adjust your rim lights and your center light in the optical snoot to get the right balance. I wanted richer skin tones, so I turned the light down to about 20%. The side lights will depend on how close they are, the angle they are to the model, how much wraparound you want, how intense you want the color effect, etc. There are a lot of factors that go into it. I wanted to create an implied nude look, so I set the lights so they just hit the edge of the body and kept the front censored. I only had to do a little censoring in post to darken the front to get it safer for Instagram.
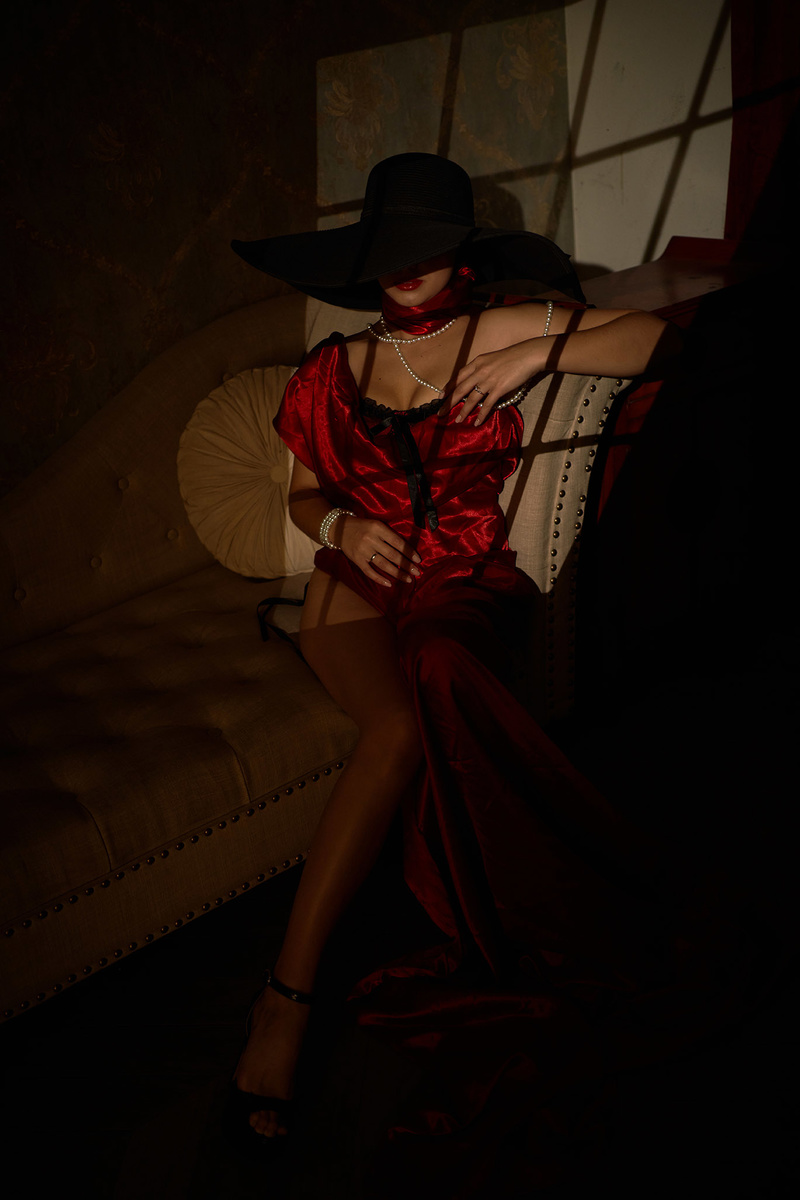
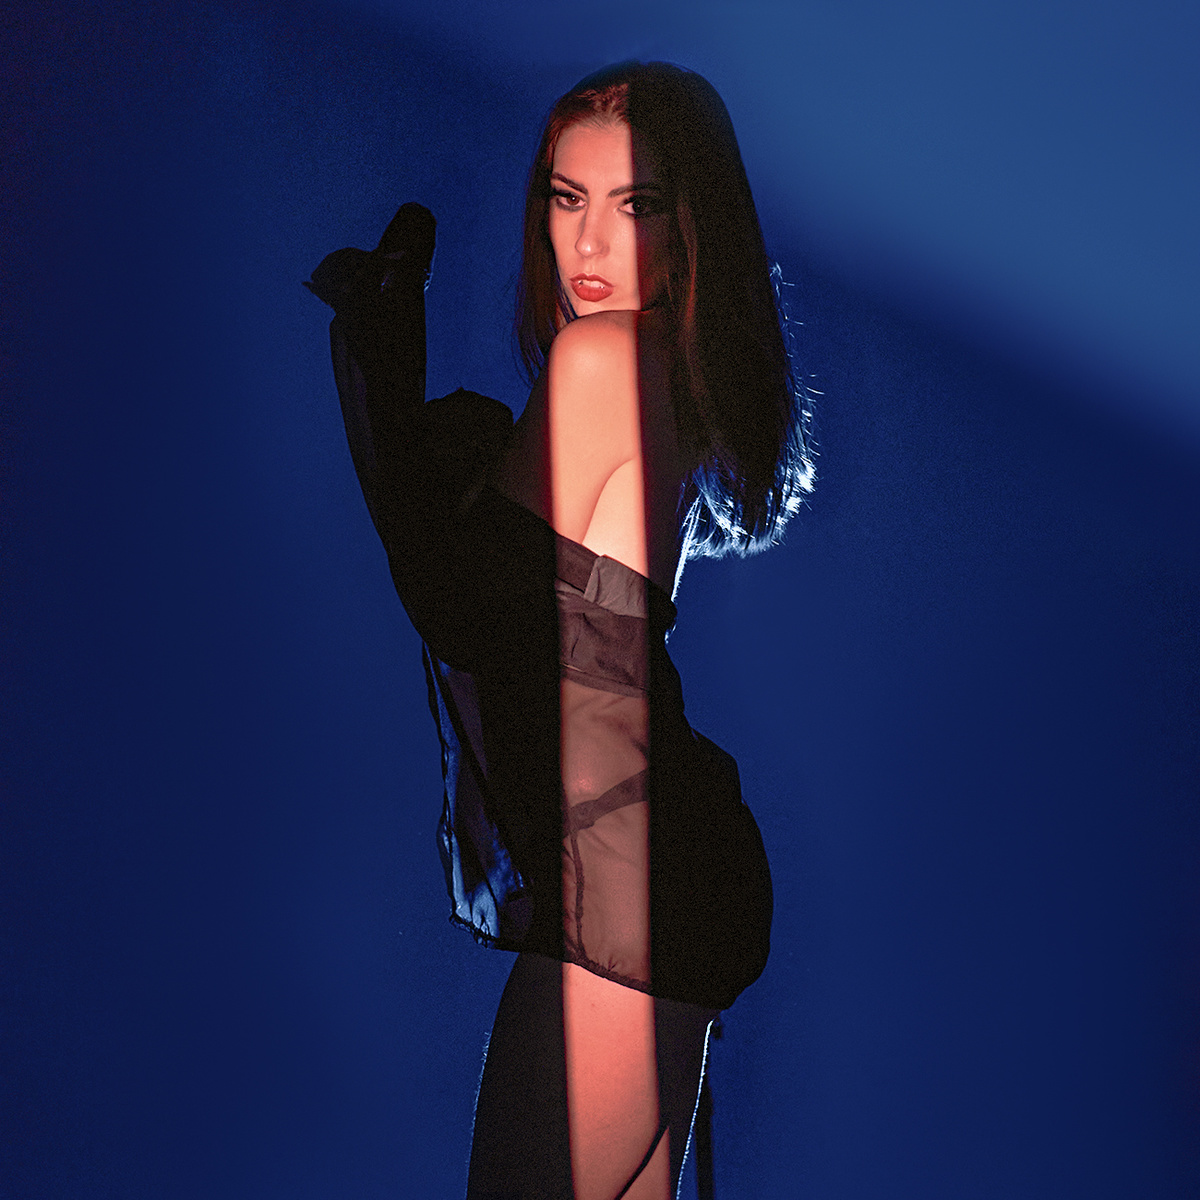
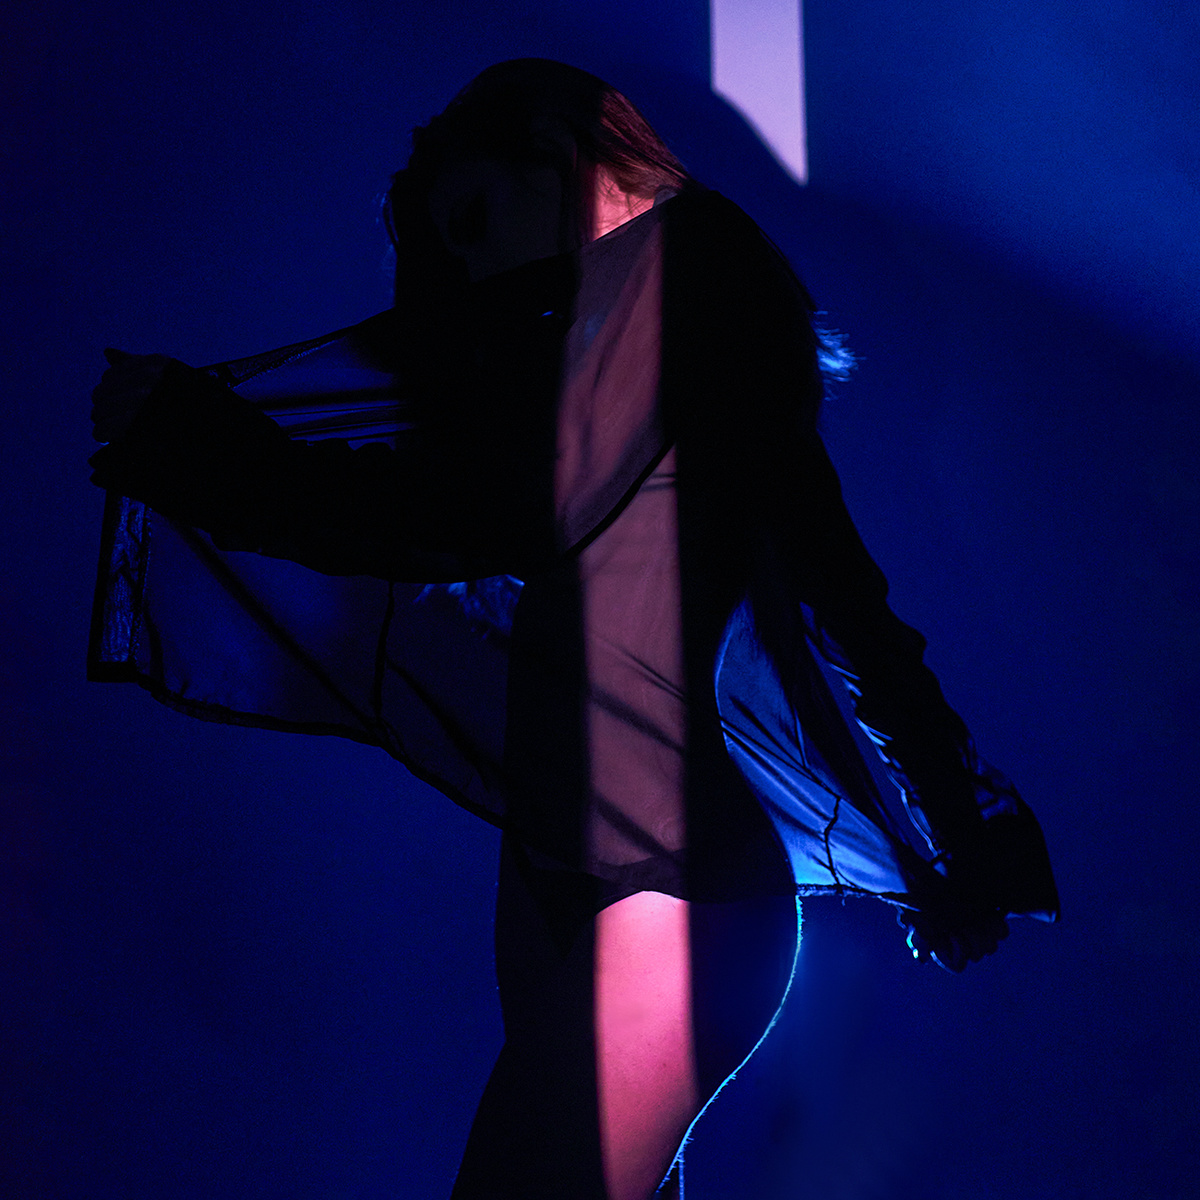
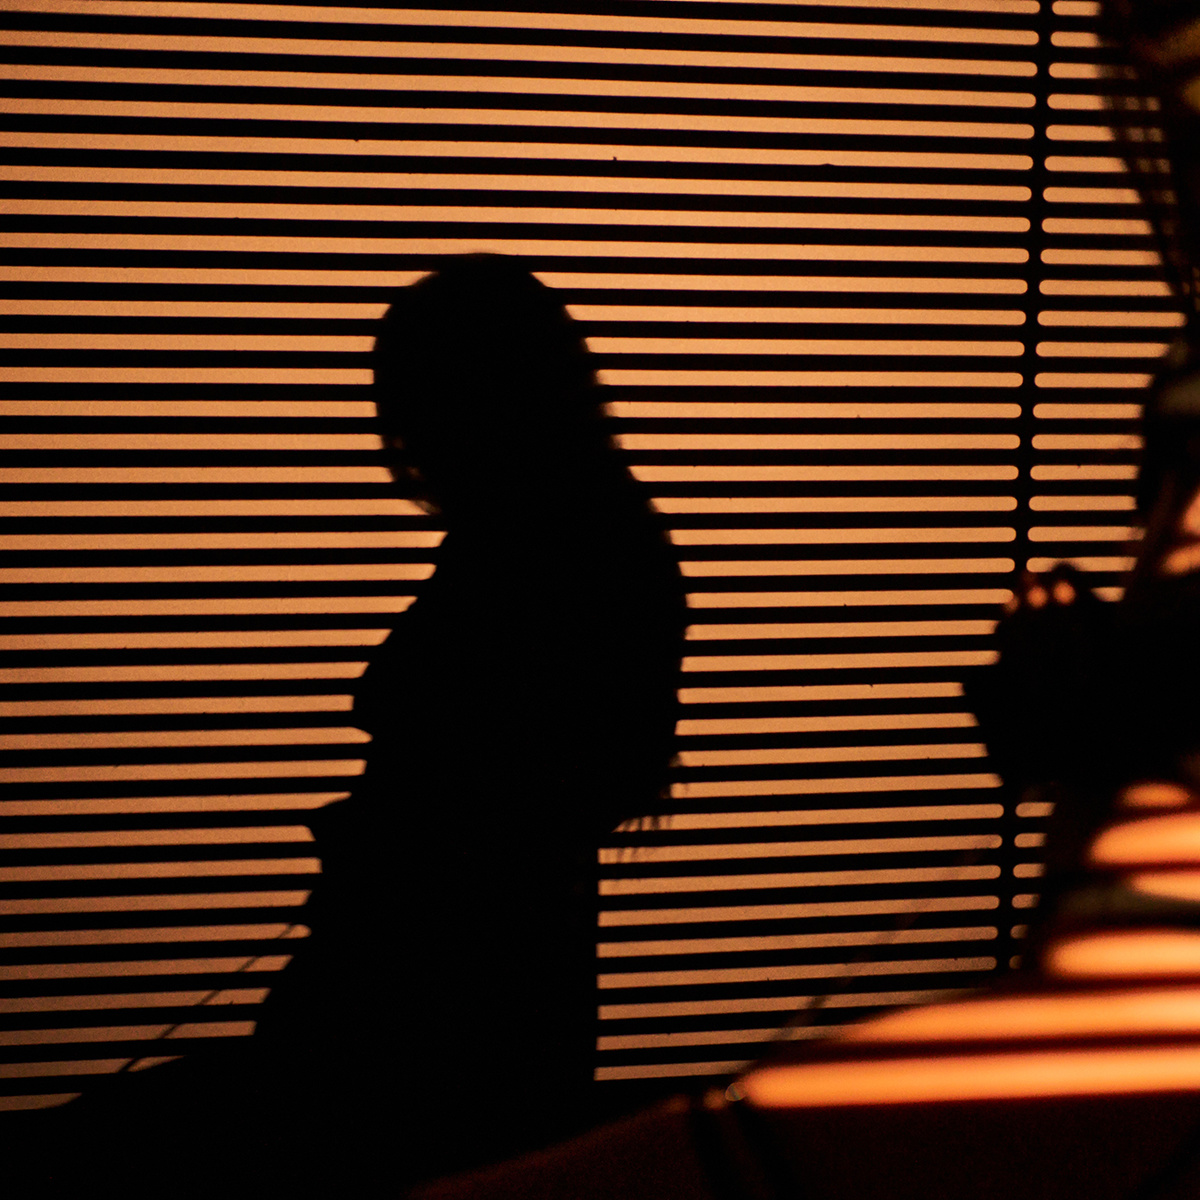
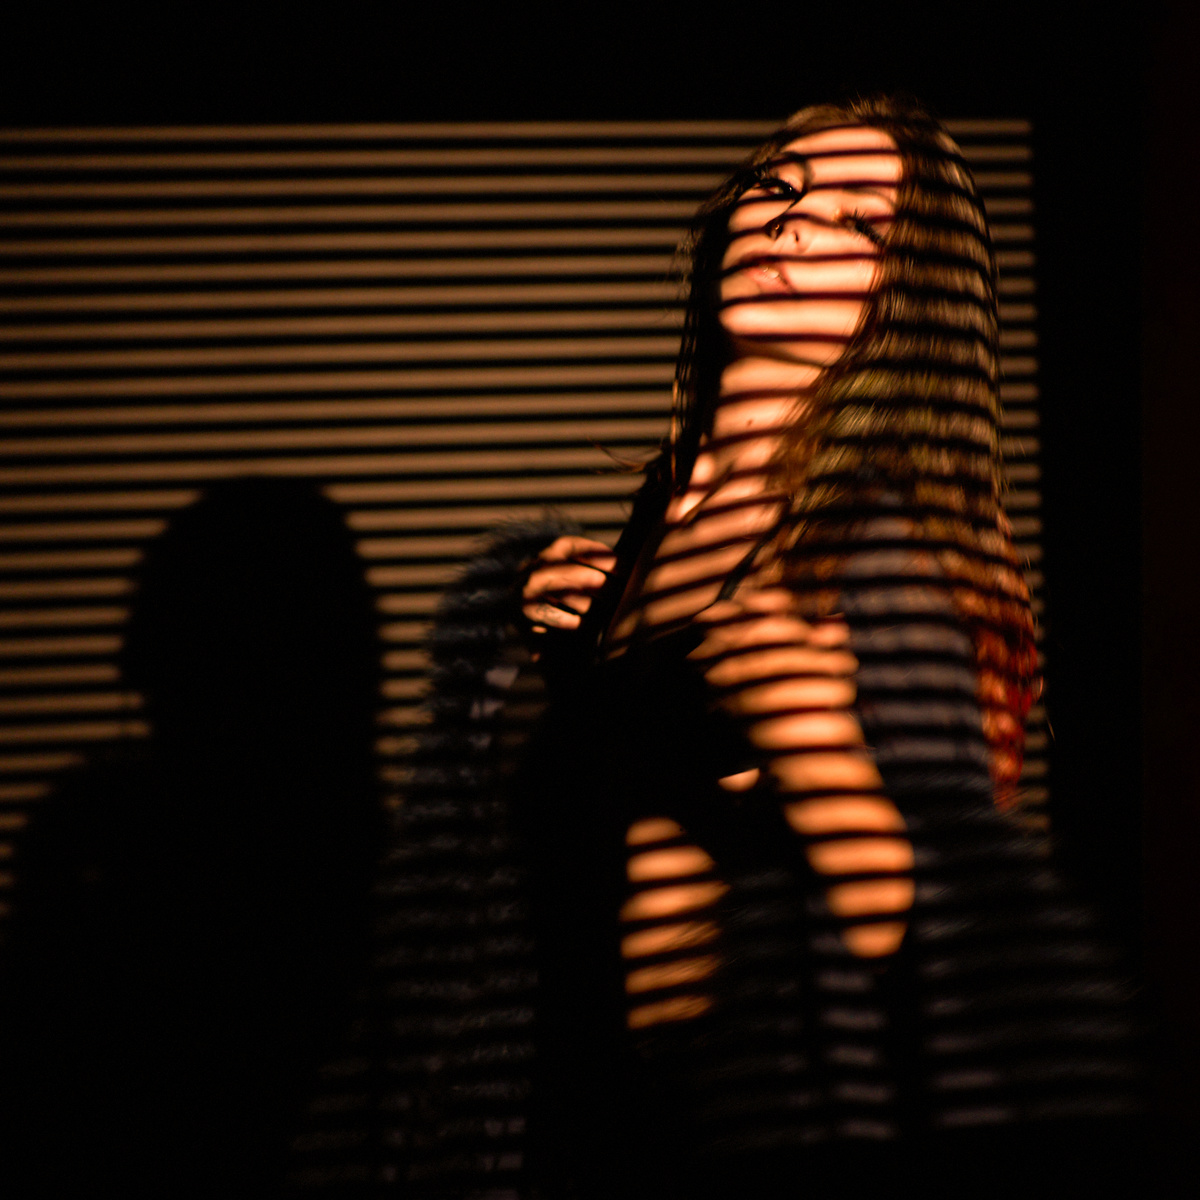
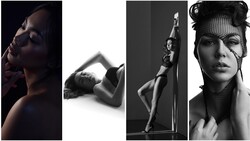
Here are some sample images that I took with various gobos and the optical snoot:
Other Attachments
The other attachments include window blinds, a narrow strip to create a beam of light, and an iris attachment to create a smaller spot light.

Join the Fstoppers community for free
-
Post comments and join in the discussions
-
Browse the site ad-free
-
Share your work and get featured in the community
-
Compete in the photo contests for fun and prizes
4 Comments
Great. Impressive. Thank you!
Thank you!
Thanks for making this! Awesome explaination.
Thanks Lee!