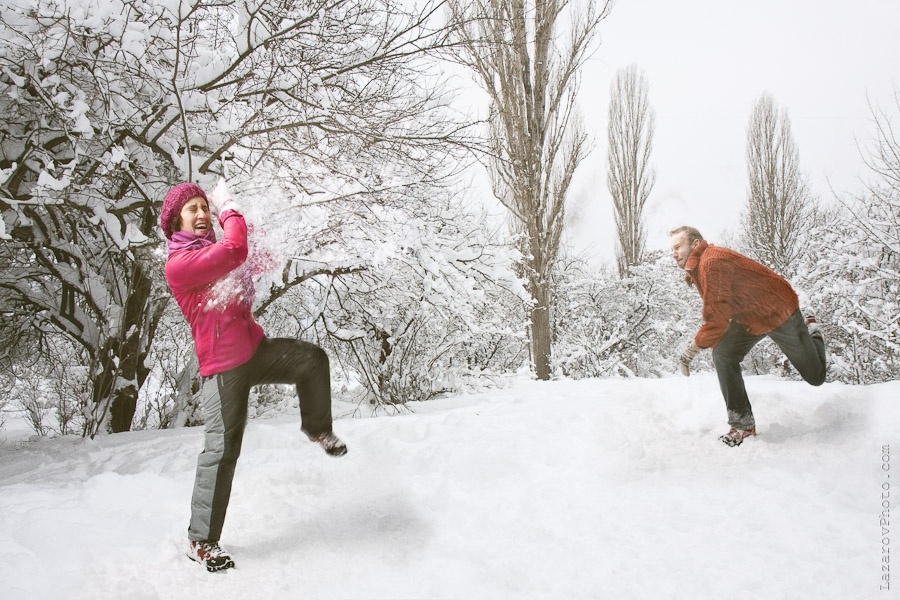
It's different in cold weather. Your clothes are different, your car tires are different, working with subjects is different. You should also handle your gear differently.
Keeping Your Body Warm
If you are like me, a one-man band most of the time, you handle all your gear yourself. You have to pick up cold metal light stands, set up tripods, press small buttons on sensitive gear, put big softboxes, and so on. People on set may be freezing but many times you may be sweating, literally. That's why I put on several layers of clothes so that I can remove the top layer in case I'm warm. Having a t-shirt and a fluffy coat is not good but having a t-shirt, polar sweater (or two), a scarf, and a winter coat on top is a nice combination. Fingerless gloves is also a nice option but I prefer those with fingers unless I need my fingers skin exposed for using a touchscreen.
No hats whatsoever! You need to cool your head as your brain works at 180 percent. I'm joking of course. Your body is like a house. Warmth goes up the roof and if the roof is not well insulated, most of the heat is lost regardless of how good walls and windows insulation is. Keeping your head warm will keep the whole body in much better condition than you think.
Shoes are extremely important. You should know your feet well but mine do not like the fluffy fur in the shoes. I feel better when I have quality mountain-hiking shoes and a few layers of socks.
Backup clothes are just as important. Sweating and leaving the t-shirt on your body or your socks on your feet may get you in a very cold trouble. Have a few extra t-shirts and socks.
Bring tea. Drinking warm or hot beverages increases your inner body temperature. Just like the importance of hats, it's very important what the temperature of your food and drinks is to keep the body comfortable.
Gear In the Snow
No matter if it rains, snows, or there is snow on the ground, the simple truth is most of your electronics do not get along well with water. It's not just the electronics. You better not put your gear bags directly on the snow and leave them there for several hours during the photoshoot. If you and your crew have to put your extra clothes, gear bags, and other belongings somewhere on the snow, you may buy several plastic drop sheets from the local hardware store. They will work great when it starts to snow or rain. I also get some extra plastic sheets or bags to cover my gear in case it rains.
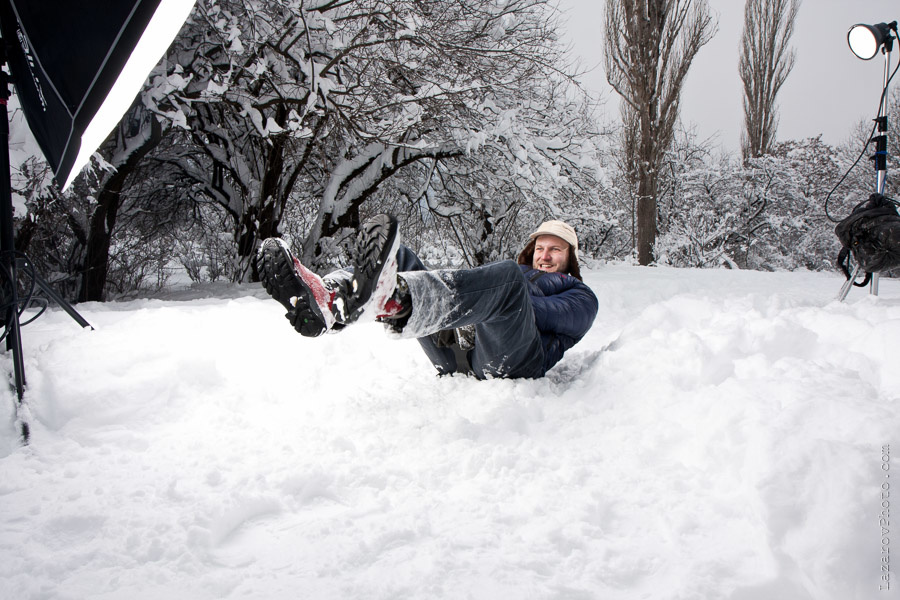
Most of the professional cameras and high-end lenses are weather-sealed (check yours). This means they can handle light rain or light snow. In spite of that, I prefer to use plastic bags whenever I can to spare my gear from the water. Sometimes I put plastic bags on the lights to keep them from the snow or rain. In case of snowing or raining, modifiers that have the flash light inside of them are best. I also wrap up my flash battery packs as I don't want to leave them in the snow. Like in the picture above, I've used that approach to keep my battery packs warm and dry. For outside protection I used trash bags.
Legs of light stands have to be buried deeper in the snow. You may need a shovel with you if you don't want to carry sandbags.
I don't usually shoot tethered in the snow, but if I do I'll have the laptop covered in plastic sheets, unless I have a better looking option like some sort of a quick setup shelter.
Batteries
Batteries don't last long in the cold. Spare batteries are a must. If you can charge them nearby, that would be great. Turn off the image previews in your camera to save battery as well.
Keep your batteries in a warm place. Either wrapped well in your bags or in warm pockets. If it's very cold and you need several extra pops, you can even wrap your flash battery packs in polar blankets to keep them warm.
It can't be said how much less time the batteries last but a good rule of a thumb could be 50 percent less. Prepare yourself to be able to shoot twice as less pictures than in warm environments. This is also valid for the batteries for your lights.
Condensation
This is the appearance of moisture when you place a cold object in a much warmer environment. Think of it like placing your gear in water. Condensation may occur when you have been outside in the cold and enter in a warm interior which could be a house, a hotel, or even a car. Condensation may not occur if your gear is slowly and gradually warmed up. However, I strongly recommend to leave all your electronics for two or three hours when you enter a warm environment before putting them to work again. There's no problem when you take your gear from a warm place to the cold. Condensation happens only when going from cold to warm places.
How do you know if it's safe to download the images from your card or turn your laptop or camera on? I usually wait for two or three hours and check the front glass of a lens. If it's covered with a layer of steam, it's not ready yet. If it's dry, for me it's safe to continue working with my gear.
If you need to photograph at several places in the snow, getting your gear in the car may cause condensation. That's why I either put it in the back trunk, where it is colder, or I don't turn the AC on so the temperature is only slightly higher than the outside.
The picture above is from a photoshoot done in the spring at a warehouse complex. I had to photograph the boss, the exterior of the complex, and the inside of the office buildings and warehouses. The temperature outside was about 64 degrees Fahrenheit, while inside of the "fridge" building it was 5 degrees Fahrenheit. I chose to photograph the image above at the end as going out in the warm weather would cause condensation on my gear and I would not be able to use it the next several hours.
Lighting In Snow
The good news is, you don't need that much light when there's snow. The snow on the ground is a natural reflector and many natural light photographers can do well even without an extra reflector. This means you can go with less lights than usual which is much welcomed because it's quite exhausting to carry heavy gear in the snow. If it's bright and sunny you can use hard lights (flash lights without modifiers) just for an extra kick of fill light.
The light quality is great if you shoot videos. All videographers know it's difficult to bring extra lights in the open but snow is your friend. Even if you shoot against the sun you will still have plenty of detail in the shadows even with a DSLR.
Avoid Grey Snow When It's Sunny
If you leave your camera to decide its exposure on a snowy day, you will get grey snow color. The reason is the light meter inside the camera thinks the white in front of the lens is something overexposed. You have to be aware of that and if you use semi or full auto exposure settings, or know how to read the internal camera light meter, you have to tell the camera to overexpose by 1.5 or 2 stops. This will make the snow look normal in camera. You can do this with your smartphone camera too.
If you don't know what the camera light meter is, it is that -2..-1..0..+1..+2 scale either on the display or in the viewfinder. There's a cursor that goes back and forth on the scale. When it's at zero the camera thinks this is the best exposure. If you have lots of white in the frame, like lots of snow, the cursor has to point almost at +2 in order to have a normally exposed picture.
Have a Plan B
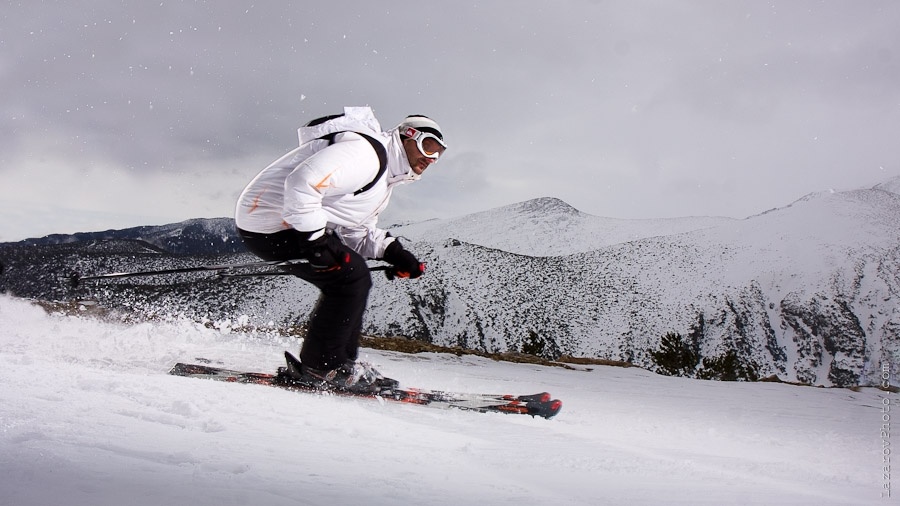
There was this photoshoot when I wanted to photograph an epic skier image who's making a carve turn with lots of snow flying from the ski. I had my gear with me just as described above. Everything prepared. I planned my lighting setups, brought light stands and lights with the ski lift. You see the image above and you can tell if it went as planned.
It was quite windy. No softbox would withstand that wind. No sandbags, no assistants. Plan B: hard lights.
The weather outside was frightful and using a long lens was not delightful. Why? It was about to start snowing any moment. I wanted a longer lens photo but that could cost too many tries for me to capture the exact moment where the skier is right between the lights (one on the right outside of frame and one on the left). I decided to use a wider angle lens.
First attempt: The skier whooshes in front of me. Click. His body position was not so epic. "Let's try it again," I shouted. Ten minutes later I was able to press the shutter again. This happened two more times. The last one (click number four) was the image above. Then it started snowing violently. Time to go home. Four clicks and that was it.
There are times when shooting outside is not possible due to safety or other concerns. Like in the story above, I could not photograph the models on the frozen lake, so I did that in the studio.At the end of the day it's the story in the picture, not your ability to take a hundred pounds of gear in the cold or you shot it just with your available camera.
Stay warm, stay safe, and don't be afraid of the snow. It's there to help your storytelling.


These are great tips! Especially about condensation. Thanks!
You're welcome Jessie!
I got hold of some "tubes" and "pillows" with silica-gel that I put in my bag right where camera and lenses are. Leaving camera 1 hour is more than enough with silica-gel in place, in my opinion. You can find this stuff everywhere and esp. when you buy new electrical stuff.
That's something I haven't tried but it's worth the effort. Thanks
You're welcome!
I don't think you would have had to use such a heavy light setup for the skiing shoot? Or well it may have been able to turn out awsome but it takes such a time to setup so in the time you can nail that shot you could have gotten several shots with the natural light.
But the tips and so was nice. Always fun to shoot in the snow :)
Have you seen SalomonFreeskiTV? Those are amazing skii films.
Yes, I'm aware most of the nice ski commercial shots are with natural light as snow allows for that. I wanted to do it with many lights. I'm a flash guy. I wanted a certain multi-flash look. Anyway. Some other time :)
A few things. Studies have shown you don't lose nearly as much heat from an uncovered head as many believe. A hat or covering helps a lot but the analogy of an uninsulated attic is not correct.
Then, "drink tea"? Not if it contains caffeine. Same with coffee and soda pop. Caffeine is a diuretic. Experience 'one the ice' in Antartica where the rule is NO CAFFEINE for at least two hours before going out is worth following. Nothing quite like going out into the cold and snow and wind only to discover the urge to urinate. In 50 below and wind it can be life threatening at times.
On opening the aperture for white snow. Do you know the amount for keeping the edge of White detail? On my main camera it is 2.3 stops. After that it is wiped out. Testing exposure before the fact will help with more precision in exposure and a lot less wasted time and frames.
About the hat: I'm speaking of my personal experience living in a house in a cold area. Both conclusions about the attic and about the hat are something I've had as an experience. Maybe it's not valid for other human beings but for me the hat (or simply a hood) makes a huge difference.
About the tea: I haven't even thought about tea with caffeine when I wrote this. Never knew there was any of that kind :) For me tea is caffeine-less beverage. At least good ol' herbal tea that I use.
It's a nice tip for the caffeine. I hope people will read it. Thanks!
Great help! The shutter speed increase worked great. Overexposing helped too, but 1.5-2 f-stops was too much, lost detail in the snow shapes. Next time I'll try 2/3 or so.
mightyessays.com/
Thanks Tom.
I may have confused you or other readers but it is when you meter for the white of the snow and then overexpose by 1.5-2 stops. I usually use spot metering mode (the dot). If you use matrix metering or you meter on some non-white area, 1.5 stops is too much.
But you got the idea. Overexposing the scenery is the key to having a normal photo in the snow. This works for metering over a white gown of the bride or a white shirt. Anything white metered by the internal meter has to be overexposed by 1.5-2 stops to look normal. Anything black has to be underexposed by 1.5-2 stops.
Yes, great tips. Another one is to have a few giant ziplock bags with you. You can place your camera/lens/strap in the bag and zip it closed BEFORE you take your camera into a warm area. Leave it in the sealed bag for a few hours to overnight before removing it. Completely prevents condensation.
Yes, the tip for the ziplock bags is great. I hope readers will read yours too.
Thanks!
Great article. Great reminders!
Thank you Renard