
Photographers often look for the "epic" shot — the one that will stand out, get thousands of social media likes, and get printed by our clients for wall art. While these photos are important, it's also essential to slow down and look for the other images in the scene that help tell a story and capture the vibe and emotion of the moment. In this video, we'll review a simple storytelling framework called "Wide, Medium, Tight" to help you find these opportunities.
To demonstrate these, I'll be showing you how to capture all the details of a rocky beach landscape, keeping storytelling in mind. I'll also walk through my editing process and by the end of the video, we'll have a series of beautiful images worthy of printing and hanging on the wall. For this tutorial, I'll be shooting with my trusty Canon EOS R5 with the RF 28-70mm f/2. Let's dive in.
What Is the 'Wide, Medium, Tight' Framework?
This is a technique that is largely used in film production to provide the full context of a scene: starting off with a wide establishing shot, then medium and tight shots for the story and intricate details. We'll follow this exact process in this tutorial to help tell a more powerful story.
Wide: Establishing the Scene
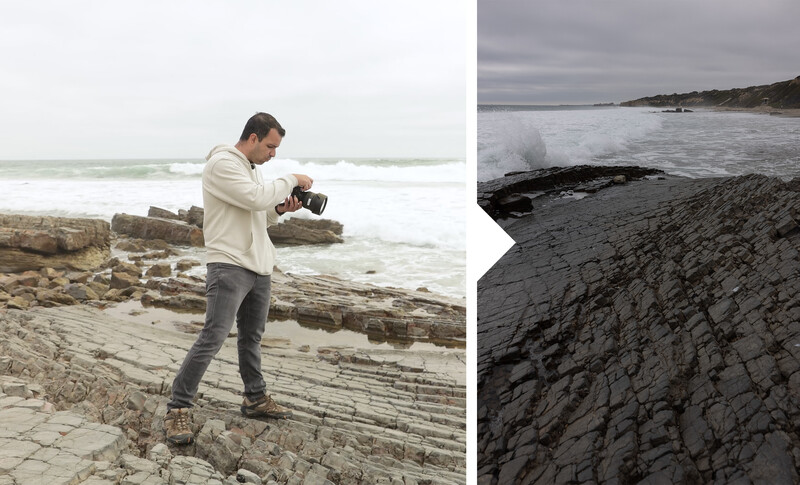
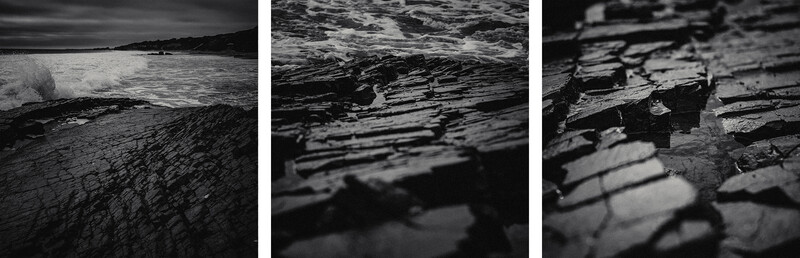
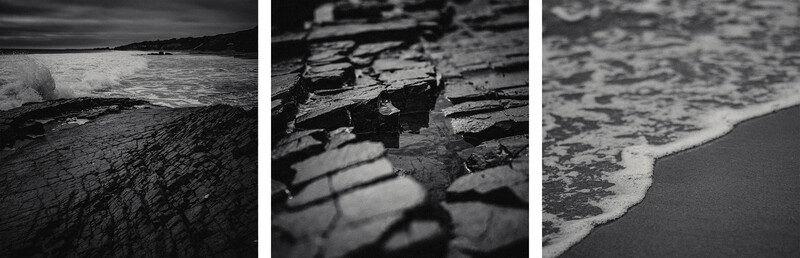
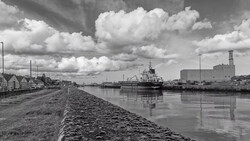
If you saw our last video, "How Your Phone Will Make You a Better Photographer," this scene will be familiar. The goal is to tell a full story about the landscape and ocean. I'll start by shooting wide to show how vast the beach is while also showcasing the depth and dimension of the rocks.
Medium and Tight: Capturing the Details
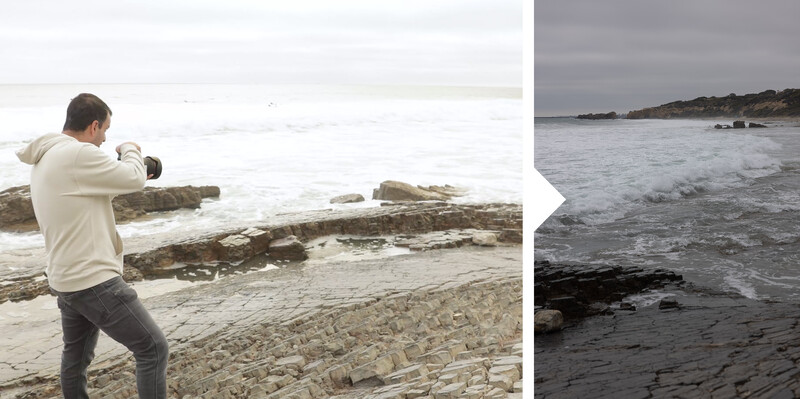
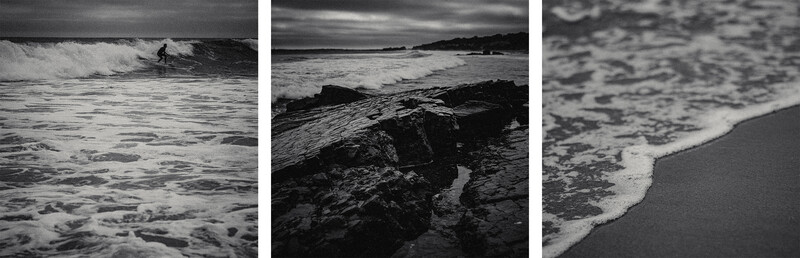
For my medium, I took a photo of the waves. This adds context and narrows in on a specific part of the landscape.

Don't move on just yet! Check out the details on the rocks or the water crashing on the sand. All we have to do is recognize everything in front of us. Here are a few images I got by simply looking around.
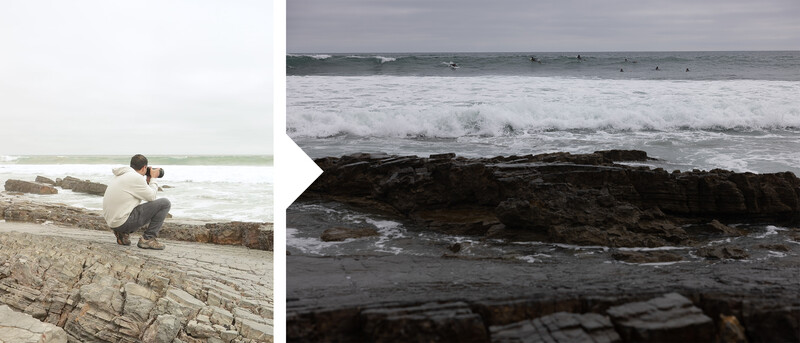
Then, I got some photos of the surfers. 70mm was the most I could zoom, so I relied on the high-resolution sensor of the R5. That way, I can just crop in post-production and end up with a "telephoto" image.
Post-Production
Before we begin, if you haven't already, go ahead and download the exercise files here to follow along as I edit.
Step 1: Edit All the Images
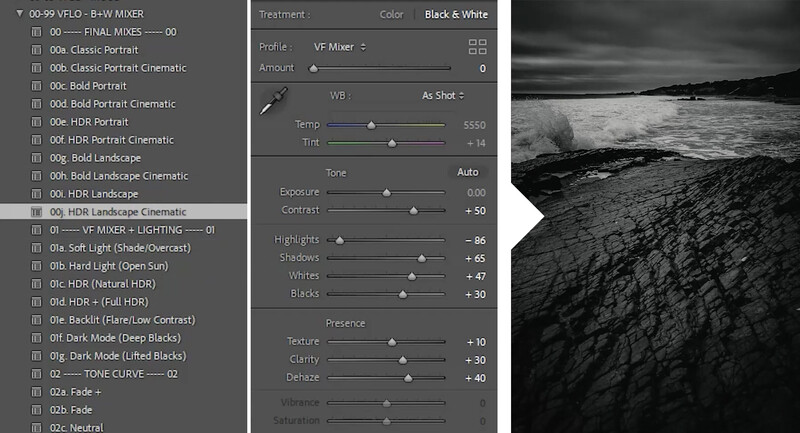
I edited these using Visual Flow's Black & White Mixer Presets. This gives it that cinematic look since the day was overcast. I started with the HDR Cinematic Landscape and lifted the whites and added a medium film grain as an extra touch. Next, copy the settings to the rest of the images by selecting them and pressing Ctrl/Cmd + Shift + S. Select all adjustments except for local adjustments, crop, and spot removal. Then, fine-tune each image to make sure they all look alike.
Double-check that the images look alike using Survey View.
Step #2: Cropping the Photos
Crop each photo to your preferred aspect ratio. The final crop of an image is one of the most important parts of the editing process because you decide what makes it into the image. This is your last chance to focus on the intention of the photograph before it's seen.
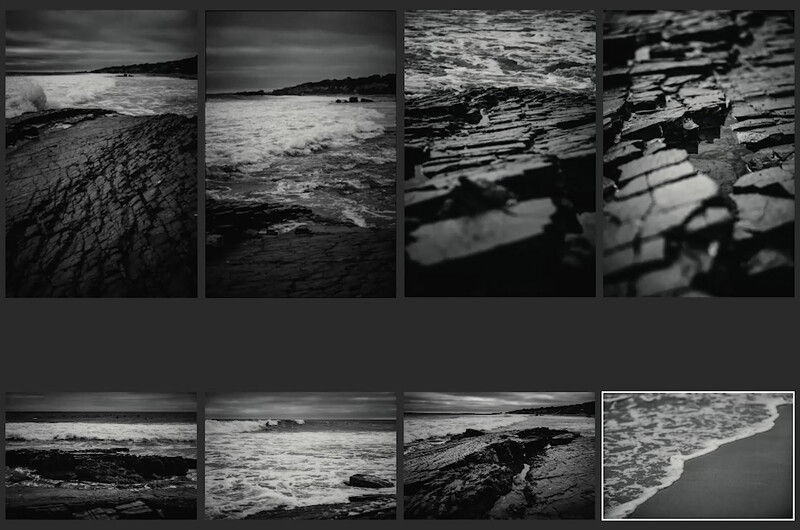
Step #3: Arrange the Layout
Apply This To All Types of Photography
This simple concept will help you tell a more complete story with all types of photography. For example, here is a 1x3 arrangement for a wedding ceremony moment. Notice how the different perspectives give the viewer a more complete perspective and narrative.

Images by Lin & Jirsa Photography
Conclusion
I hope you enjoyed this video and article. Next time you're out on a shoot, keep an eye out for all the details around you. Follow the Wide-Medium-Tight principle to capture every bit of your scene. Then, watch the story unfold in post as you combine all the photos together instead of relying on just a single image.
Thanks for reading, and for more tips and tutorials, comment below what you would like to see next!


Join the Fstoppers community for free
-
Post comments and join in the discussions
-
Browse the site ad-free
-
Share your work and get featured in the community
-
Compete in the photo contests for fun and prizes
1 Comment
Some good trips here but the very first step in all of this is to figure out what story you are going to tell - the "what", "why" and "so what" of who, what, where, why, how and so what.