
Many aspiring landscape photographers hit a roadblock when it comes to long exposure and filters. They may seem confusing and too technical, but the following tips should clear the path for you.
Landscape photography is one of the most enticing kinds of photography there is. It’s always easy for people to grow curiosity about the craft, and the images can be impactful to a universal range of people from different cultures and different walks of life. However, once the curiosity is fed, the technicalities of doing landscape photography can be intimidating to many.
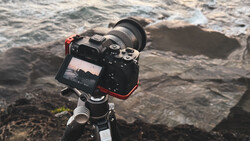
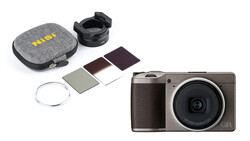
As someone who has been talking and sharing about landscape photography for some years now, I’ve seen that beginners and casual photographers commonly ask technical questions about landscape photography. More so, a lot of them express frustration or hesitation because they are intimidated by technical aspects of it. The majority of those I’ve talked to hit a roadblock when it comes to filters. The following are simple tips that should help anyone struggling to understand filters and help shorten the learning curve.
1. Remember the Basics: What Do Filters Do?
Filters should only really do one thing, and if you don’t know what that is, then shooting with filters might be a shot in the dark for you. ND and GND filters limit the entry of light going into your sensor. Different filters have various degrees to which they reduce light, but the mechanism is pretty much the same. By this, the first rule to remember (with a few exceptions) is that ND filters aren’t generally used when there isn’t enough light to begin with.
The goal of using ND filters for landscape photography is to lengthen exposures. It’s safe to say that during daytime, it is nearly impossible to do long exposures outdoors, and even on a dim day, your exposures might not be as long as you would intend. Filters allow you to augment that workable range. The benefit of using filters is technically a by-product of its actual effect. Limiting the entry of light onto the sensor allows you to be able to compensate with settings to achieve the same luminosity, and of course, the intended parameter to be adjusted is shutter speed. But why should you be doing long exposures in the first place?
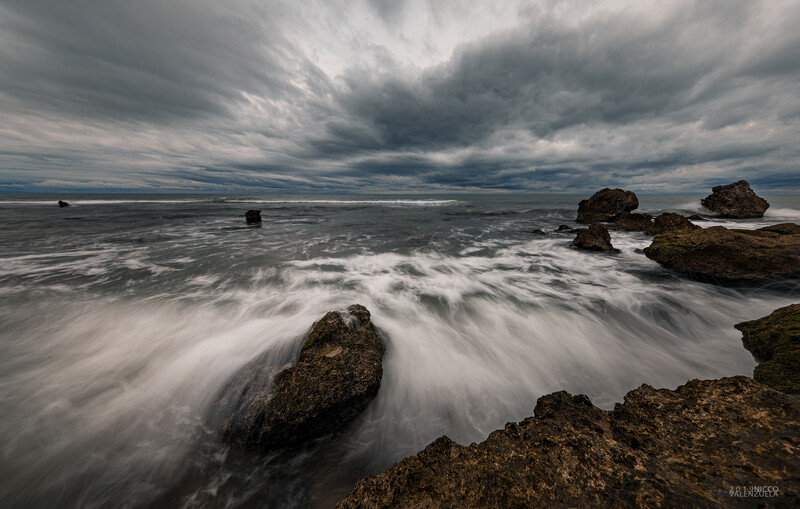
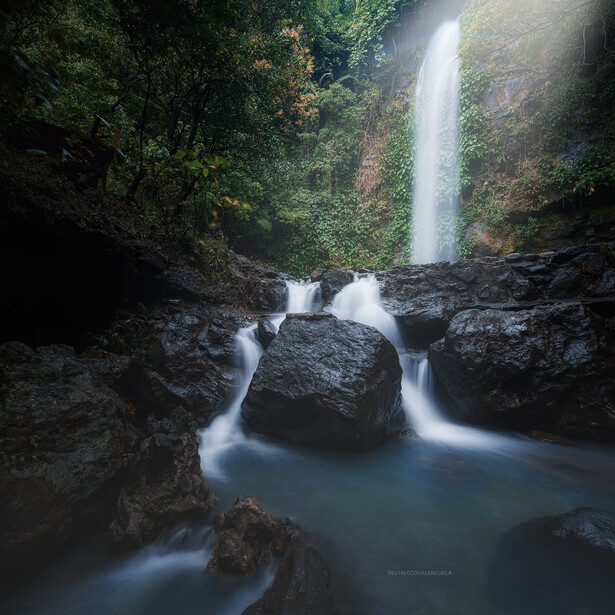
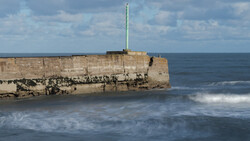
2. Focus on the Motion
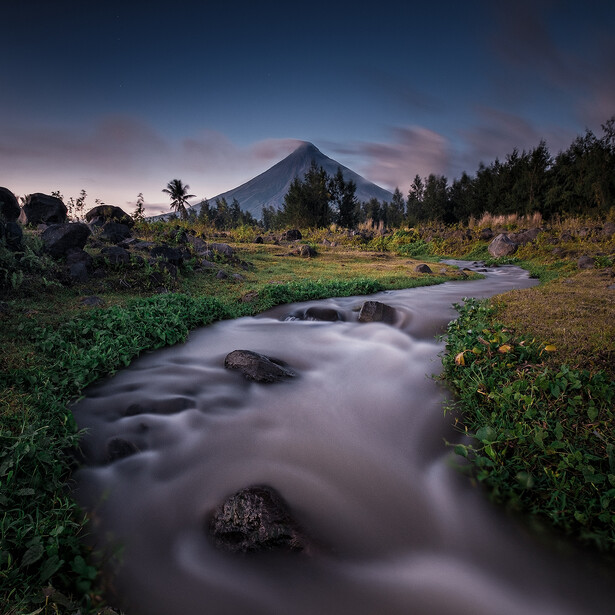
Motion is why we aim to do long exposures, aside from the obvious reason of doing long exposures in the dark to get enough brightness. Moving elements in the frame can help enhance the composition provided that it is used with the right artistic intent in mind. Moving objects within the frame can render textures that complement and enhance the contrast in a shot. They can also create patterns through motion blur that wouldn’t be visible with a relatively short and quick exposure.
Long exposure is not an absolute requirement for a landscape photograph, and unnecessarily doing it when there are no motion elements in the scene leads to a lot of wasted time and effort. A scene can be beautiful even without any moving elements in the frame and can be captured in a quick fraction of a second. Understanding the basic reasons to do long exposures should help you discern when to properly use the technique and when to use filters.
3. Start Simple
Using filters to execute your envisioned shot may seem complicated. What better way to tackle it than to start simple? Mastering the use of filters requires full mastery of exposure. In general, landscape photography is tricky because of the differences in luminosity between what’s on the ground and the sky in the background. For you to be able to take steps further towards using exposure techniques to aesthetically enhance your images, it’s important to learn how to overcome the problem in its “weakest” form.
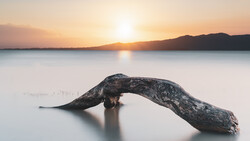
The ”blue hour” is something you’ve probably heard from so many landscape photographers. The reason behind the preference to shoot during this time is because it’s the time of day when the light in the sky comes close to what’s on the ground. The easiest way to overcome any imbalance in brightness is to shoot at the right time, kind of like striking while the iron is hot. Once you’ve gotten used to achieving these balanced exposures, the moments before and after the blue hour (before sunset and after sunrise) can be good times to practice adapting to changes in light using your filters.
4. Methodical Approach to Mastery
There are many ways to learn to use filters and master long exposure techniques. Some people simply take the trial-and-error route and learn from the experience. However, as in anything that involves a scientific process, the methodical approach offers more assurance in the long run.
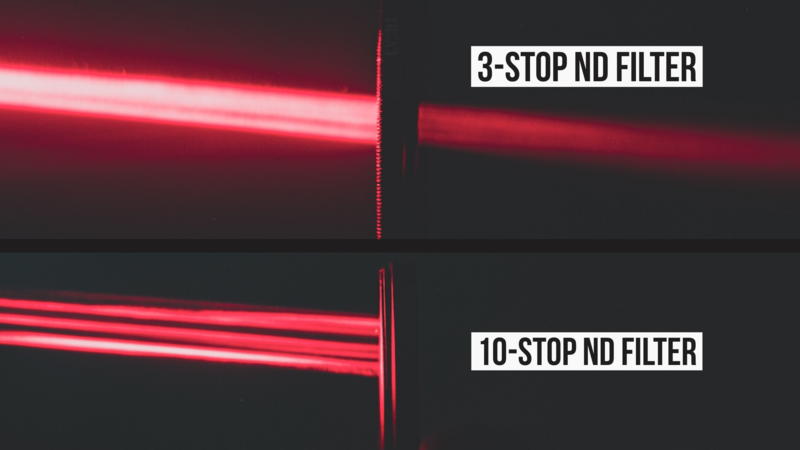
The tricky part of using filters is deciding on what filters to use to achieve the effect you have in mind. This involves estimating the intended duration of your exposure. This means that you are not simply just prolonging your exposure time but setting it into the right length that will give you your desired effect. Filters come in different variants. Commonly, ND filters come in at 3, 6, 10, 12,15, and 20 stops. Using each one allows you to prolong your exposure in proportion to the number of stops it applies. By definition, a “stop” on an ND filter decreases the light entering in half. This means that a 3-stop ND filter divides the light in half a total of 3 times, resulting in 1/8 the original light in a fixed period. If you reverse that formula, it means that if you have a base exposure, you simply multiply your shutter speed by doubling it several times equal to the number of stops of the ND filter you are using. If your base exposure was ½ of a second, that means you double it 3 times and your resulting shutter speed with the 3-stop ND filter is ½ x 2 x 2 x2, giving you some room to do 4-second exposures.
5. There’s no Perfect Recipe for Good Images
This is a universal fact, not just one for landscape photography. Many photographers can be quite obsessive when it comes to settings. People share information on their exposure settings, when, in reality, most of these have no relevance to the other person. Unless the light environment can be replicated entirely, copying settings won’t be of any help. This is even more so in landscape photography because the light can change in the outdoor setting in a matter of seconds. Even at the same location, facing the same direction, and using the same gear will not yield the same result.
This is also applicable for filters. Our use of filters is dictated by the available light on location and the moving elements in the frame. Both variables can be drastically different in just a matter of seconds. In another sense, this also means that filter combinations are not strict recipes. Many beginning landscape photographers think that they have to have every variant of ND and GND filters just in case. However, it’s more important to have a versatile set of filters that can give you the results you intend to have. It’s not a bad thing to be fully prepared with all kinds of filters if you can afford them, however, the overabundance of choices might slow you down.
Landscape photography can be intimidating. The grandiose views, the physical work involved, as well as the technical factors that come into play all make it seem challenging. However, like any other creative process, mastery takes time, and as you gradually understand the process as you master it, the enjoyment of creating and the physical adventure overcome the odds.


Join the Fstoppers community for free
-
Post comments and join in the discussions
-
Browse the site ad-free
-
Share your work and get featured in the community
-
Compete in the photo contests for fun and prizes
2 Comments
This article explains the use of these filters simply and effectively, a lot of new and old photographers should find this article very helpful.
Thank you..
Thank you, Timothy!