
Many landscape photographers love the use of high dynamic range techniques in their landscape photos. The lightest parts are reduced in brightness, and dark parts are lifted to become near midtones. Perhaps this is not the best choice to edit a landscape photo.
On many occasions, a landscape photographer encounters a lot of dynamic range while shooting photos. Especially during a sunset or a sunrise, the difference between the lightest parts and the darkest parts is often too much for the capabilities of the camera sensor. There is a big chance you end up with clipped highlights or shadows.
There are a few solutions to this problem. You can rely on the dynamic range of the sensor by exposing for the highlights and lifting the shadows in post-processing. This will introduce the risk of a significant increase in noise levels in those areas.
Another solution is exposure bracketing to capture the complete dynamic range in a series of images. During post-processing, these images can be combined into an HDR image and the tone mapping process will bring the extremes together in a smart way. The benefit over the first method, using the cameras’ dynamic range, is how the noise levels are controlled. But the downside is often the need for a steady subject. Any movement between the shots of the exposure bracketing series will cause ghosting effects.
There is another danger to the tone mapping process. If you’re not careful, the contrast of the image is lost. It will lead to a flat-looking image without real highlights or shadows.
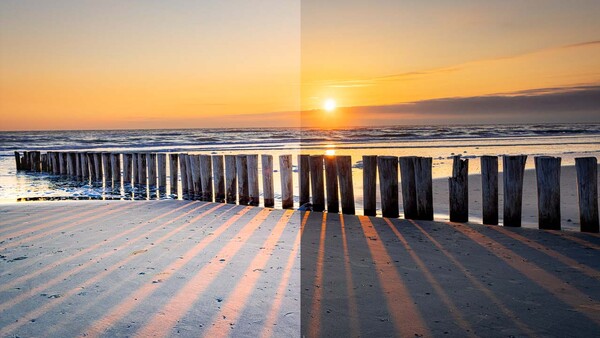
The tendency of bringing everything within the dynamic range leads to an image that has really dark parts or light parts. I see this a lot in urban photography, resulting in a plethora of details everywhere. Most often the darkness of the location is ignored. Every single detail is made visible, presenting that urban location as a hyper-reality. I have an example below, that resembles the high dynamic range tone mapping I see a lot, and a version that resembles the reality much more.
The preferred edit is a matter of personal taste, of course. If you like such hyper-reality, you should definitely use it. But for me personally, it removes the atmosphere of the place. It demystifies the location, leaving nothing to the viewers' imaginations.
Tone Mapping in Landscape Photography
Lifting every shadow with tone mapping techniques is also happening a lot in high dynamic range landscape photos. It is revealing every hidden part in the image, and we are presented with a mere registration of the location without a sense of imagination. On top of that, since our eyes are attracted to the lightest parts in a composition, bringing everything within the midtones of the histogram will often remove any point of attention.
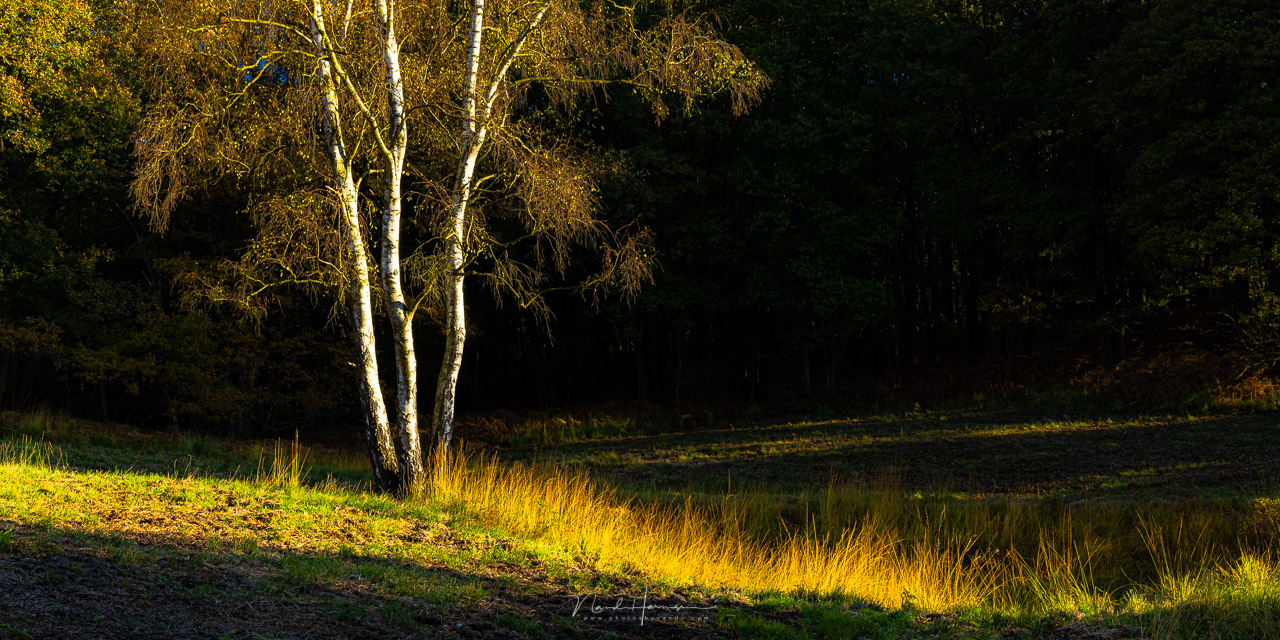
By introducing real light and dark parts in the composition, you will be able to guide the viewer's attention through the photo much better. The dark parts will get less attention compared to the lightest parts.
Make sure to leave the edges of the frame darker compared to the middle, and the viewer has no way to escape the frame. Use lanes of directional light to guide the attention to a subject. It's something that is often used in portrait photography, but it will also work for landscapes. Especially at the end of the day when the sun is low on the horizon.
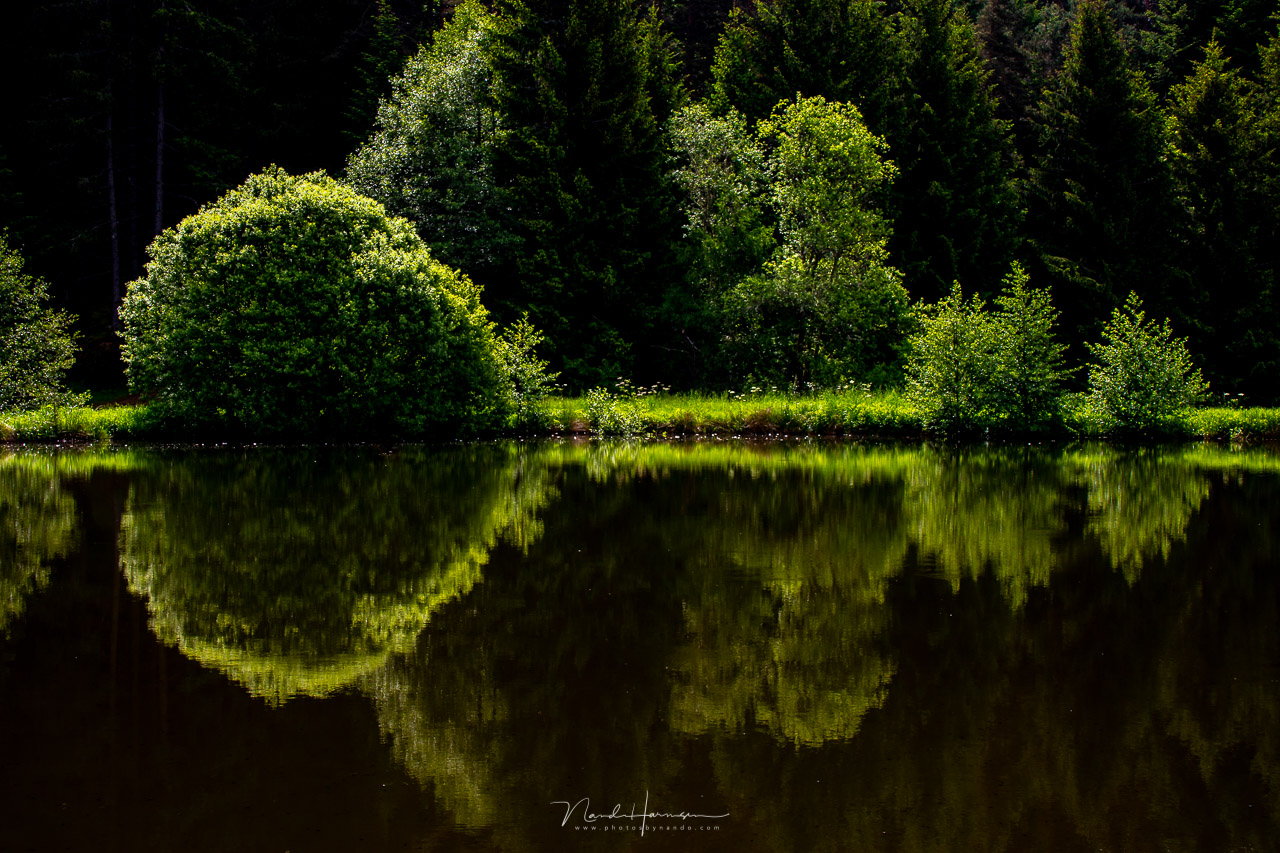
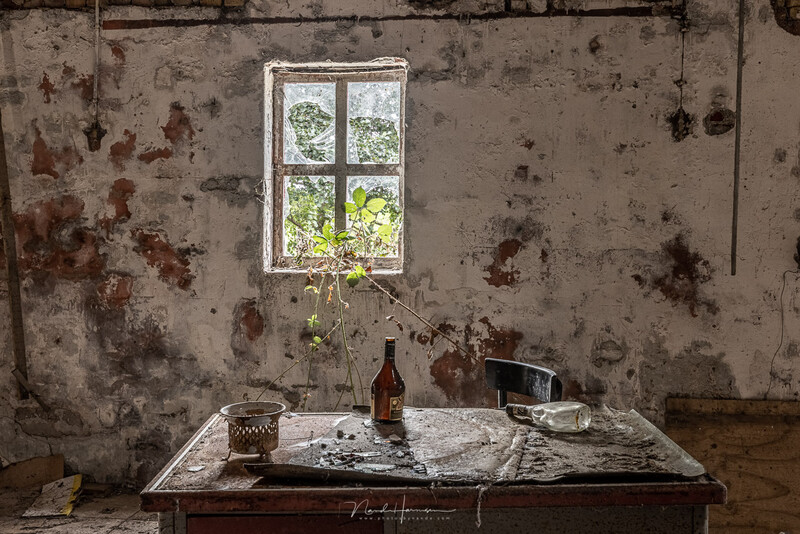
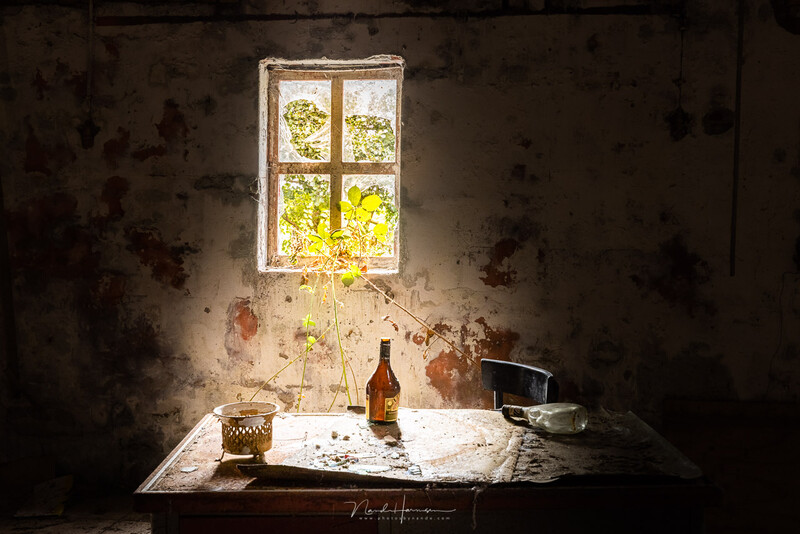
I have made a couple of examples in the before-after images below, to show the effect of using dark parts in an image. Some of these photos are made with exposure bracketing and tone mapping, others are made with the dynamic range of the sensor itself.
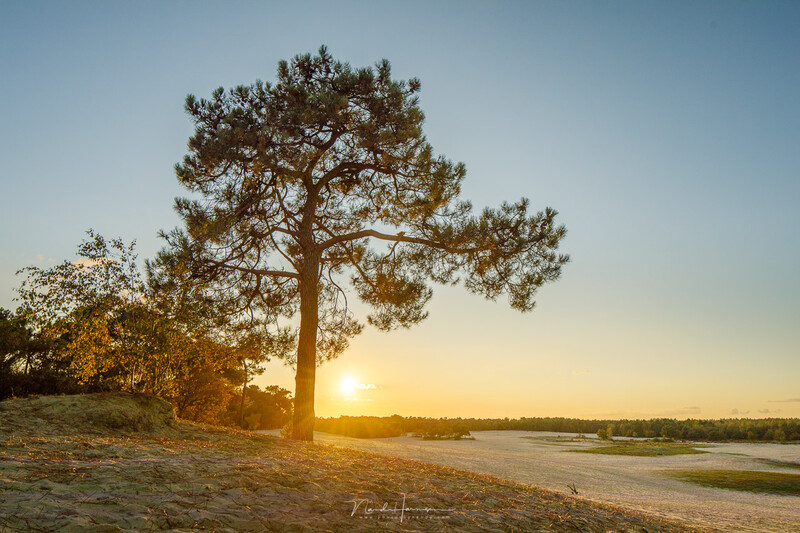
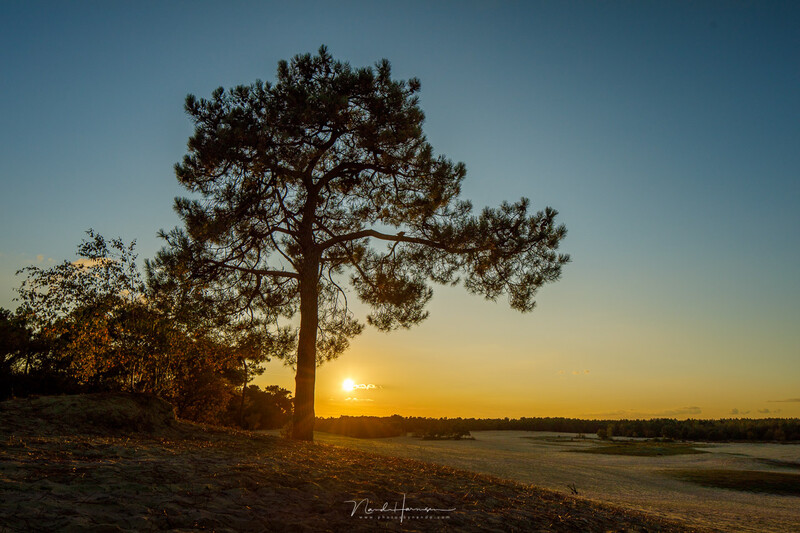
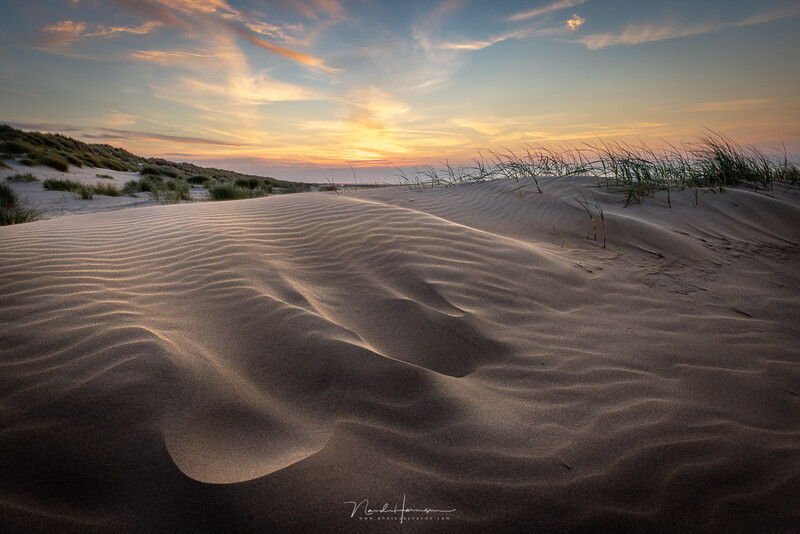
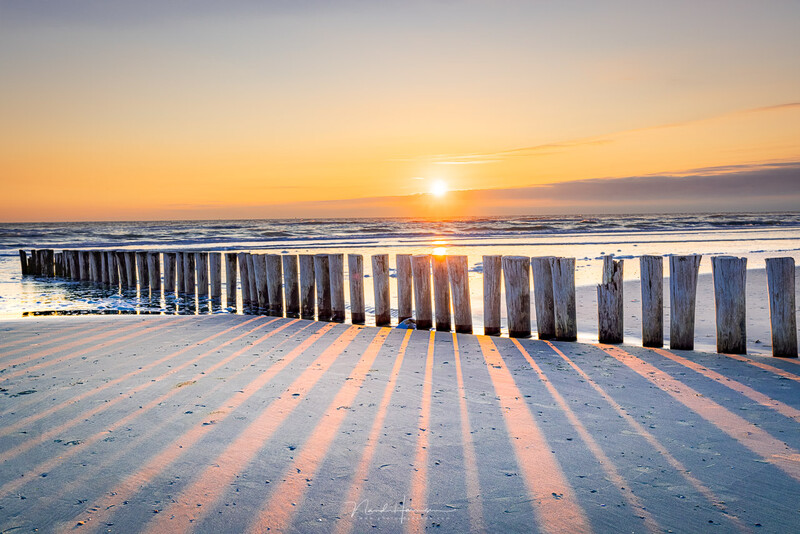
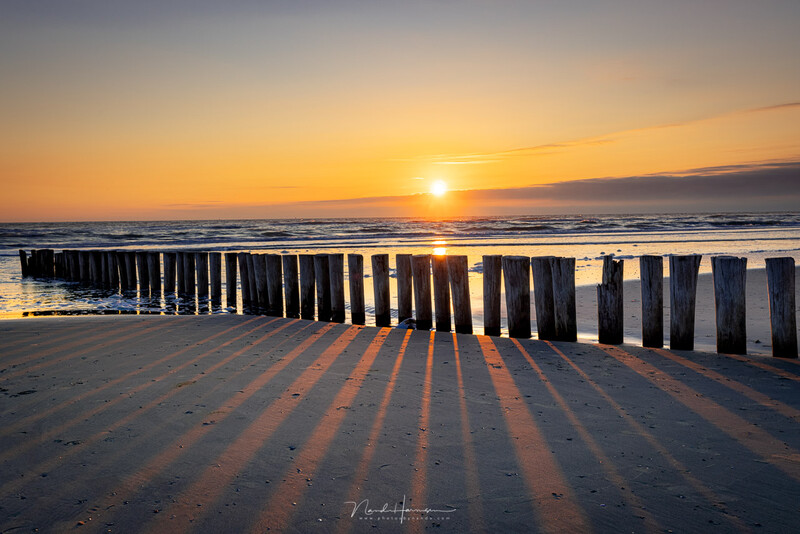
I believe these examples show exactly how contrasts in a landscape photo will not only bring depth to the photo, it will also guide the attention of the viewer towards the right area in the frame. In these examples, which of the two would you prefer?
Should High Dynamic Range Be Avoided for Landscapes?
This raises the question of whether high dynamic range should be avoided in landscape photography altogether. As you may have guessed, the answer is no, of course not. The technique is a great way of capturing all the beauty of the landscape and it allows you to have a great starting point for your post-processing.
The only thing you should avoid is the idea that everything in the frame should be within the midtones area of the histogram. Make parts dark that don’t deserve a lot of attention and keep bright areas bright. Pay attention to the direction of light, and let shadows appear in the right places, and don’t make parts light where no light is coming.
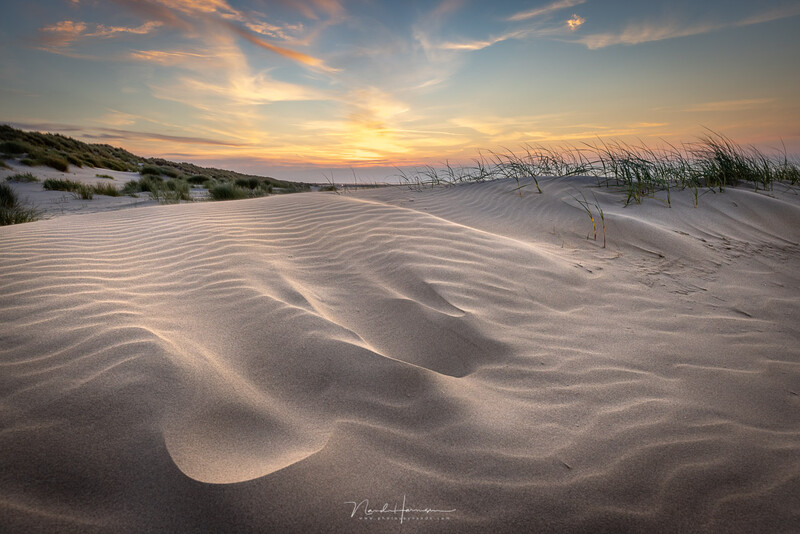
I believe exposure bracketing is used best when the dynamic range between sky and foreground is extremely large. On those occasions, the light in the foreground is so dim compared to the lightest areas, that there is no distinction anymore between shadow and light in the foreground.
Try To Use the Limits of the Dynamic Range of the Sensor Once in a While
In the analog days of photography, the negative film had a relatively large dynamic range. If you exposed for the blacks, the lights could be retrieved in the darkroom. But if you were using slide film, the dynamic range was much more limited. In a way, slide film resembles the modern digital sensor.
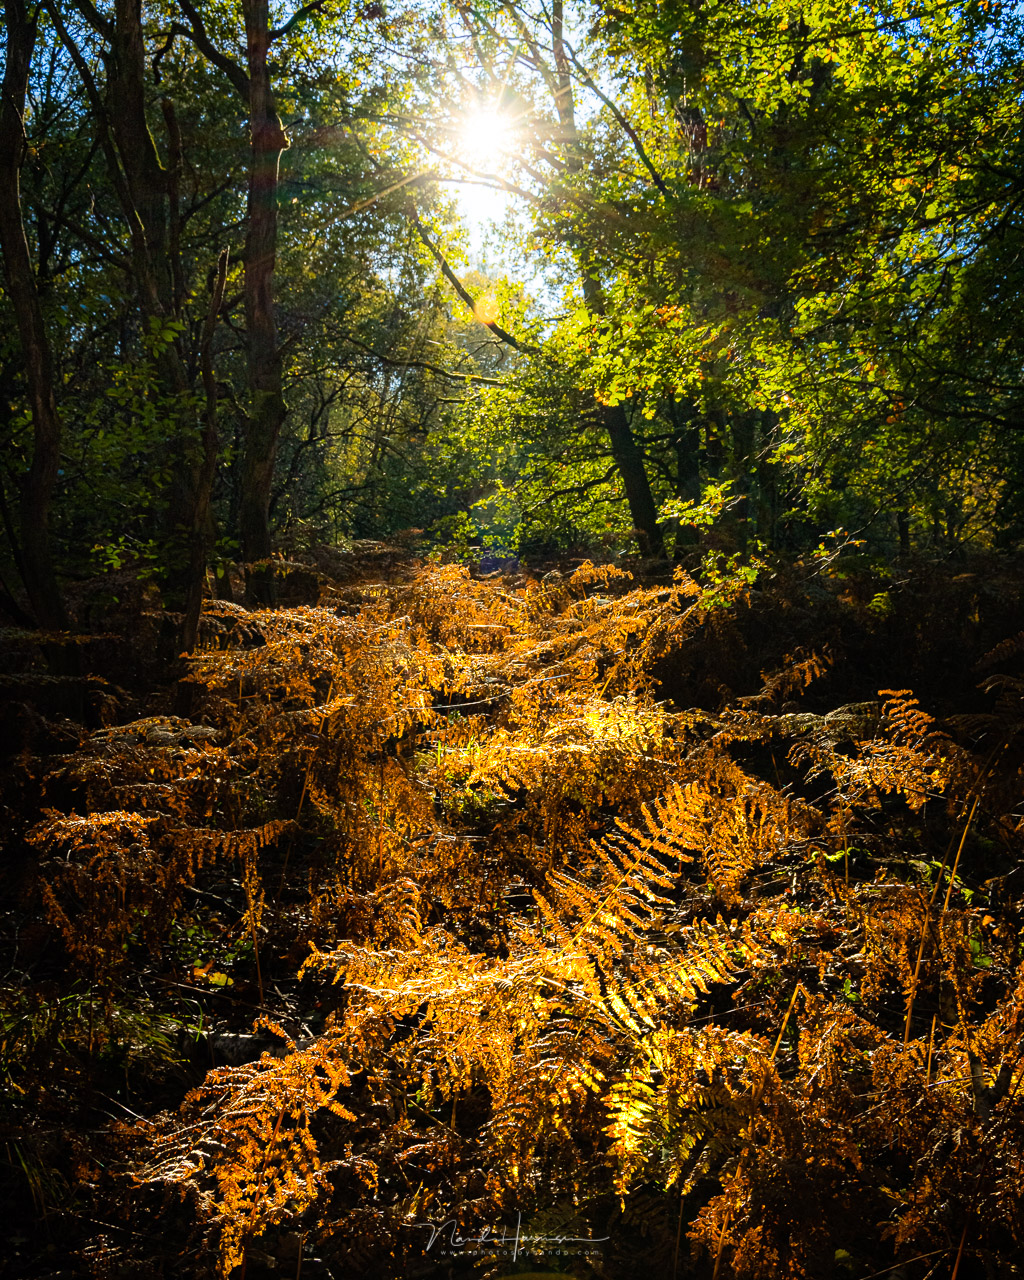
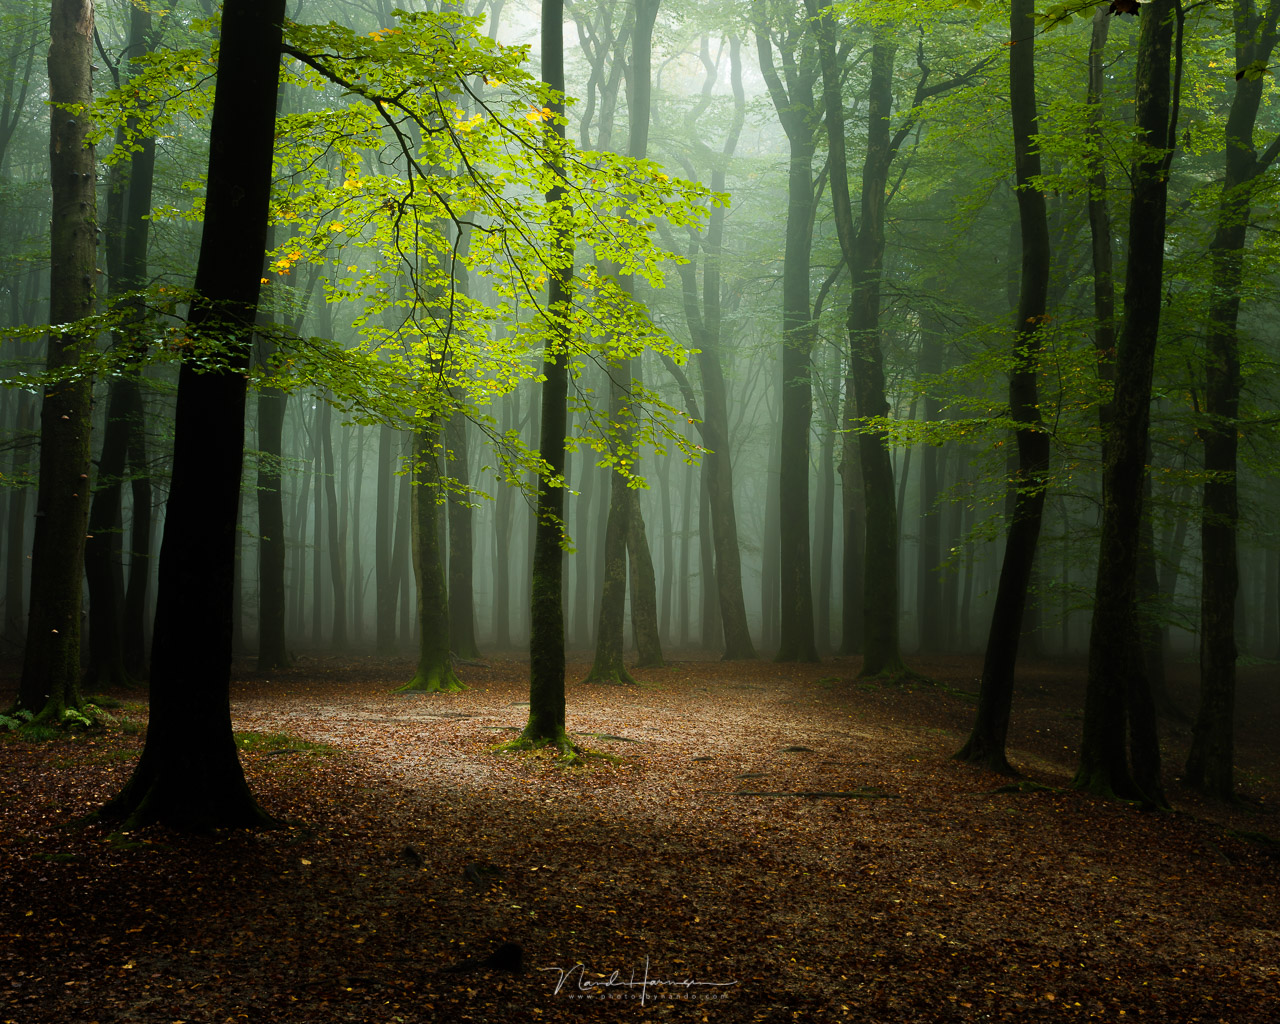
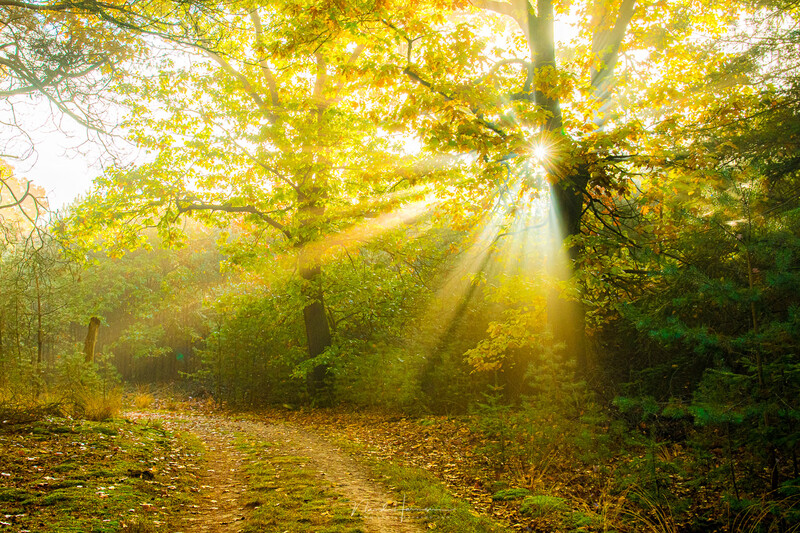
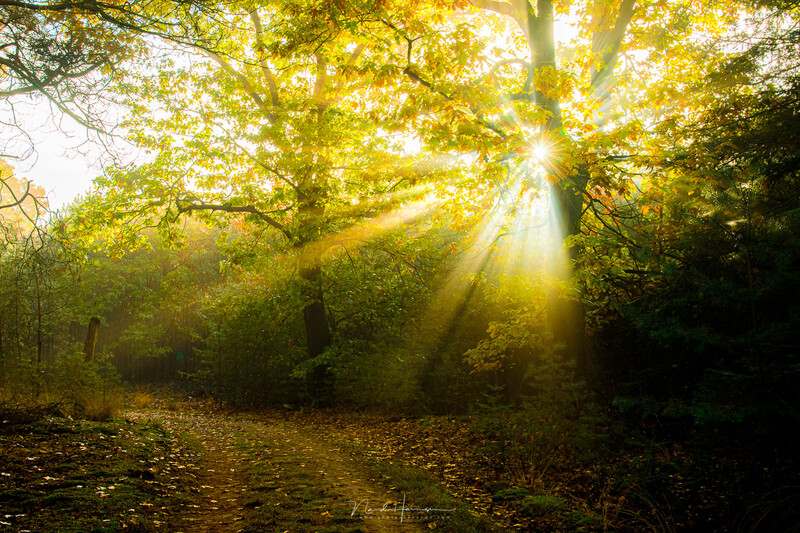
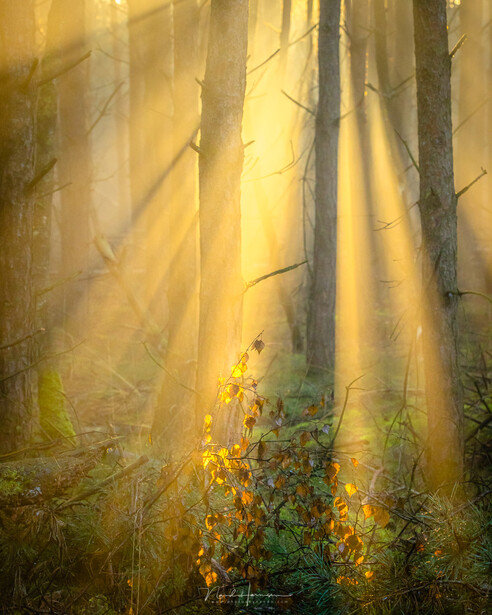
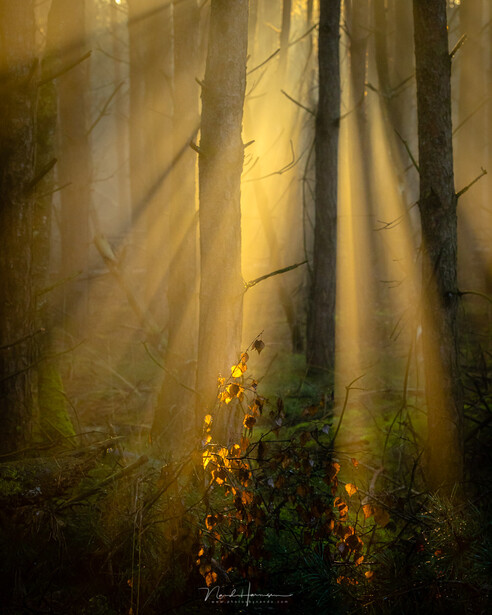
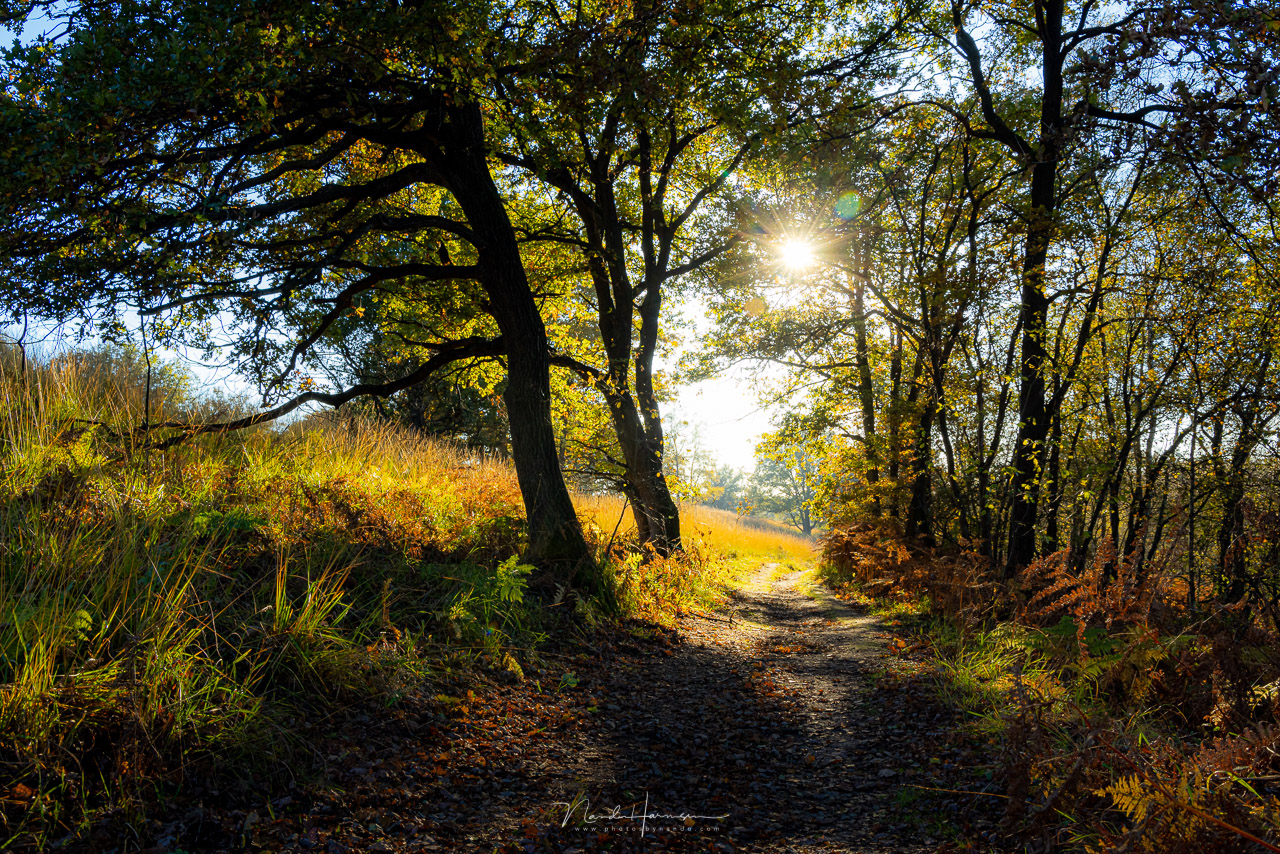
I think a landscape photographer should try to work with the restrictions of the sensors’ dynamic range more often. On a lot of occasions, it gives a good contrast between dark and light, which can be enlarged even more in post-processing. Or you can reduce the contrast locally by lifting the shadows a bit. I love to use this way of photographing in forests, where the sunlight is playing a great game of hide and seek.
Of course, you can play it safe and shoot a bracketing series in those high-contrast situations I described. But it doesn’t mean you need to use all those exposures. If it doesn’t work for you, or more exposures are needed for the wanted effect, you will have those available.
Do you like shooting high-dynamic range images? How do you use lights and darks in the photo? Are you trying to show every detail in the landscape, or do you play with dark parts in the image? Please let me know in the comments below.

Join the Fstoppers community for free
-
Post comments and join in the discussions
-
Browse the site ad-free
-
Share your work and get featured in the community
-
Compete in the photo contests for fun and prizes
7 Comments
My compliments for such an enlightening article. Even I have been resorting to this practice of lightening the dark parts of photos. Now I will discontinue doing so after reading your article and million dollar advice.
Just for curiousity sake, I want to ask whether it is necessary to use polarised or other filter to reduce dynamic range. Will photos not look decent if do not use filters??
Great article, Nando. Just a minor correction: the dynamic range of the daylight is highest at mid day and less in the morning and evening. Personally, I don't like the HDR effect at all - but artificial vignetting is not particularly high on my list either. It's both trickery.
"I think a landscape photographer should try to work with the restrictions of the sensors’ dynamic range more often." This immediately reminds me of Ansel Adam's zone system.
Excellent article, and well demonstrated. I too have been guilty of flattening the dynamic range of many photographs. Personally, I blame tutorials by such luminaries as Serge Ramelli who start off almost every tutorial by bumping up the shadows to +100 and decreasing the highlights to -100 to maximise the dynamic range.
You've certainly given me a lot to think about and will question my basic edits in future.
Very good advice, especially for those autumn shots right now: leave the shadows in.
Yes you will need to be on a tripod but doing brackets of any number gets you a normal single image but also at above and below giving the use of one or more images in a HDR software. Todays software handles ghosting really well. Best in dark of the blue hour of sunrise and sunset and sunrise/set, bracketing at 5 at +/- 2ev is the greatest. It was done many years ago for HDR processing and sensor dynamic range was poor. But today with great sensors it works better. If you do 5 @ +/- 2ev as the sun comes above the horizon and higher as the morning goes on you get a small non blown out sun as well as at sunset. But also in the dark of blue hour a foreground can be bright and the colors and detail of the sky can be brought out way better than just doing one shot. Also sometimes the speed of capture using Aperture mode a tripod is not needed, I went to Antelope Canyon and forgot my plate on the bottom of my camera so I had to do all hand held, after some experimenting found my lens at f/4 was capturing fast then tried 3 at +/- 2ev and everything was clear (using camera strap for stability). The result while all were doing long exposures on sticks I could go anywhere or lay on by belly or back shooting straight up and got images no one else thought of. The bottom line you get more than one image of a shot use them or not for you can not go back and get the same image again and you can make it look any way you want. Also before the use of Lr was cost effective I did a Moon in focus at SS/ISO equal (125) at f/8 (for clarity/focus) and using any lens mm 5 at +/- 3ev (Sony A7s) center shot at .5s giving a last shot at 30s, A focused moon and a bright foreground before paste over. Also remember your camera most times in low/bright light will not be able to capture what the eyes see!!!