
Polarizers, ironically, are not a very polarizing topic in the world of landscape photography. The blunt fact is you should have one, and I personally believe you cannot photograph some scenes without them. Currently living full-time on the road, I have been exploring the eastern region of the United States, which has resulted in photographing a lot of waterfalls. In that time, I've recognized how often my camera permanently has a polarizer attached to it and truly believe many waterfall images just don't work without one.
Why?
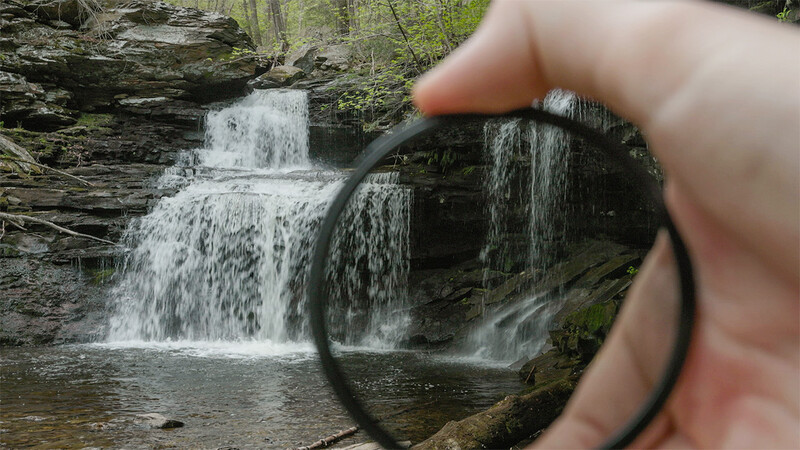
So, what does a polarizer do exactly, and why is it so important in a photographer's kit? It allows the photographer to manage and control reflections on surfaces such as water, enhance colors and contrast in foliage, and even cut out atmospheric haze in the sky. It’s an incredibly versatile tool that cannot be replicated in post-processing. You can find an in-depth look into everything it can do right here on Fstoppers, but for this article, I want to focus mainly on its strengths when photographing waterfalls.
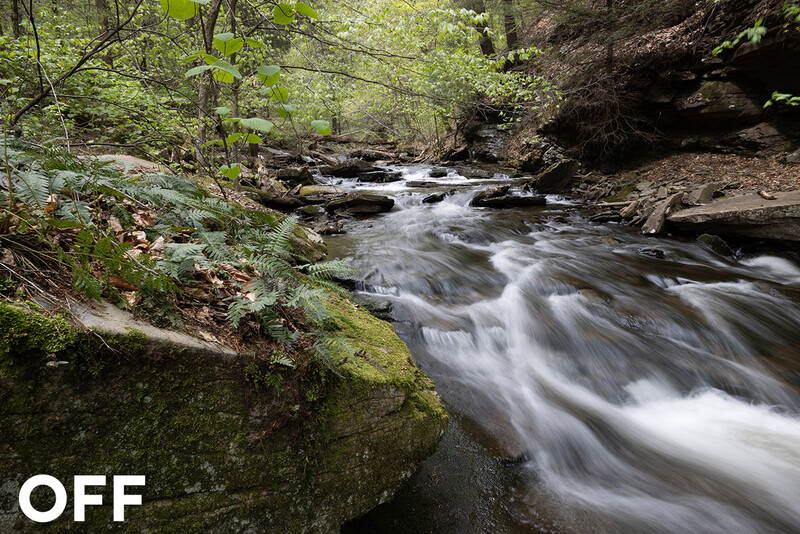
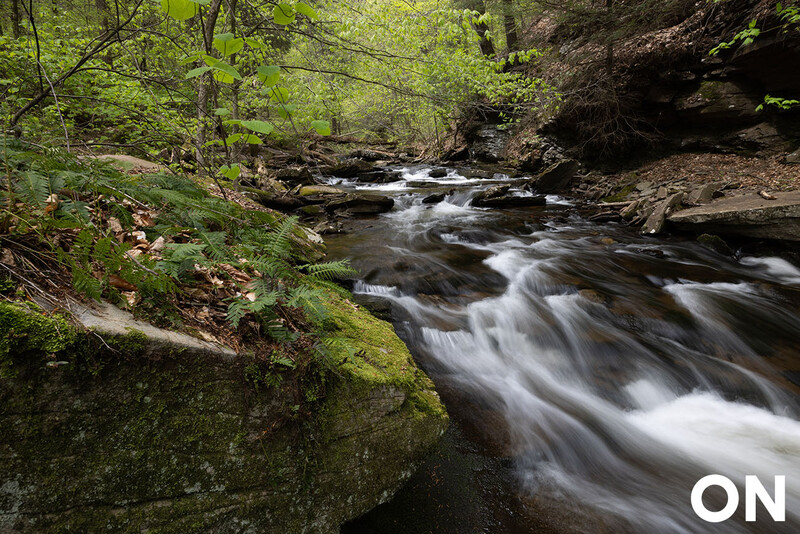
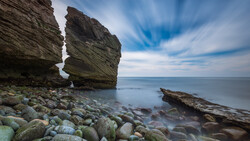
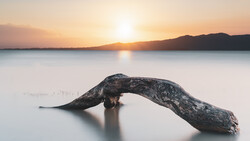
Polarizers almost feel like magic when you're capturing waterfalls. Notice the difference in these two captures, which is caused just by enabling the polarizer to 100% (more on this later). Pay close attention to the foliage and how much saturation, contrast, and life gets added back into those areas.
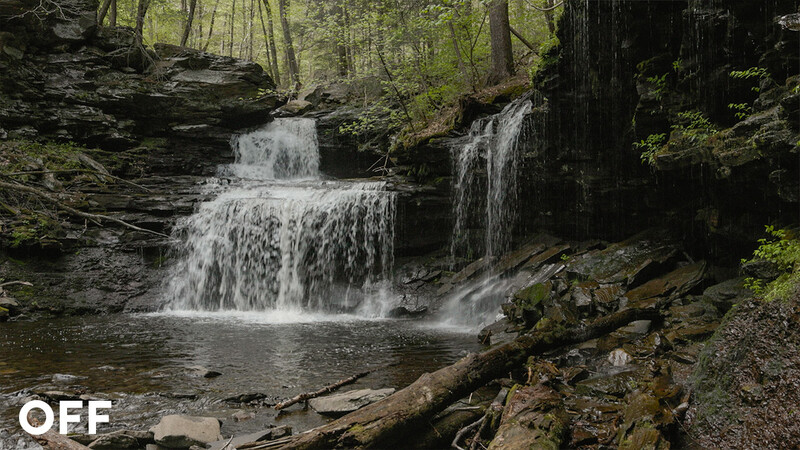
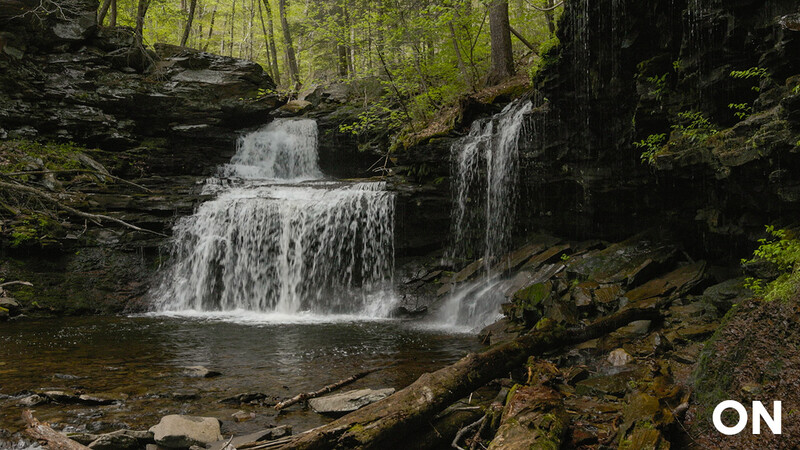
Notice how nearly every aspect of this image changes using a polarizer. Unlike the first example, we have wet rocks within the image, which you'll notice just how much clarity and detail comes out when enabling the polarizer. The pool of water also drastically changes, although we don't gain much detail, considering the result is a pretty dark area. The idea is to showcase another variable in your creative expression as a photographer.
How?
Using a polarizer is simple, but there are a few things I've learned over the length of my career that will help you understand both its strengths and limitations out in the field.
Polarizers typically also act as a 1-stop ND filter, meaning they’ll bring your exposure down by a single stop. Many times, this is helpful for photographing waterfalls, as I want a shutter speed between 1/5th of a second to half a second, but it might not be in other scenarios where you’re trying to capture as much light as you possibly can.
Something to keep in mind when using a polarizer is that it will have varying results depending on how you position yourself between your subject and the sun. Typically, if your scene is facing away from the sun, you’ll have great results. But if you’re ever shooting in the direction of the sun, you won’t be able to cut out as many reflections. This is the case because polarizers essentially cut out reflected and refracted light at specific angles.
I find this occurs most often closer to sunrise and sunset because the angle of the sun is lower on the horizon. Thankfully, sunrise and sunset also tend to mean far less harsh light, so your polarizer isn't as critical. This does not imply that you need direction light on your scene for a polarizer to function, though. Many times, my best results come from mildly overcast light, where enabling the polarizer cuts out a lot of reflections within the foliage of my scene (the first example in this article is overcast light).
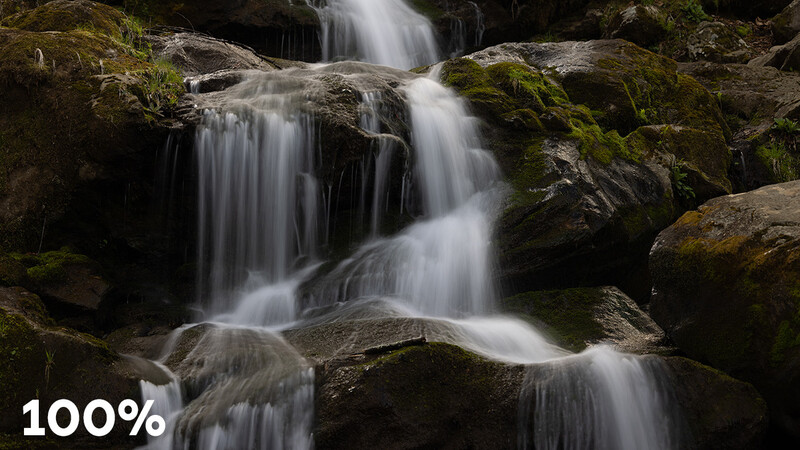
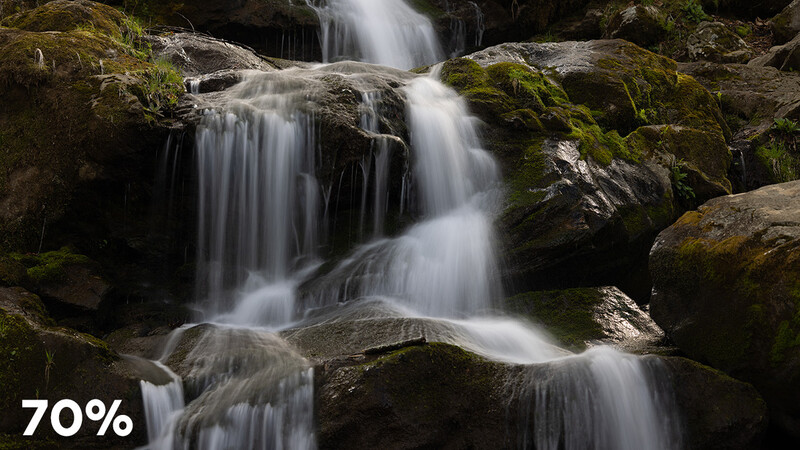
Keep in mind that if you’re working with a very-high-contrast scene, you might not want to use the maximum amount of polarization. This was a mistake I made for a long time: approaching my polarizer like an on-off switch rather than incremental adjustment. Sometimes, polarizing to about 50-70% and leaving reflections on dark spots of water or rocks can help keep those areas from disappearing into darkness, but this will totally vary based on your scene and lighting situation.
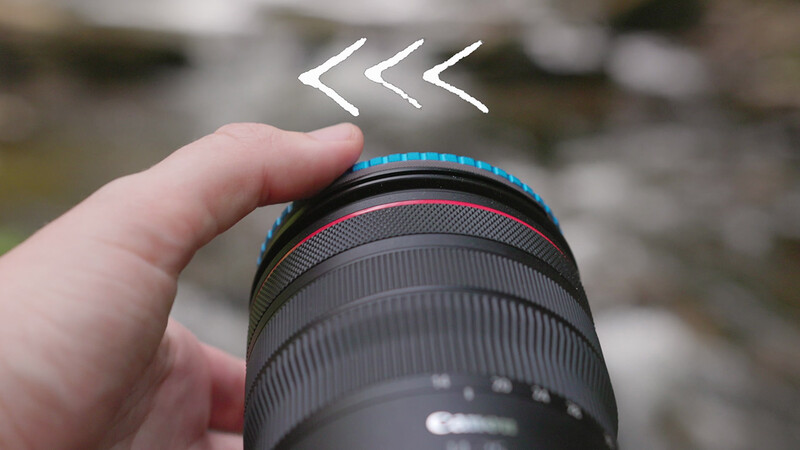
A great tip when using your polarizer is to make sure you are always rotating it counterclockwise or “left” when you’re adjusting the polarization from behind the camera. Make sure to reverse this if you're standing in front of the your lens! This will ensure that you’re never accidentally loosening the filter from your lens. This works especially great with magnetic filters, because it’ll also never over-tighten the filter because your only force on the actual filter ring is the magnetic force between the ring and the filter. Speaking of magnetic filters, you might be asking what polarizer you should pick up yourself?
Which is Best?

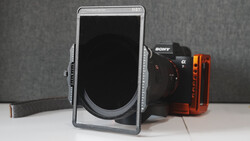
There are a lot of options out there for filter system. The first you'll likely encounter is a filter that simply screws on to the front of your lens. Then, you might dive down the rabbit hole of filter systems and discover square filter systems like the one above. I've used them all, and magnetic systems are, by far, my favorite type of filters to use in day-to-day shooting. Every system has strengths and weaknesses, but overall, a magnetic system is what I recommend to most people.
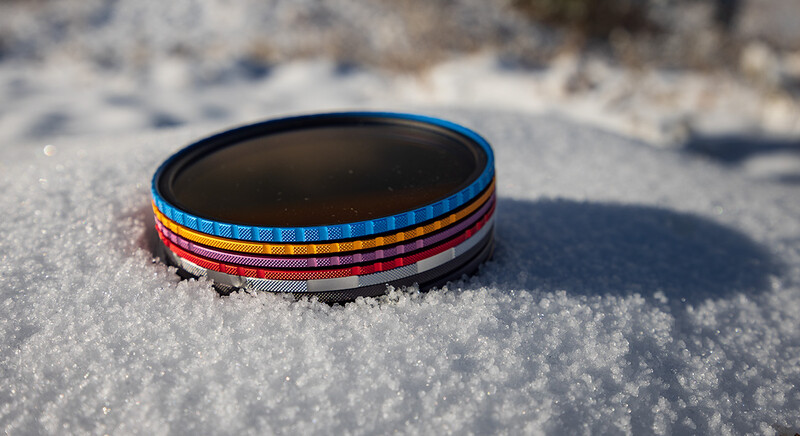
The kit I’m currently using is made by Maven and is my current favorite filter system. Their magnets are more secure than any other magnetic system I’ve used. They’ve innovated filters in really smart ways with color coded rings, lens caps with 50% gray on the inside of them to set proper white balance, and even deliver in a convenient 3D-printed case to keep everything organized.
Regardless of what system you decide on that is best for you, just make sure you're buying something of high quality. You don't want to invest lots of money into taking high-quality photos and then put a cheap polarizer in front of your lens to potentially ruin your image quality.
I'd love to see your waterfall shots in the comments or your own words on polarizers in the comments. Am I wrong? Do you ever shoot waterfalls without a polarizer? Let me know!

Join the Fstoppers community for free
-
Post comments and join in the discussions
-
Browse the site ad-free
-
Share your work and get featured in the community
-
Compete in the photo contests for fun and prizes
8 Comments
I have polarizers for all of my lenses. When I see photographers outdoors with expensive gear but no polarizers I just want to shake them. I photograph in gardens quite frequently and I can tell you the difference the polarizer makes is astounding. Leaves can be extremely reflective.
Can you post your photo with your profile? If I see you coming and I don't have a polarizer on my lens, I want to have time to rectify it before getting shaken! ;-)
I'm pretty sneaky.
I carry a CPL with me at all times in my backpack, but I rarely use it. I have found at higher elevations; I just can't fix the variations in a blue sky in post processing. However, I have found that with images of water with hard reflections from the sun, the CPL is excellent at taming the unwanted reflection and greatly reducing the exposure range.
I have embraced the crazy blue skies.
All very common sense, just remember the 90 degree rule. Something to add is the filters at the rear of the lens by Haida for most all Camera makers lenses. The rear holder of filters comes with four filters and you can also just get additional holders by themselves so as not to have a bunch of them. You get a 3,4,6 and 10 stop and if so inclined the Clear Night filter used for night Astro Milky Way capture that cleans up colors in multi color places. A thing I found out by mistake or leaving a clear night filter in its mount while on recon trip during daytime with my Sony 12-24mm lens (requires an expensive front filter holder) for some Milky Way captures that night is the fact that filters at the rear of the lens are not affected by the 90 degree rule and the Clear Night filter gives a wonderful baby blue sky with perfect white clouds and beach tan sand even shooting directly into the sun. I have not tested against milky waterfalls or reflection off glass/water. Years ago using a E 1018mm f/4 OSS lens at 12mm using a CPL I learned the problem with the dark center using a front CPL, so another reason for using a rear filter when using ultra wide lenses if out with a blue sky for a single capture or even doing a pano you can not use a CPL filter. The image is using the clear night filter aiming toward the sun then away from at noontime raw saved as jpeg out of camera with no editing. The rear lens filter is great for the super wide lenses.
I prefer the images without the pola or at least without so much !
I couldnt agree more. Thanks for the article btw, but as i wrote in my blog: https://www.photokiakotos.com/the-photographers-blog/photography-filters except Polarizer an ND is a must. Especially for me leaving in Greece, EU summer time is madness. Even the 3 stop is a shaver!!