
Most lenses are built to last forever – unless you break them. Hence, buying a used lens is often a good way to save money. In this article, you will learn what you need to check before buying a used lens.
I love used camera gear. Most of the stuff that I find on different second-hand marketplaces looks better than any new gear looks after two months in my possession. Last week, I described how I check used camera bodies, today I’ll take a look at the examination of a used lens.
Camera lenses have no date of expiry. Even models from a few decades ago can deliver amazing images. If it works, it works. Many older lenses are made of very durable material and might last longer than currently produced lenses. On the other hand, some lenses’ days are numbered. For that reason, I usually use three steps to check a used lens: Look, feel, and try.
Look: The Optical Review of a Camera Lens
To get a proper idea about the condition of a lens, you need to look at it from the outside as well as from the inside.
Overall Appearance of a Used Camera Lens
The first thing you will recognize is the overall appearance of a lens. A worn-out lens isn’t necessary a bad thing. Smaller scratches on the surface and a faded coating won’t harm your images. Yet, bigger scratches or even dents are often a sign of heavy usage. That’s not a reason to politely leave the seller but rather a reason for caution. A lens that has been dropped might have some problems regarding its functionality. As a clumsy person, I have dropped some of my lenses a few times and luckily never faced problems. But I’m also a lucky person at times.
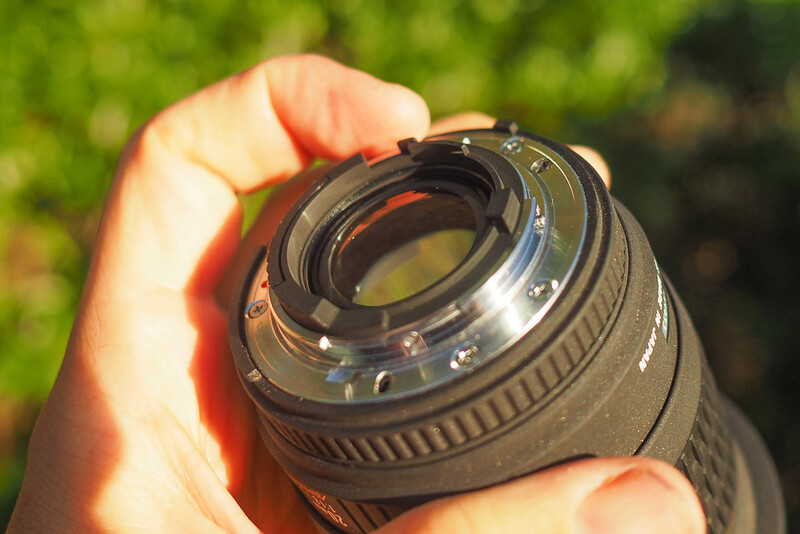
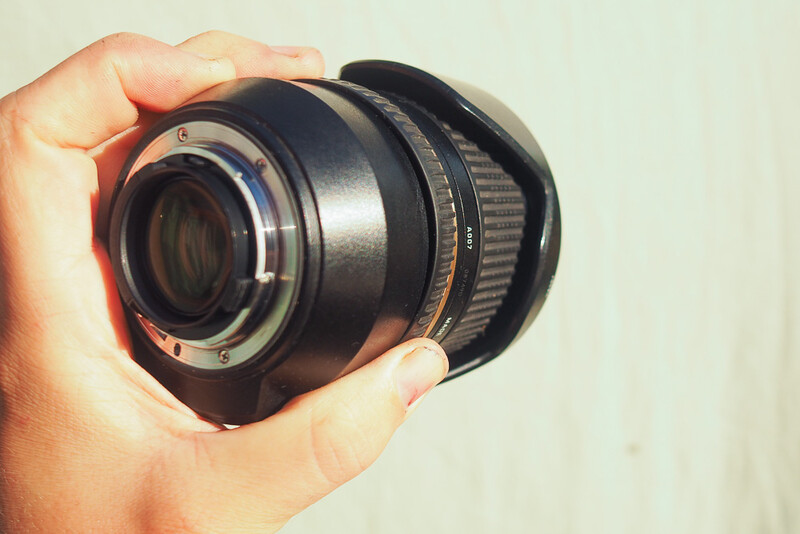
After getting a good idea about the overall condition of a lens, it’s time to look at the details. At first, I’d recommend you look at the mount. The mount shouldn’t be too scratched, and all of its contacts should be clean. They are responsible for the communication between your camera and your lens. In no way should the mount be bent. Screwing a defective mount to a camera can severely affect the camera’s lens mount as well.

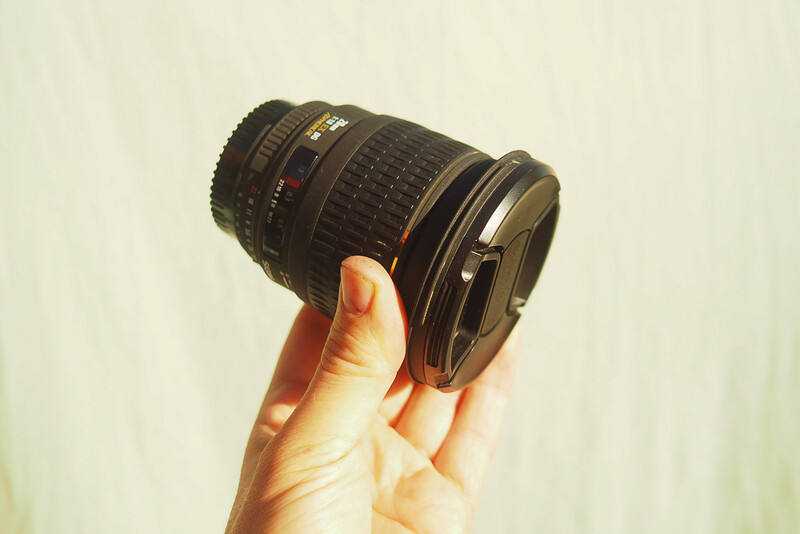
On the other end of the lens you will often find the filter thread. Some cheap filters can get stuck on your lens and it’s hard to remove them. It can even happen with high-quality filters as well, but from my experience, it’s a matter of price. When people try to remove the filter with force, they might destroy the thread of the lens. Check if you can see any signs of mistreatment. The coating might be scratched, or you find some small dents in the filter thread. If you own a filter of the size of the lens, bring it and try to mount it. It should be easy to fix and remove it.
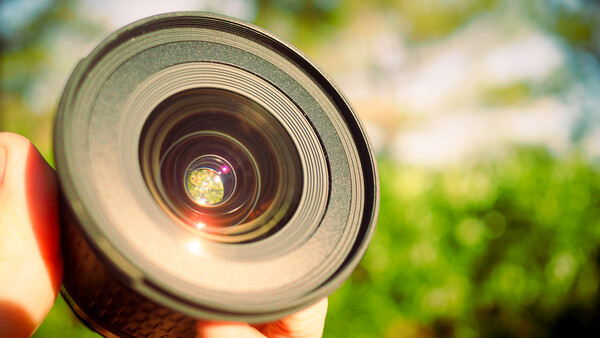
Take a Look Inside the Lens
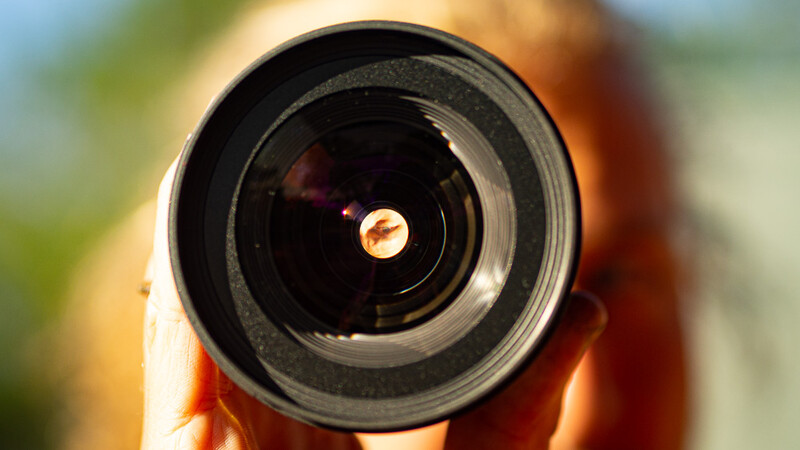
The best moment is when you investigate the inside of the lens. It feels so professional even if you don’t know what you’re doing. Hold the lens against a light source like a window and find the little switch which will open the aperture. It’s most fun when you do it in front of people who don’t have a good idea about photography gear.
Opening the aperture will enable you to see the inside of a camera lens. A camera lens actually consists of one or more lens groups inside of it. These groups will move according to your focal distance and the focus adjustments. When there is movement, there are also tiny leaks that might let little dust spots in. If you can’t find any dust in a used wide-angle zoom lens, it will rarely have left the shelf. Prime lenses with a longer focal distance might be less affected, too.
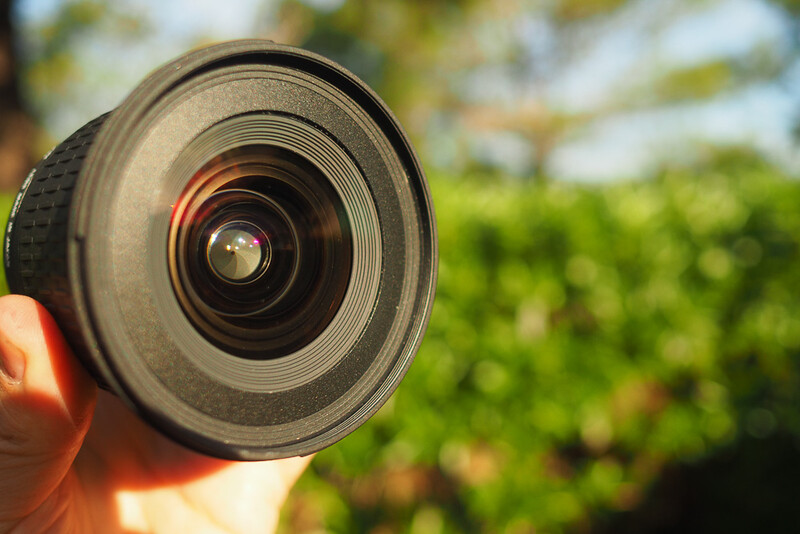
For most used lenses, dust is normal. Small spots between the lens’s elements don’t affect the overall image quality. Only a lot of dust or bigger matter like hair or dirt can become an issue.
Then, there is fungus: Everyone talks about it, but I’ve never seen it (I told you I’m sometimes lucky.) As far as I know, fungus appears as a white structure on the glass. It can look like a cobweb or ice crystals. In the beginning, fungus is hard to identify. In its later state, it will affect the photographs and can even spread to other lenses in your bag.
The Most Obvious Faults: Scratches on the Glass
But what about the more obvious things like scratches? Again, it depends on the intensity. A few very small scratches on the front lens are usually not a big issue. Even bigger scratches won’t be easily detectable in a final image. With small apertures they can become visible as spots, but a lot needs to happen to the front element to make the lens useless. Lenses with small scratches give you a chance to make claims for a cut in price.
A scratch on the rear element is far worse. I’d personally avoid lenses with a scratch on the rear element and only buy accurate and even glass, here. The rear element is the last gate for the light to pass until it hits the sensor. After that, there is no other element to even out a visual flaw.
Does the Lens Feel Right or Heavily Used?
A lens which spend most of its time locked in the shelf will have the same feeling as a brand new one. The focus ring and the zoom ring should run smoothly. When you turn them from one end to the other, also listen carefully. When there is a scratchy sound within the lens, it might be sand or other matter.
Also check the rubbers for their movability. Loose rubbers on the rings are common weaknesses of heavily used lenses. Another problem with older lenses are “falling zooms.” When you turn the lens upside down, the front piece will come out, because the mechanisms are a little worn. It doesn’t affect the quality of the image or the functionality of the zoom, but it’s quite annoying when you carry your camera around.
Check the Functions
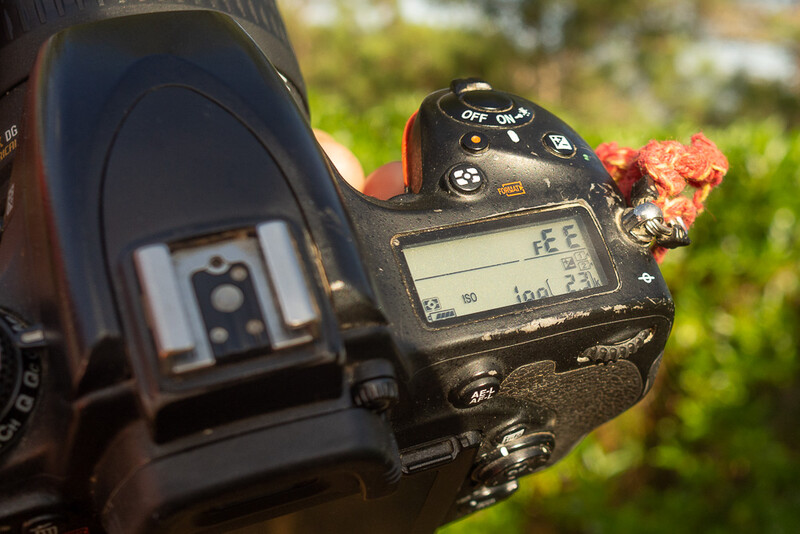
No matter what the outcome of your examination be, the lens needs to work. Mount it to your camera and shoot away them pictures. Sharpness is hard to judge when you’re under time pressure and can’t review the photographs on a laptop, so you should rather focus on regular functionality. Sharpness is always a factor of uncertainty when buying a lens – even a new one.
Automatic and Manual Settings
You should check the lens in auto focus and manual focus. Does the aperture work? Some older lenses don’t have a built-in focus engine. In this case, the auto focus will only work with an in-body focus engine of your camera. It might be necessary to manually set the lens on its minimum aperture to adjust the aperture via your camera.
Front Focus and Back Focus
Search for a small, nearby object, which you can photograph. Set the auto focus to single point, focus on the object, take a picture and review it. Is the selected focus point really the sharpest? Or is it the area in front or behind the object. Take more than one test shot from different distances to foreclose human failure.
Front- and backfocus can be corrected in your camera to some extent. In some cases, you need to get the lens adjusted by an expert. That’s expensive. And often, it’s not worth it.
Don’t Forget About the Seller
Even if you never bought a used lens before and you’re new to photography, you could get a good idea about the lens by checking out the seller. I never bought a camera, lens, gimbal, microphone, car, or board game without asking the simplest question: “Why do you want to get rid of it?”
Until now, I never made a bad experience on location. Whenever I went to check a lens in person, there were three different stories told: “I’m not into photography anymore” (this 20mm Sigma lens), “I prefer to use a zoom” (my M.Zuiko 45mm lens and my M.Zuiko 17mm lens), or “I switched systems” (my 24-70mm Tamron lens).
Ask for details about the new system or why people don’t like to do photography anymore, if you’re still suspicious. 99 percent of people don’t want to rip you off, but the one percent of imposters will cost you a lot of money.
Do you have any more tips or your own stories about good and bad deals with used gear? Let me know about them in the comments.


Join the Fstoppers community for free
-
Post comments and join in the discussions
-
Browse the site ad-free
-
Share your work and get featured in the community
-
Compete in the photo contests for fun and prizes
13 Comments
Some good advice here, but fungus can only develop in lenses if the storage environment is sufficiently dark and moist.
This happens regardless of whether a ‘clean’ lens had a fungus effected lens near it: fungus spores are absolutely everywhere, all the time. They are in all your lenses already. They will only start to reproduce and spread, becoming visible to the naked eye and effecting performance, when they are in the right environment.
A lens with visible fungus is one which has been stored in an inappropriately dark and humid environment, not one which has ‘caught’ fungus from an already ‘infected’ lens.
Just keep your lenses in a dry environment and expose them to light as often as possible - ideally by using them!
Hey Max,
thanks for clarifying that. Now I also know why I never had to deal with Fungus ;)
Cheers!
Useful tips to find. I see, you use Nikon gear. Did you know this site. I find it of great value. It helped me fix some AI manual lenses which is always problematic if you do not have any service manuals.
https://richardhaw.com/
Regarding the rubbers: There are ways to fix it and also take a look at ebay for replacements. Nikon has a lot of replacement rubbers which they might send to you (depending on where you live).
Falling zoom lenses are not uncommon and it happens to new models as well.
I started off with a canon 7D mk2 camera body that had been dropped resulting in a broken rear lcd that didn't work. The replacement/repair at an official Canon service centre cost just £140. I got the camera for an absolute steal and still have it.
I now use two camera systems and second hand wins most of the time.
The only brand new camera I've bought is my Olympus omd e-m10 mk3 with 2 kit lenses as I couldn't buy the constituent parts second hand for less than the new offer. I've since expanded that system with all second hand gear.
Lenses, tripods, tripod heads, lights, portable product studio, camera bags, lens filters, you name it, all second hand.
The only time I consider buying new is when there is little or no difference between the new price and the second hand price, even then I'm tempted to wait.
When people see my gear they think I've spent thousands when in reality I've spent hundreds.
I've been very lucky, very many times as I've not bought a lemon yet even though most of it has been bought off just pictures, with no handling or testing.
Also taking old gear out of an old camera bag gives the impression you've been a photographer for years..😉
I like to try the AF against targets at different differences, moving ones with servo AF too.
Also to take under and over exposed pictures to see if something unexpected happens.
Also shooting light at a grazing angle and check for weird flares.
You get it it's more some kind of voodoo than science :D
Yes, moving objects is a great idea! Unluckily, it could maybe feel weird asking the seller if he could run towards you while your testing the focus :D
"Before paying you that 800mm lens I'd like you to run to the horizon..." :D
Its a good idea to check focus across the whole frame. I once bought a lens that when focused on the left side had the right side of the frame out of focus. The lens looked fine in every other way.
Sound advice but I wonder how relevant it is for most people. I've been buying used gear for 35 years, but it's almost always been via mail order (back in the day) or online. Not much chance to do an inspection in those situations. Others may have different experience.
I haven't had problems buying used lenses from Adorama.
One big omission = DECENTERING
A decentered lens contains one or more optical lens elements that are either moved or tilted from the principal axis of the lens. Even a perftly set up lens when new can shift element position over time - speeded up with knocks and drops.
Some new lenses have really poor decentering - so all photographers need to know how to check this aspect of lens quality - and be ready to send back poor lenses.
No lens is perfect - so the issue is "how much decentering" will you accept as OK. Shoot for laptops and 6x4 prints, no bother; HD screens and 20x30s - get checking each lens you use on a regular basis.
The greatest risk comes with:
[1] wideangles
[2] zooms
[3] expensive multi-element lenses (more chance to shift compared with a simple 5 elements in 4 groups classic lens design)
[4] "home repaired" lenses - look for tell-tale scratches on the spanning wrench sites on the lens to see if it has been taken apart. It needs an optical test bench to reliably put a lens together - or a lot of patience and multiple repeat corner images - before they come good.
Now that's why you should carry your lenses in protective shock-absorbing lens cases or bags!
Lensrental has some amazing articles about that.
Thanks for that rich piece of information! But it'll also fall under the general appearance. But I might pick the decentering issue up for a future article! Thanks a lot!