
Have you ever had that gut-wrenching feeling of being defeated after a wedding reception? Let’s be real, it happens. There comes a point where photographing wedding receptions get so frustrating that you either dive deep into off-camera lighting, or you get out of shooting weddings altogether. I can relate 100%. Despite the terrible lighting, there are a couple ways to pull this off without just turning all the lights on in the building and compromising the receptions atmosphere. These are a few of the ways I light a wedding reception.
Method 1: The Bounce Flash
The most obvious of the choices but the easiest and most widely used of all. There is so much you can do with just a flash on top of your camera shooting into the ceiling of the venue. This is the cheapest of the options but comes with limitations.
Pros: affordable, lightweight, easily tweaked on the go.
Cons: added camera weight, limited when used with certain types of ceilings (especially anything painted black).
Method 2: Off-Camera Bouncing
Very similar to the first method but usually done with two to four lights. As opposed to having to constantly rotate your flash, you simply place your speed lights or strobes on heavy duty stands and place them in the corners of the room and bounce off the ceiling or walls. You can do this with one light, but I don’t personally recommend it. This is strictly personal preference though.
Pros: Lightweight, lights a wide range of the room, less on-camera weight. Lights can be moved to taste or as needed through the night. It’s off-camera!
Cons: Still limited by black ceilings, output power may not be enough depending on your light. Potential light fall off or slow refresh times.
Method 3: Off-Camera Diffused
This is my go-to method. The best part about it is that you can do this for ridiculously close to the same price as the previous method. Simply place two to four lights with an umbrella or softbox in the corners of the room and fire away. Be careful and make sure you have sturdy stands or sand bags; when guests start dancing or get completely drunk, you could have a few issues on your hands. Use with a zone controller with your triggering system to get the best results. The biggest benefit of a zone controller is when a light is adding unnecessary light to your shot, simply turn it off from at your camera. No need for running laps around the venue.
Pros: Best light shaping options, able to be completely controlled by the camera/triggering system. If setup with batteries, lights are very simple to move. Soft light that can literally light an entire venue in a way that can cause guests to “pop” out of the image.
Cons: Umbrellas can be annoying to deal with during when moving lights. Can get heavy. Can easily cripple a photographer without a backup plan if something doesn’t work right. Umbrellas can look very unflattering to your client if not communicated ahead of time. Added setup time.
Method 4: Off-Camera Diffused + On Camera Bounce
This is my second choice then lighting a difficult venue. This is simply a combination of methods one and three. For this, you will need triggers that allow for a flash to be mounted on top of them or you can grab a couple strips of Velcro and keep your triggers mounted to the speedlight (while being connected via sync cable to the camera). You won’t always use every light, but it’s always good to have a backup plan.
Pros: Provides a solid backup plan. Perfect in the event you need to step out of the room for a specific shot. Best of both worlds.
Cons: Things get really heavy by the time you factor in a battery grip, speedlight, and a trigger.
Another great way to take your wedding photography to the next level is to purchase and watch the How to Become a Professional Commercial Wedding Photographer DVD from the Fstoppers store. When you're done, watch it again.
These techniques take practice and time to perfect and can be a little overwhelming if you’re not familiar with off-camera lighting. Don’t just show up to the wedding and expect these to work without spending time with them at home. Without a doubt, they will take your wedding photos to the next level as well as teach you how to see light in a bit of a different way.

Join the Fstoppers community for free
-
Post comments and join in the discussions
-
Browse the site ad-free
-
Share your work and get featured in the community
-
Compete in the photo contests for fun and prizes
7 Comments
I know what you mean for these, but would be much better with photo samples or light setup diagrams.
Sounds interesting, mind linking a few of your example photos?
I used to work with two off-camera speedlights (Godox) on stands and an on-camera flash (Nikon SB-910).
About a month ago I purchased two Godox AD200's and the 860II-N. At my last two events I worked with four off-camera flashes and an on-camera flash (Godox 860II-N).
I put two of them on group A and two on group B and either had all going or just one group. I wish Godox built OFF/ON buttons on their master flashes and transmitter (X1). This way we can turn off and on different groups quickly.
I love when I get rim lights on my subject when I used the four flashes. I also like it when they are in the photos, I sometimes add color to the light star.
Anyone else works with four off camera flashes?
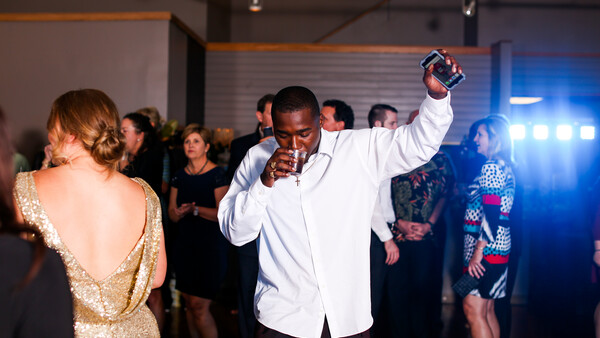
With nightlife photography, the focus should always be to capture the mood of the night. Lighting a club or dark room will never give you a true representation what everyone saw when they were there. However in photos having a lot of dark faces is no good, so to balance this, the focus should be to allow enough light in the space to get you the look that need. As one has commented it's better to shoot with lighting that still gives you a slightly underexposed image as it more reflects the natural look. Also, don't shoot the flash directly at your subject as it makes them too bright compared to the background unless you want to not see some crappy background or gloomy faces in the background.
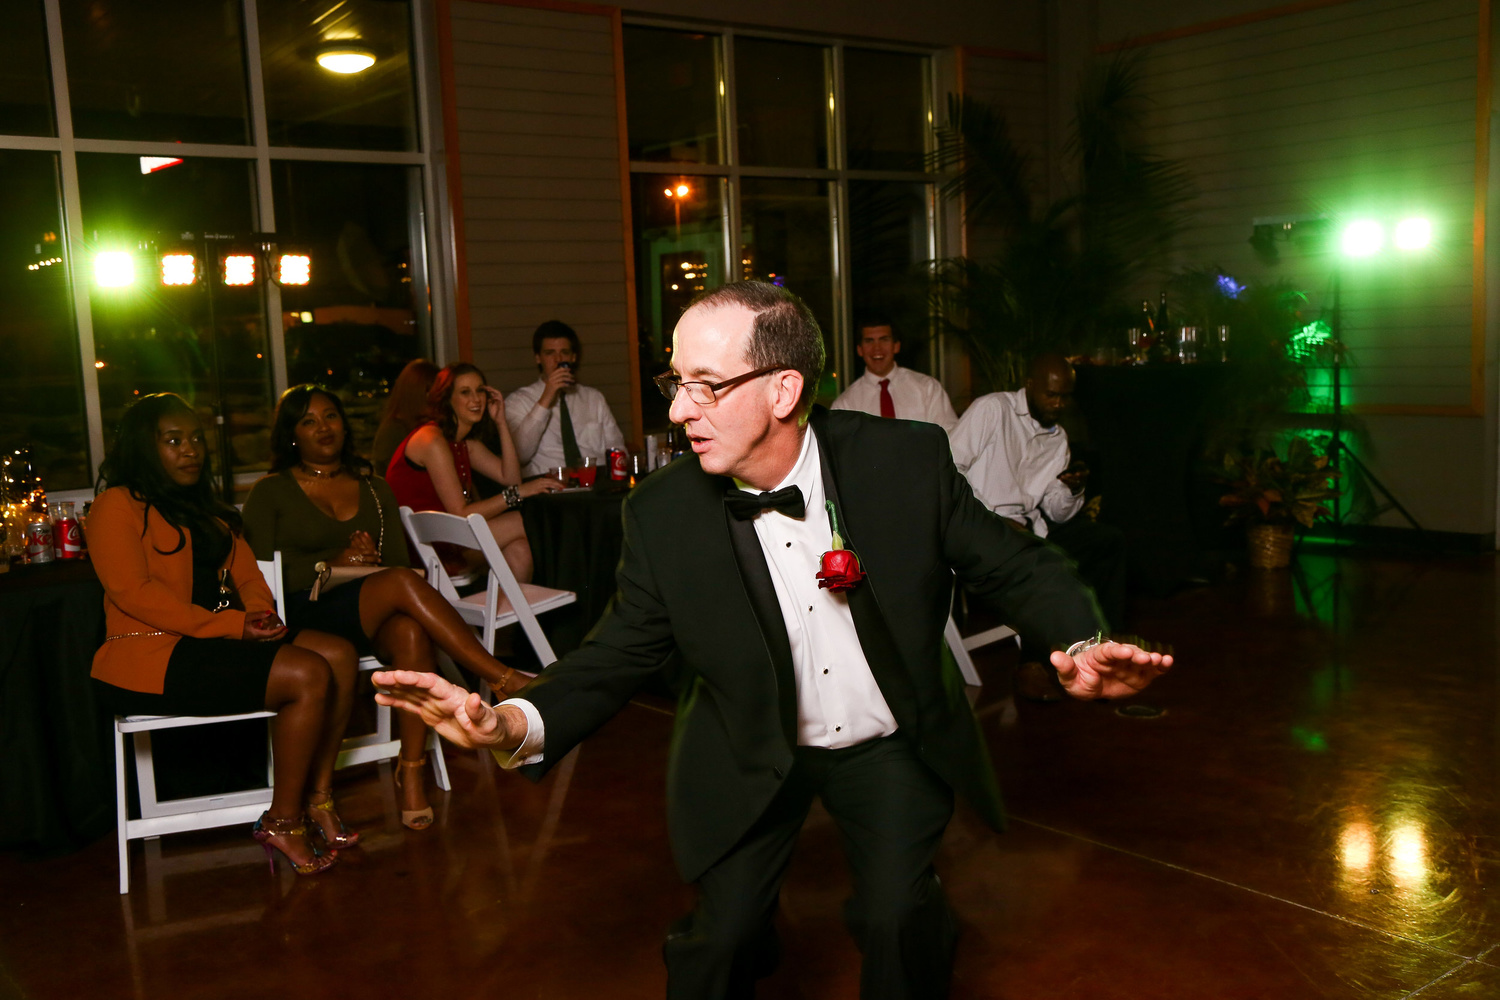
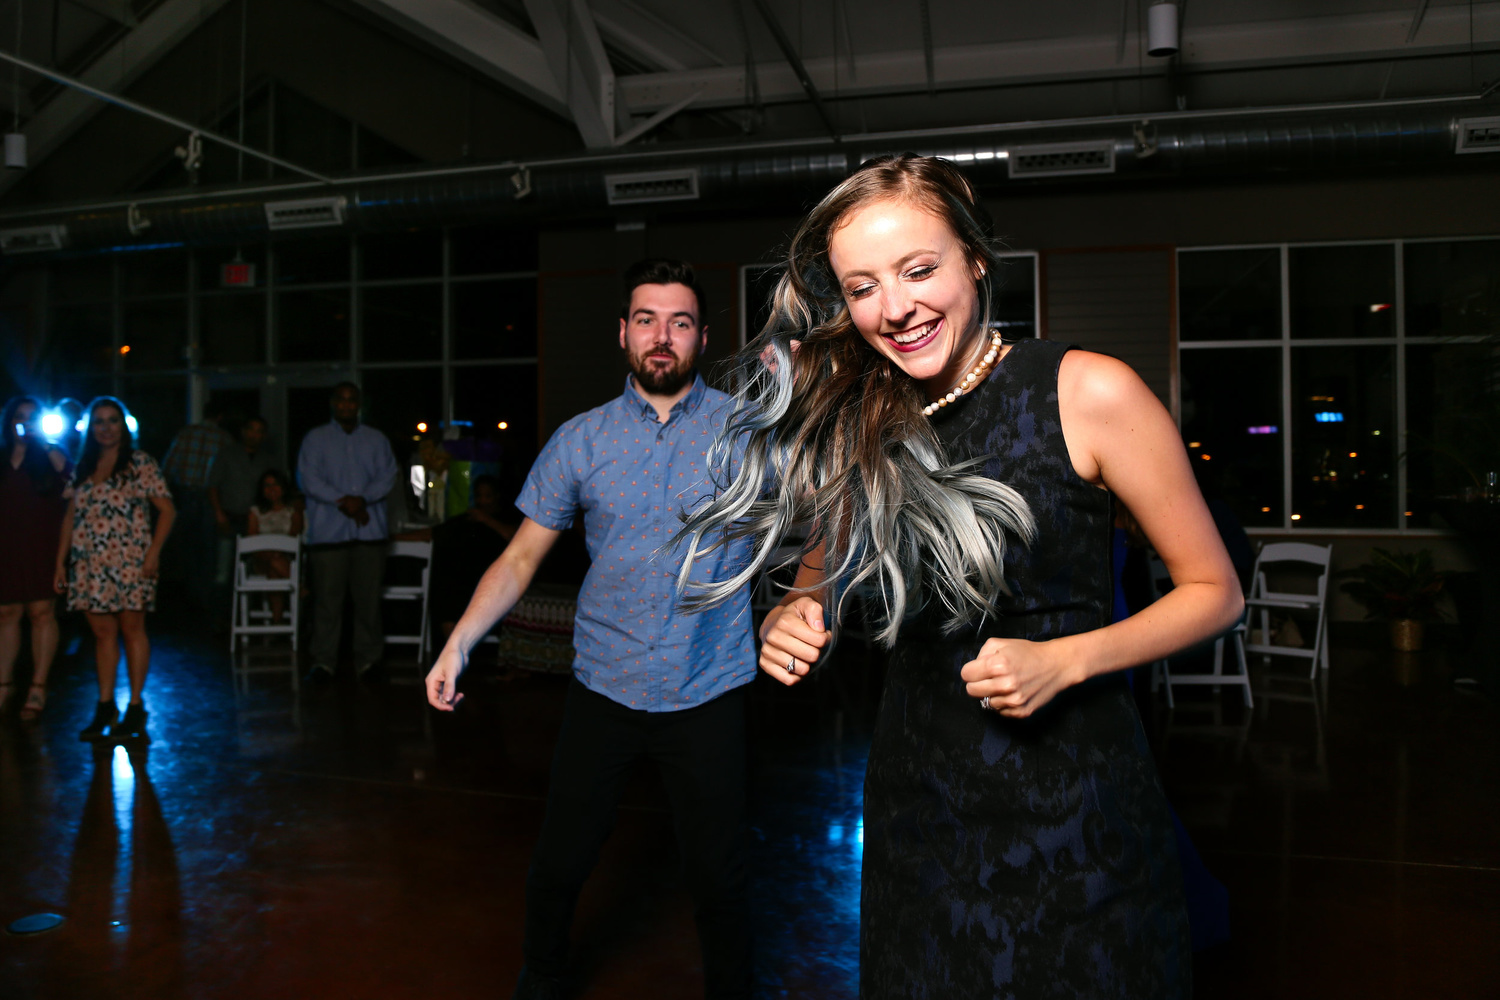
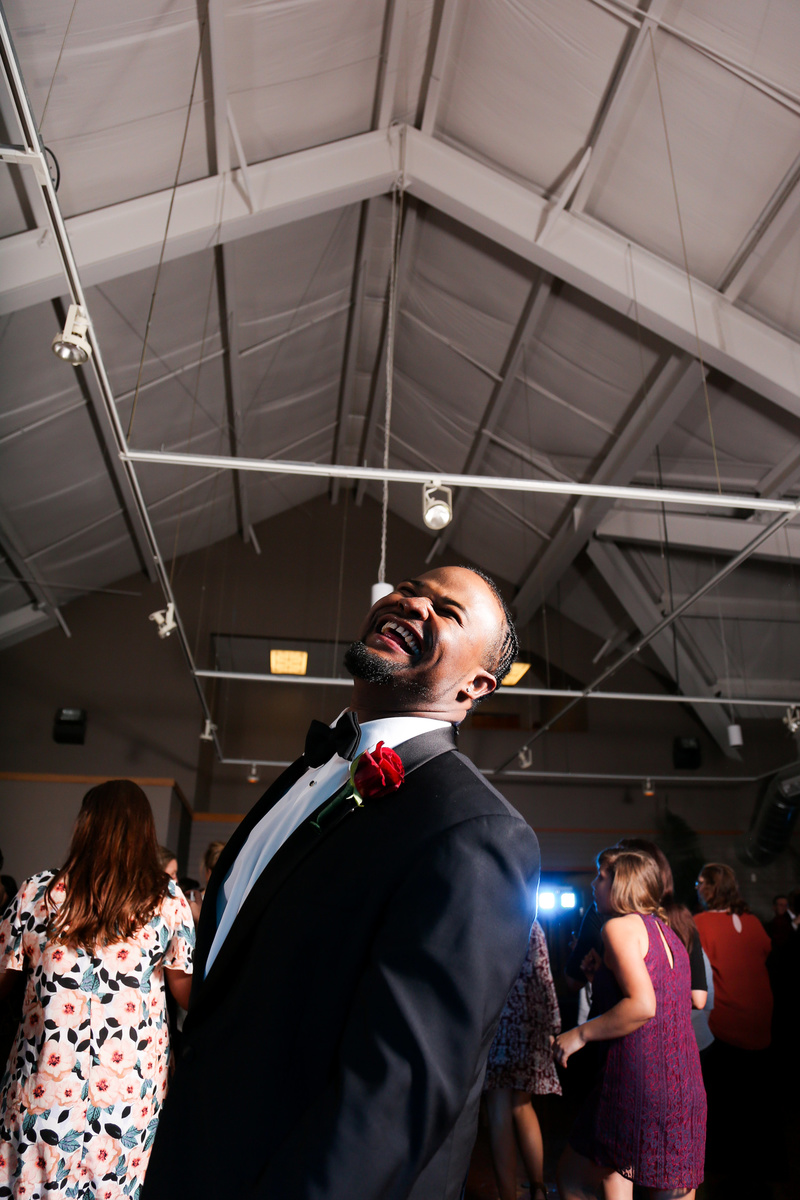
The last three sample images don't really illustrate what good nightlife photography should be as it looks like the the venue is boring and with only a lone wolf having a great time. Part of taking great shots also knowing where and when to shoot the shot. Lighting in 2nd and 3rd images look too dark in the background with too bright highlights in the face, it really looks unnatural (the first image was alright, but the other three I'd likely cull during my editing). I can be harsh as I've shot many hundreds of events and have become very picky. I'm sure those specific individuals may have liked how they looked, but a wedding client likely wouldn't add those to an album or order them unless those were the clients in the shot.
Finally, all recent DSLR and many premium cellphones have pretty decent high ISO, so use it. A decade ago the best you could use is ISO 400 as the only decent ISO I could use and I would have my shutter at 3 seconds and my speedlight on ETTL pointed up (f/stop doesn't matter much with these settings). Those looked fine with many light trails and it's fun to make certain patterns and event spinning the camera in those seconds. Now I'm comfortable going upto ISO 3200 or 6400 and faster shutter at f/5.6+. I like the higher f-stops for bigger groups, dancing or people posed at different distances, and then you have couples which can easily be shot at f/2.8 if they are side by side. The higher ISO and lower flash gives you a more true to life representation of what other see at the event.
On a side note, I'd be curious to see how the new Godox flash for cellphones work in low light situations, but I'm sure it'd work just as good as a DSLR. I wouldn't say so even a couple years ago, but I'm pretty impressed these days with new top model cameras. Though I hate trying to capture moments with cellphones as the delays kill me.
Second side note, anytime the room is flooded with a solid color screw high ISO unless you plan to convert everything to black and white. These situations just use your strobes or speedlights to kill/overpower the flood lights, I don't know anyone that likes to be bathed in a demonic red or look like an Smurf in blue, or green like the hulk. Some venues don't know what the hell they are doing with lighting sadly. At least with those venues, clients will enjoy your images more than any cellphone image they take.
Last, I don't post everything online, but you can see some of the galleries here: https://lubinphoto.photoshelter.com/gallery-collection/Night-Club-Event…
Anyone have a diagram of how they would set up some flashes for a wedding reception. I tend to shoot with flashes in the four corners of the room. But I just bought some ad200 and they are way more powerful. I was hoping I could do two in corners facing the wedding party and float around with an on camera flash to do a little fill in.