
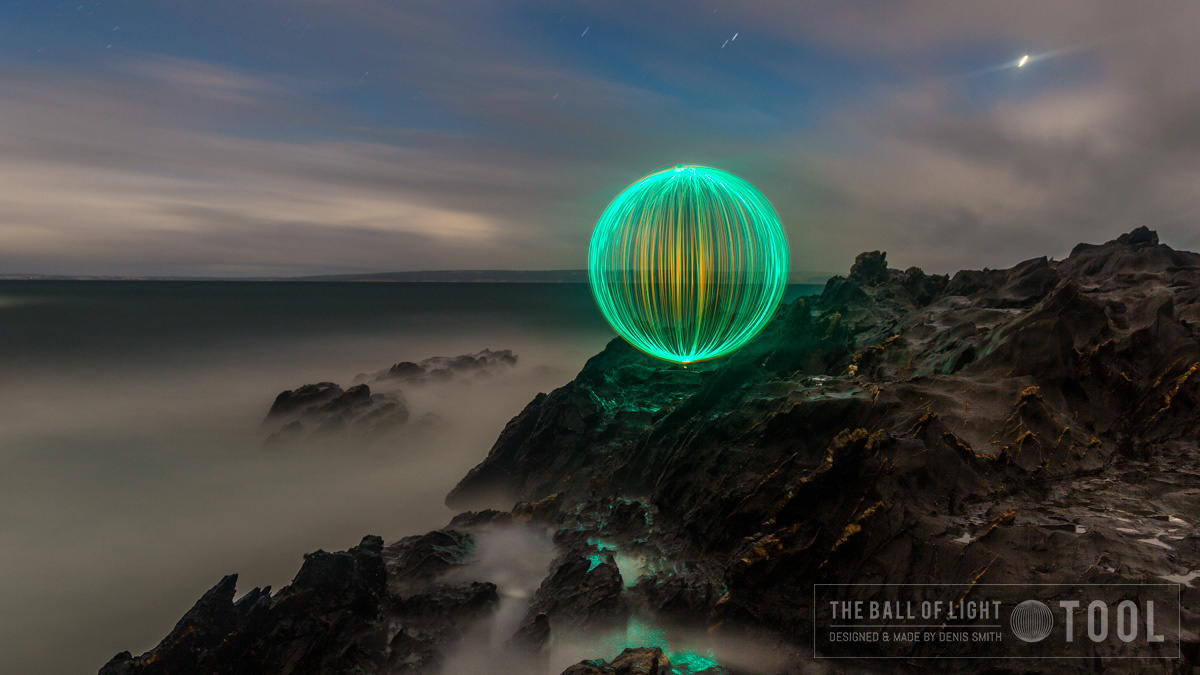
When it comes to light painting, the tool you use to paint with is just as important as the camera you use to shoot with. Different tools give different textures of light, color, and intensities. The main issue here is that most tools are handmade and there isn't always a lot of information online about how to build everything. So when someone comes out with a well-made tool that you can use right out of the box, it’s time to take notice. That’s what we have here with The Ball of Light Tool from the master light painter himself, Denis Smith.
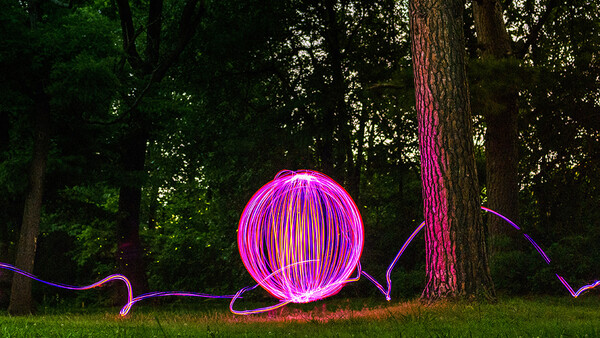
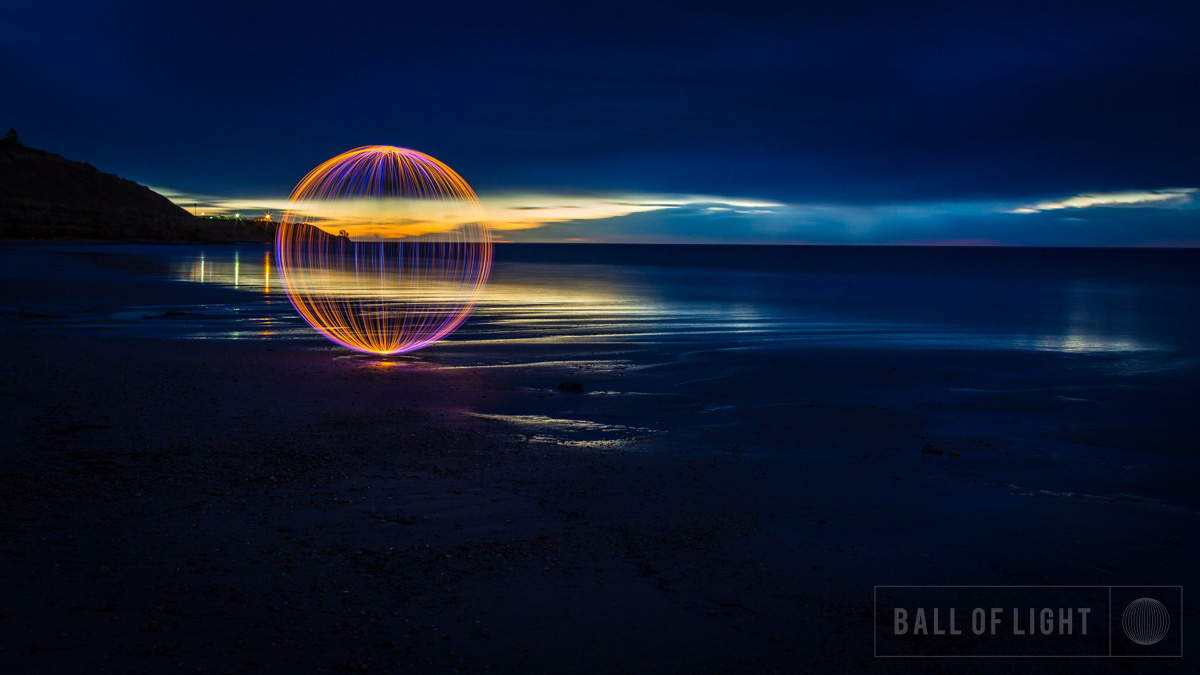
When I first started photography, I was instantly drawn to light painting and the amazing images that could be produced. The work by Smith with his "Ball of Light" project was among the top of that list. I quickly went out and got me some keychain lights, tied them to the ends of some string, and started spinning. Going this route I was never able to get the same lighting effect, but I got close enough for starting out.
Fast forward to today, after many outings spinning orbs, and my keychain lights started not to cut it. One issue I had was when I wanted to change colors it was a pain to untie the string. The lights also had an adjustable brightness, but it was basically impossible to dial into anything specific. This left me only being able to choose the brightest option or the dimmest option. The brightest option also wasn't always enough in certain instances. Things like bright alleyways or city streets were difficult or impossible to shoot in. Thankfully, after realizing the limitations of my current kit and needing more, Smith introduced his light painting tool.
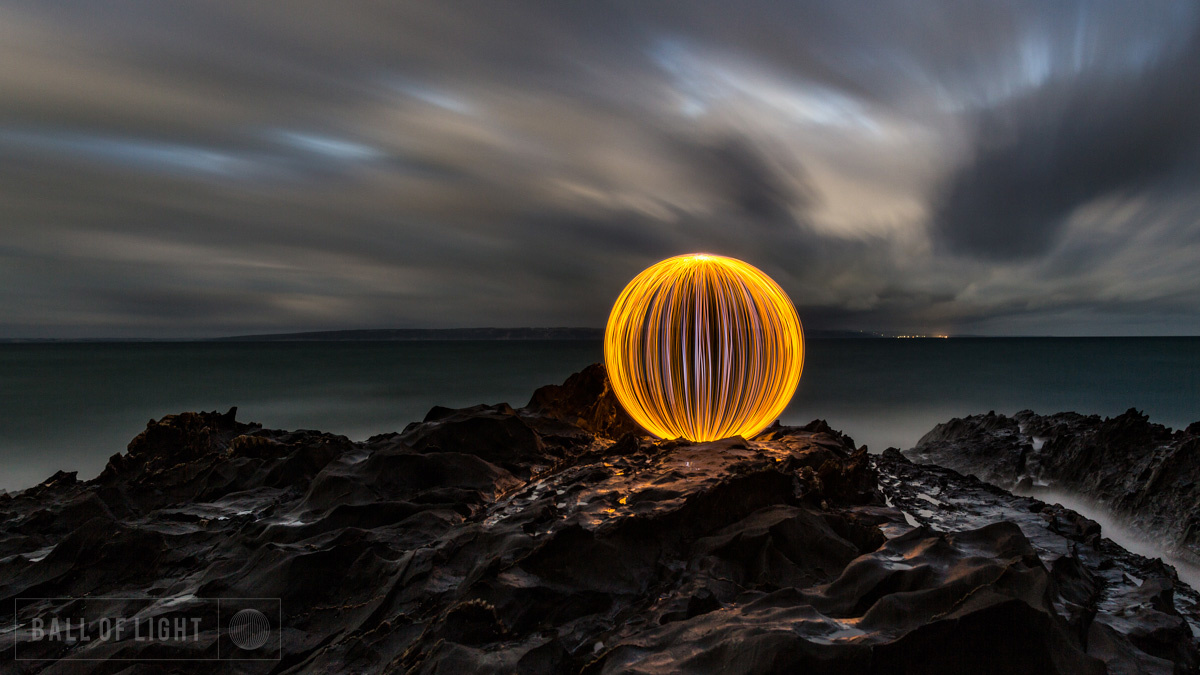
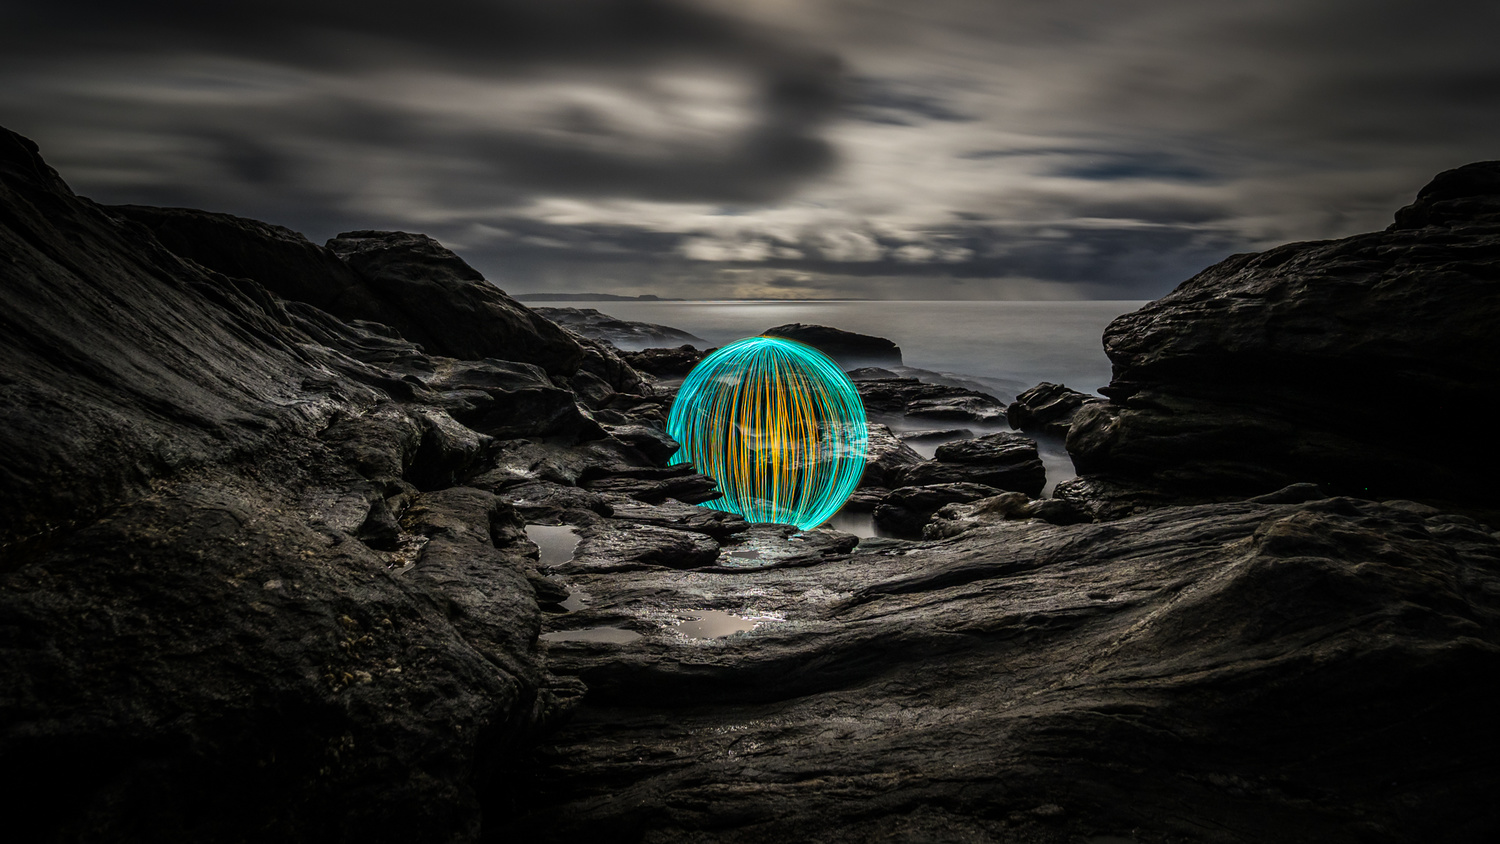
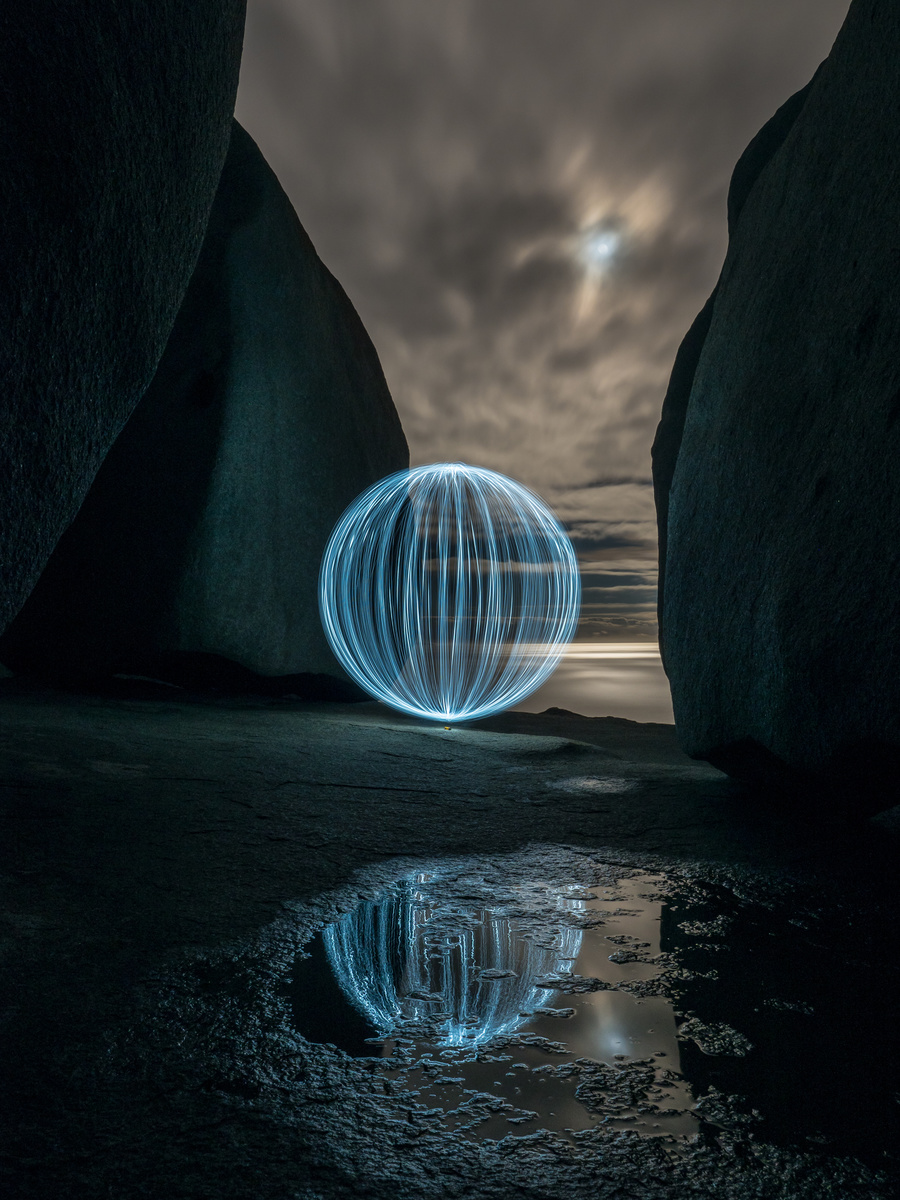
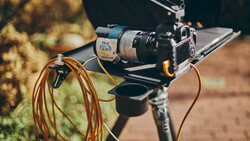
At the heart of the tool, it closely resembles the old-fashioned light on a sting that I was used to using. The key difference lies in the head of the unit. Here you will find not one single LED, but instead five or more different lights. Some units have a single color while others have sets of complementary colors. This setup of lights is what gives the paintings their texture and exactly what I was missing with my old setup. These heads can also have a much larger LED on them that give a good amount more power.
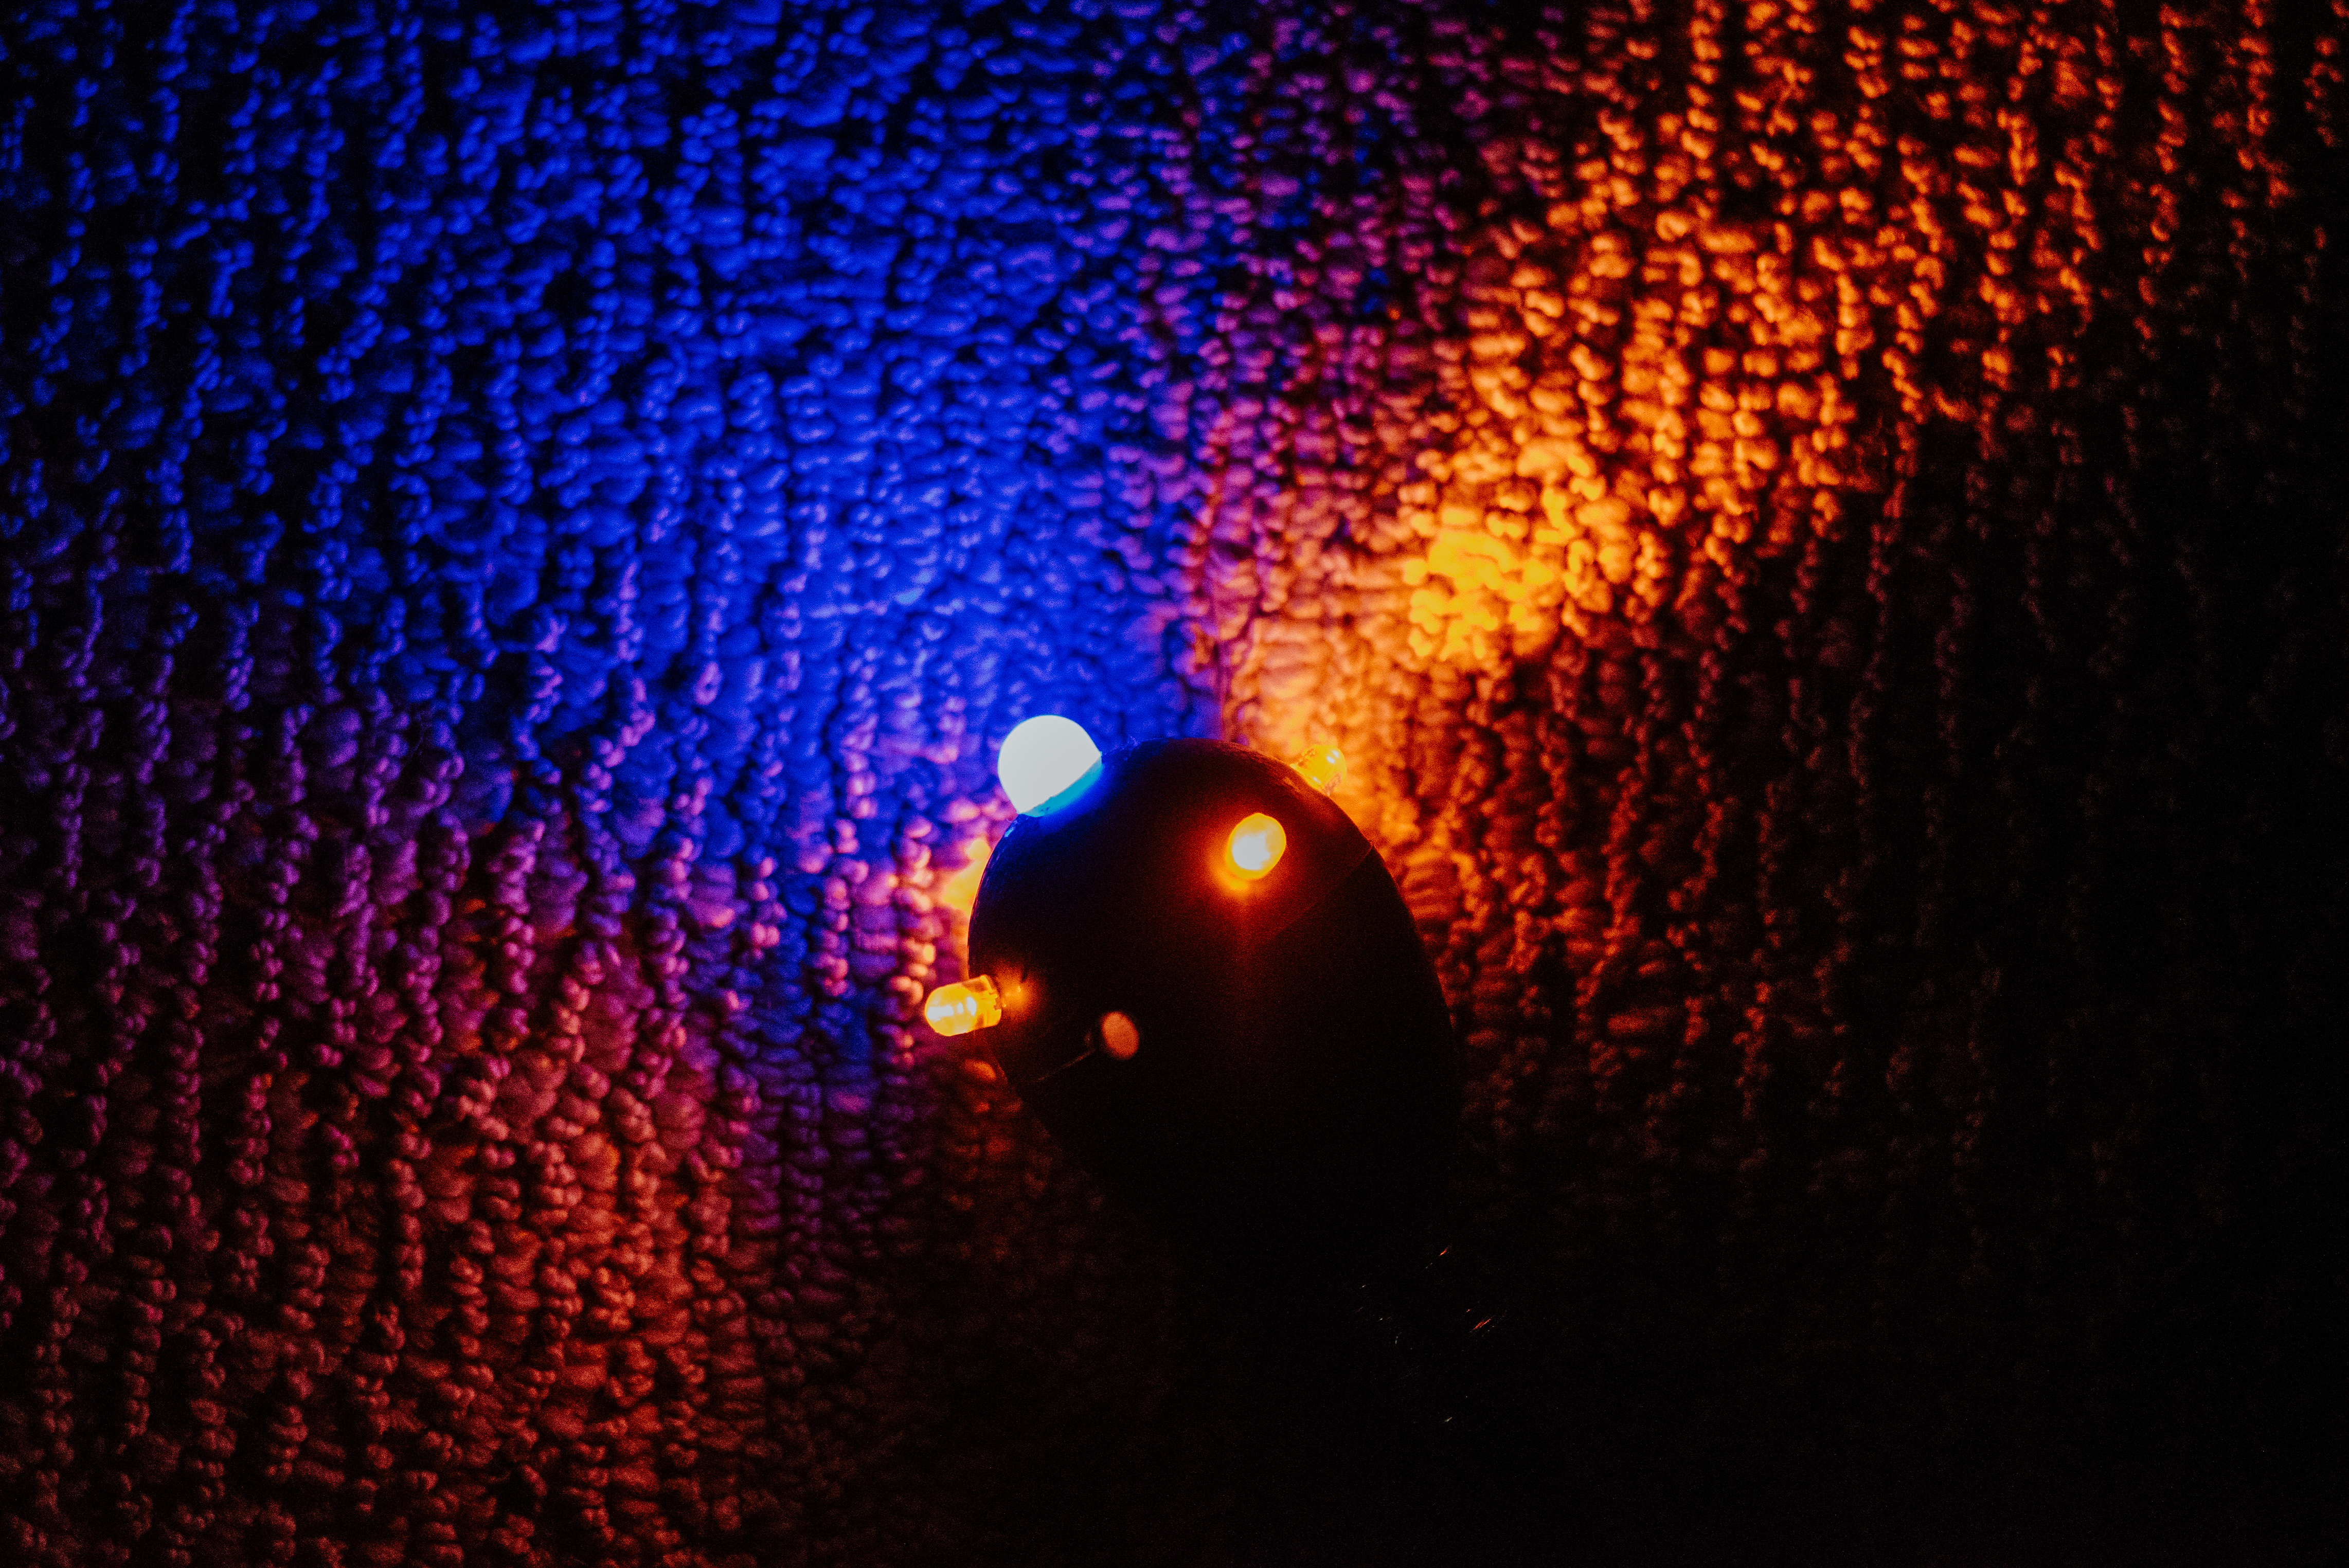
Another benefit of these heads is that they are extremely durable. I have dragged them over rocks and banged them into walls so with no ill effect at all. Smith also has a video demonstrating that all the LEDs work independently of each other. So if for some reason you smash an LED, all the other lights will continue to work unlike those strands of Christmas lights that stop working when a single light goes out.
https://vimeo.com/189127018
Three-minute mark for durability demonstration.
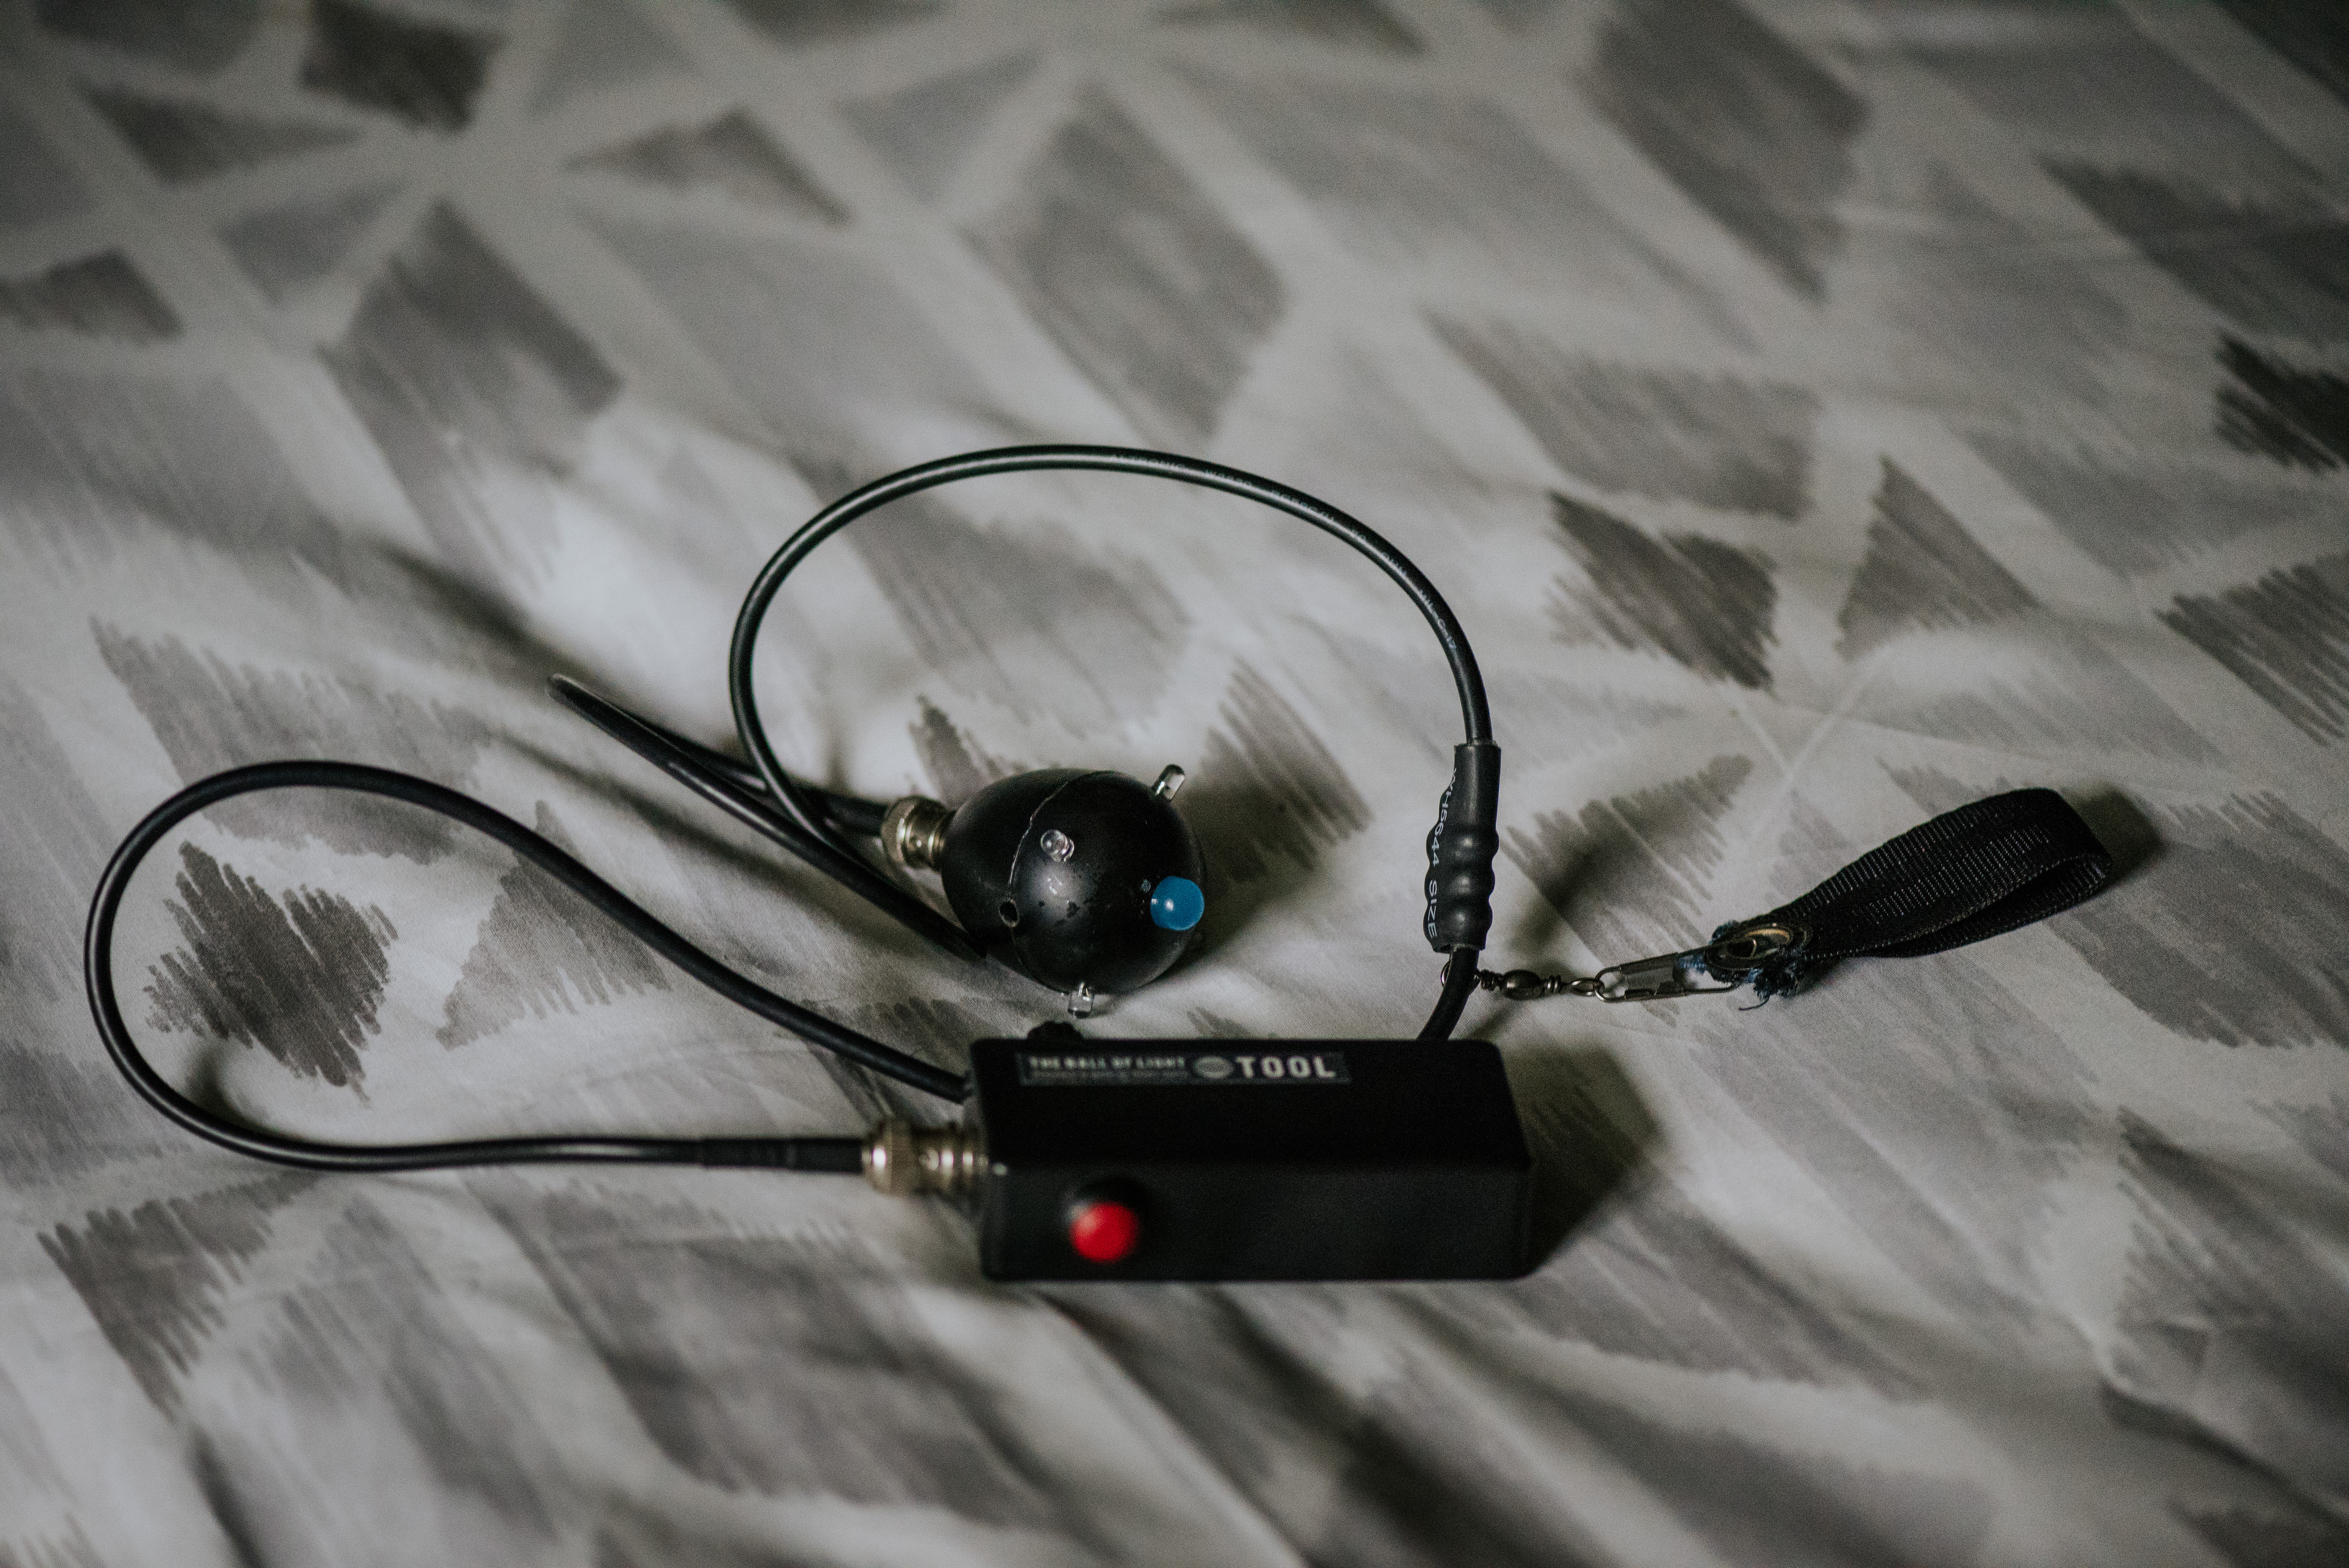
The cable that connects the lights is also more than just a string. Instead, we have a cable that has a quick release connector on either end. The cable not only supplies power and control to the head, but there is also a specially made finger loop that makes spinning the light easier. My only issue here is that I wish the finger loop was made to be adjustable. I’m fairly tall and could sometimes use a bit more length to make a bigger orb. Other people that are a bit shorter may find it hard to not hit the ground while spinning. I think the chosen placement is a nice location for the majority of people, but this is still something to consider. The quick release connector also allows you to quickly change the head out if you decide to use a different set of colors.
The last part of this unit is the actual control box. Here you will find a large red button that is used to turn the light on and off. While the button is pressed, the light is on. When the button is released, the light turns off. This makes it easy to quickly control the light while spinning so that you can dictate when and where to start and stop without needing to fumble around.
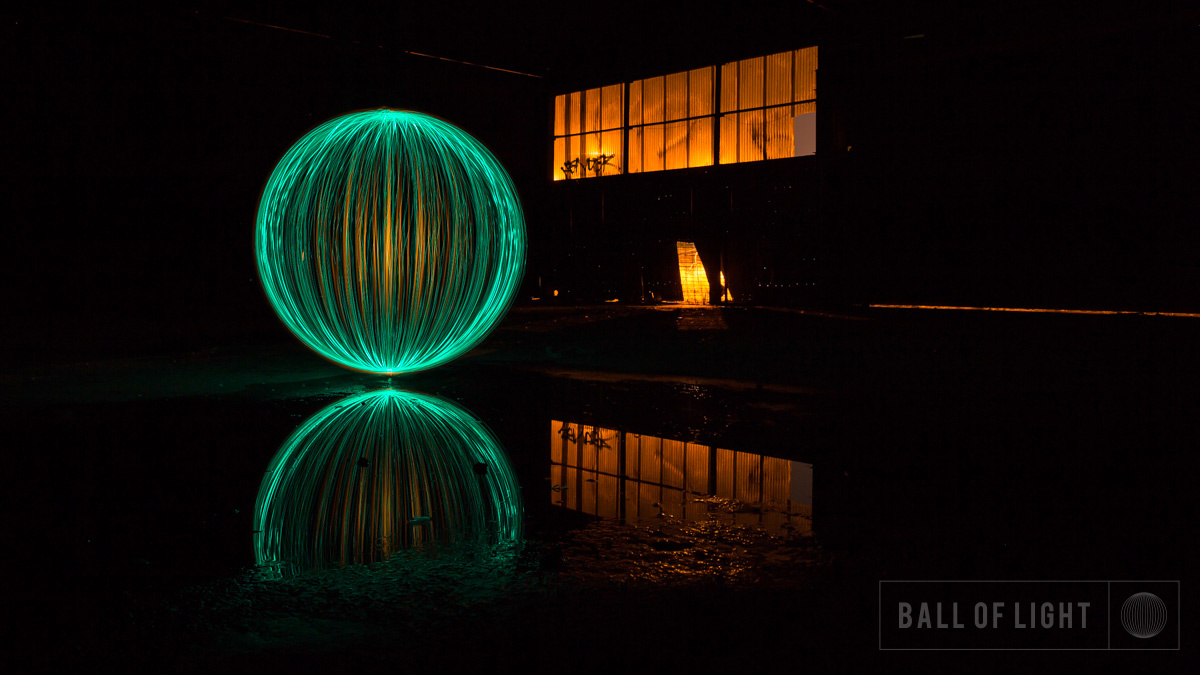
The only other part of this control box is the brightness control. This is extremely nice to have after dealing with my outdated keychain lights. Because these now have more brightness and more control of that brightness, I now have more freedom of where and when I shoot. Having more brightness allows me to shoot in brighter locations. Having less brightness means I can shoot in darker locations while still gathering the little ambient light that is there.
For a complete kit with the control box, cable, and two heads, you are looking at a cost of AUS$250. For additional heads, you can look to spend another AUS$60 to AUS$80. When ordering this unit, you also get access to a step-by-step video that walks through how it works as well as how to spin the light. I can speak from experience that spinning a decent orb is a lot harder than it looks. My first few attempts left me with awkward looking ovals with sporadic clumps of darkness followed by bright blown out clumps of light. The video does a good job of laying down a good foundation for spinning to let you hit the ground running.
What I Liked
- Bright heads that come in an assortment of colors
- Quick connectors
- Easy to use and great walkthrough video
- Very durable
What I Don't Like
- Finger loop does not have adjustable height
In conclusion, this light painting tool was exactly what I was looking for. It’s extremely durable and customizable. The adjustable brightness and light output make it easier to shoot in a variety of location. Because light painting is a world of DIY, the price may seem steep at first glance, but the build quality and function are definitely worth the price. Smith is also extremely helpful and has amazing customer service.
If you have any questions I didn't answer, leave them in the comments. You can also see more work from Smith below or on his Instagram.


5 Comments
I don't get it. Light painting is about creativity, innovation, creation, to have fun doing something different, DIY philosophy... And they sell you a "kit" so you can make a ball? I don't see what's fun or interesting about creating the same light ball in different locations. Everyone has more than he needs in his favorite hardware store for creating his own tools and create something original instead of copying other's work.
The balls are fantastic, by the way. But they are stretching the idea too much in my opinion.
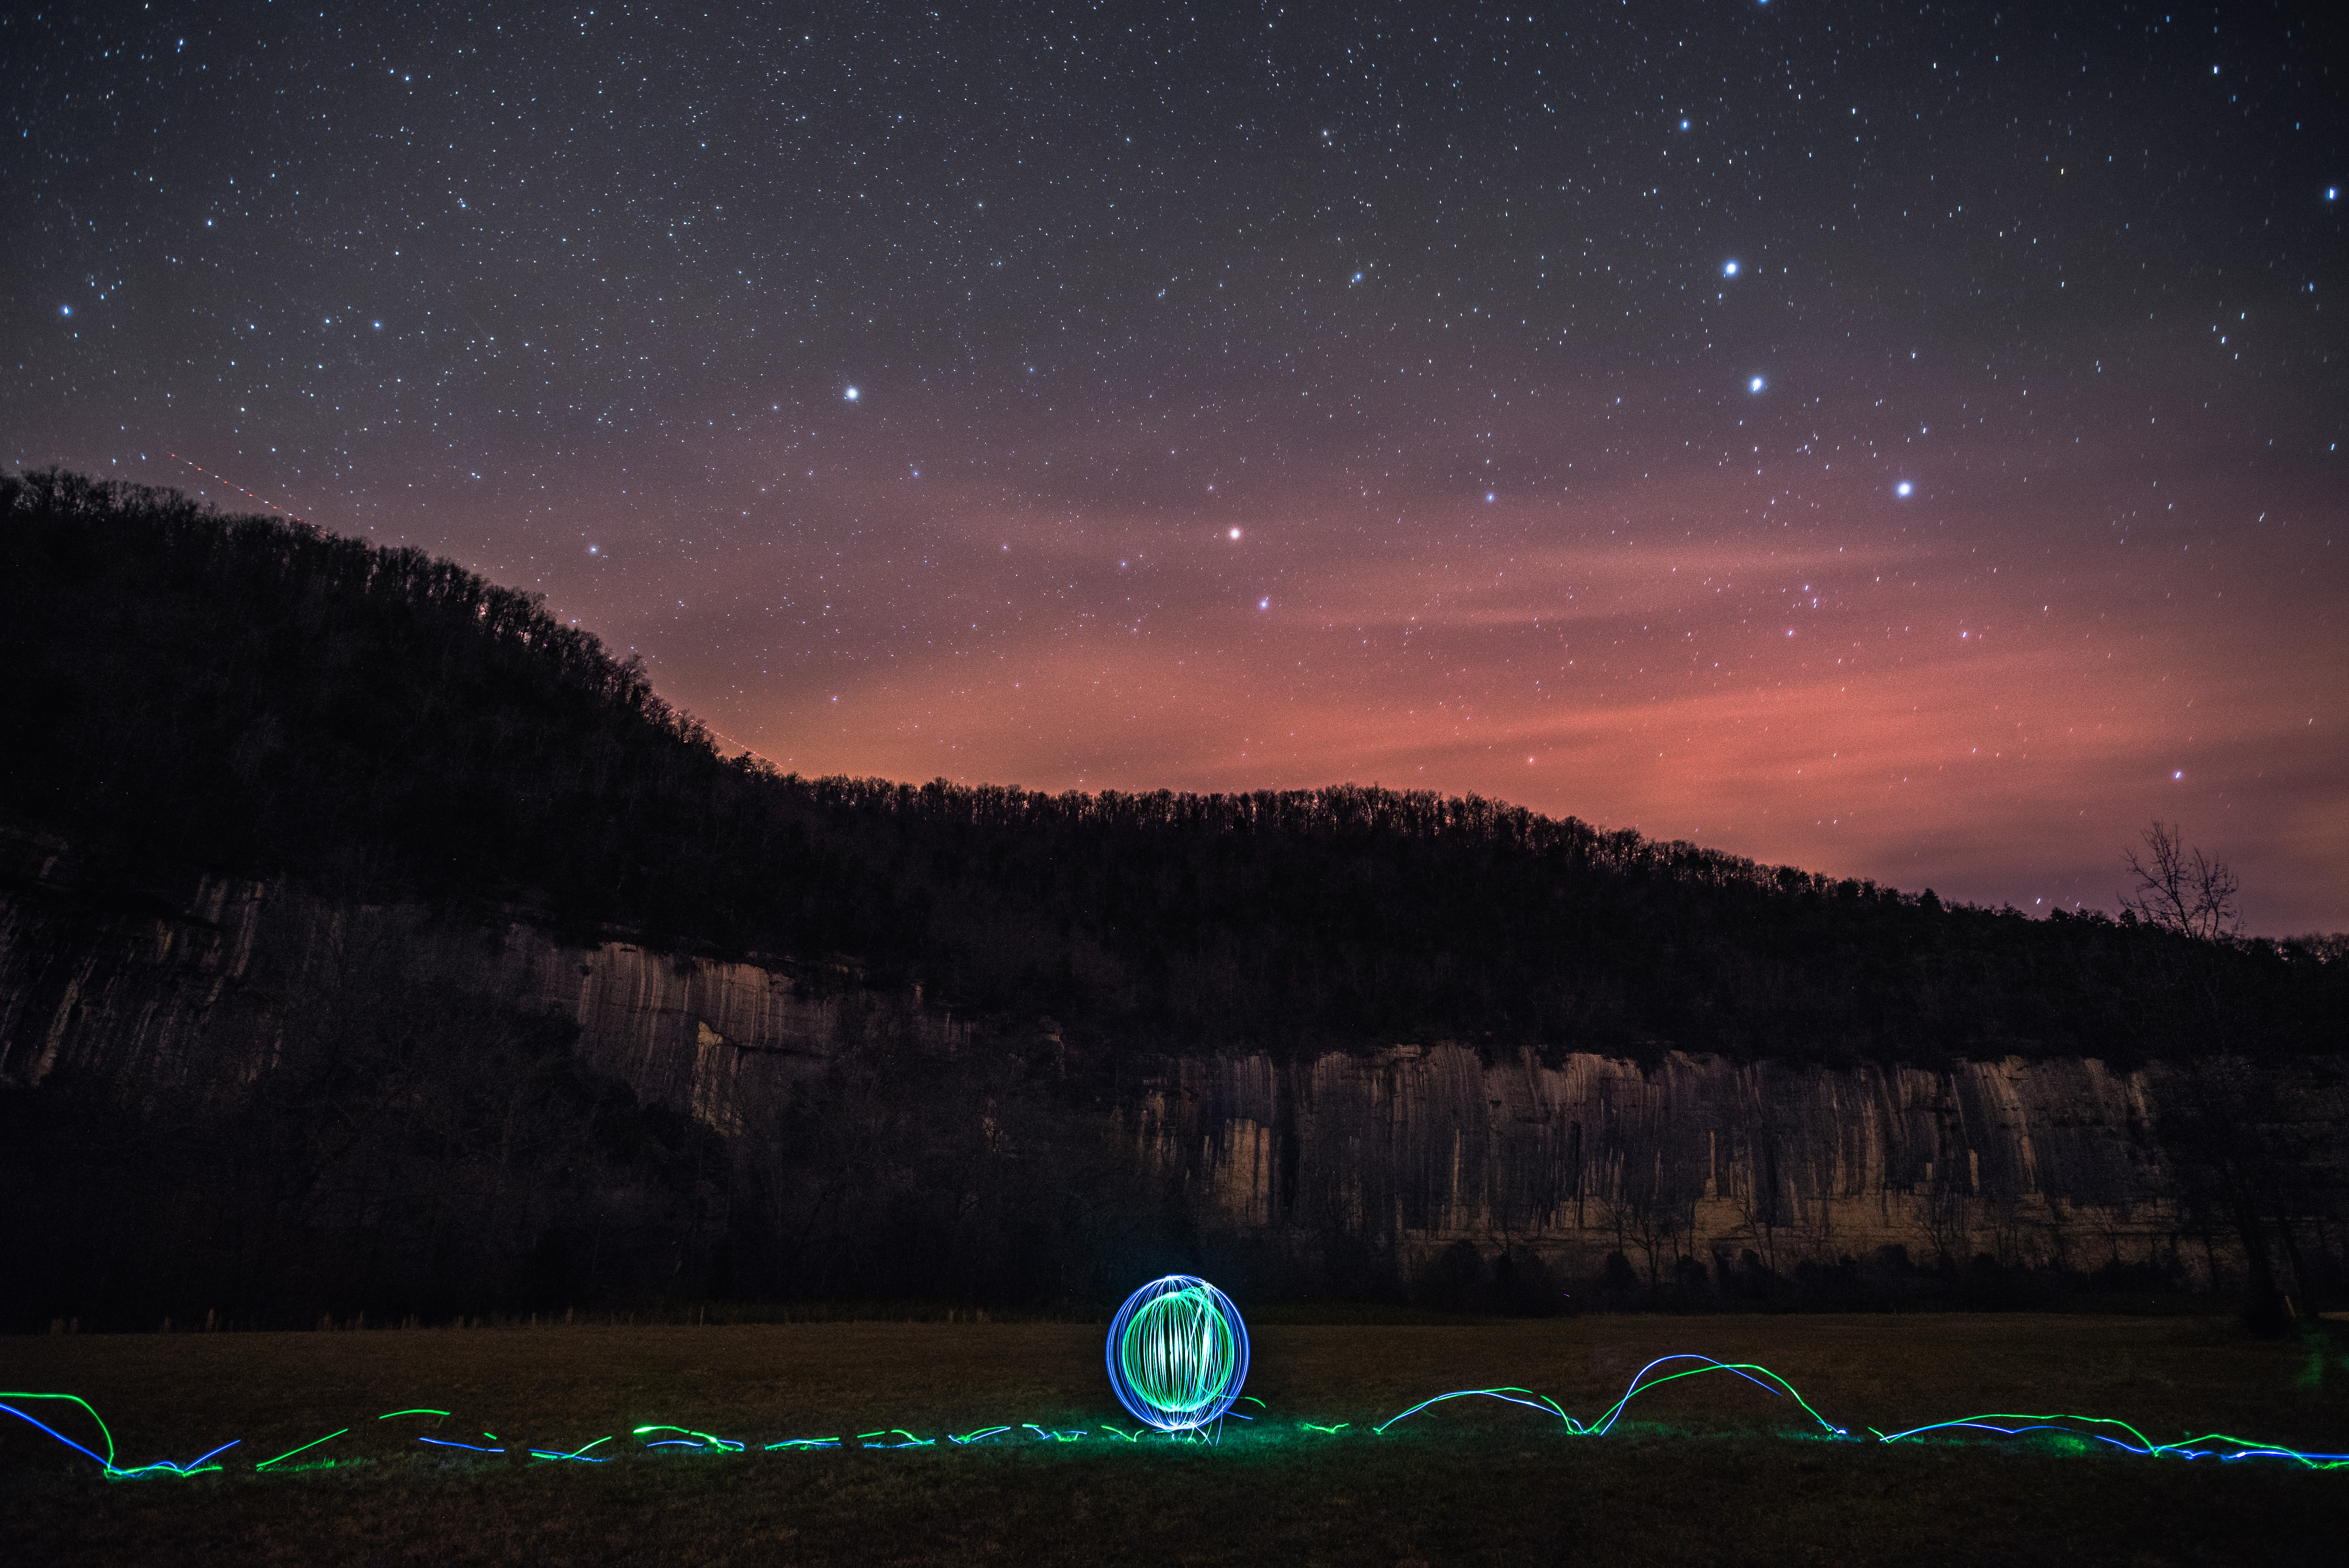
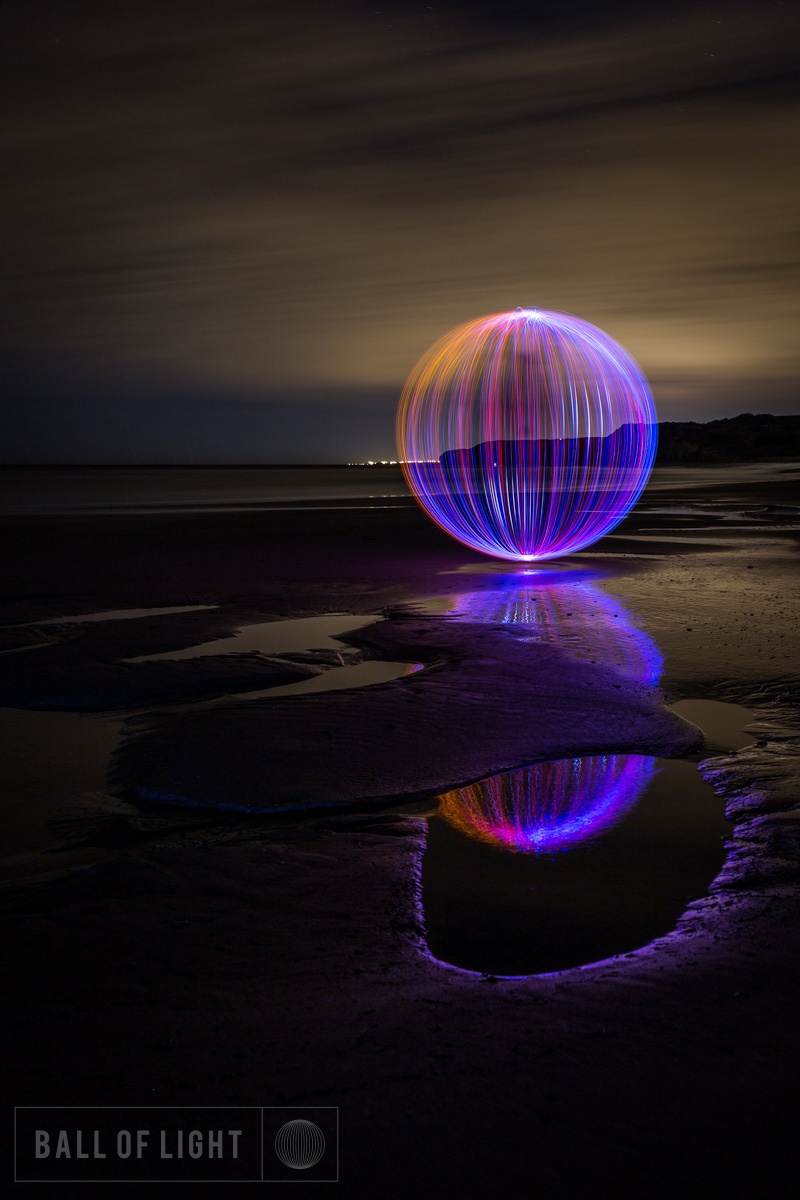
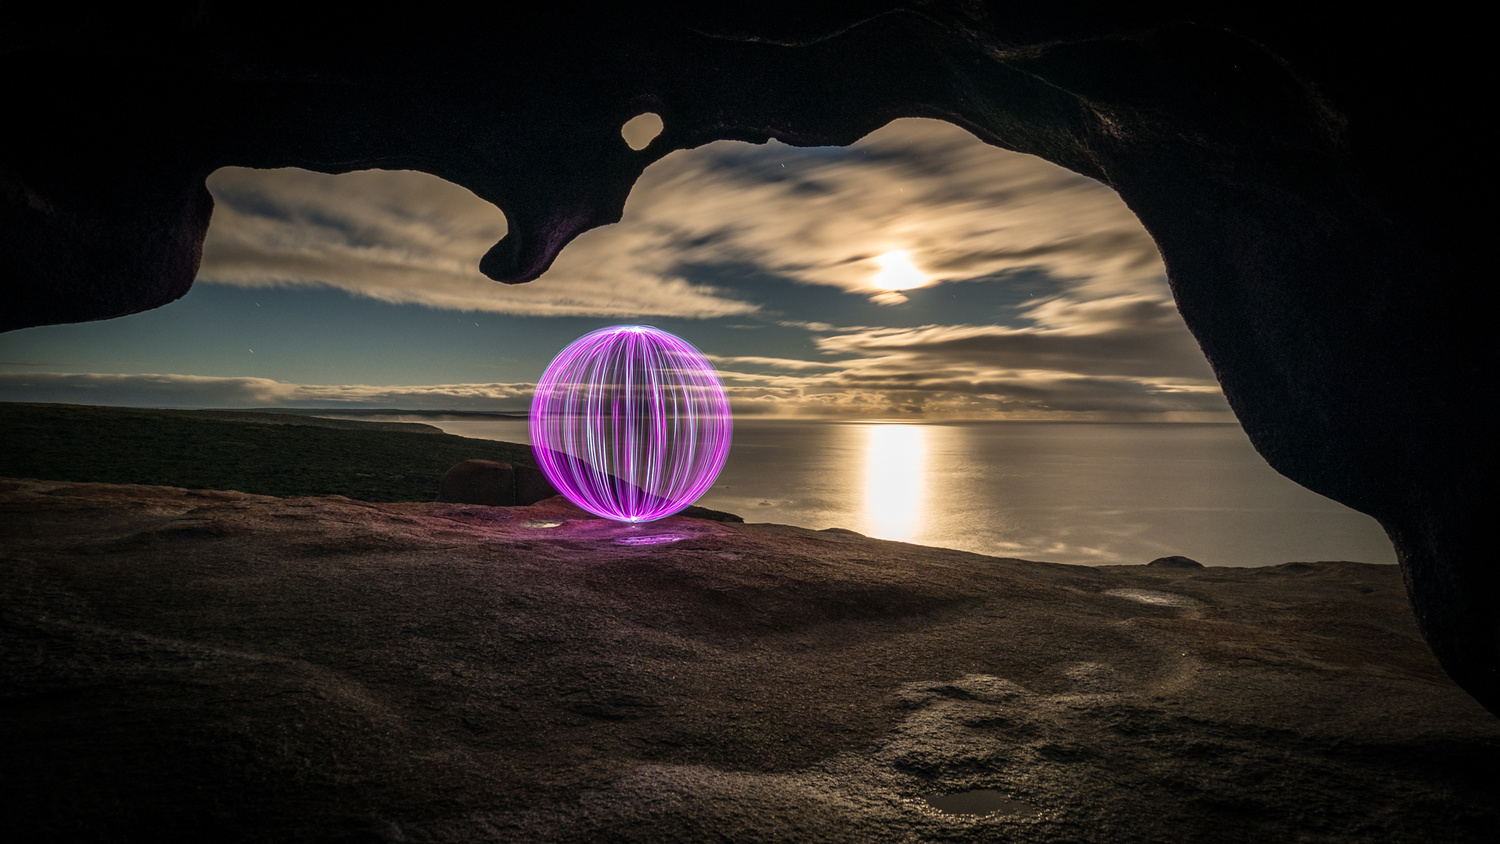
That's like saying "what's the point of landscape photography, there are already enough pictures of mountains and valleys". To me it's not entirely about the ball of light but where it is and how it interacts with the scene. What color you choose to coordinate with the surroundings. The skill it takes to get a good spin while staying within your exposure time. It's like taking a portrait. Just because you're photographing a person doesn't mean every image will look the same. Still plenty of room for creativity using the same subject over and over.
You made some good points. And I still feel that is not the same, but perhaps I have to try and see for myself. Thanks
Hi Samuel. Your are right. One of the incredible things about light painting is the joy of creating your own tools. The light painting community is all about encouraging that. There are two things with an orb tool that I was trying to fix. Firstly they are notoriously unreliable. I have fixed that problem with some well put together electronics and a cable design that doesn’t fail. I also wanted to make a Tool for those that simply do not have the skill set to make one. I still encourage people to have a go for sure. It is a great part of the art. I’m glad you like to pics. Peace. Denis.
Hi Denis!
Thanks for your clarifications. I'm looking forward to see the evolution of your work!
Have a great day man!