
The photograph is a two-dimensional expression of a three-dimensional world. As photographers, part of our job is to ensure that the illusion of three-dimensions is given to the viewer where needed. There are myriad ways to do this, and we'll look at a few in this article today.
Following on from my last article on using photographic templates to learn composition, today we'll look at some common methods we can use to add dimensional depth to our images. We'll start with one of the images from the previous article.
Frame Your Subject
In the previous article on composition using templates as a base, we finished up by talking about framing your subject. We’ll use that same image here to talk about how framing can add depth. There are quite a few things that help with depth in this classic composition of one of the world’s most photographed buildings.
The difference in exposure between the foreground and background helps to give us a sense of depth. Also the use of the XF 23mm f/2 to exaggerate the distance between the gate and the building helps to sell that illusion. By framing the building in the gate and using the wider angle lens (~35mm on a “full-frame” sensor) I rendered the gate and people in the foreground relatively much larger than the Taj Mahal. In reality, the Taj Mahal is taller than the gate and dwarfs the people walking around it, but their closer proximity to the camera renders them all significantly larger than the building itself. This helps to give the sense of depth we see in this image.
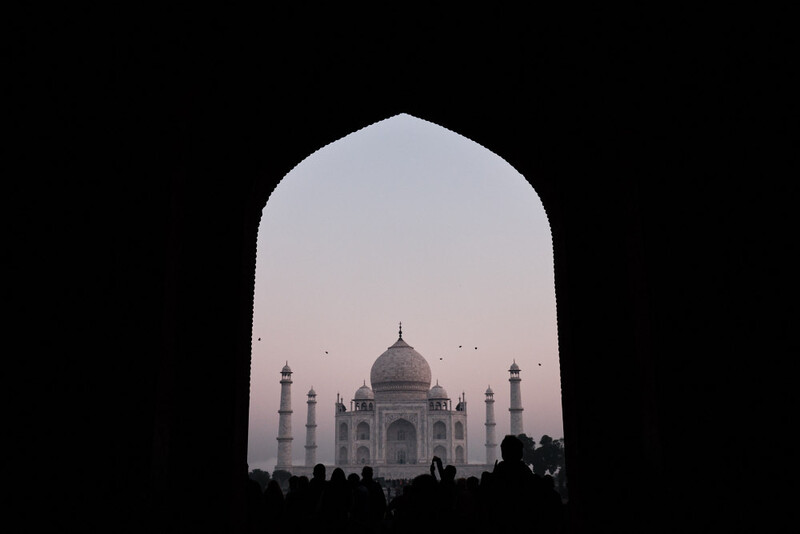
Light Only One Thing
Another factor I mentioned about the above image was the difference in exposure between the Taj Mahal and the foreground elements. By lighting part of your frame brighter than other parts, you can also help to sell the illusion of depth. Our brains know to interpret a difference in light as that light being blocked at different distances and we can reconcile this difference as depth when we view it.
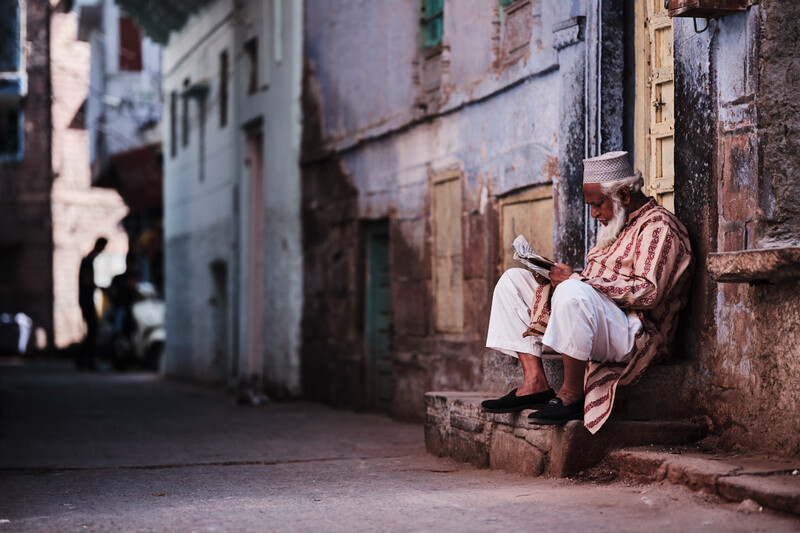
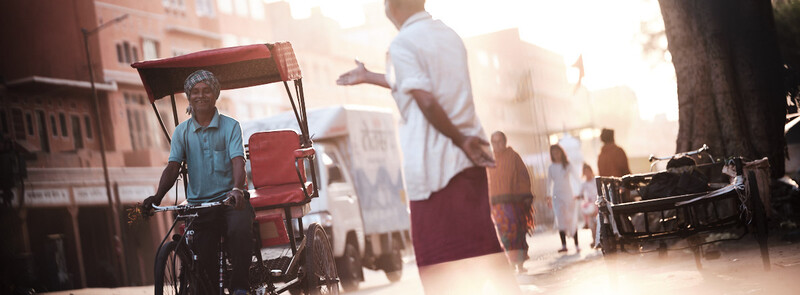
Although there are a few things going on in this frame, including leading lines and depth of field changes, one of the elements that gives you clues about depth is the way the light hits part of the scene. The man close to us is fully lit by light coming between buildings. However, the buildings between him and the background are not. They fall into shadow. The second man is walking in that shadow. We know that because the far background is lit, causing him to render as a silhouette. Our brains are able to dissect this and layer it to express distance in our minds. By looking for these differences in light and allowing the subject of your image to be lit differently from the rest of the scene, you can effectively add depth to your images.
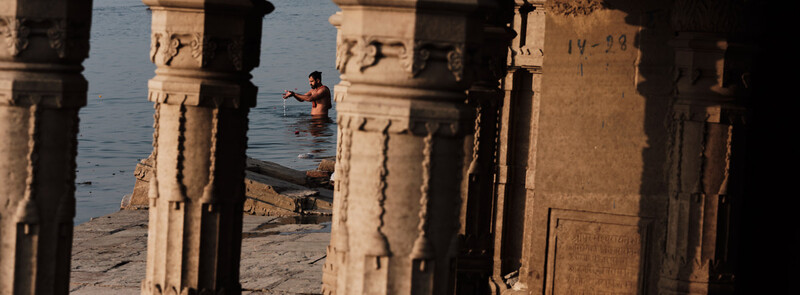
Direction of Light
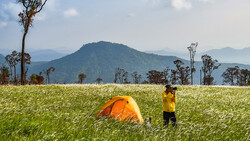
Light and shadow play a huge role in defining depth for our viewers, as we saw above. Front lit subjects can appear flat to the viewer (unless there is depth created some other way, like only the subject being lit), but we can help to make something appear three-dimensional by lighting it from an off-camera-axis position (not necessarily using artificial lighting). Side lighting and back lighting can go a long way towards selling the illusion of depth to your viewer.
In this image, I used the rising sun to illuminate both my subject and the pillars in the foreground. The key to this image is that the light comes from one side and casts shadow on the opposite side of all the objects in the scene. We are able to make sense of this as we are used to seeing this effect in the world. Even if it isn’t conscious, we’ll associate this difference in light as depth. Try working with your subjects as light hits them from different directions. You’ll see that there are certain types of light that express deeper feeling images for your subject.
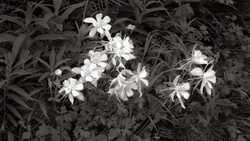
Obscure Parts of Your Composition
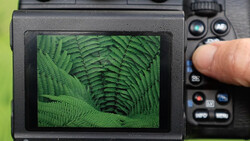
Another great way to bring depth to your images is to put things between the camera and the subject. As we saw above, a foreground element can be used to effectively frame your subject. This doesn't necessarily need to be a frame, however. It could just be foreground elements obscuring part of your composition. This could be anything from foliage to prisms. You can even vary the depth of field you use to alter the look of these foreground elements. Not only can you use these things to add depth to your images, but you can cover up unwanted parts of the composition in the process.
As you’ll see from this extremely quick-and-dirty Photoshop removal of the bamboo structure in the foreground of this image, without it we have a very different and significantly flatter feeling image. By placing elements in the foreground and, in this case, allowing them to go out of focus, we are able to offer a clue as to the depth of the scene we are photographing. If you’re looking at a scene and thinking that it feels to flat when rendered as a photograph, try putting something between your camera and your subject. You’ll often find that it gives a greater sense of depth.
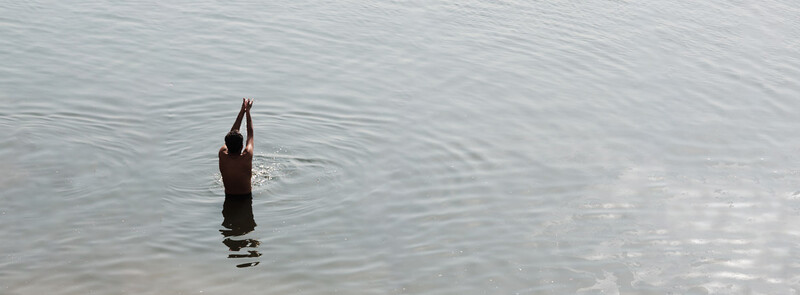

Experiment with Depth of Field
Depth of field isn’t only a tool for controlling what is and isn’t in focus. It can be a useful way to change the way depth is perceived in your images. By allowing certain things to be in focus and others to be out of focus, we can change their “visual weight”. This allows viewers of the photograph to perceive things as more or less important than others and also rank them for distance, especially when that blur coincides with changes in size.
In this image, we see that only one of the people in the image is in focus. This immediately separates him from the others in the image. On top of that, the out-of-focus figures are larger and smaller than him, which gives us clues as to their distance from him and thus helps us to understand the depth.
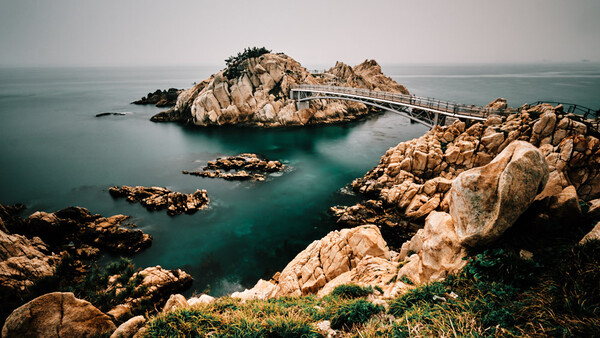
Use a Wide Angle Lens
As I mentioned in the first section of this article, lens choice can affect the way depth is rendered in your images. Since things closer to the camera render larger than those further away and wide-angle lenses are great for getting up close and personal, they can also be used to give an exaggerated sense of depth. Street photographers often talk about the inclusive feeling that a 28mm or 35mm lens gives you as it forces you to get close to your subjects. The wider you go, the greater this effect becomes.
In this example, we see that the ocean separates the rocky shore from the city. However, we also see that the rocks are significantly larger than the city in how they’re rendered. This is a function of the rocks being much closer to the camera than the city and this type of image is that easily achieved with wider angle lenses (in this case, the XF 10-24mm f/4). Experimenting with different focal lengths and how they render close and far objects is yet another way to play with depth.

Wrapping Up
We've covered several ways in which to sell the illusion of depth in this article. How else do you work with your compositions to give a three-dimensional feel to your images?
In the next article in this series, we’ll talk about adding depth in terms of content rather than just giving the two-dimensional surface a three-dimensional feeling. This is one of the keys to creating memorable images. Stay tuned for that.


Join the Fstoppers community for free
-
Post comments and join in the discussions
-
Browse the site ad-free
-
Share your work and get featured in the community
-
Compete in the photo contests for fun and prizes
3 Comments
I think you missed the point. His tutorial is about adding the "illusion" of depth. Of course stereoscopic photos have depth, but that is not the point in this piece.
sorry but you sound just like an annoying nerd.
Amazing article by Dylan to explain, especially to beginners, how to give the sensation of depth to an image.
Print it 3D if you really want some real depth...
How refreshing to see a carefully considered and well written piece. I am sick of videos. More such articles, please!