
Take your winter nature shots to the next level with these techniques that guarantee incredible results. Follow along for an in-depth guide to the best settings and kit to use and up your photo game.
Whether you're an intermediate or advanced photographer already, or even if you're a beginner who wants to challenge themselves, the below guide will steer you in the right direction to nailing incredible wintry nature photos. I'll be guiding you through choosing specific equipment that will improve your chances of getting sharp shots, to keeping an eye out for common mistakes, and I'll even be giving you some specific camera settings and features to help you take your winter nature shots to the next level. So without further ado, let's get started.
Use a Tripod
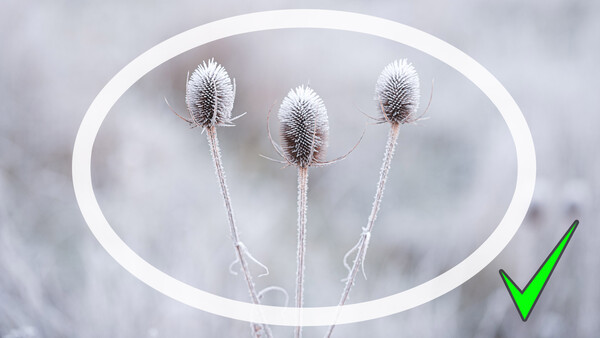
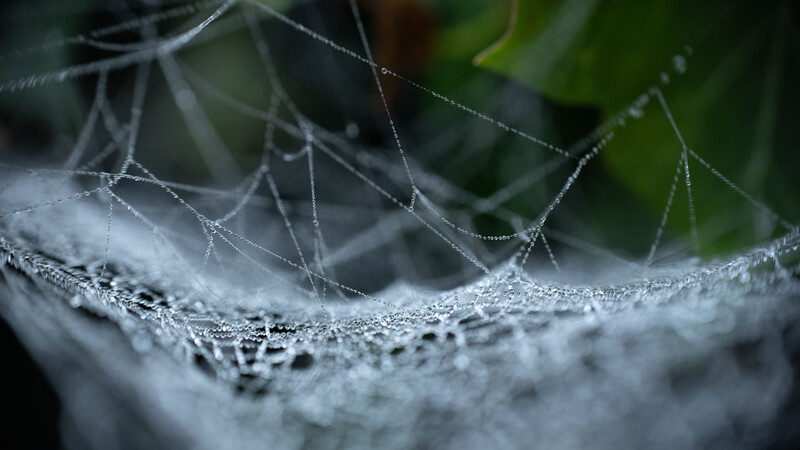
Since the early morning is the best time to capture these wintry, frosty shots, we'll need something to steady the camera. Why? Because the light levels will be lower in this part of the day and we'll need to maximize light capture during exposures. Sure, we could throw up the ISO sensitivity but then we'll be introducing more noise to the photo and that will reduce image quality. For the best results, we'll need to extend the shutter speed and use a tripod to keep the camera still while taking the photo.
Watch for Wind
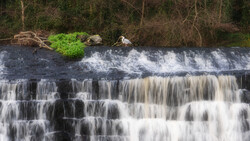
Okay, I'm about to contradict myself, bear with me. Although I've just told you to use a tripod and set a long shutter speed in order to capture well-balanced exposures in the dimly lit twilight, there are occasions where you'll want to keep your exposure length fast. Wind makes plants sway. This movement will blur in the picture when capturing longer exposures.
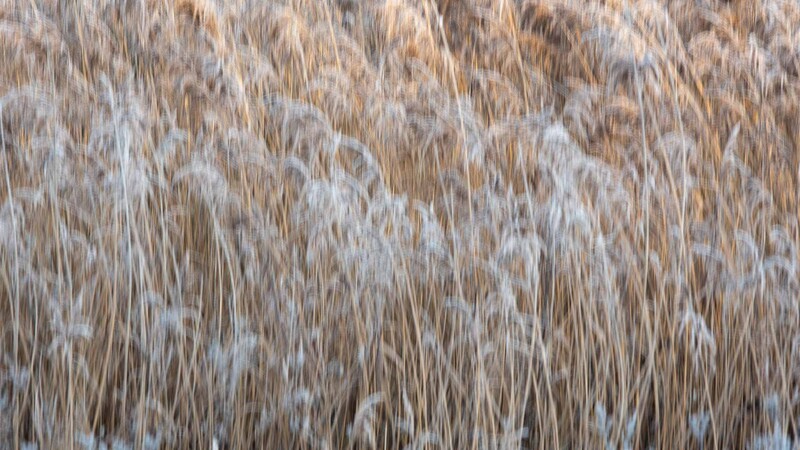
In some cases, this might be acceptable and be aesthetically pleasing, but most photographers want a nice, crisp, sharp shot. So you'll have to reign in the shutter speed (by speeding it up) and instead either widen the aperture or boost the ISO. That way, you're more likely to have a sharp shot in windier conditions.
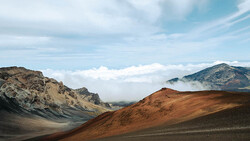
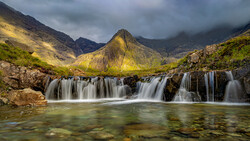
Use Larger Vistas
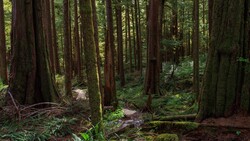
So far I've been mainly discussing close-up or macro winter shots where wind and movement cause issues with exposure settings. However, in larger landscape scenes this is less of a problem as the subject is usually much further away and the blurring is less perceptible.
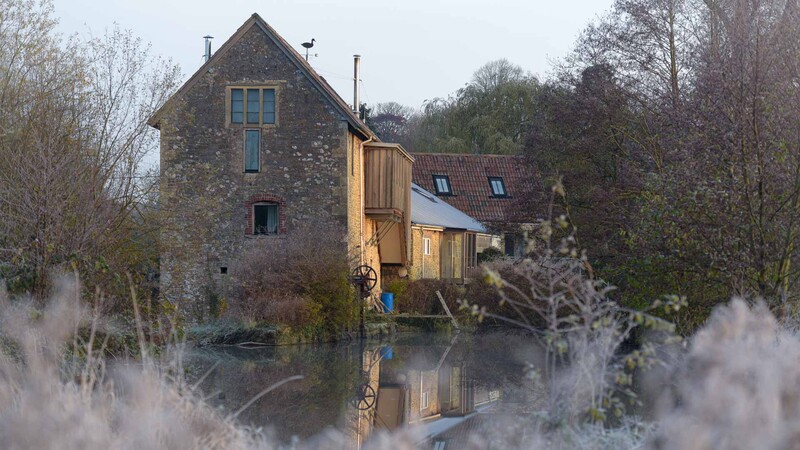
In wintry landscapes, it's much more important to concentrate on light and composition. The rising sun can produce dramatic long shadows and a warm, side-on glow that you only see at one other time of day (sunset) but the morning atmosphere is much different from the evening. Mist and fog accumulate overnight when the air temperature drops and floods lower-lying areas with atmospheric cloud. Combine this with the golden hour light and you can find some incredible pockets of light.
Crepuscular rays (named due to their link with common occurrence at early morning and late evening) produce spotlight shafts of light that radiate through the sky and land. Position your subject so that the rays point directly towards the subject and you should get some very pleasing images.
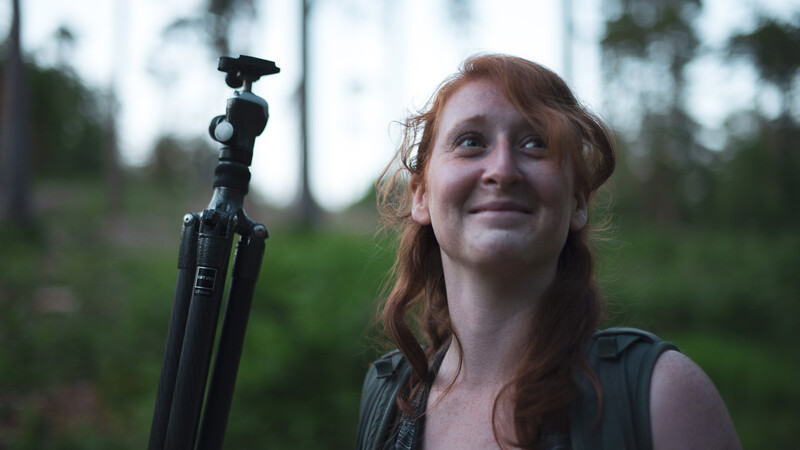
Selfie Time
If you're not battling with the wind causing camera shake blur during long exposures, then it'll almost certainly be your own two hands. The action of pressing the shutter release button moves the camera a tiny amount and can cause a blurry photo.
The best way to counteract this is to use a remote release to trigger the camera remotely, but if you don't have one you can also use the self-timer function that practically every single camera has nowadays. Just a few seconds will do the trick to give you sharp shots every time. If you're still having trouble then have a look at your setup and see if anything else is moving (even the ground). If your camera has a mirror you may also want to engage the mirror lock-up function to prevent that from swinging and causes micro-movements.
Camera Settings
The perfect camera settings for wintry nature photos entirely depends on your subject matter and artistic intent. On the whole, you should consider three things: "how much of the subject do you want in focus?", "is it moving?", and are you bothered about image noise?
Depth of field is controlled via the aperture that the lens is set to, and to a wider extent to the focal length of the lens. The longer the lens's focal length the shallower the depth of field, so wide-angle lenses naturally have a very long depth of field where much of the scene is sharp.

The movement of subjects, as already discussed, is captured with the length of the shutter speed and the image noise depends on the sensitivity of the image sensor which is controlled through the ISO.
On the whole, for close-up or macro work one might consider a shallower depth of field to isolate subjects against a much simpler, out-of-focus backdrop. That's because the photographer may want to control where the viewer of the image looks within the frame. With larger landscapes though, it might be better to use a longer depth of field so that much more of the scene is sharp and clear.
Fake It 'Til You Make It
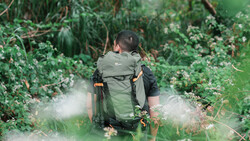
As I mentioned in my beginner's guide to capturing winter nature photos, you might not be lucky enough to live somewhere that develops frost or other wintry scenes. In that case, there's a couple of things you can do to make nature photos that are equally pretty. If you have a natural spot near home head out at night with a spray bottle containing nothing but water and give your favorite spots a little spritz.
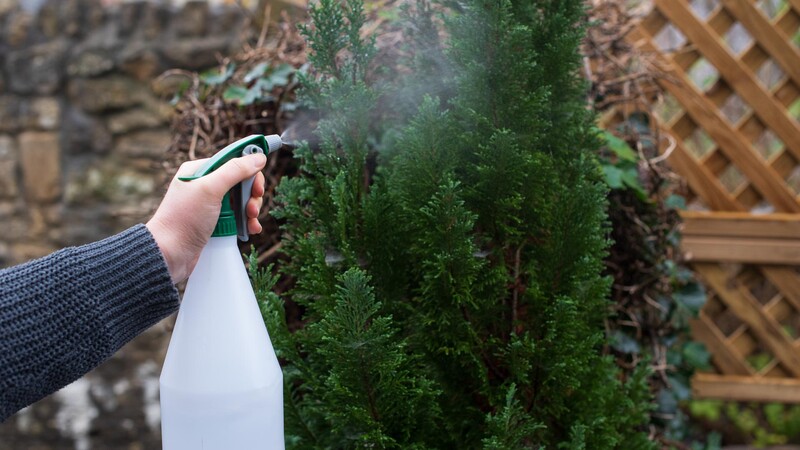
This can work if the overnight temperatures and conditions are right to keep the spots of water there. If not, get up just before dawn and head out to find those spots, and then give them a spray. Even though it's not frozen, the small droplets of water can look just like diamonds as well. Try backlighting with the rising sun for impressive specular highlights.
Conclusion
Whether you want to capture large frosty vistas, or intricate close-up details of nature in winter hopefully this guide has helped you to take your shots to the next level. From some useful camera settings for any scenario to one or two handy camera features that make things a little easier you should be getting better and sharper shots than ever before. Even if you don't live in a particularly cold area there are also some tips and techniques here to help you make your nature photos a little more atmospheric.
No comments yet