Today I'll be going over the NBP Ultrasharp plugin and how to use it for your workflow. Normally I am not too excited about new apps or plugins unless they really do provide something I couldn't previously do, or makes something I can already do faster and easier.
Full disclosure: this plugin is developed by long-standing Fstoppers writer, Nino Batista.
What Ultrasharp Is
A panel for Photoshop that allows you to selectively sharpen your image in many ways.
The algorithm that powers this is very good at reducing or entirely eliminating halos with strong sharpening and uses a proprietary method of sharpening with contrast that if used properly can tremendously enhance your images in seconds. Naturally like most tools there is a such thing as too much and it should be used within reason.

At the surface it doesn't really seem to do anything you couldn't technically do with sharpening layers and masking however it seems to be a tremendous speed increase for this, allowing me to do it in seconds instead of minutes. It's difficult to quantify the special look it produces and I may be splitting hairs but I prefer the sharpening method of this versus any of the default Photoshop ways.
First Impressions
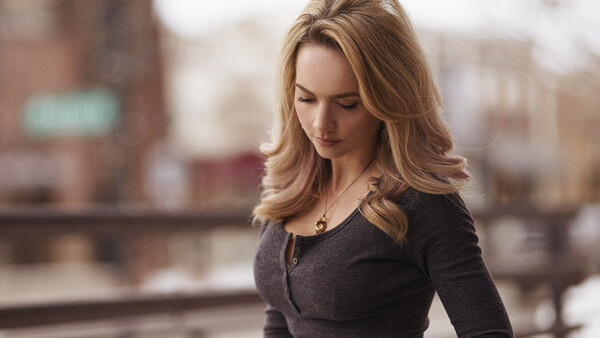
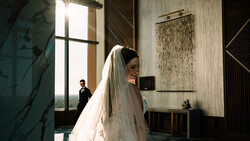
Quick first experiment on a lower resolution web image of mine I had handy, revealed a tremendous amount of control with speed. Obviously for a lower res image, we should select lower values with the sliders and you can see the results to know where the threshold is.
Certainly when not experimenting and actually doing production work, I'd spend a little more care with the sliders but I am pleased with the very fast test results shown here.

Typical Use Cases
What I really like about this plugin is that it can be used for essentially every photo, regardless of a customer's images or cell phone vacation images.
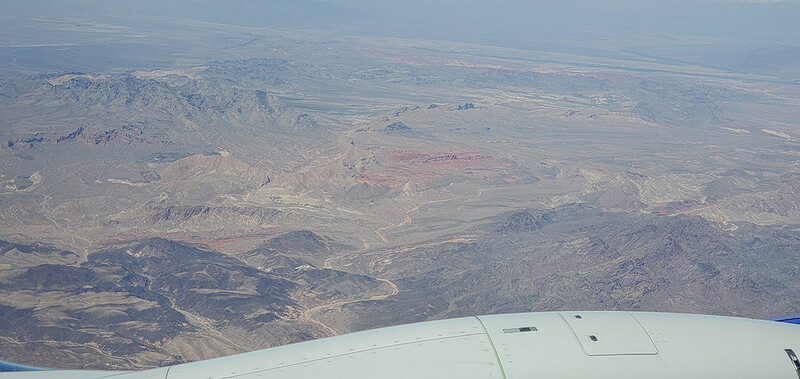
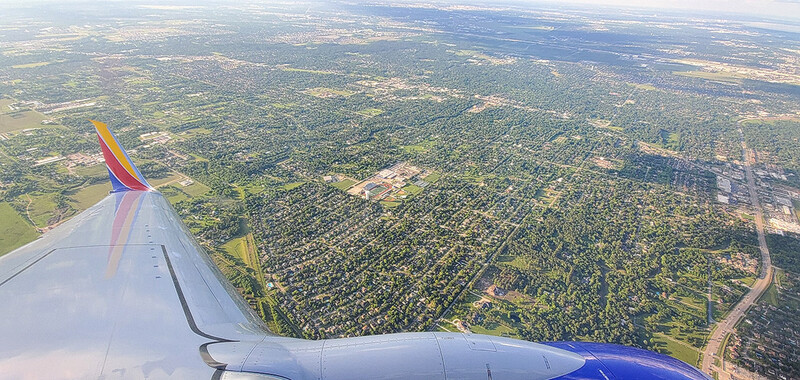
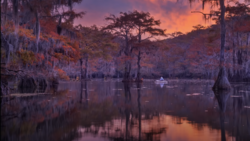
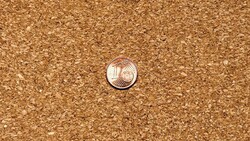
Here's a few pics literally processed in seconds with Ultrasharp from my cell phone on a recent terror er... flight. I do not like flying, but tried to make the best of it. A comparison from my home state of Nevada to my destination in Texas for this trip.


Summary
In every single time I have used the panel, it has generated results I am happy with and much faster than without. As a matter of fact, I've always been quite lazy about my sharpening as I use Sigma Art lenses mostly and they are already quite sharp. But this panel has given me a quick enough avenue to pay more attention and that's valuable to me.
Quick tip: add a little more sharpening than you think you would like and then clip the sharpening layer to a luminosity mask for even further refined results. While not necessary, it can produce even more striking images, and still happens in seconds.
I will literally use this panel for pretty much every image I produce. It's that kind of tool.
What I Liked
- I really like the speed of this, as a one man operation every single thing I can do to be more efficient is critical. As mentioned, I'll do more sharpening now since it's so fast than I used to where I would be comfortable and lazy and just skip it for time reasons.
- The sharpening layer is named with the slider settings. If you chose to save a layered file, you could reference how much sharpening you did on that particular image.
What I Didn't Like
- Presets would be huge for this as you are going through a set of images all shot in the same place and same distance, rather than needing to set the sliders each time.
- The sliders didn't reset after each use, so beginning a new image for me I needed to push the reset button before sharpening the next image
Where to Buy
You can grab this panel here for $30. I feel something at this price point that is used on literally every image is a no brainer.


Join the Fstoppers community for free
-
Post comments and join in the discussions
-
Browse the site ad-free
-
Share your work and get featured in the community
-
Compete in the photo contests for fun and prizes
11 Comments
This looks like a dynamic contrast filter similar to what Blake Rudis described: https://f64academy.com/dynamic-contrast-photoshop/
No support for Lightroom?
Also have a look at Focus Magic:
http://focusmagic.com
I've found it to be quite remarkable, and its ability to reduce motion blur can save the day, when even your camera's VR isn't enough. On the Mac, if you don't have Photoshop, you can always install it as a plugin in, e.g., Graphic Converter.
Similar to the Nik's *Tonal Contrast*, I think.
As I don't see a link to download a demo, I won't spend $30 to get a filter that gives the same result....
Wow, every posted pictures actually got worse!
Hard to believe that anyone with a decent eye for pictures would like this cheap oversharpening effect for free, let alone spend money on it.
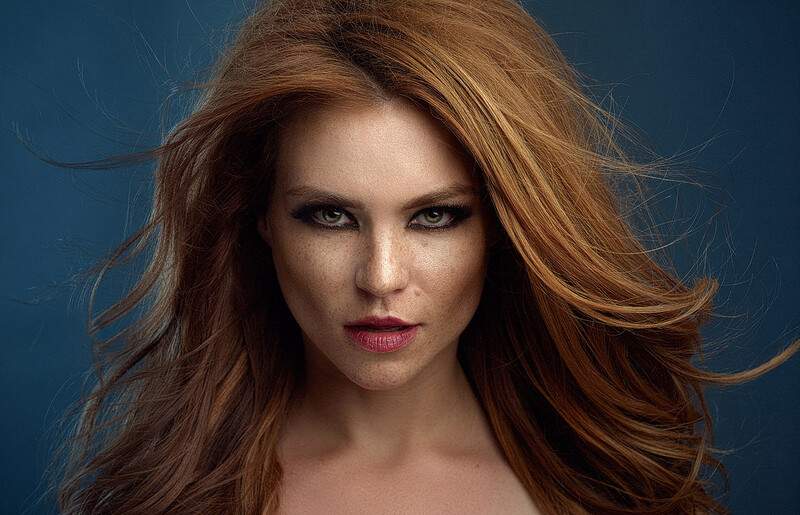
The girl portrait is already badly oversharpened to start with by the way. Softess is much more desirable than sharpness in most cases.
Please notice how the opening picture looks much more pleasing than the others and how actually a bit of softness makes a picture looks more realistic and feel more organic. Sharpening is not extra details is just extra noise.
Absolutely. Surprised you are the first photographer to say this Giorgio. All of these photos are horribly oversharpened. I'm surprised one needs a plugin to mutilate photos in this way. Those who own DxO PhotoLab have these controls are in the Contrast palette: Microcontrast and Fine Contrast do this in a more subtle way.
Opinions Vary.
That said, these were pushed a little sharper than normal to show what the effect of the panel does since it's smaller .jpg online. The beauty of the panel is that you can make it as subtle or as strong as you wish. Not everyone likes the same amount, and they don't have to.