Every photographer has a vision of what they want their photos to become, but you need the best tools to get you there. In this tutorial, you will learn every aspect of PhotoLab 7, one of the best post-processing tools available on the market today. By the time you finish, you'll have a complete understanding of all this software has to offer and will be able bring your vision to life, no matter the genre.
Your Instructor
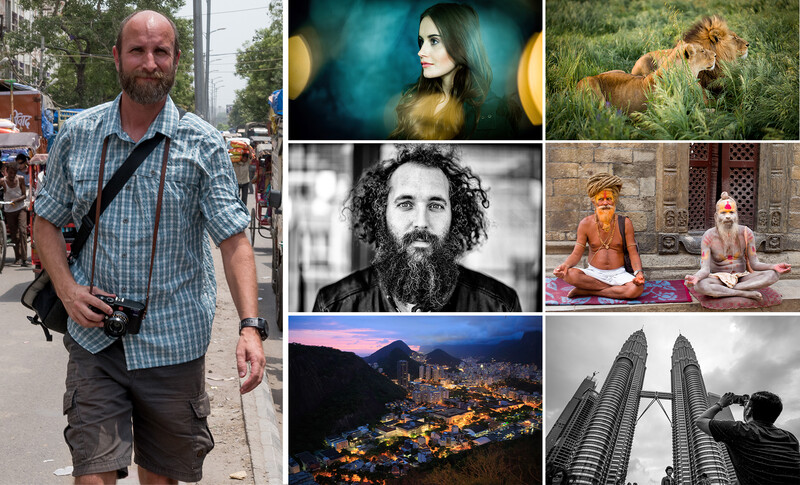
Mark Wallace is an incredible photographer and an even better educator with a long resume under his belt. He has been shooting street photography, portraiture, and travel photography for over 30 years. He created Adorama TV, has contributed regularly to Creative Live, and has created hundreds of educational videos on YouTube. Mark has been an avid user of the Nik Collection for most of his career and is the perfect person to show you, at whatever level you are, how to become an expert in the software.
DxO PhotoLab
DxO PhotoLab is a powerful raw image editor that gives users the ability to organize and edit photos using advanced tools with just a few clicks of your mouse. PhotoLab excels in de-noising images and bringing out all their fine details by using their DeepPrime technology. There are fantastic tools to fix geometric and optical problems, correct lens softness, and pull out the most of the colors in an image using DxO's advanced color science, which is some of the best in the industry. Throughout this tutorial, Mark will take you through each tool and explain it in detail, so by the end of watching this, you'll have a full understanding of how to edit any image from start to finish using all the tools built into DxO PhotoLab.
What's Covered in the Tutorial
This tutorial is broken up into eight different videos that will take you through every part of the software. Mark will start with an in-depth overview and equip you to organize your workspace and photo libraries for the optimal workflow. He'll then dive into each set of editing tools one by one, all the way to exporting and printing. Finally, Mark will conclude with some practical examples where you'll have the chance to work alongside him as he fully edits three different images.
Detail
Two of the most significant features of DxO PhotoLab are its denoising technology and optics modules. With any camera body and lens combination, you will get various issues with noise from the sensor or warping in different parts of your image. DxO PhotoLab has tools to automatically correct all these problems with incredible accuracy. Mark will show you how to apply the best settings so that this processing happens instantly, but he will also demonstrate how to manually fix these issues in the cases when it might be needed. He will also address how to fix issues with chromatic aberration and red eye.
Light
Similar to other raw processing software, PhotoLab has a variety of tools to address tonality issues in your image. Mark will demonstrate how to implement standard adjustments like exposure, but then, he'll dive into some of the more advanced tools PhotoLab has to offer like DxO Smart Lighting and Clear View Plus. When used well, these tools can really make your images pop!
Color
PhotoLab has incredible color technology, and in this section, Mark explores every tool that targets color. He begins by teaching basic color correction using white balance and color modification with the channel mixer. You'll then learn about color rendering for both color and black and white images. Moving on, Mark will show you how to give your images specific looks with LUT grading and toning. You will also learn to select and adjust specific color ranges with the HSL Colorwheel. Finally, Mark will cover how to edit perfectly accurate color by using color profiles and subsequently print those colors accurately with soft proofing.
Geometry
PhotoLab comes with a suite of tools that help correct any optical or geometric issues with your images, including distortion, problems with perspective, and volume deformation (available with ViewPoint). Mark will explain each one of these tools, when they should be used, and how to use them effectively both automatically and manually. He'll also demonstrate how to use the ReShape tool to add corrective or creative edits to your final photos when you have ViewPoint integrated with PhotoLab.
FX
PhotoLab provides a variety of easy creative additions to help give each photo character, especially when used on conjuction with FilmPack and Viewpoint. Effects used when FilmPack is also installed include filters, light leaks, frames, and textures, and Mark demonstrates how to add any of these to your photos. He will also show you how to add a watermark to your image. If you happen to have ViewPoint installed as well, Mark shows you how to use the Miniature Effect, a tool that mimic the results of a tilt shift lens and allows you to imitate the adjustment of the focal plane of your image.
Local Adjustments
There are a variety of ways to target and adjust specific parts of your image, and Mark covers all of them in this section. PhotoLab utilizes U Point technology, which allows you to make targeted selections based on an area of the image using control points, control lines, and graduated filters. Mark teaches how to modify each point to select only the parts of the image you want. He will then teach how to target and make adjustments based on color and luminosity. Finally, Mark will demonstrate the auto mask feature, which quickly and effectively masks complex shapes.
Final Touches
A workflow isn't complete until an image is exported, and in this section, Mark covers how to export an image, either to a hard drive or to another application like Adobe Lightroom to perform further edits. He will also go over the best ways to print your images when you're finished with your edits.
To close out the tutorial, Mark performs full edits on four different images that are available in the working files folder of the tutorial download. You'll be able to edit and practice everything you will have learned from the rest of the tutorial.
Follow Along With Mark
As part of the tutorial, we are including every file that Mark works on. Every time Mark opens an image on camera, you'll be able to access the same file and match his edits click for click. In addition, Mark has included a variety of presets that he uses in the tutorial.
Our goal with this tutorial was not only to teach you how to use DxO PhotoLab, but also to teach you how to become a better editor. If you're not completely satisfied with your purchase, we offer a full money-back guarantee.


3 Comments
I'm not seeing the advertised savings applied in the shopping cart. Banner says save 30% when you buy one, save 40% when you buy two. Is this going to get fixed?
I am seeing the same as Michael Z. Incorrect discount at check out.
I have all 4 DXO tutorials in my shopping cart and it says 30% discount - add one more for 40% discount. According to your website I should be getting 60% discount for ordering 4 or more tutorials. When will this be fixed?
Mark Wallace is an excellent instructor and these tutorials are incredibly comprehensive - well worth the investment given the time they will save you and the extra skills they will enable. I highly recommend them - 10/10. A must purchase - INCREDIBLE VALUE FOR $. Full Disclosure - I have purchased all 4 DxO related product tutorials and the quality is excellent across all 4 products.