




Articles from Quentin Decaillet

How to Use a Negative of an Image to Improve Your Retouching

Great retouching is all about small details. They often make the difference between a well-retouched image and a world-class retouched image. However, seeing some of the details can be tricky. Especially when you are on the go and retouching on a laptop screen that doesn't offer the precision of a well-calibrated screen with a large color gamut. A couple of months ago I showed you a trick to see more details than what your eyes might see on an image by using a solar curve. In today's article, I am going to show you another technique that I often use to clean up small details. It is so easy you might end up wondering why you did not think of it before.
See How Much Improvement You Have Made in a Year

Recently I felt a bit let down when looking at my work. It seemed to me like I had not improved much during the last year and that I had hit a plateau. Then when asking friends, fellow photographers, and other people from the industry, everyone told me it was just in my head. Creating new things day in and day out is quite difficult, but creating new things that are better each time you shoot is even harder! Sounds familiar? I know for a fact that most photographers have felt like that at some point in their career. We all have periods in our lives where we feel disappointed with our work. That same time when we also start looking at others work and wonder why we are not better. But all we really should be doing is looking at our work to see how far we have come and how we could get even better.

Five Makeup Products Your Camera Bag Is Missing

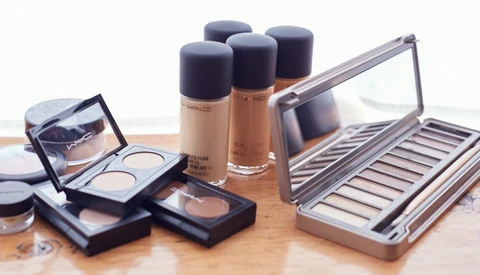
Since I started doing makeup on most of my projects, I discovered that some very basic makeup tools could have helped me in a big way on previous shoots. Before learning about makeup I had absolutely no clue whatsoever on where or even how to apply some very simple cosmetic products. Looking back now, I see how much time I have lost in Photoshop not knowing these simple things. My goal with this article is not to teach you makeup from A-to-Z but rather to give you a few easy tips you or your models can use to diminish your postproduction time. Less time in front of the computer means more time behind your camera, and who does not want that?

Three Tips to Get More Referrals from Wedding Vendors

Every wedding photographer has their very own tricks to get their calendar fully booked each year. Websites and social networks have of course become a staple for every solid business nowadays. But sometimes we forget that brides and grooms are not connected 24 hours a day and that they might meet other vendors before coming to us. This might be the oldest trick existing to get booked, but referrals from other vendors are a strong way of getting more business.

Simple Pure White Background Setup for Beauty Portraiture

Beauty photography is something that I have become drawn to over time. Setting a mood, imagining a makeup style, and finding or even creating props to fill the frame with my model’s face is something I came to love more than anything else. In any genre of photography, I feel like it is important to develop a style that is recognizable. May that be retouching, posing, lighting, or something else, if people can tell you took the picture it means you have developed a signature style. For my beauty work I wanted to create a signature lighting setup that would be easy to recreate wherever I would go, no matter the condition or the place the shoot would take place in. Here is how I created it and how you can recreate it as well to make it your own.

How the Retouching Academy Beauty Retouch Panel Improved My Workflow

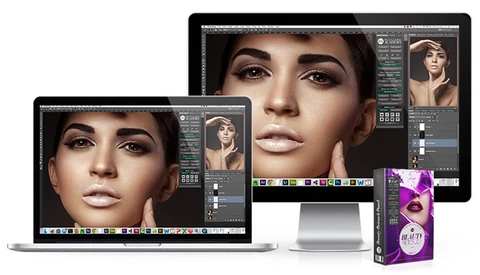
Since its first version, Photoshop has changed quite a lot. The functionalities it offers are greater now than ever before. But plugins are legion and for beginners it is hard to differentiate the ones that are truly useful and those that are just a waste of money. The Retouching Academy Beauty Panel has been around for a little while and was revamped very recently. I use it all the time when retouching but I get many questions about it. I am frequently asked if it is worth its price and if it makes my retouching any better. Here is my take on the panel, why I bought it, and above all, why I keep using it everyday.

Five Common Mistakes That Make Retouched Skin Look Unnatural

Retouching skin is about detail and patience. It can be a real time consuming and can require a high level of precision to keep the natural aspect of an image. Each of us has a different style of editing and our tastes differ. However when giving retouching lessons many photographers ask me about skin texture and how to keep it looking as natural as possible.

This is not a simple answer as it is mostly a combination of elements. In this article I have combined the five things I see most photographers do wrong or too much when looking for a believable skin texture and look.

Healing and Fill Content-Aware Tools on Steroids Using Affinity Photo

Photoshop has been around for quite some time now. It works great and every photographer has gotten used to it. It is a staple in my workflow alongside Capture One and Photo Mechanic. Until a few days ago, I did not think I would hesitate changing my retouching routine. After a few years of trials and errors I am finally somewhere I feel comfortable with my post-production. However, after having installed Affinity I must admit that I might "cheat" on Adobe Photoshop.

The Ultimate Guide to Contouring Like a Makeup Artist

Before I learned about makeup I used to strengthen or create contouring in post the same way on every single picture. However, because everyone’s face is different, contouring should differ from person to person. Contouring not only can help create dimension it can also help alter shapes. Let see how we can make our model’s and client’s face look their best without going crazy with the liquify tool. Shadows and highlights are photographers and makeup artists best friends!

Achieving Perfect Skin Tones and Color Using Capture One

You have probably heard it a few times: photographers raving about how Capture One is awesome for developing portraits from raw files. However, just like when I first installed it, you might not see any advantage over the current raw processor you are using. Then I found a few functionalities that made my workflow that much quicker and my images look a tad better before even retouching them in Photoshop.

Retouching Eyebrows Like a Makeup Artist in Photoshop

Any good makeup artist will tell you that great eyebrows will make any face look good. Think of eyebrows like frames for prints: when they are beautifully crafted, they will make your prints standout. Eyebrows will do the same for a model's face, whether it is a male of a female model. They can totally change the expression and the look of someone depending on how they are shaped. Sometimes, a makeup artist can only go so far and we are left with work in post-production. So it is important to have a little knowledge on what the eyebrows should look like to get the best out of a model's face.

Getting Rid of Over-Saturated Reds In Skin Tones Using Photoshop

Getting perfect skin tones can be quite time consuming and difficult. Because everyone's skin complexion is different, the corrections needed will be different every time. Even so, there are some recurring problems such as over-saturated reds in darker tones. A great makeup goes a long way in helping with redness, but sometimes it is not enough. The best example is the red seen in the ears when the model is backlit. Because of the nature of skin and the human body, the ears are going to turn red and no makeup will totally solve that. So let’s see how we can correct that very effectively and quickly using Photoshop.

Using Photoshop to Create Beautiful Glowing Skin

Many makeup products can make the skin glow and can look great when associated with a good contouring. However, shiny products when used under strobe light can be difficult to dose out correctly. In a previous article I showed you a technique to diminish that glowing effect when too much highlighter or too few setting powder is applied. Let’s see how we can amplify the glow of the skin when more products could have been used to give a fresh look to your model's face.

Photoshop Brushes for Perfect Hair Retouching

About a year ago, Pratik Naik wrote an article about a video the guys at FX-Ray made regarding hair retouching. At the time I found the video very interesting and quite educative. The only problem I had with the technique described was recreating a realistic looking texture. Since then I have found a perfect solution with Aaron Blaise's custom brushes. Best of all they work with almost any hair texture you could possibly be up against.

How to Emulate Setting Powder Using Photoshop

Having a makeup artist when shooting is a luxury for some photographers. While it is a must-have on a beauty or fashion set, when doing more simple portraiture it is not always easy to justify the cost for one. The biggest problem I find myself with when not having a makeup artist on set is people with oily skin are going to shine under strobe lighting. A simple makeup brush and some setting powder can do the trick, but sometimes we don’t even have that with us. So I am going to show you a way to quickly correct that using Photoshop.

Gradient Map For Perfect Skin Color

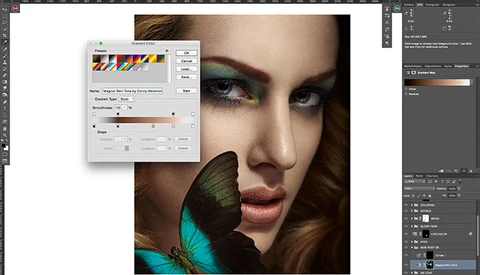
When retouching, it is not rare to come across color problems on a model’s skin. Whether it is from a sun tan, dodge & burn, spots or skin discoloration issues, it can be really painful to treat it in post. Despite being all about having it right in camera and doing as little as possible in post, there is an easy way to correct this in Photoshop -- a method that is going to make your makeup artist want to stop correcting redness, yellowness or under-eye bags. It is so easy to use you are going to wonder why you did not think of it earlier!

Fstoppers Reviews the Elinchrom ELC Pro HD Compact Strobe

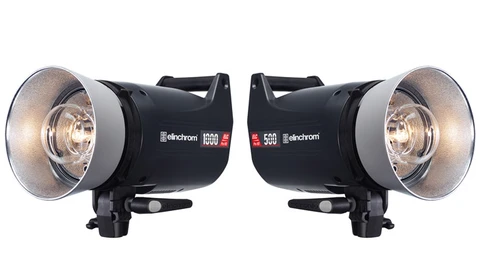
Elinchrom has been the brand of choice for years many Europeans and Australians photographers alike. They are cheaper than Profoto or Broncolor, offer a good range of modifiers and – unlike Paul C. Buff – have service centers outside of the USA. To many photographers they also have been a great way to get into studio photography before moving up to Broncolor or Profoto.

How To Make Sure Your Pictures Are As Clean As Possible

It is no secret that a picture will rarely look the same on every media. Even from one screen to another there can be a huge difference! Blacks that might look like pure black on your laptop might be a very dark grey on your phone. Having so many media support and manufacturers makes it really hard for a photographer or a retouching to have a picture that will look great despite of it.

Five Things Every Model Should Do Before a Shoot

When working with models, photographers often expect someone with perfect skin and a great physique. In reality, this is not always the case. Some models have no idea how to get ready for a shoot, and that can be really annoying -- especially in post production, as it might add a lot of retouching time! 

Understanding Makeup to Become a Better Photographer

We often hear how much makeup can impact the final result of a photo shoot. It can either make or break a picture depending on its quality. A great makeup artist can save you tons of time in post while a bad one will add many hours to your job. However, working with a great makeup artist doesn't necessarily mean you will get what you need. If you cannot communicate properly, his work might not suit you, and neither will the resulting pictures. Educating yourself on some of the makeup basics can save you from this kind of situation.