We photographers don’t always get the perfect sunset or clear starry night sky every time we head out to photograph desolate areas or national parks. This is when we can take a little post production know-how and can still create other worldly and dreamy images that capture the viewer’s eye. Skylum Software's Luminar 4 has just made that scenario easier and faster to do with its all-in-one software and very powerful artificial intelligence.
Landscape photography is many times just as much about luck as it is about planning and when you have deadlines for specific places and times you may be having to take some more artistic license to create engaging images. That’s where I personally view sky replacements for developing interesting foreground images and combining them with an atmosphere that enhances the overall subject in front of you.
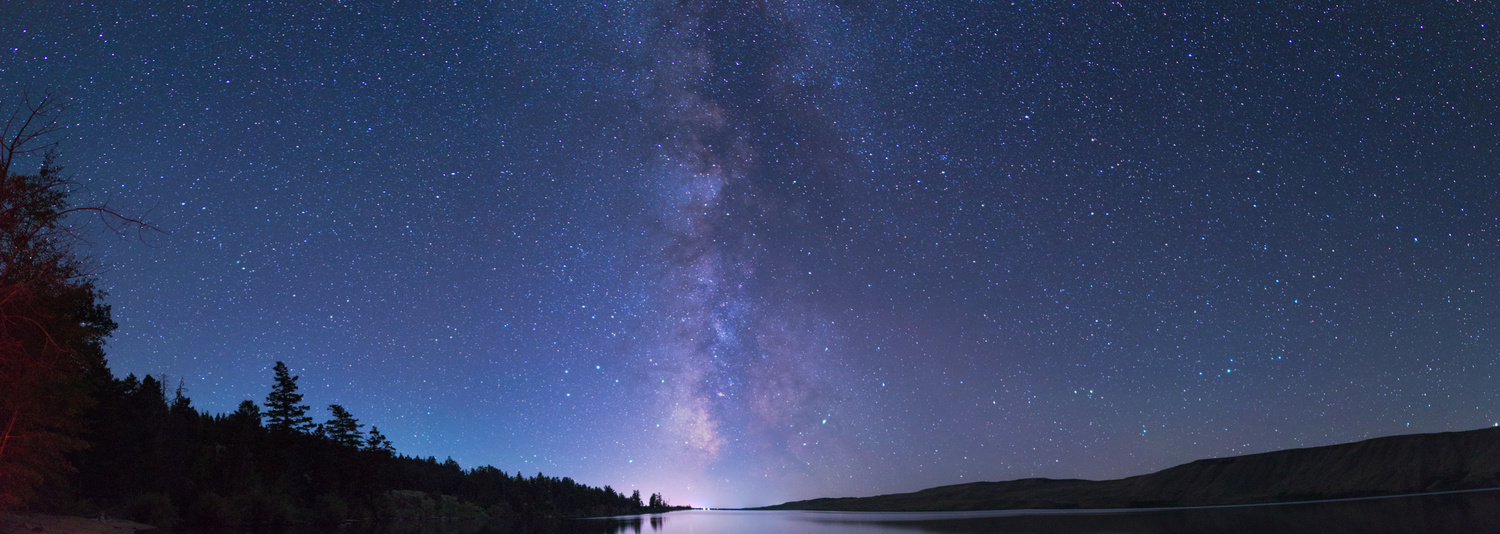
Today we will do a quick walk through of putting together a night sky image with a daytime foreground where the images together work harmoniously and allows the suspension of belief for the viewer of the image. The two separate images are from a remote area in Death Valley National Park in California at 1 o’clock in the afternoon in 2016 for the foreground, and a Milky Way image from the Bridger-Teton Mountain Range in Wyoming in 2017 for the sky replacement. Lighting is usually the biggest giveaway that the sky was replaced in a photograph so we want to mitigate that issue as much as possible.
The foreground image is an HDR stack image of 3 images with a very overcast sky. With the sky being so overcast, and using this stacking method, we can create a foreground with less hard shadows on the terrain which will nearly emulate what photographing a landscape looks like with a clear and starry night sky without a moon. We also have some fantastic split lighting on the closest kiln to give the effect of a light source that is wrapping around the building slightly.
The sky was chosen for its vertical Milky Way and brighter core that is positioned very close to the kiln spacing in the foreground image. The light coming from the Milky Way will correlate with the side and back lighting onto the closest kiln, and in this case, most prominent subject in the frame. The Milky Way in this image is exposed fairly bright already near the horizon due to some light pollution and will allow the foreground of the final image to be brighter overall without looking incorrect. Keep this in mind when blending foregrounds and night skies as a foreground should not be brighter than the stars or sky illuminating it. If there is another light source like the moon in an image then we will need hard shadows in the foreground and we will usually need to add contrast to the image to look correct.

Sky Image - Luminar 4 - Bridger Teton
After taking the foreground and stacking the image in Photoshop to flatten the contrast and decrease the shadows in the entirety of the image, I loaded this new .dng file into Lightroom for very minor adjustments like aberration removal. Luminar 4 allows you to open up this image directly from Lightroom for editing and will automatically save this new file as a .tif file with all of its adjustments if you prefer. Now let’s get into Luminar 4 and change out our overcast sky with a new one filled with stars!
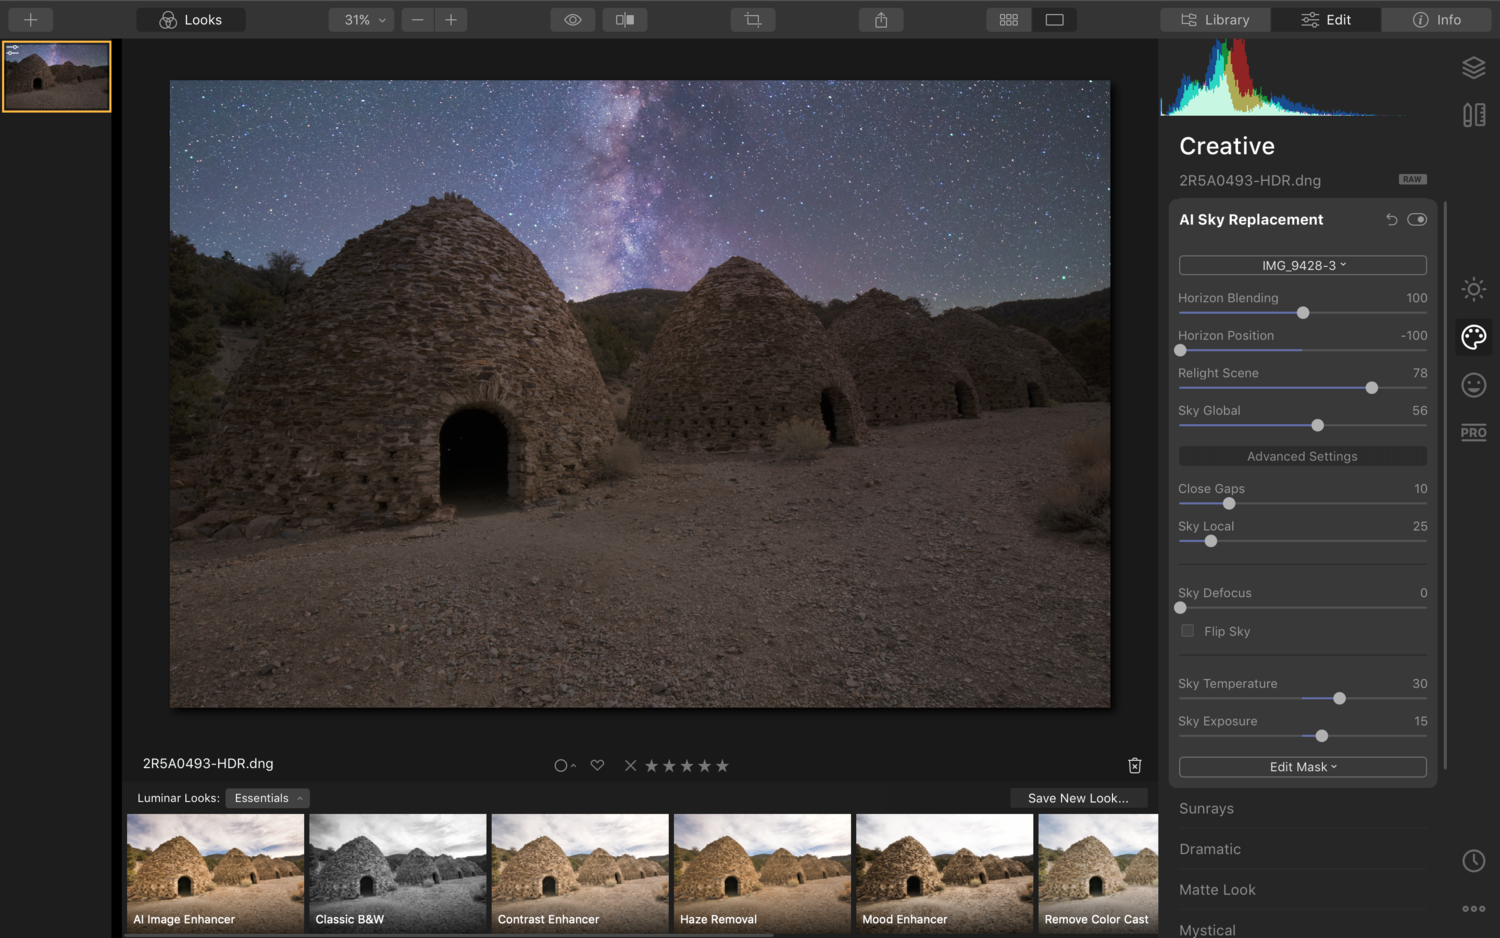
You’ll go to the right of your screen in Luminar 4 and click on the image that looks like a painter palette. This is the creative panel where our sky replacement tab is located and will allow us to blend the images together quickly and easily. Click on AI Sky Replacement and then Sky Selection where you can choose the sky of your choice provided by the Luminar 4 software or choose one of your own by choosing Custom Sky at the bottom.
Matching color tonality in an image is sometimes a very tough thing to do in post processing sky replacements, especially when we have scenes from different times of day and night. This was one of the most impressive things I noticed about working with Skylum Global’s Luminar 4 was that the AI gave you a great jumping off point to coalesce the foreground and sky white balances together while also adding some contrast to the blend between the two. It looks very, and I do mean very good, without doing any fine tuning to the image as of yet.

Screen Shot Luminar 4 Panel Final Image
Luminar also has a general panel of sliders that really helps to put the scene together a bit more meticulously, as they can change the foreground and sky mask separately, while giving you even greater discretion with an Advanced Settings tab. If you want to nearly complete the scene and image directly here in Luminar 4 you can with all the options in Luminar 4 itself. Drilling down slightly into what I noticed and liked was the slider in the AI Sky Replacement general panel where you can change the Horizon Blending and Horizon Position. In my case here, I used the Relight Scene slider to cool my foreground just a touch more to better match the blend of the sky color temperature.
Going into the Advanced Settings tab allows us to fix any blending that may have been missed. One issue that has drained hours of my time in sky replacements is blending around foliage at the horizon areas where the foreground meets the sky. This can get meticulous in Photoshop and still not look as great as you may hope. Luminar 4’s AI masking under the Advanced Pane allows you to fine tune the mask and blend a little more aggressively by using the Close Gaps slider. I really thought I would have to do some minor manual masking, but the AI fixed the issue perfectly without blending over the foreground’s hills or shrubbery.

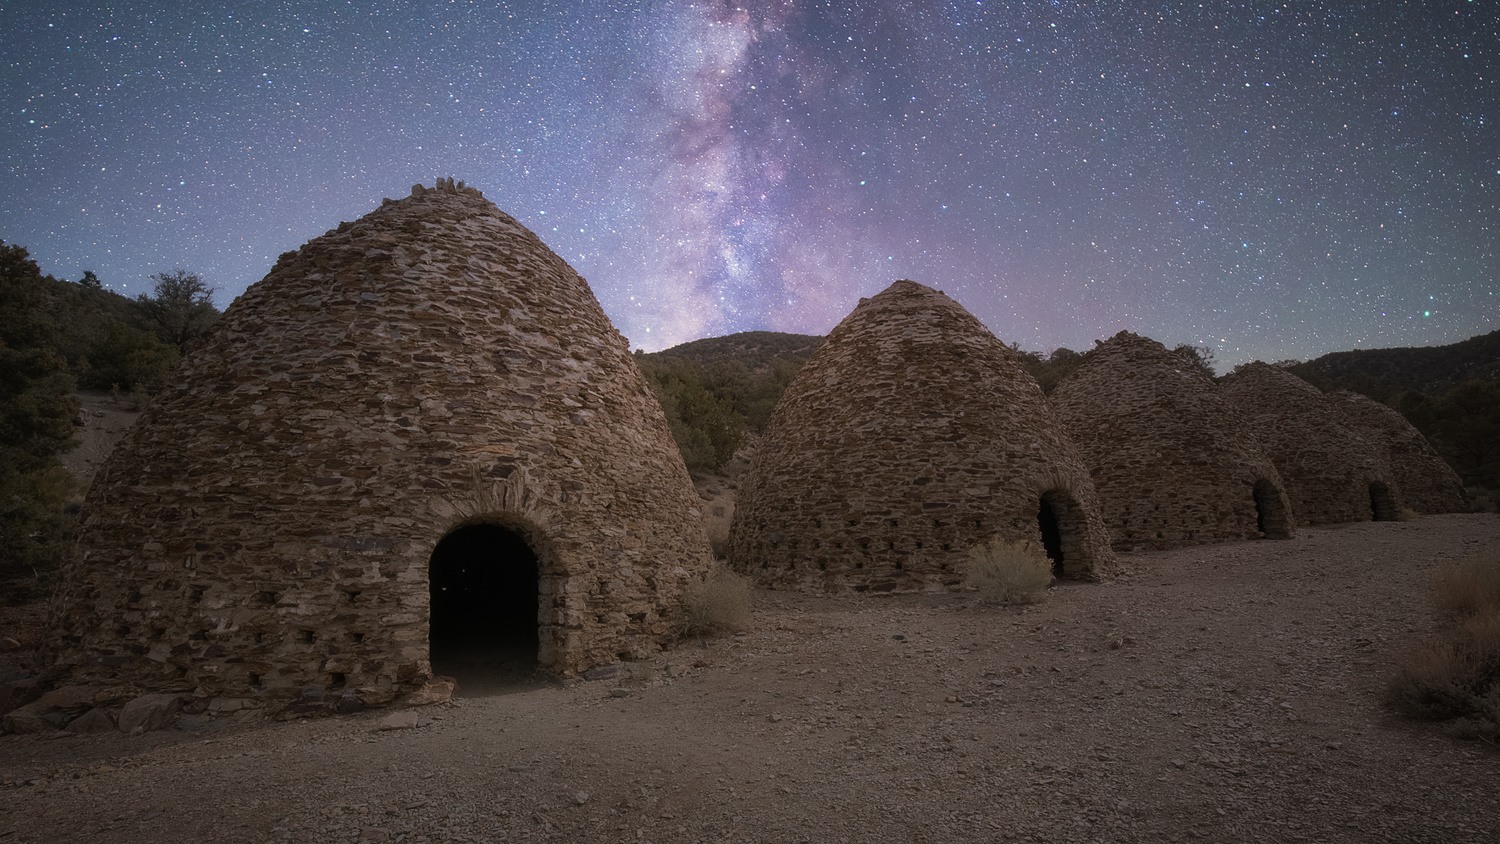
Death Valley Wildrose Charcoal Kilns by JT Blenker
At this point I finished the image with some light burning in the foreground, sharpening, and a few minor tweaks to bring the image together. This has been the easiest sky replacement I have ever done in an image. To have the masking and color tonalities so close and so quickly was amazing to see for myself. Before working with Skylum Software's artificial intelligence in Luminar 4 I would not have said this, but AI is the future of photography. Period. The time savings and ease of use is well beyond my expectations for any stand alone software.
Skylum Software has truly made an incredible and powerful tool for every landscape photographer that simplifies what has been previously a meticulous and tedious task. Now with Luminar 4 you can be out shooting and creating more amazing images in beautiful places rather than sitting behind your computer trying to mask the sky between groups of trees and shrubs for hours at a time.
Are you using Luminar 4? What do you most like about the new Luminar?
If you want to save $10 on your Luminar 4 purchase, use code: FSTOPPERS.


I would love to see a real-life example -- say, a house for a real estate listing with trees with leaves interspersed throughout the sky on a gray, lifeless day, replaced with a nice cheery blue sky with puffy clouds visible beyond the branches and leaves. I think most of us could replace the sky in the article's example in a few minutes.
@MC G, these are very helpful! Thanks!
I'll give you a tip about night sky replacement: stop doing that crap and go take some actual astrophotos