
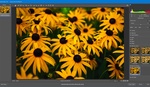
Dodging and burning is an art in itself when used to clean up images. For example, when retouching beauty shots or portraits, it can take a really long time and require a high level of precision to yield beautiful results. What’s extremely frustrating is that our viewers and clients often don’t understand how much really goes into such work. Showing before and after isn’t really flattering, and showing each mask individually isn’t visually powerful enough. However, there’s one way to make it look abstract so that the model’s reputation isn’t hurt along the way, but visually strong enough that people realize the time put in.
The technique we are going to discover together is quite fun and it’s a good way to add some content to your social media profiles. For example, when retouching I love to share either behind-the-scenes time-lapses of the coloring process or a visual representation of the dodge and burn work realized on my Instagram stories. Note however that this tutorial is not going to make your retouching better. The only time I could see this being useful is when asking for a critique on an image, so others can see what’s been corrected or not.
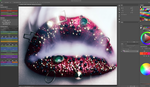
Let’s start by opening Photoshop with a retouched image, or at least one with dodging and burning finished. In my example, I’ve got four layers, two that lighten and two that darken. The reason being that I want to keep my micro-contrast correction separated from my global correction. Sometimes I get carried away when retouching and it’s a bit mixed up, but it’s good practice to separate the two so that you can adjust the opacity of either correction independently.
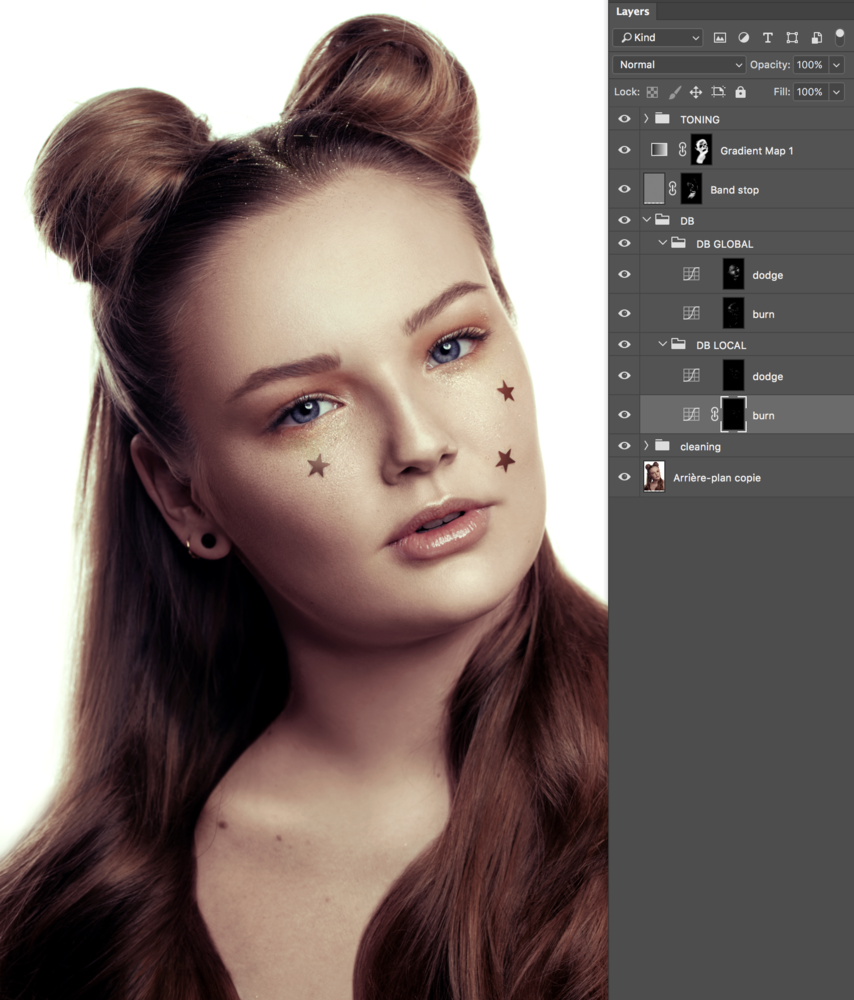
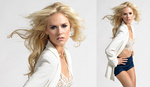
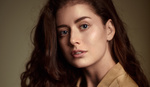
Makeup by <a href="https://www.instagram.com/msharlequingirl/">Harlequin' Girl</a>, hairstyling by <a href="https://www.instagram.com/danhair/">Dany Maugeri</a> – Model: <a href="https://www.instagram.com/cassmicheli/">Cassandra Micheli</a>
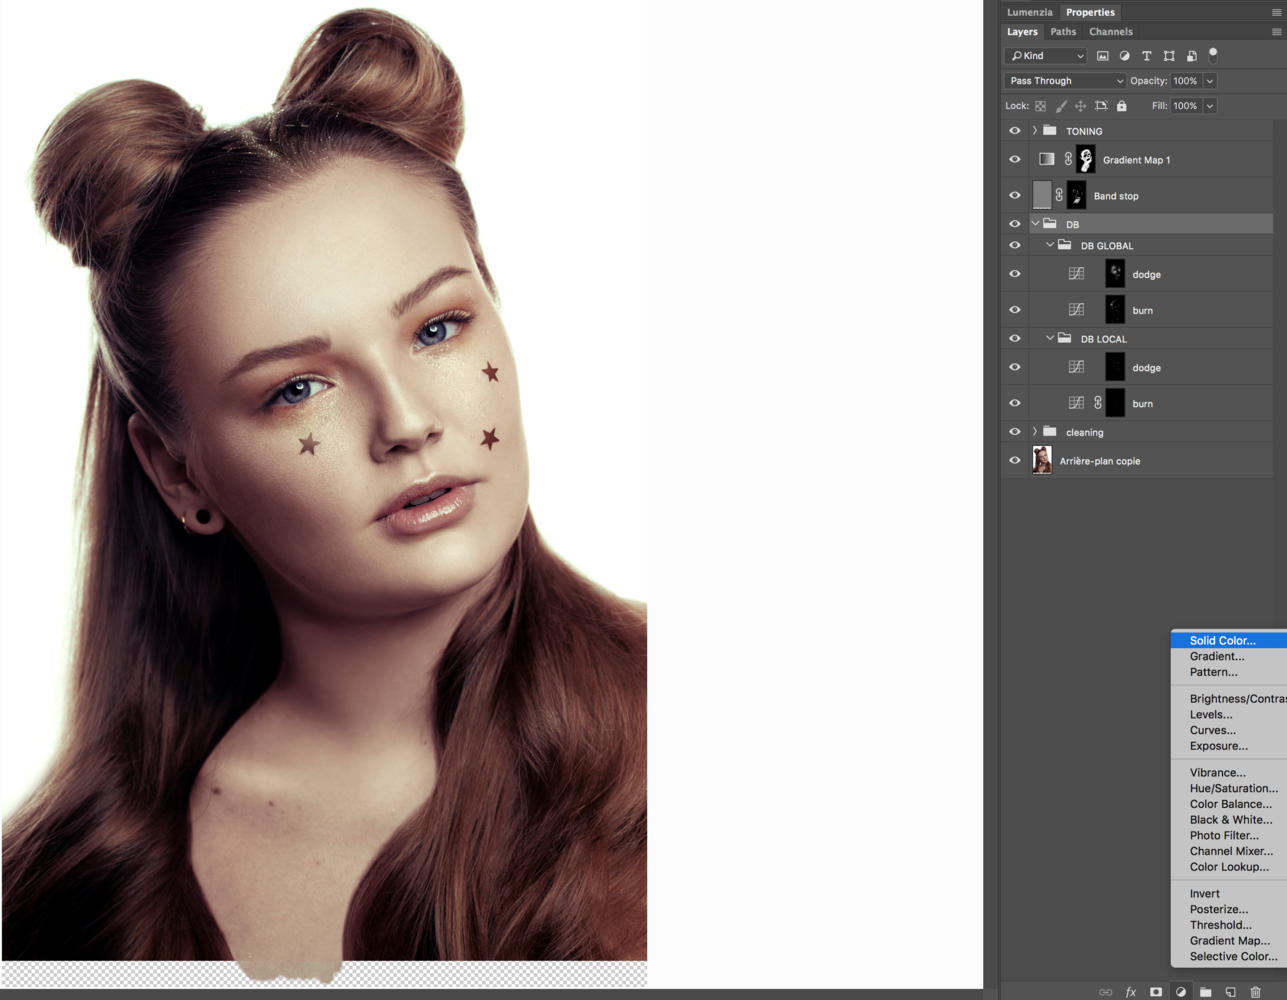
On top of our four layers, we are going to add a new solid color layer.
For now, just pick black as your color, press OK, then duplicate the first layer by pressing cmd/ctrl+j until you have five layers. To keep everything ordered, let’s place them in a folder as well.
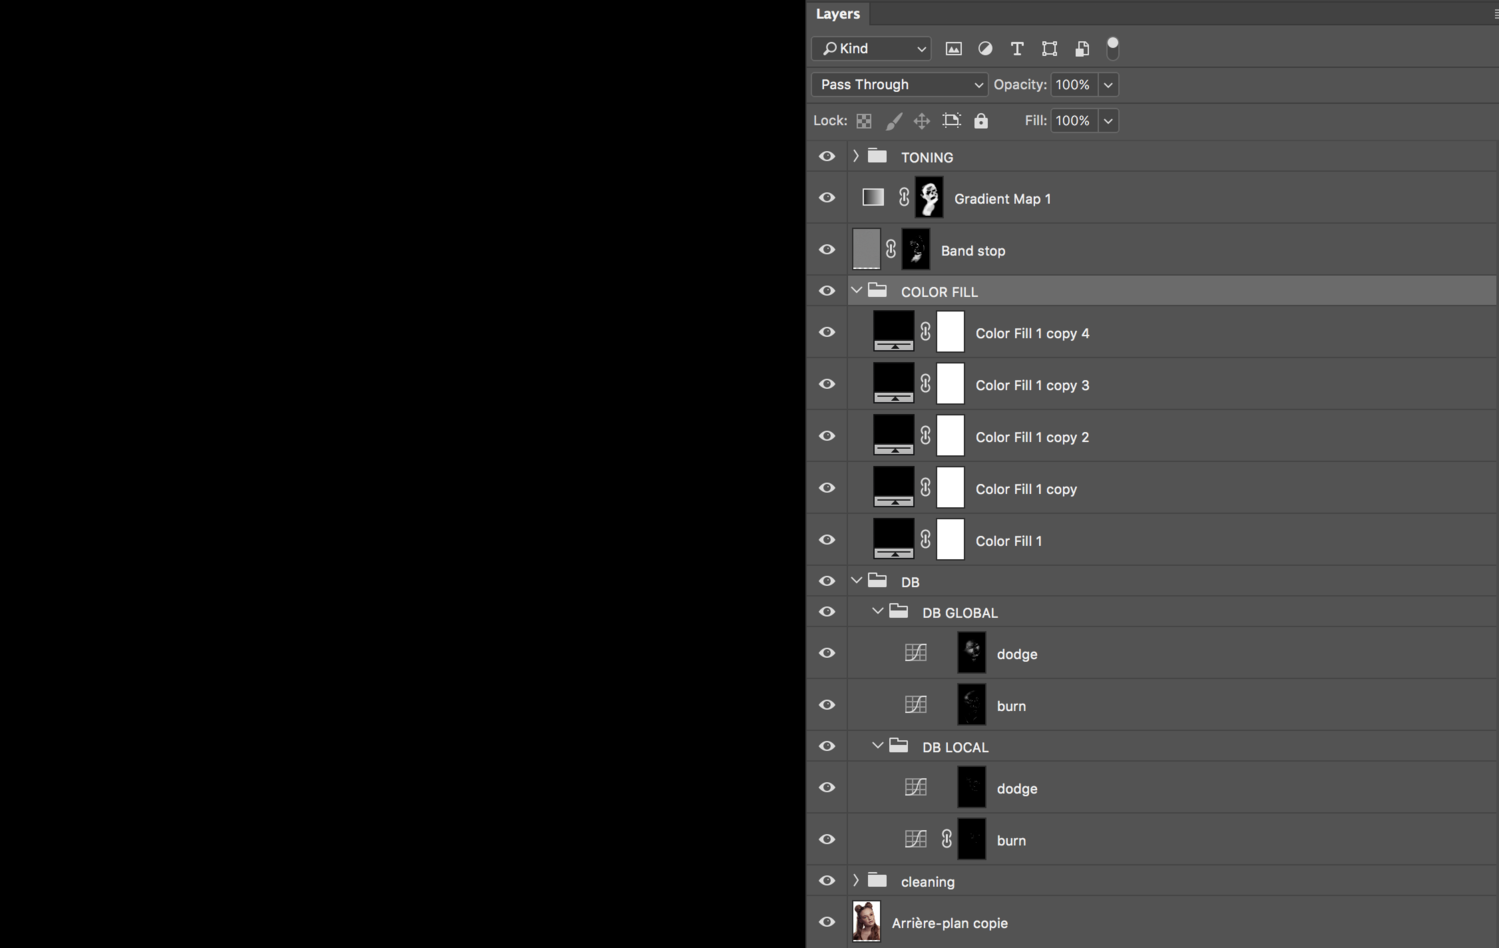
The first color fill layer is only going to serve as a background. The four others are going to be the visual representation of our dodging and burning. What we want is to apply one color per layer and make it visible only where dodging and burning was applied. We could use clipping masks, but then we’d have to disable each layer one after the other if we want to keep working on our picture, hence why I placed them all in a single folder. So instead, we press Alt while dragging and dropping one of the dodge and burn masks onto one of the color fill layer masks. Then repeat the process for each solid color layer.

As you can notice, our image is still black despite the masks. That’s because all of your fill layers are black. Pick a different color for each by double-clicking the layer thumbnail (black square). Once each layer has a color applied, your dodging and burning work should appear.

That’s it. Now you can see exactly how much work you’ve put into your retouching and show it to the world. Be sure to share the result in the beauty, portrait, and editorial makeup photography and retouching group, I'd love to see everyone's beautiful work and retouching.

Retoucher Whitney Minthorn did this recently...
http://www.whitneyminthorn.com/Blog/portland2016bca
That's so cool!
Fantomatique tout de même :-)