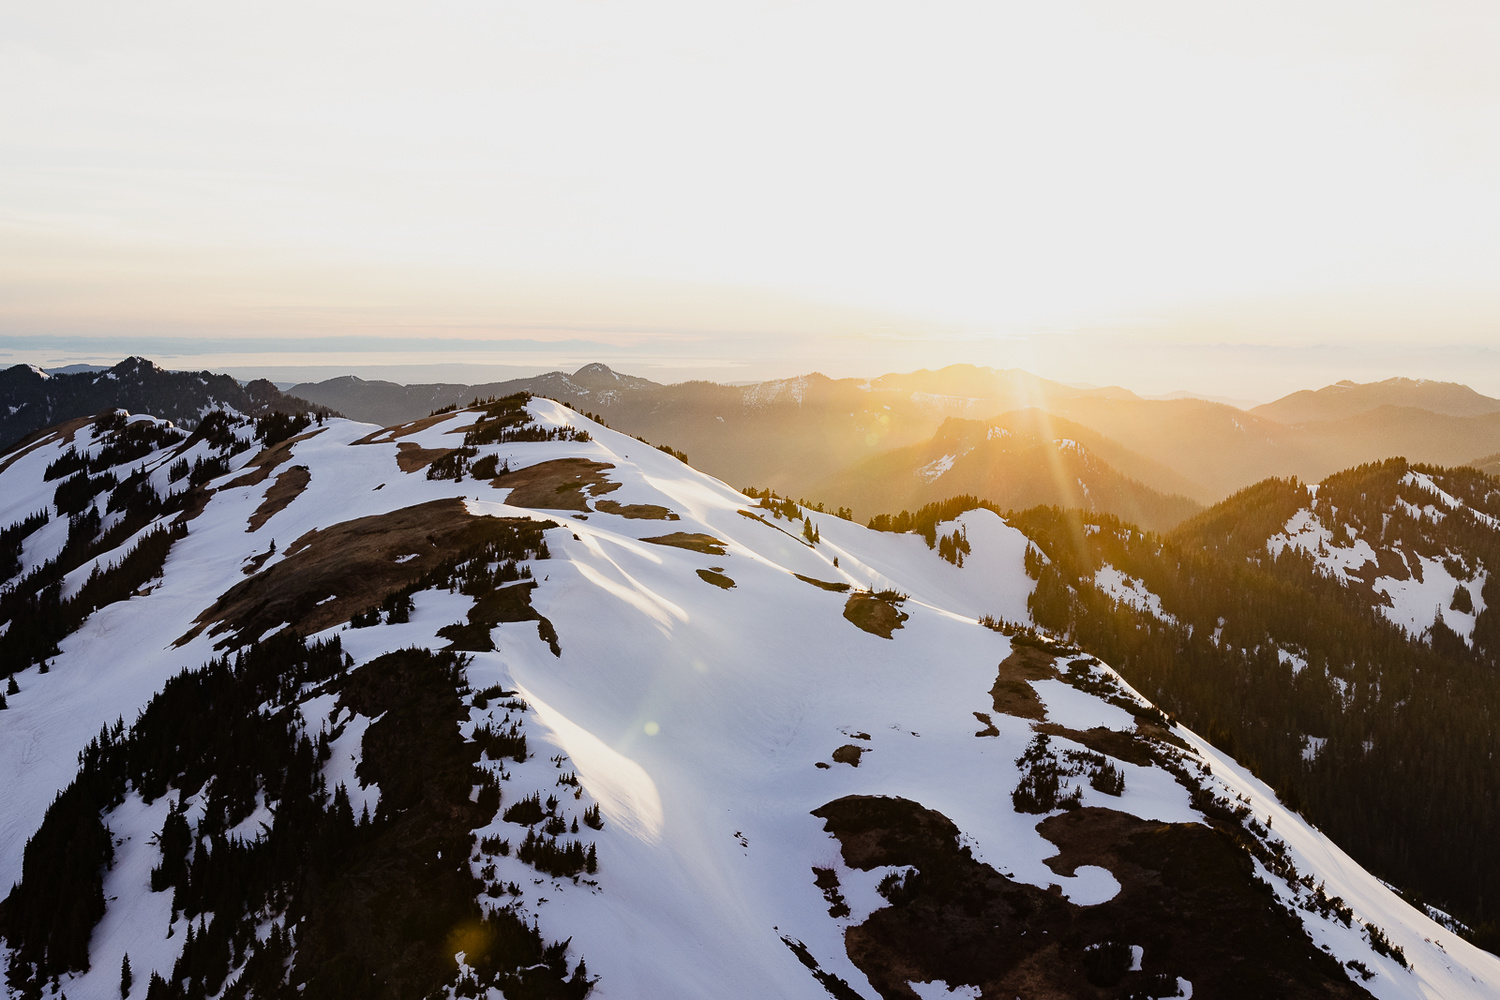
Just a hop, skip, and a jump from the Space Needle in Seattle, Washington, sits one of America’s most majestic spots — and every photographer’s dream. Often called the American Alps, North Cascades National Park features endless opportunities to capture America in all its striking glory. But before you point and shoot, you need to know where to look.
We’re Michelle Moree and Hollis Porter, two photographers from Seattle, Washington, and the couple behind The Remote Unknown. We’re incredibly passionate about traveling to larger-than-life destinations and capturing something truly unique through photography or video — even in places that might already be popular travel spots.
And today, we’ll show you where to find the perfect view, how to shoot it, and how to edit your North Cascades photos to create something as epic as the scenery itself.
We've gathered skies from trip locations, which can be downloaded from the Pacific Northwest Escape project page. They're free to use and compatible with Luminar AI as well as other photo editing software.
How to Get There
You’ll want to travel by car because public transportation into the park is pretty much nonexistent. North Cascades National Park is easily accessible by highway from the State Route 20 corridor. There are plenty of helicopter tour operators that you can book, and they’re well worth the price if you want to capture something jaw-dropping.

When to Shoot
We timed our helicopter flight to coincide with the golden hour, and I highly recommend you do the same. But remember: Mother Nature doesn’t always cooperate. On shoot day, the sunset wasn’t exactly spectacular.
What did take our breath away were the absolutely insane views of the Cascades. We were shooting in the middle of the heavy snow season. Mount Baker was blanketed with pure, pristine snow, as was the Coleman Glacier.
Our flight path took us on the north side of Mount Baker, right over the crest of the peaks, with Coleman Glacier gleaming a spectacular ice blue. You could see cracks formed from the pressure of the heavy snowfall.

Shooting Tips
Due to helicopter weight limits and the fact that there’s not a lot of room for gear, you’ll have to pack light. We used a Canon R5 with an RF 24-70mm f/2.8 lens. We also used a Sony α7R IV, switching between the Sigma 24-70mm f/2.8 and Sony 70-200mm f/2.8 G Master lenses.
Luminar AI Editing Tips
If the sky falls short of your expectations, use Luminar AI to change the sky to something similar but more striking. In our case, most of our images were crisp and clear, with beautiful, soft evening light. To make them even better, we dropped in a sky with more brilliant sunset lighting and adjusted the blue hour hues to become more of a golden glow. You can do anything you want with Luminar AI, so play around.


WTF
It never ceases to amaze me the number of people who are just too cool to use any kind of strap to make sure they don't drop their camera. I guess they think it looks cool or something but to me it just looks needlessly reckless and there is no benefit to it. BTW I also notice this is sponsored so yet someone else trying to pay to be come internet famous I guess.
A Robinson helicopter over a mountain range. Hey, you're probably fine.
I’m pretty sure the security regulations says that cameras (and other loose stuff) at all times should be secured to the photographer or the cabin - nobody wants people on the ground to be hit by loose cameras dropped by clumsy airborne photographers.
I’m surprised photographers spend their money on renting helicopters when drones are high quality, cheap and easy to operate.