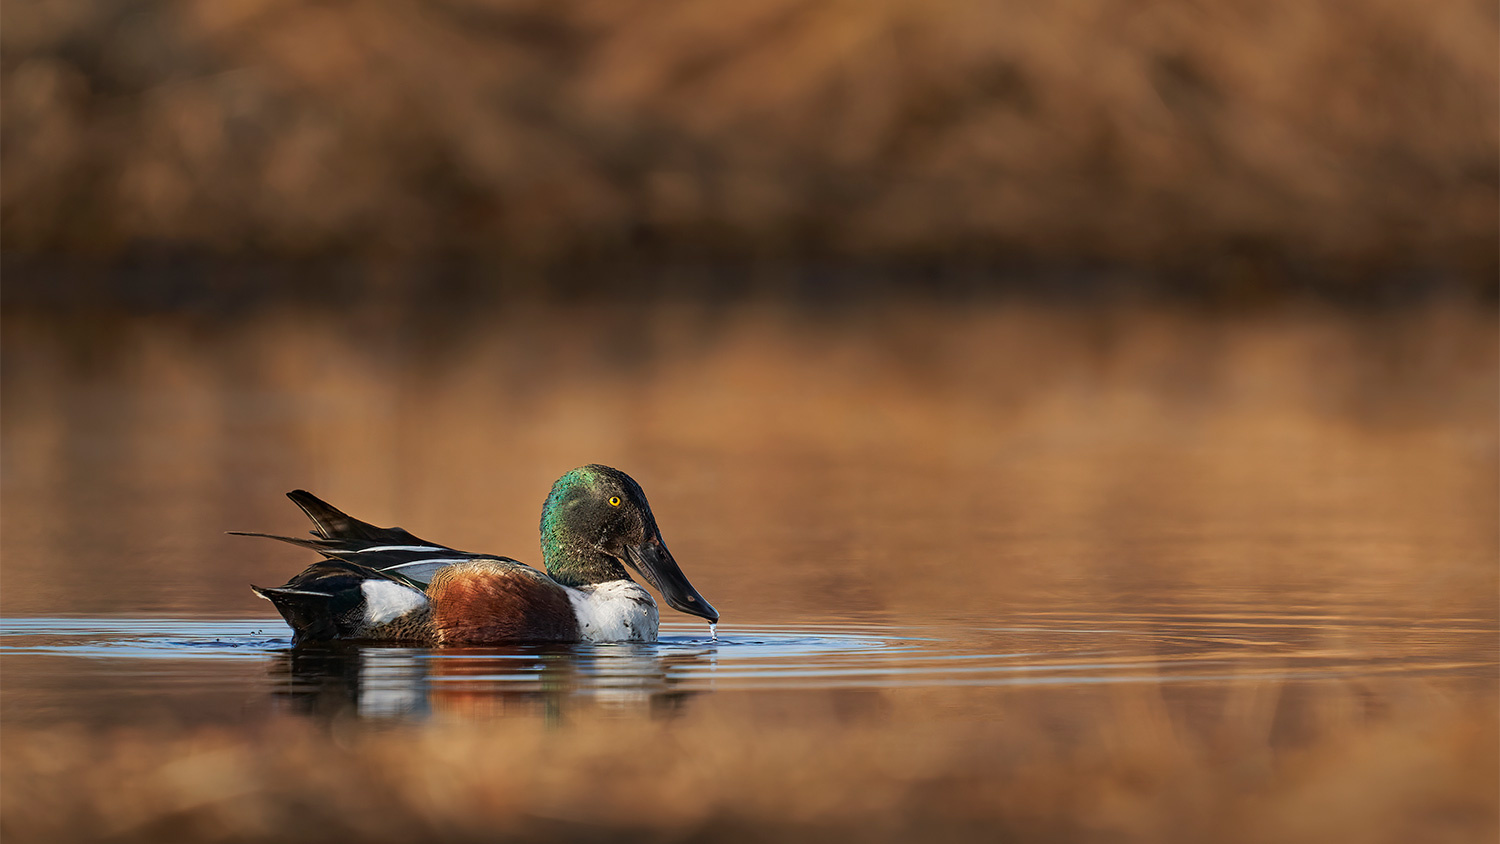
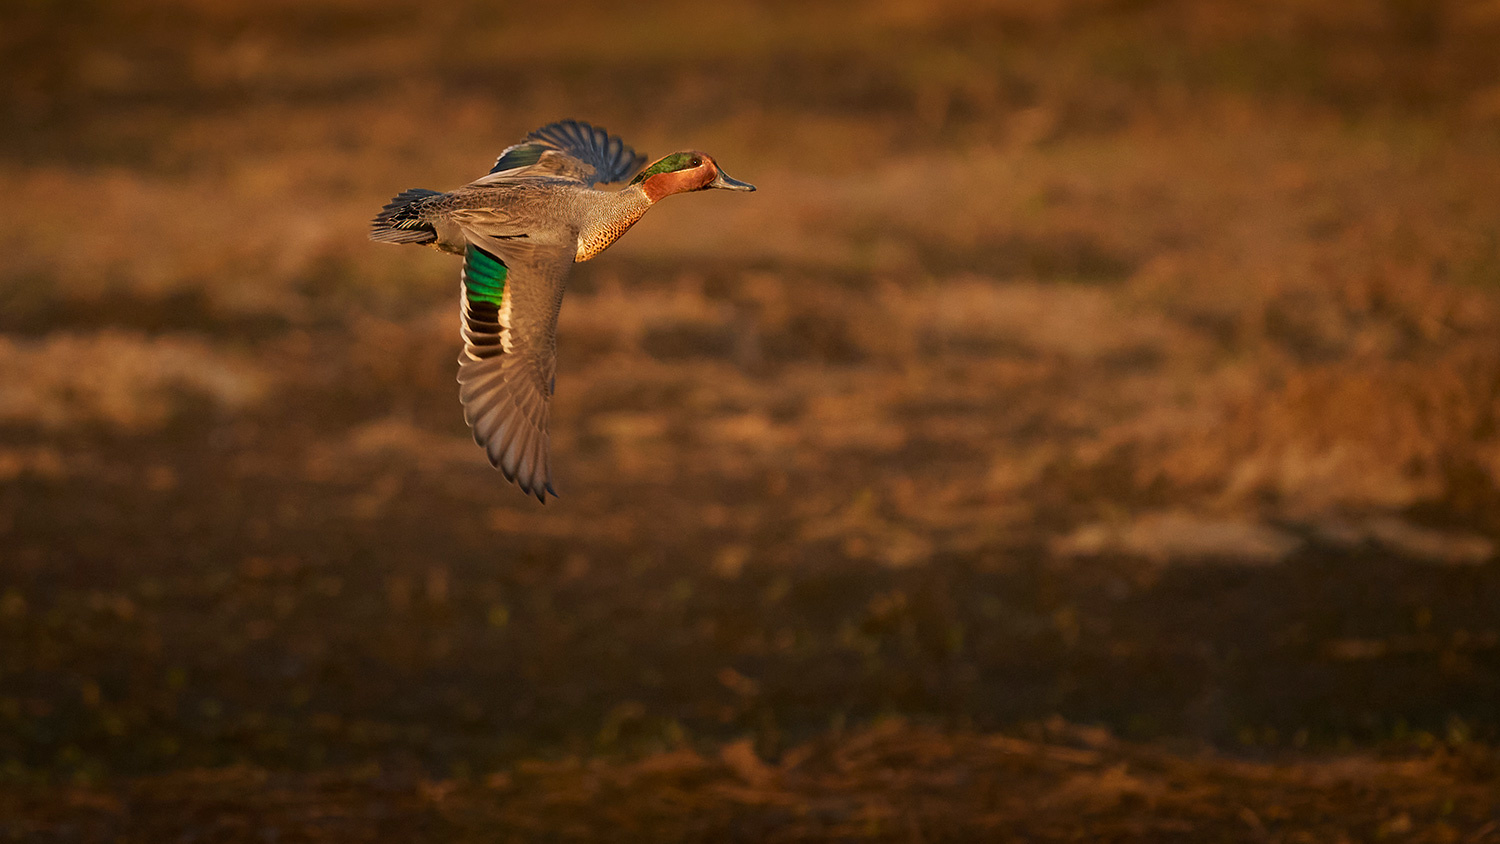
If you want to start shooting more wildlife video with Sony Alpha cameras while you’re out in the field, here are some helpful tips to get started.
The following was written with the Sony a7R III and a9 in mind as that’s what I’ve mainly used for recording wildlife videos. Please note that if you own a newer model camera than this will probably fit in just as well, however in older models or the crop-sensor bodies there may be conflicting information with what’s possible.
Clear Image Zoom
This isn’t your dad’s digital zoom. Clear Image Zoom is Sony’s algorithm-enhanced version of digital zoom that uses “By Pixel Super Resolution Technology,” whatever that means, and enables you to punch in an additional 2x (or 1.5x depending on camera or video resolution). All I know is that using it in 4K produces results that I can’t tell the difference with. For 1080p shooting close to the native base ISO, it can also look quite good.
Clear Image Zoom has obvious benefits to wildlife video where it’s not always easy, safe, or possible to get close to the subjects. Amazingly, it can also be compounded with crop mode on Sony Alpha full-frame cameras, meaning 1.5x there and up to 2x more with Clear Image Zoom. I used it extensively in the video below.
To set this up, while in movie mode head to the menu and find Zoom Setting. Change this to "ClearImage Zoom." For easy access, customize a button to “Zoom” to change its magnification.
Touchscreen Utilization
While the a7S III is the start of a new era with this, all previous Sony Alpha cameras have poor touchscreen implementation. However, with shooting video it does manage to come in handy at times. While in manual focus mode, double tapping the LCD screen can enlarge the picture (for preview purposes only, it doesn’t zoom the actual recorded video) allowing you to more accurately focus on subjects.

Similarly, when using autofocus, you can quickly hit your focus mark by tapping the screen to enable Touch Focus, or with the Sony a9 even utilize Touch Tracking which will automatically begin following your subject without manually doing anything.
Most of the time I find it’s more reliable to stick with manual focus, however there are circumstances where the finickiness of Sony’s focus-by-wire lenses become too much and you’ll find the simplicity of Touch Focus and Touch Tracking especially handy.
Custom Buttons
There are countless different ways to setup a Sony Alpha camera, so I won’t dive too deeply into this wormhole. Instead I’ll offer two recommendations for wildlife video shooters.
First is a product of tripod shooting. With my right hand on the pan bar ready to adjust framing for a shot, that leaves my left hand most of the time being used to press buttons on the camera. Unfortunately, both regular methods for starting and stopping video — the record button or the shutter button — are on the right side of the camera. I got tired of reaching over the LCD screen and blocking my view to access these buttons, so I programmed the left-hand side C3 button to “MOVIE” in the custom key options which triggers recording from there.

The next custom button is more of an enhancement to the plain Focus Hold function found on the lens buttons. Focus Hold is useful for autofocus video shooting, but it’s made even better by replacing it with “AF/MF Control Hold.” It will still serve the same exact purpose of holding autofocus, but with added benefits because now the camera is temporarily in manual focus mode. That means important features like focus peaking will activate, and the focus ring will now be adjustable for fine tuning focus. As I said before, I prefer manual focus most of the time, but when I’m in autofocus and need fast access back to manual focus while something is happening, I can rely on this to get me there.
Registered Dial Settings
This has always been an obvious way for me to use the C1, C2, and C3 camera modes on the top dial, and maybe you’ll agree. It’s quite simple: C1 is FHD 120p, C2 is FHD 60p, and C1 is 4K 24p or 30p. Depending on what I need from the scene developing in front of me, these three can easily be switched to.
As registered settings, that means it can also simplify initialization when switching frame rates as the shutter speed can be individualized to the mode. Honoring the 180-degree shutter rule, your C1 can be FHD 120p with 1/250s shutter speed ready to go with it. Turn the dial to C3, and 4K 30p will now also change to 1/60s shutter speed.

The important step here is to register these customizable dial modes while first in the Movie mode. If you register while in a stills mode like M, S, or A, the screen isn’t going to be previewing 16:9 and when you press record the camera has to take the time to flip over to movie mode before starting. This is in contrast to registering while in Movie mode on the top dial where it’s going to work smoothly as a straight up custom video mode.
Other Settings
Some other quick tips for wildlife video with Sony Alpha cameras are going to be using Sunny Weather monitor brightness and turning SteadyShot off while on the tripod. First, it’s fair to say most of us are going to be filming our wildlife outdoors. Sunny Weather monitoring may not have been something you paid attention to with stills shooting, but it’s going to be helpful with video in order to see anything on the back LCD screen. You can find the option in the Setup tab under Monitor Brightness. Select Brightness Setup and toggle this to Sunny Weather. I recommend adding Monitor Brightness to My Menu for easier access.
Finally, if you’re shooting off a tripod with SteadyShot active, you’re going to notice if you look closely, especially near the edges of the frame, that the picture jiggles like jello for an extended period of time after you move the camera at all. It can take around 5 seconds for it settle down after you’ve already locked off a shot, and by then your subject could have already done something wonderful. It becomes more and more noticeable with greater focal lengths and cropping. Take care to turn off image stabilization when working off a tripod to avoid this.
Have more tips to add? Leave them in the comments below.


