
Shooting interiors can be a daunting task for an unprepared photographer. No matter how big or small the space is, there will be challenges that you need to face and problems you need to solve. Here are some ideas to get you started.
Photographing spaces and interior details requires a lot of planning and adapting depending on a wide range of uncontrollable factors. The goal of each shoot differs based on who the photos are for, what they will be used on, and the overall nature of the space being photographed. From factors such as size, style, ambient light, foot traffic, and many others, shooting interiors requires proper timing and a clear plan based on knowing the space down to the very last detail. Here are five non-technical tips that can help you plan out your real estate shoots and achieve a much smoother workflow.
1. Aim for Day Zero
No matter what kind of space you are photographing, the most pristine condition of it will always be that day when it is just about to be turned over to whoever will be using it. This could be the day that final touches on furniture are made, the day of last-minute adjustments, final cleaning, depending on who will have the last touch. The point is that as the person tasked to photograph and visualize the space as a finished “product,” you want to photograph it right before the wear-and-tear process actually begins. At the same time, photographing it before the space becomes operational also means having to deal with the least foot traffic possible.
Although it may take time for surfaces to acquire stains and marks, not having control over who enters your frame can significantly affect the smoothness of your shoot. Gaining complete control over certain visual elements, such as furniture or decorations, is crucial. More importantly, this control enables you to manipulate the lighting, either by introducing artificial light or selectively managing ambient light sources, to achieve a better balance.
2. Talk To The Hands (That Built It)
An essential part of your workflow involves understanding the space by connecting with those who created it. This could be as straightforward as discussing with your client, especially if they were directly involved in its construction. Your client might be the owner who envisioned the space, the designer who conceptualized it, or the contractor who physically built it. Understanding why your client needs photographs and the purpose behind the space’s creation will guide you in identifying the specific types of photos required and in planning how to transform these ideas into photographs.
Getting to know the creators and the space itself is key to focusing on the right details. This dialogue will likely reveal which features of the place they are most fond of and wish to highlight. The conversation can range from casual inquiries about the project and their photographic expectations to a more structured alignment, depending on your and your client's preferred approach. Ultimately, your objective is to understand your client's expectations, the specific tasks you need to undertake, priorities to set, and challenges to expect. As with any project, communication with your client is the most critical step in preparation.
3. Minimum of Two
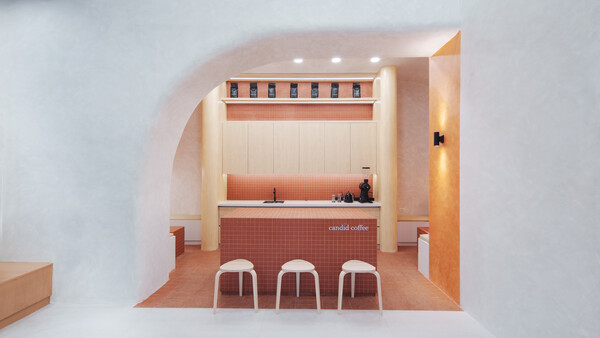
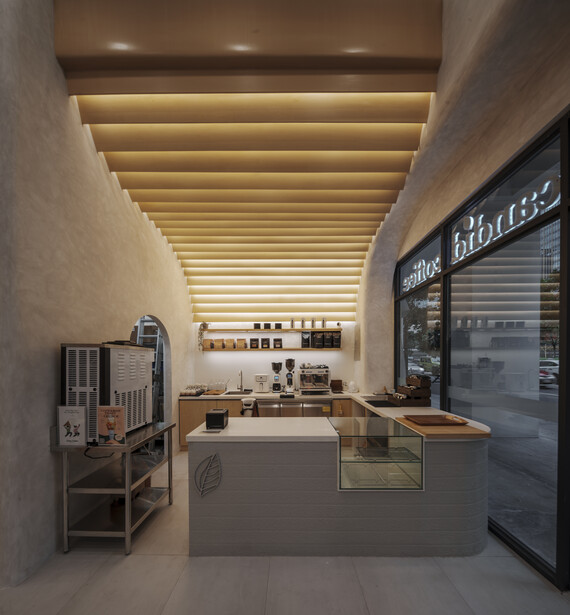
The total number of images you produce for each project depends on several factors. The most critical is your client's budget, as unappealing as that may sound. Other considerations include the size of the space, the amount of detail to capture, and what is realistically achievable, particularly in smaller areas. Once these aspects are settled, a good guideline is to aim for at least two layouts for each angle. This means capturing one sufficiently wide shot to illustrate the space and another tighter shot to highlight details. This guideline isn't a limit but a minimum standard. If the space is large with many details, the number of images will naturally increase.
In terms of equipment, it's wise to prepare either a versatile zoom lens that can handle both wide and tight shots or two prime lenses for coverage. The factors mentioned will dictate the number of angles to work on. Aiming for two layouts per angle should provide ample options, but having extra options or add-ons is always beneficial.
4. Content and Context

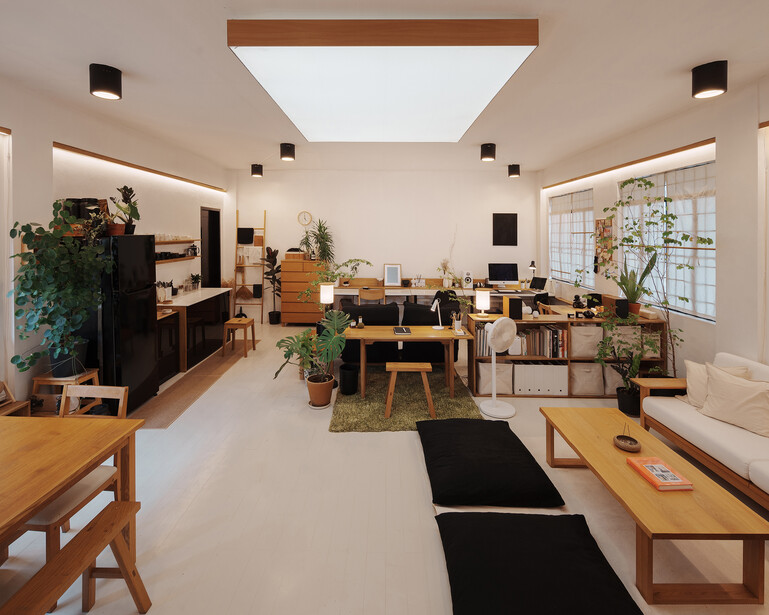
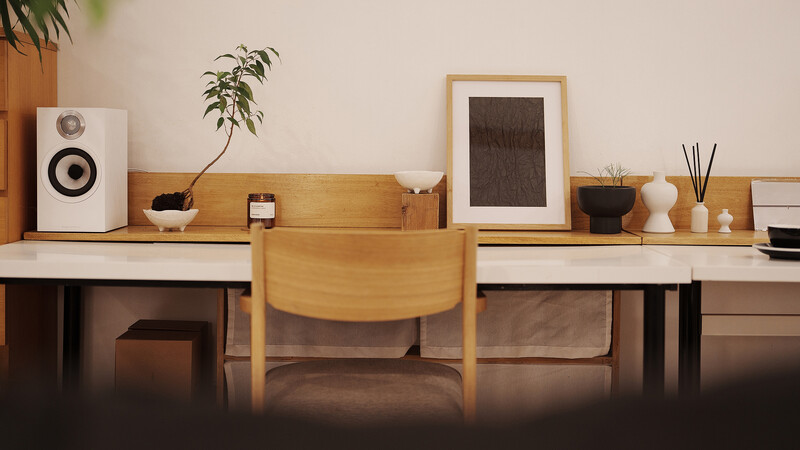
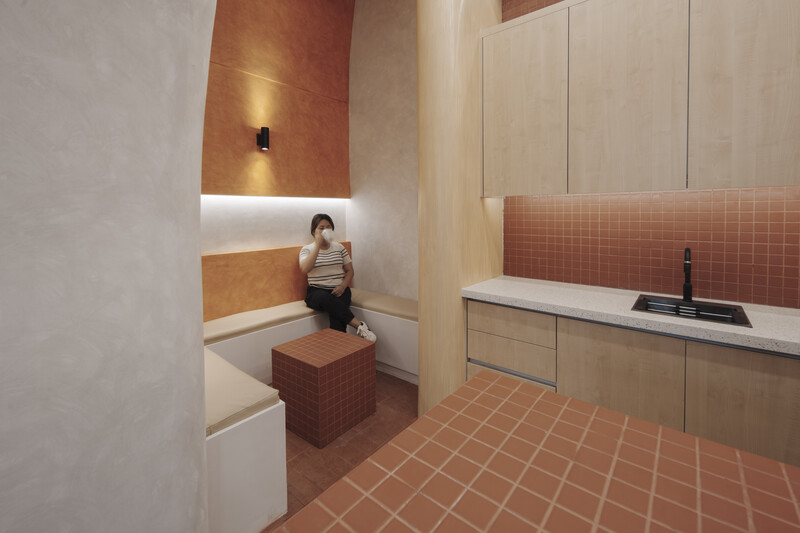
One key point to remember when photographing any space, be it a home, a commercial area, or specialized spaces like theaters, halls, or churches, is that your objective is always to showcase what the space contains and its purpose. While it's often useful to view the space as a product, particularly in commercial settings, it's equally beneficial to consider it as an environment. Spaces are designed to be filled, usually by people. This means that in addition to highlighting the aesthetic details of a space, it's important to demonstrate how it is meant to be used, occupied, or lived in. Incorporating people, whether as models or simply as blurred figures, can illustrate how the space functions.
5. Start With Natural Light
Another constant challenge in real estate photography is lighting. When shooting in places with natural light, the time of day is crucial. Likewise, in spaces with abundant artificial lighting, the use of natural light can be a valuable tool. Spaces that interact with natural light should ideally be photographed when the light quality is at its best. Understanding and anticipating the sunlight's entry into the space can greatly aid in planning for supplementary lighting and determining how to best utilize the existing artificial light.
Real estate and interior photography require a unique kind of storytelling that involves showcasing beautiful features, communicating on behalf of the creator, and helping the viewers visualize themselves inside the environment created by the space. Every project and every client will have different stories to tell, and the role of the photographer is to properly comprehend that in order to make a worthy artistic interpretation.


Join the Fstoppers community for free
-
Post comments and join in the discussions
-
Browse the site ad-free
-
Share your work and get featured in the community
-
Compete in the photo contests for fun and prizes
No comments yet