The Perseid meteor shower occurs from July 17 to August 24, and peaks on the night of August 12. In order to make the most of this spectacular meteor shower, I've put together a complete list of everything you need to know in order to get great astrophotographs of the event.
As the earth orbits the sun, we pass through the remnants of the comet Swift-Tuttle. The dust and debris from the comet (which last passed in 1995) burn up in our atmosphere, appearing to come from the constellation Perseus, and create the dramatic meteor shower each year. So, let's take a look at all the preparation you need and the kit involved with photographing the Perseids.
Find a Dark Sky
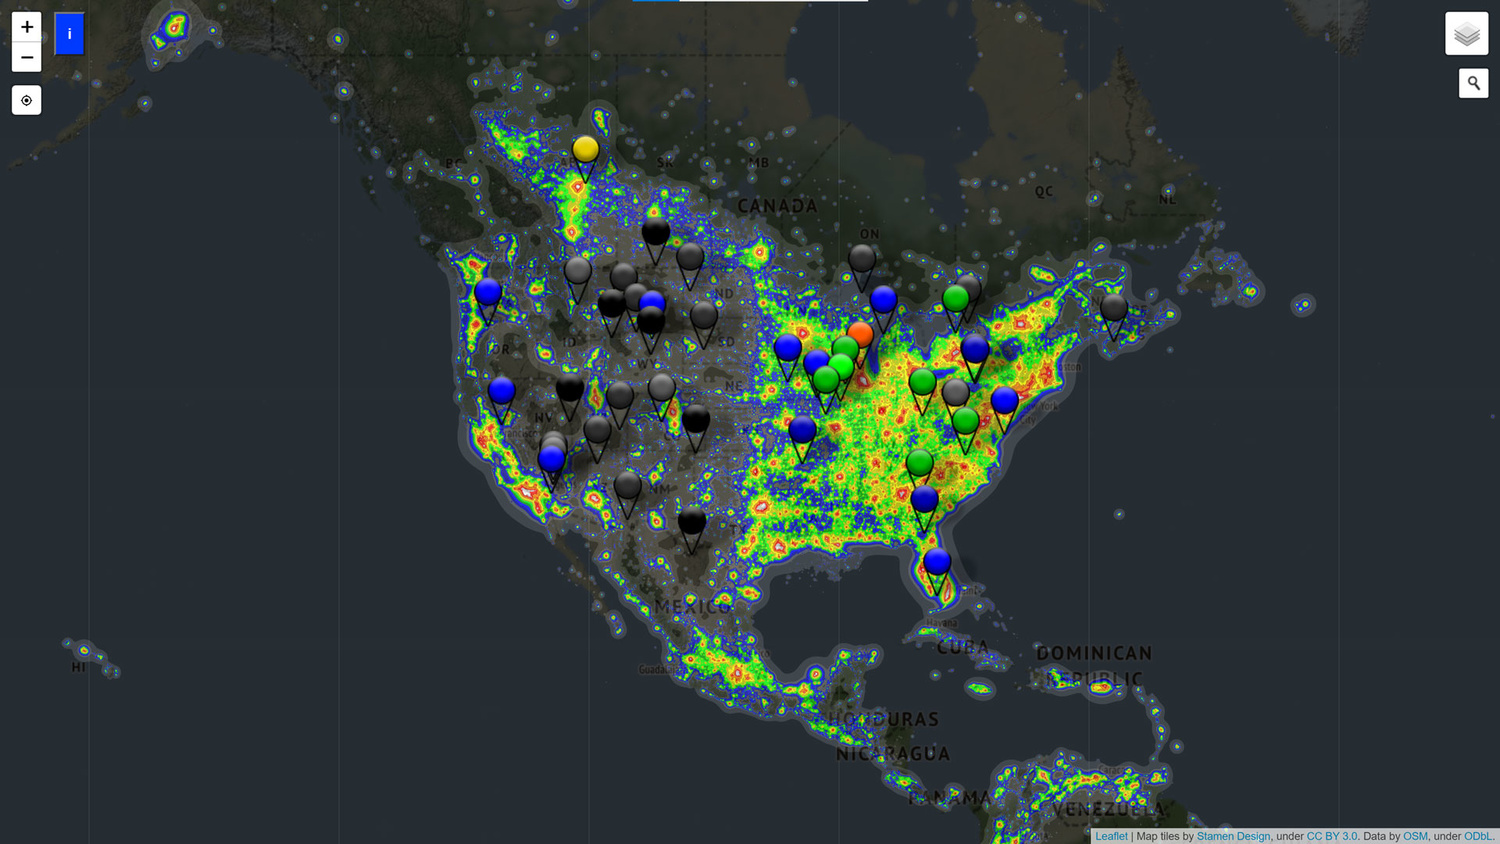
In the middle of cities and busy towns, light pollution from street lights will reduce the likelihood of capturing clear shots of the meteors because the ambient light levels are artificially increased. Head out into the country, or use a website like
Darksitefinder to find your nearest dark sky. Also, you’ll get a nicer backdrop devoid of the orange glow you get in cities, so your meteor shots will overall look better.
Check the Weather
It’s no good driving for four hours to your favorite spot just to have a bank of cloud roll in and obscure everything. Check the weather using your local TV weather report or an online weather app such as
AccuWeather to keep an eye on things. Satellite views are useful, and I personally rely on the
Met Office app for the UK, even though it sometimes gets it a little wrong (predicting the weather is hard!).
Keep All Batteries Charged
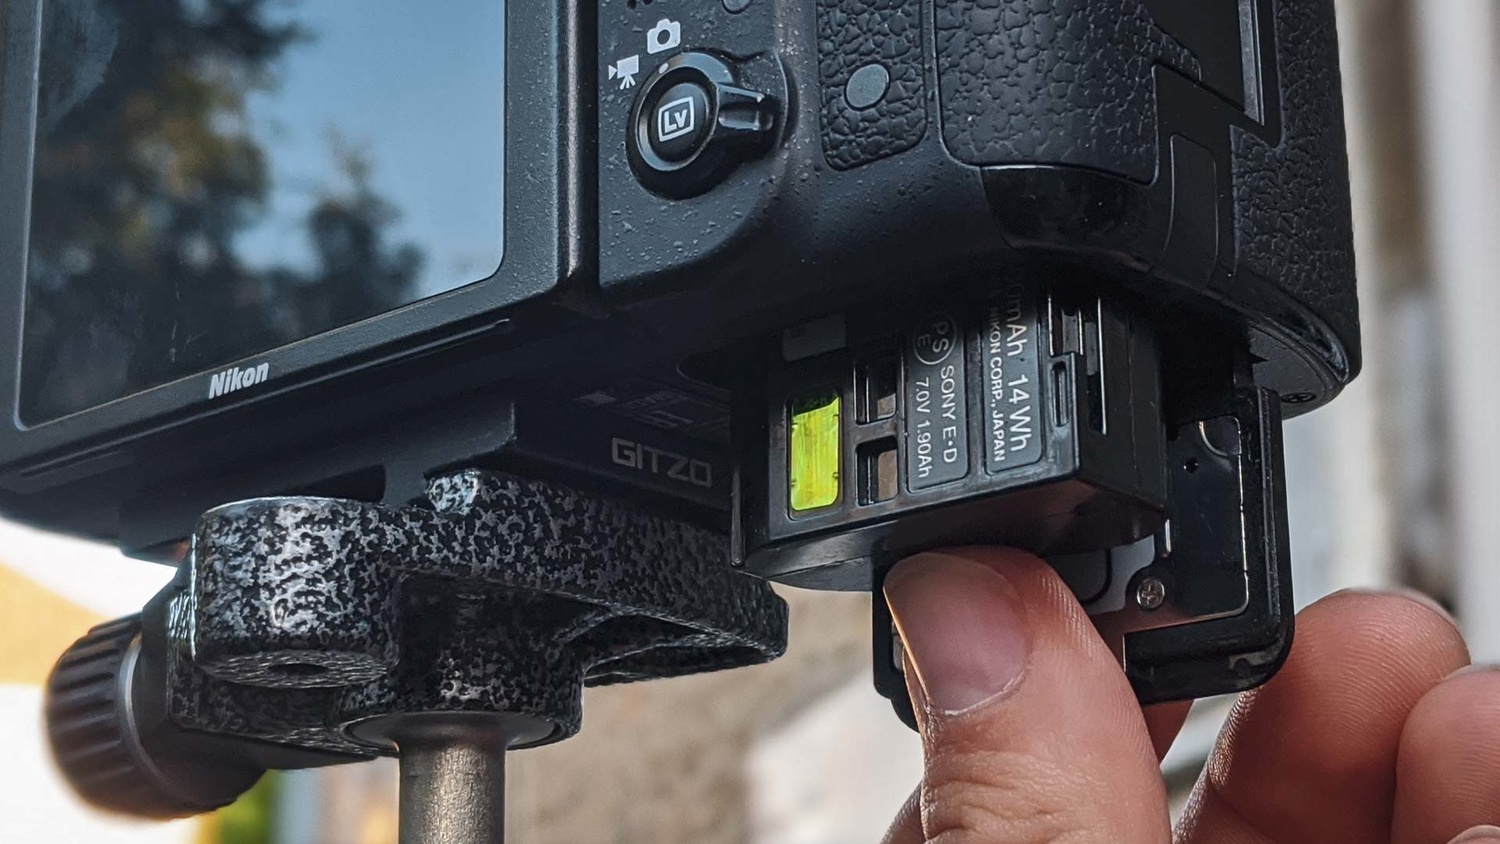
Make sure you charge batteries fully before you head out for your Perseid shoot. In fact, if you have spare batteries, then bring those, too. Long exposures drain the battery, and shooting all night will certainly leave them empty if you haven’t already got them to full charge. I usually take three fully charged batteries with me wherever I go for this very reason.
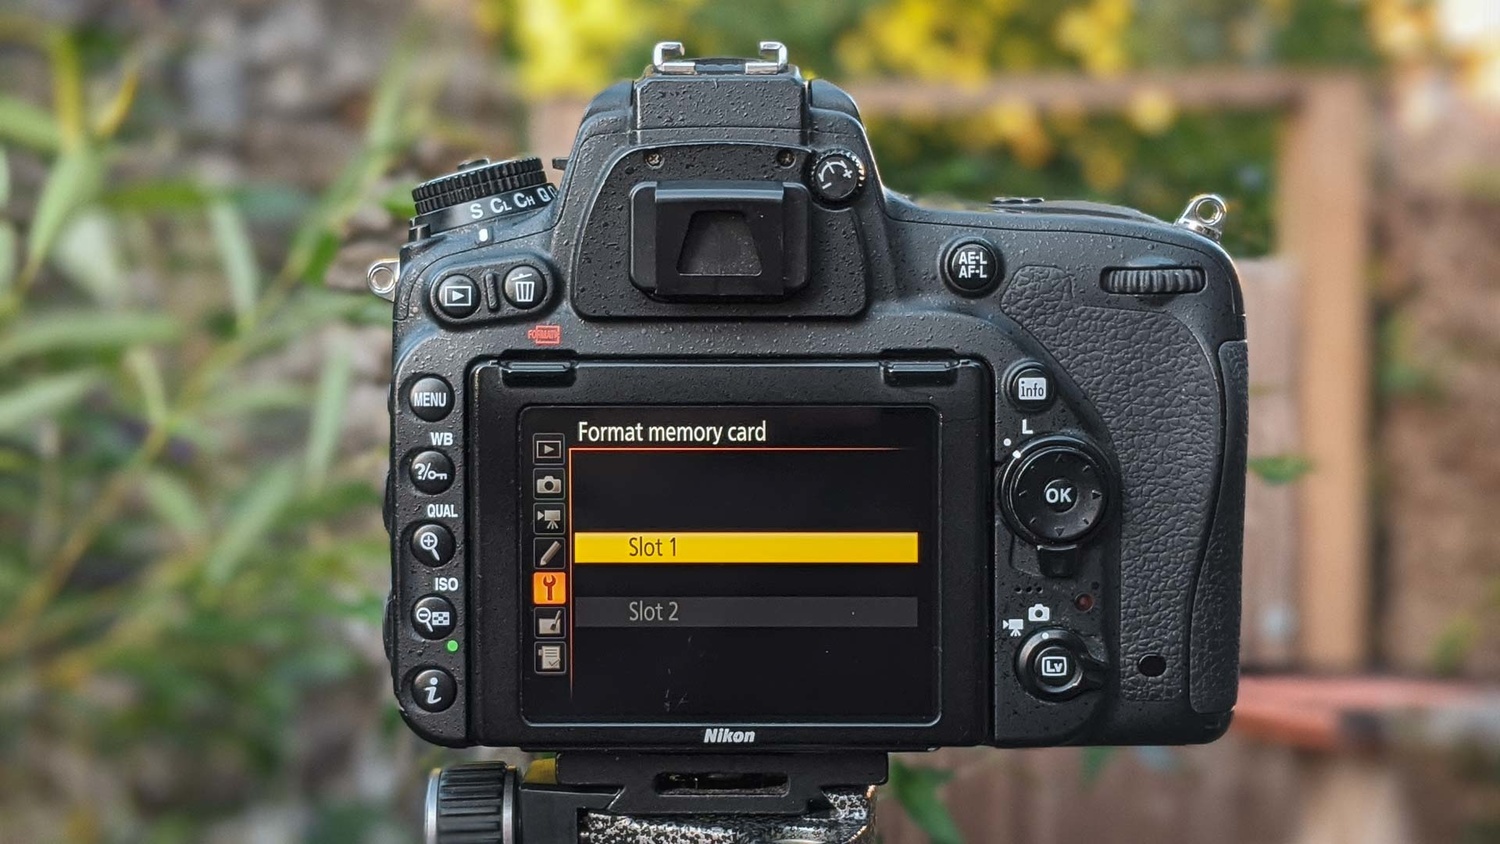
This might sound obvious, but using the below techniques, you’re probably going to be taking hundreds, if not thousands of exposures in just a few hours, so it’s best to take large capacity memory cards that are completely empty. The size of the memory card you need will depend on the output file sizes your camera is capable of taking (this is largely determined by resolution and bit depth). I shoot on a
Nikon D750, which captures 24.3 mp stills, and I use either a 32 GB or 64 GB SD card, which usually lasts me all night on a single shoot.
Take the Right Gear
You definitely need a
wide angle lens to photograph the Perseids, and that's because although they appear over the constellation Perseus, they do actually show up across a wide range of the sky and even all over at times. A lens anywhere from 10-35mm in focal length will work to capture a wide field of view and ensure you’re capturing the maximum amount of meteors. If you don't have anything ultra-wide, then a standard
24-70mm zoom will work well.
Keep Your Camera Steady
Throughout the night, the camera will be taking long exposure after long exposure, so you'll need to keep the camera stationary during the shoot. The best way to do this is to use a tripod. It's possible to place the camera on a wall or on your camera bag, but you will be limited in terms of camera angles. A tripod with a good ball head will allow you to reposition the camera for the fine-tuned composition.
Take a Red Head Torch
Red light impacts your night vision much less than white light because it’s lower in frequency. The better your night vision, the easier it’ll be to see the stars and the meteors with the naked eye. This makes composition easier and improves the overall experience of the shoot. If you don’t have a redhead torch, you can always stick something red over your existing torches, such as candy wrappers or red acetate sheets that you can buy from the arts and crafts store.
Using a head torch rather than a standard flashlight also frees up your hands to carry camera gear and make adjustments on the camera. It’ll come in handy when navigating through rough terrain in the dark at night.
Head to Your Location Early
Get to your chosen shooting location before it gets dark. This leaves more time for setting up, getting focused, ensure everything's working, and will give you time to experiment with camera settings before the show begins. Not to mention, it'll make it easier to navigate to your shooting spot because you won't be stumbling over uneven ground in the dark.
Find a Good Foreground
If possible, it’s good to use an interesting foreground to give context to the photos. In the UK, that means shooting against a tall landscape, something that is much higher than the shooting position, because Perseus moves from between 20 degrees azimuth to 70 degrees throughout the night. That means it goes from just above the horizon to way up overhead. So, while it is nice to get a good foreground, it may be harder for some, depending on where you are in the world.
Aim Towards Perseus
The Perseid meteor shower is named after the constellation Perseus, which, around the peak time of their arrival, sits in the northeast in the UK. To find out where Perseus is in your location, I recommend using the app
Stellarium. It’s available as a web page, or to download for Mac, Windows, or Linux computers, and as Android and iOS apps (just make sure you get the new Stellarium Mobile Free or PLUS apps, and not the Mobile Sky Map app, which is pants). Though not all of the meteors will appear in this direction, most of them will, so this is the best direction to aim your camera.
Tie Your Tripod Down
If it’s windy, you may want to take a bungee cord to strap down your tripod to reduce camera movement and subsequent blur. Most tripods have hooks on the column or around the base of the head for this very reason. In the studio, photographers use weighted sandbags to keep stands and tripods steady, but if you’re walking any kind of distance outside, you probably don’t want to carry the extra weight. That’s why I always tie the bungee cord onto the handle at the top of my camera bag. That way, I know where my kit is, and high winds are less likely to wobble or knock the tripod (and the expensive equipment) over.
Use This Special Focusing Trick
Autofocus fails miserably in low light because there’s not enough light available for the camera to discern the edges of subjects. But there’s a quick and easy way to get pin-sharp astrophotos. First, engage live view, and then, switch your lens to manual focus. Zoom in on the rear screen in live view and find a distant street light or ideally, a bright star. Now, with the live view zoomed in as far as possible, turn the focus ring on the lens until the light is as small as possible. You may have to rock the focus ring back and forth until you find the right spot. Now, you’re all focused up and ready to continue shooting the meteors in the full knowledge that you’ll be getting sharp shots.
Avoid Lens Fog
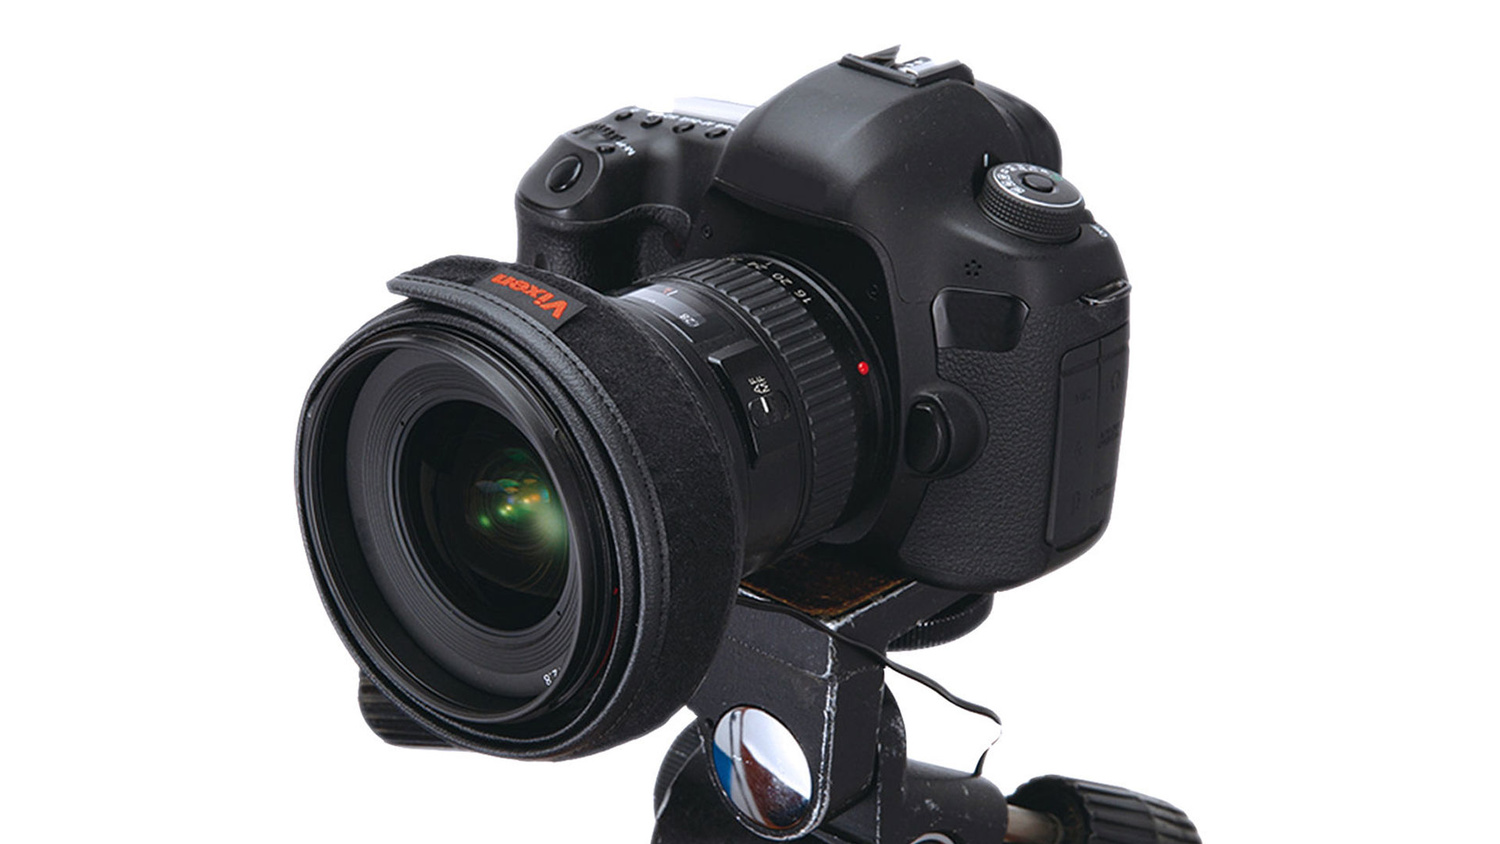
When there’s a temperature difference between the camera lens and the surrounding environment, the front element is prone to fog up. This is especially apparent in humid climates. So, it’s a good idea to keep the lens the same temperature as the atmosphere you’re shooting in. There are
bespoke lens heaters available to buy online, but in a pinch, some
portable hand warmers wrapped in a sock will work. Just use an elastic band to wrap them around the lens barrel to keep it warm, and thus, the fog should disappear.
Use a Viewfinder Cover
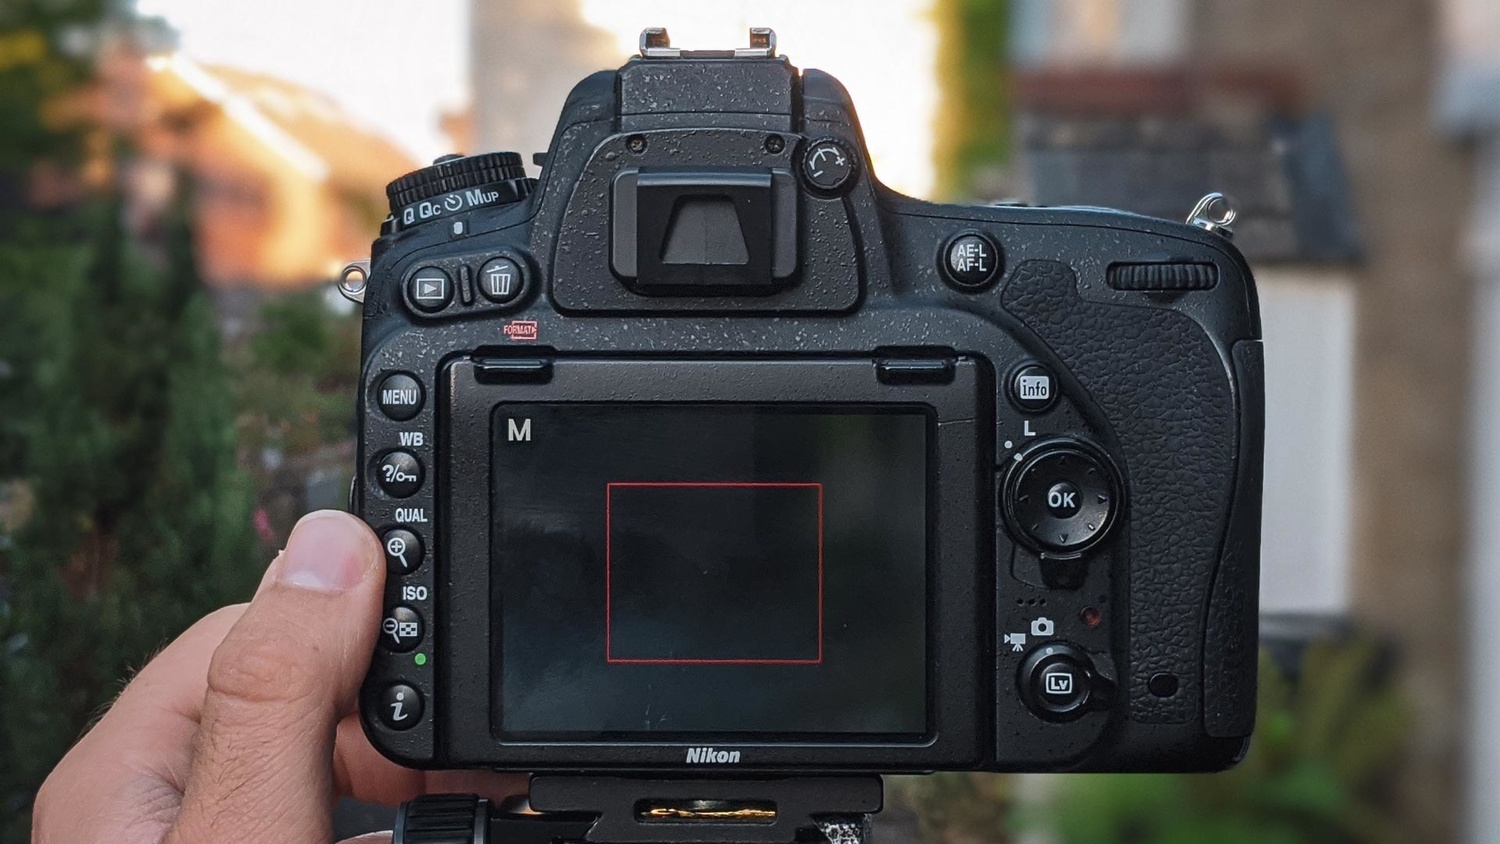
If you have a camera with an optical viewfinder, then use a viewfinder cap. This sits over the viewfinder and stops extraneous light from entering the camera body and altering the exposure. Some cameras have a viewfinder cover built-in, but for my Nikon D750, I have a separate little hood that slots down over where the viewfinder eyepiece should be.
Shoot in Raw and Manual Mode
This is a very important step. Raw files contain much more data than JPEG or TIFF files and allow for more flexible editing when developing the photos later. I would always recommend shooting astro in raw and not in JPEG or TIFF. But if your camera doesn’t shoot raw, then opt for TIFF. That's because JPEG uses stronger compression to reduce file size, which means certain data is lost forever once the photograph is taken. With the inherent difficulties in shooting astro, such as exposure, noise, and color rendering, it’s important to shoot either raw in the first instance or TIFF if that’s not possible.
Manual mode also allows you to make the final decision when it comes to aperture, shutter speed, and ISO, instead of relying on the camera to automatically assign settings. In astrophotography, you’ll almost always want to shoot in manual mode because the low light makes it difficult for the camera to read the scene.
Set a Wide Aperture
You need to let as much light through the lens as possible, and that means using the widest aperture available on your lens. Most prime lenses (lenses that do not zoom and have a fixed focal length) usually have a wider maximum aperture, e.g. f/2.8 or wider. Zoom lenses, especially if they are a cheaper model, will generally have a narrower aperture and sometimes an aperture range. For example, an 18-55mm lens may have an aperture range of between f/3.5 - f/5.6. This means the more you zoom in, the narrower the aperture becomes, therefore the darker the scene will be when taking the picture. Ideally, you will set your aperture as wide as possible to let more light through the lens for a brighter exposure.
Nail Exposure Length
Now, you may think that setting an extremely long exposure of several minutes or even hours is the right way to go about things here. And in theory, this would capture multiple meteors as they scud through the sky. However, with long exposures comes noise brought about through heating of the image sensor. As the image sensor gets hot, both the heat and the electricity it generates are recorded by the image sensor, which results in noise. The best way to do things here is to set a medium length shutter speed of say, 30 seconds, and then get the camera to repeatedly take photos during the shoot, which we'll come to in a couple of steps.
Crank Up the ISO
In order to get good exposures of the Perseids as they streak across the sky, you'll need a high ISO sensitivity. A good starting point, depending on how dark your sky is, will be around ISO 1,000 or 2,000. The more light pollution you have in your area, the lower the ISO can be, but you will have to contend with less definition in the stars as it will be the bright street lights that fill the skies. However, if you're in a sufficiently dark area with little light pollution, or you find yourself shooting on a lens that doesn't have a wide maximum aperture of f/2.8 or wider, then you may want to increase ISO to 3,200 or more.
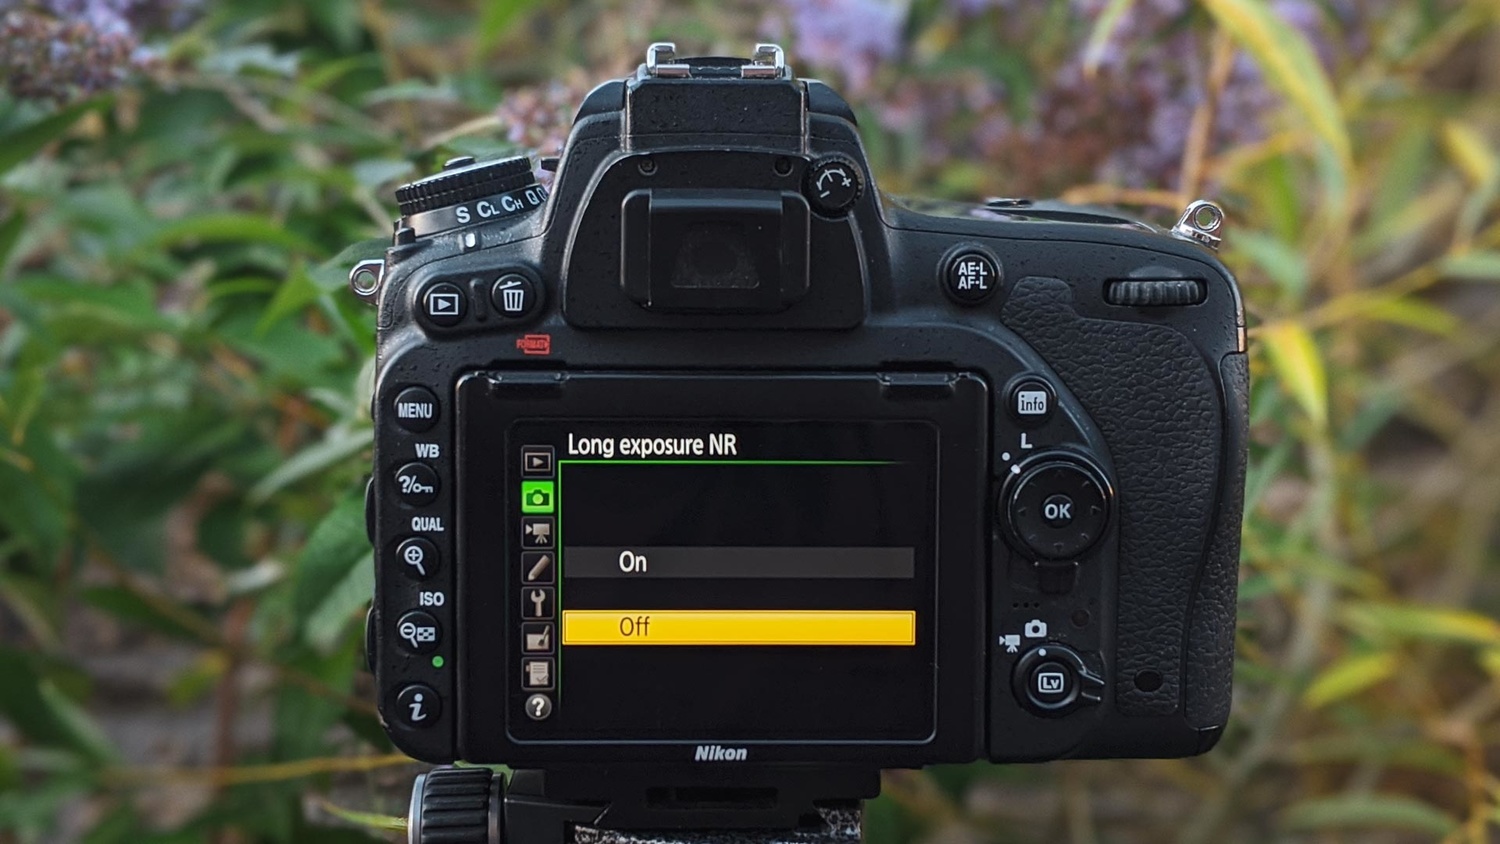
Turn Off Long Exposure Noise Reduction
As the image sensor heats up, the electrical interference from the circuitry is recorded as noise, as we’ve already discussed. Most cameras have a compensation feature built in called long exposure noise reduction. What happens is, after the normal exposure is taken, the camera will then close the shutter and take another photograph to record a dark frame. Any bright spots on the sensor are recorded and then subtracted from the original to remove noise.
Quite obviously, though, this doubles the time it takes to get one good exposure, so I recommend turning this off. By capturing multiple photographs in succession, we need the next frame to start as quickly as possible after the last one so that we don’t miss any important meteor streaks. If there’s an issue with noise in the photographs, this can be easily taken out in editing software.
Set Up a Time-Lapse
Most modern cameras have an interval or time-lapse function built-in. Time-lapses work by taking still photographs, one after the other, in order to provide a sequence of shots that can be either edited chronologically into a moving image such as a video or by being stacked atop one another to create a composite photograph. Here, we are interested in making a composite, so we will be taking several stills to be blended together in editing software.
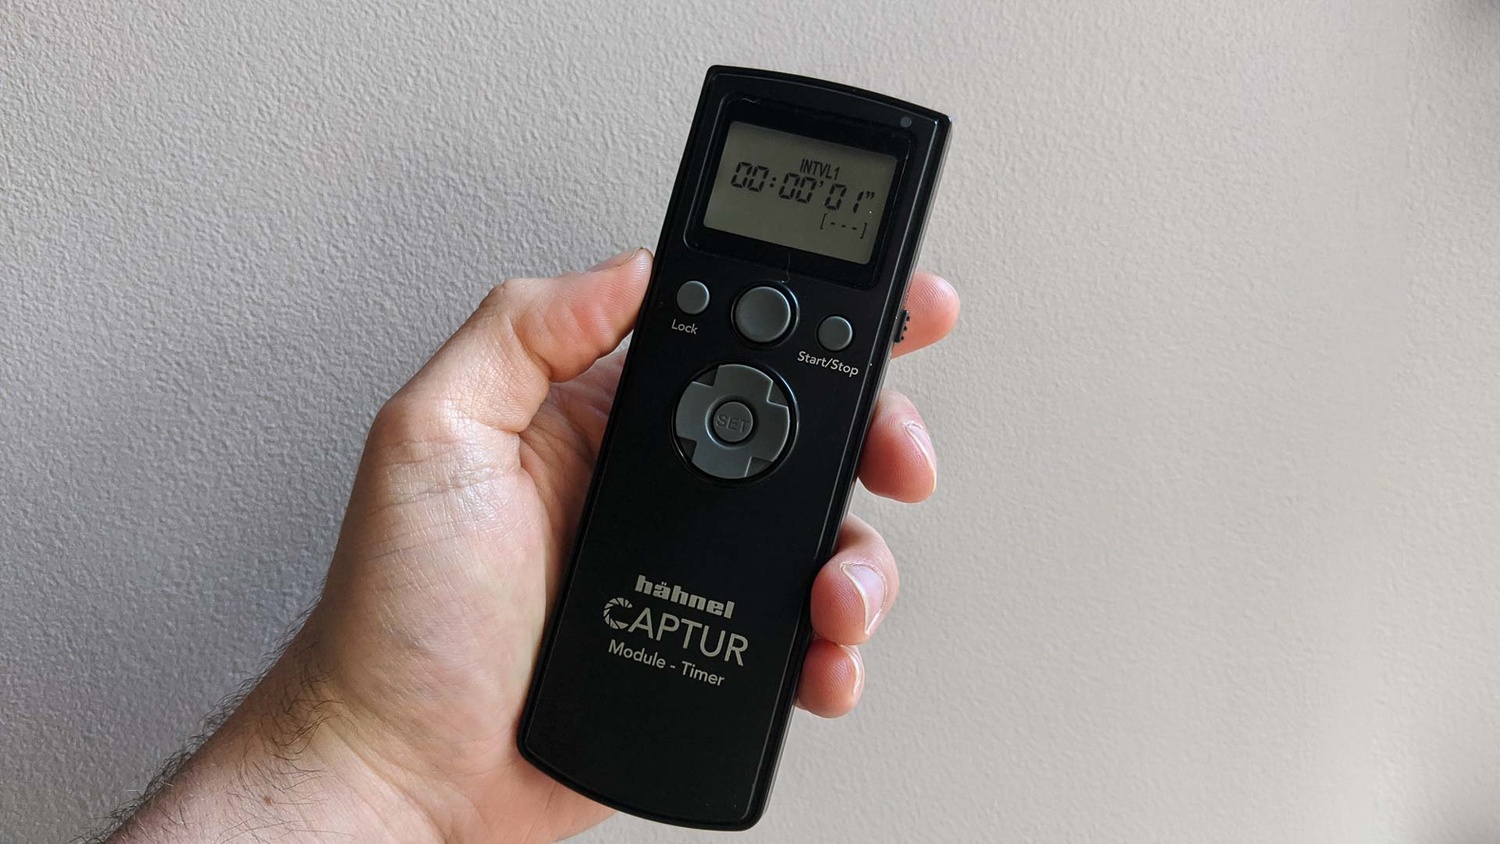
For those without the built-in interval timer function, you can use an external intervalometer. These are simply small, handheld remote controls that can be pre-programmed to take a picture automatically for a set number of frames. For example, if I wanted to take 100 photographs, one after the other, I can tell the external intervalometer to do this, and it will automatically force the camera to take a shot without you needing to press the shutter button.
Try a Different White Balance
Both tungsten and fluorescent light bulbs are yellow and warm, so white balances were invented to specifically reduce the warm tones and bring them back to a more realistic white color. If you’re struggling with light pollution, you may want to consider using these white balance presets to reduce the orange glow. For the best result, shoot in raw and then tweak this in image editing software later. But if you're not planning on editing shots or your camera only shoots JPEG or TIFF, then the camera presets will do well right out of the camera.
Sharing is Caring
If you've found any of the above useful, or you think it'll help out your friends who also hope to photograph the Perseid meteor shower, then please share this guide via Facebook, Instagram, or WhatsApp; it really makes all the difference. Leave a comment down below if this has been useful, and be sure to keep an eye out for my accompanying article on how to edit your Perseid meteor time-lapse shots.








Here's hoping we get clear skies up north. Almost missed the Neowise comet because of our weather...
Because the stars move, meaning as time passes stars be in different places relative to Polaris. A planetarium program will show where based on location and time.
wish i can find anyone to go with a (social distanced/masked) photo meet out in mojave to catch these.