

Learn how to photograph the Milky Way galaxy by choosing the correct equipment, using the right camera settings, and planning ahead with precision to avoid disappointment. You can also use these tips to photograph other astrophotography shots such as meteor showers.
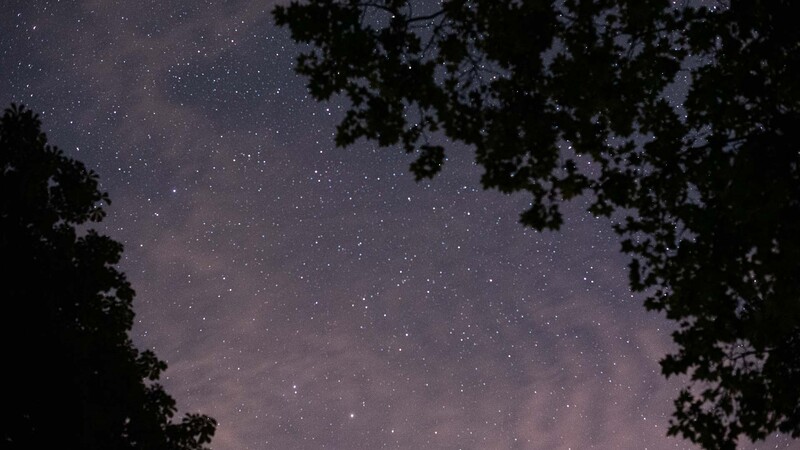
For most of us, just seeing the Milky Way is tricky enough because in towns and cities street lights hide even the brightest stars in the night sky. The Milky Way galaxy is much dimmer than the bright constellations we're used to seeing, so that makes it a lot more difficult to spot, and photograph. If you just want to photograph the upcoming Perseids, check out my comprehensive guide to photographing the Perseids meteor shower, or read my other guide to photographing Comet NEOWISE, before it disappears.
With a combination of smartphone apps, camera settings, and the right gear, I'll show you how to plan your photoshoot so you can come away with some amazing Milky Way images. If you're lucky, you'll also be able to use these tips to capture other astronomical phenomena such as the northern lights, and meteor showers such as the Perseids.
Head Somewhere Dark
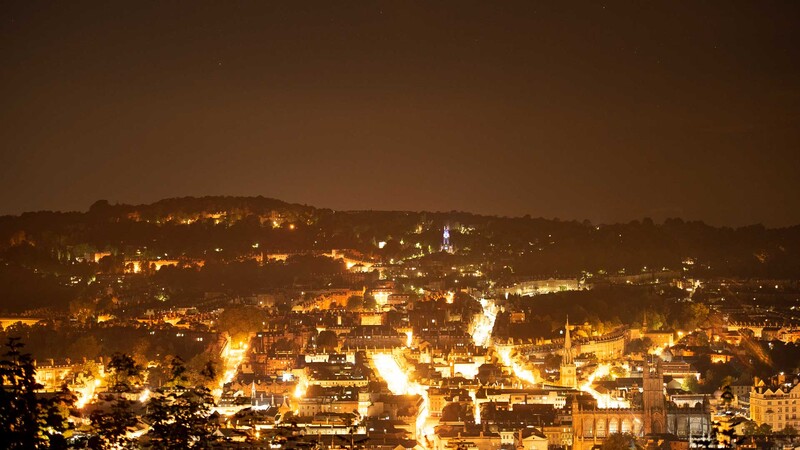
It's important to photograph the night sky as far away from towns and cities as possible, to reduce the impact of light pollution. The more light pollution there is from street lights, the poorer Milky Way visibility you'll have. There may already be some spots you're aware of that have darker skies, out in the countryside, but a good bet is to head to the coast or national reserves as there's little to no lighting out at sea or in the forests.
Dark sky reserves have been developed in recent years by the International Dark-Sky Association to help save the night sky from light pollution. So head over to the site to plan your next visit to ensure you'll have particularly dark skies to make the most of the Milky Way.
Use the Right Gear
A tripod is essential, as is the ability to trigger the camera without touching it, because even small vibrations from the hand can wobble the camera and cause blurring during longer exposures. A remote shutter release is ideal for triggering the camera, but you can also use exposure delay mode, or even the self-timer mode to delay the shutter release after you've pressed the button.

A wide-angle lens is a must for Milky Way photography. Ideally between 10-24mm focal length works best as you'll be able to compose the galaxy and some surrounding environment into the same frame. Also, look for a wide-angle with a fast maximum aperture, f/2.8 or wider is perfect to maximize light input.
Check the Weather Forecast
It's no use heading to a dark sky reserve if it's pouring down with rain. So check the local weather forecast before you head out. Track weather systems via a reliable weather reporting service online or using a smartphone app such as the Met Office.
Find the Milky Way
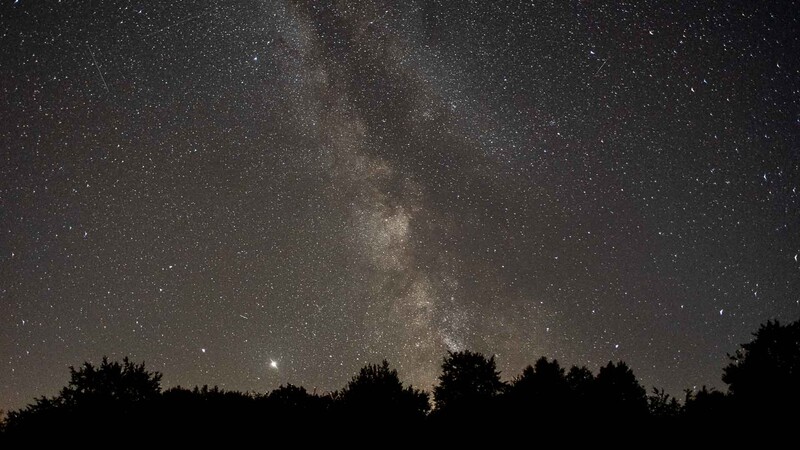
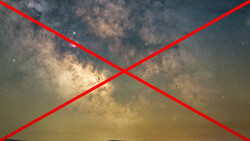
The Milky Way is a barred spiral galaxy and would look a bit like a flat disc if viewed from far enough away. Being inside it, we look up into the sky and see the side-edge of the Milky Way, which is why it looks like a long, thin line. The brightest part of the Milky Way is the galactic core, the center of the galaxy and for those of us in the U.K. that's most easy to observe in the summer months.
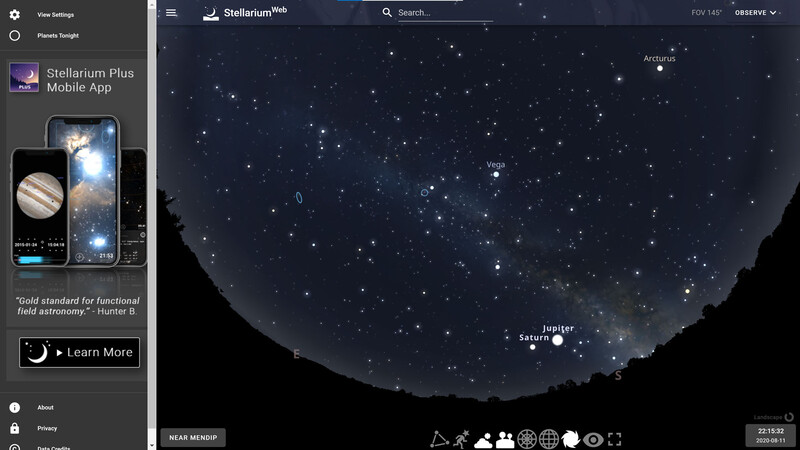
To find where the Milky Way is in your area use a night sky app to calculate its position for a given time of year. My favorite software is Stellarium which is available cross-platform and is extremely reliable and robust. They even have a web browser version.
Camera Settings Are Crucial
Yes you'll need a long exposure to reveal enough detail in the Milky Way in one shot, but that doesn't mean you have to run the shutter speed for minutes at a time. In fact, the best Milky Way shots are taken at under a minute, or even 30 seconds or less. That's because the faster you can make the exposure length, the less blurring you'll get in the final shot — that blurring is brought upon by the Earth's rotation.
The faster you can make the shutter speed, the more detailed the Milky Way will be, but this depends on your lens' maximum aperture and the ISO ability of the image sensor. Newer cameras typically handle high ISO noise much better than older digital cameras. On the whole aim for around ISO 1,000-2,000 with the lens at the maximum aperture and a 30 second exposure dialed in.
So there you have it, with the right settings, location, and weather conditions you can capture some fantastic Milky Way photographs. In fact, these techniques can be applied to any kind of astrophotography, so whether you're heading out to photograph the Perseids meteor shower, starlink satellites, or a comet you should be able to use the above five steps to get started on your astro journey. If you have any tips that have proven particularly helpful for your Milky Way shots, then leave a comment down below, and share your images too.


Join the Fstoppers community for free
-
Post comments and join in the discussions
-
Browse the site ad-free
-
Share your work and get featured in the community
-
Compete in the photo contests for fun and prizes
13 Comments
Jason, after a small amount of editing on my images, I just don't have the clarity or sharpness I'm looking for. Am I killing my images post processing them or is it my settings? Nikon D850 w/ a Tokina 16mm f2.8, iso 3200 @20 secs
seems like you shot the other side of the milky, north. try to shoot the south side, it will be better ;)
yeah I was chasing meteors and the Persieds were emanating from this direction.
Yeah I'm inclined to agree with Nicolas here. It's the top end of the milky way I think, so a lot less bright, and less impactful. I understand you were trying to combine this with the perseids though - awesome idea! I'd say add some more contrast, increase the white slider and decrease the black slider, and perhaps enhance the scene with a little on the texture slider, too (presuming you're editing on lightroom). I'd also probably take an adjustment brush and paint black on the vehicle and lights in the bottom of the frame, (you can do this by lowering exposure slider to minimum, and then just doing that a couple of times if needs be) as it's a little distracting from the stars from up above. Hope that helps!
this is the best milky way image I could make...
it's a stack of 16 shots of 180secs each, taken with a D600 at 640iso and a samyang 14mm 2.8 at 4.5.
the camera was on a skywatcher star adventurer mount.
This is my next purchase. I'm seeing that the star trackers, skywatchers change the game. Excellent image Nicolas.
Great capture, lovely starburst on what I assume is Jupiter there in the bottom left.
Thanks, it was mars on the bottom left
Hi,
Could you please recommend any free or less expensive mobile app to find a milky way? I am in Australia. Is it winter the best time for clarity?
I use Star Walk on ios. Excellent.
Stellarium is the best app for me
There is only one Dark Skies reserve in the Northern hemisphere and that is in Rep of Ireland.
Sorry, that is not true...
https://fr.m.wikipedia.org/wiki/R%C3%A9serve_de_ciel_%C3%A9toil%C3%A9
(The article is in french, because I'm french, but you can see that there more than one)