
Across the vast millennia of human existence, the total solar eclipse remains the most spectacular and celebrated of astronomical phenomena. As the blue sky dimmed, I suddenly decided to shoot the 2024 solar eclipse on black and white film using my trusty Hasselblad 500 C/M.
Capturing a photograph of a total solar eclipse ranks high on many photographers' bucket lists.
Way back in 2017, when the world was pure and innocent, I was fortunate enough to be in the path of totality for the solar eclipse as the spectacle unfolded above the Appalachian Mountains. It did not disappoint.
Fast-forward to 2024, and I found myself once again situated in the southern United States bordering the path of near-totality (about 95%). To be honest, I hadn’t planned on shooting this year’s eclipse at all.
Call me cynical, but I had already “been there and done that.” The desire to shoot the event again was simply not with me.
However, my attitude immediately shifted when texts from photographer friends (photographic enablers) began rolling in, showing off their camera setups trained at the darkening skies.
A switch flipped. The muse sang. I immediately found inspiration. There would be regret and gnashing of teeth should I not at least make an effort to photograph the sun and moon’s celestial tango.
But how to make things a bit more interesting? How to make shooting this year’s eclipse a personal challenge?
I had just the thing: Alice.
This time around, I would attempt to capture the solar eclipse with the legendary Hasselblad 500 C/M.
If I wanted a challenge, a challenge I would most certainly get.
You’ll Put Your Eye Out
Don’t play dumb with me, folks. We all know it’s not healthy to saunter outside and stare wide-eyed at the sun.
So, before we get into the technical details of my cobbled Hasselblad eclipse setup, it bears repeating that photographing the solar eclipse, or any photography involving a camera aimed at the sun, can be extremely hazardous to both your eyes and your gear.
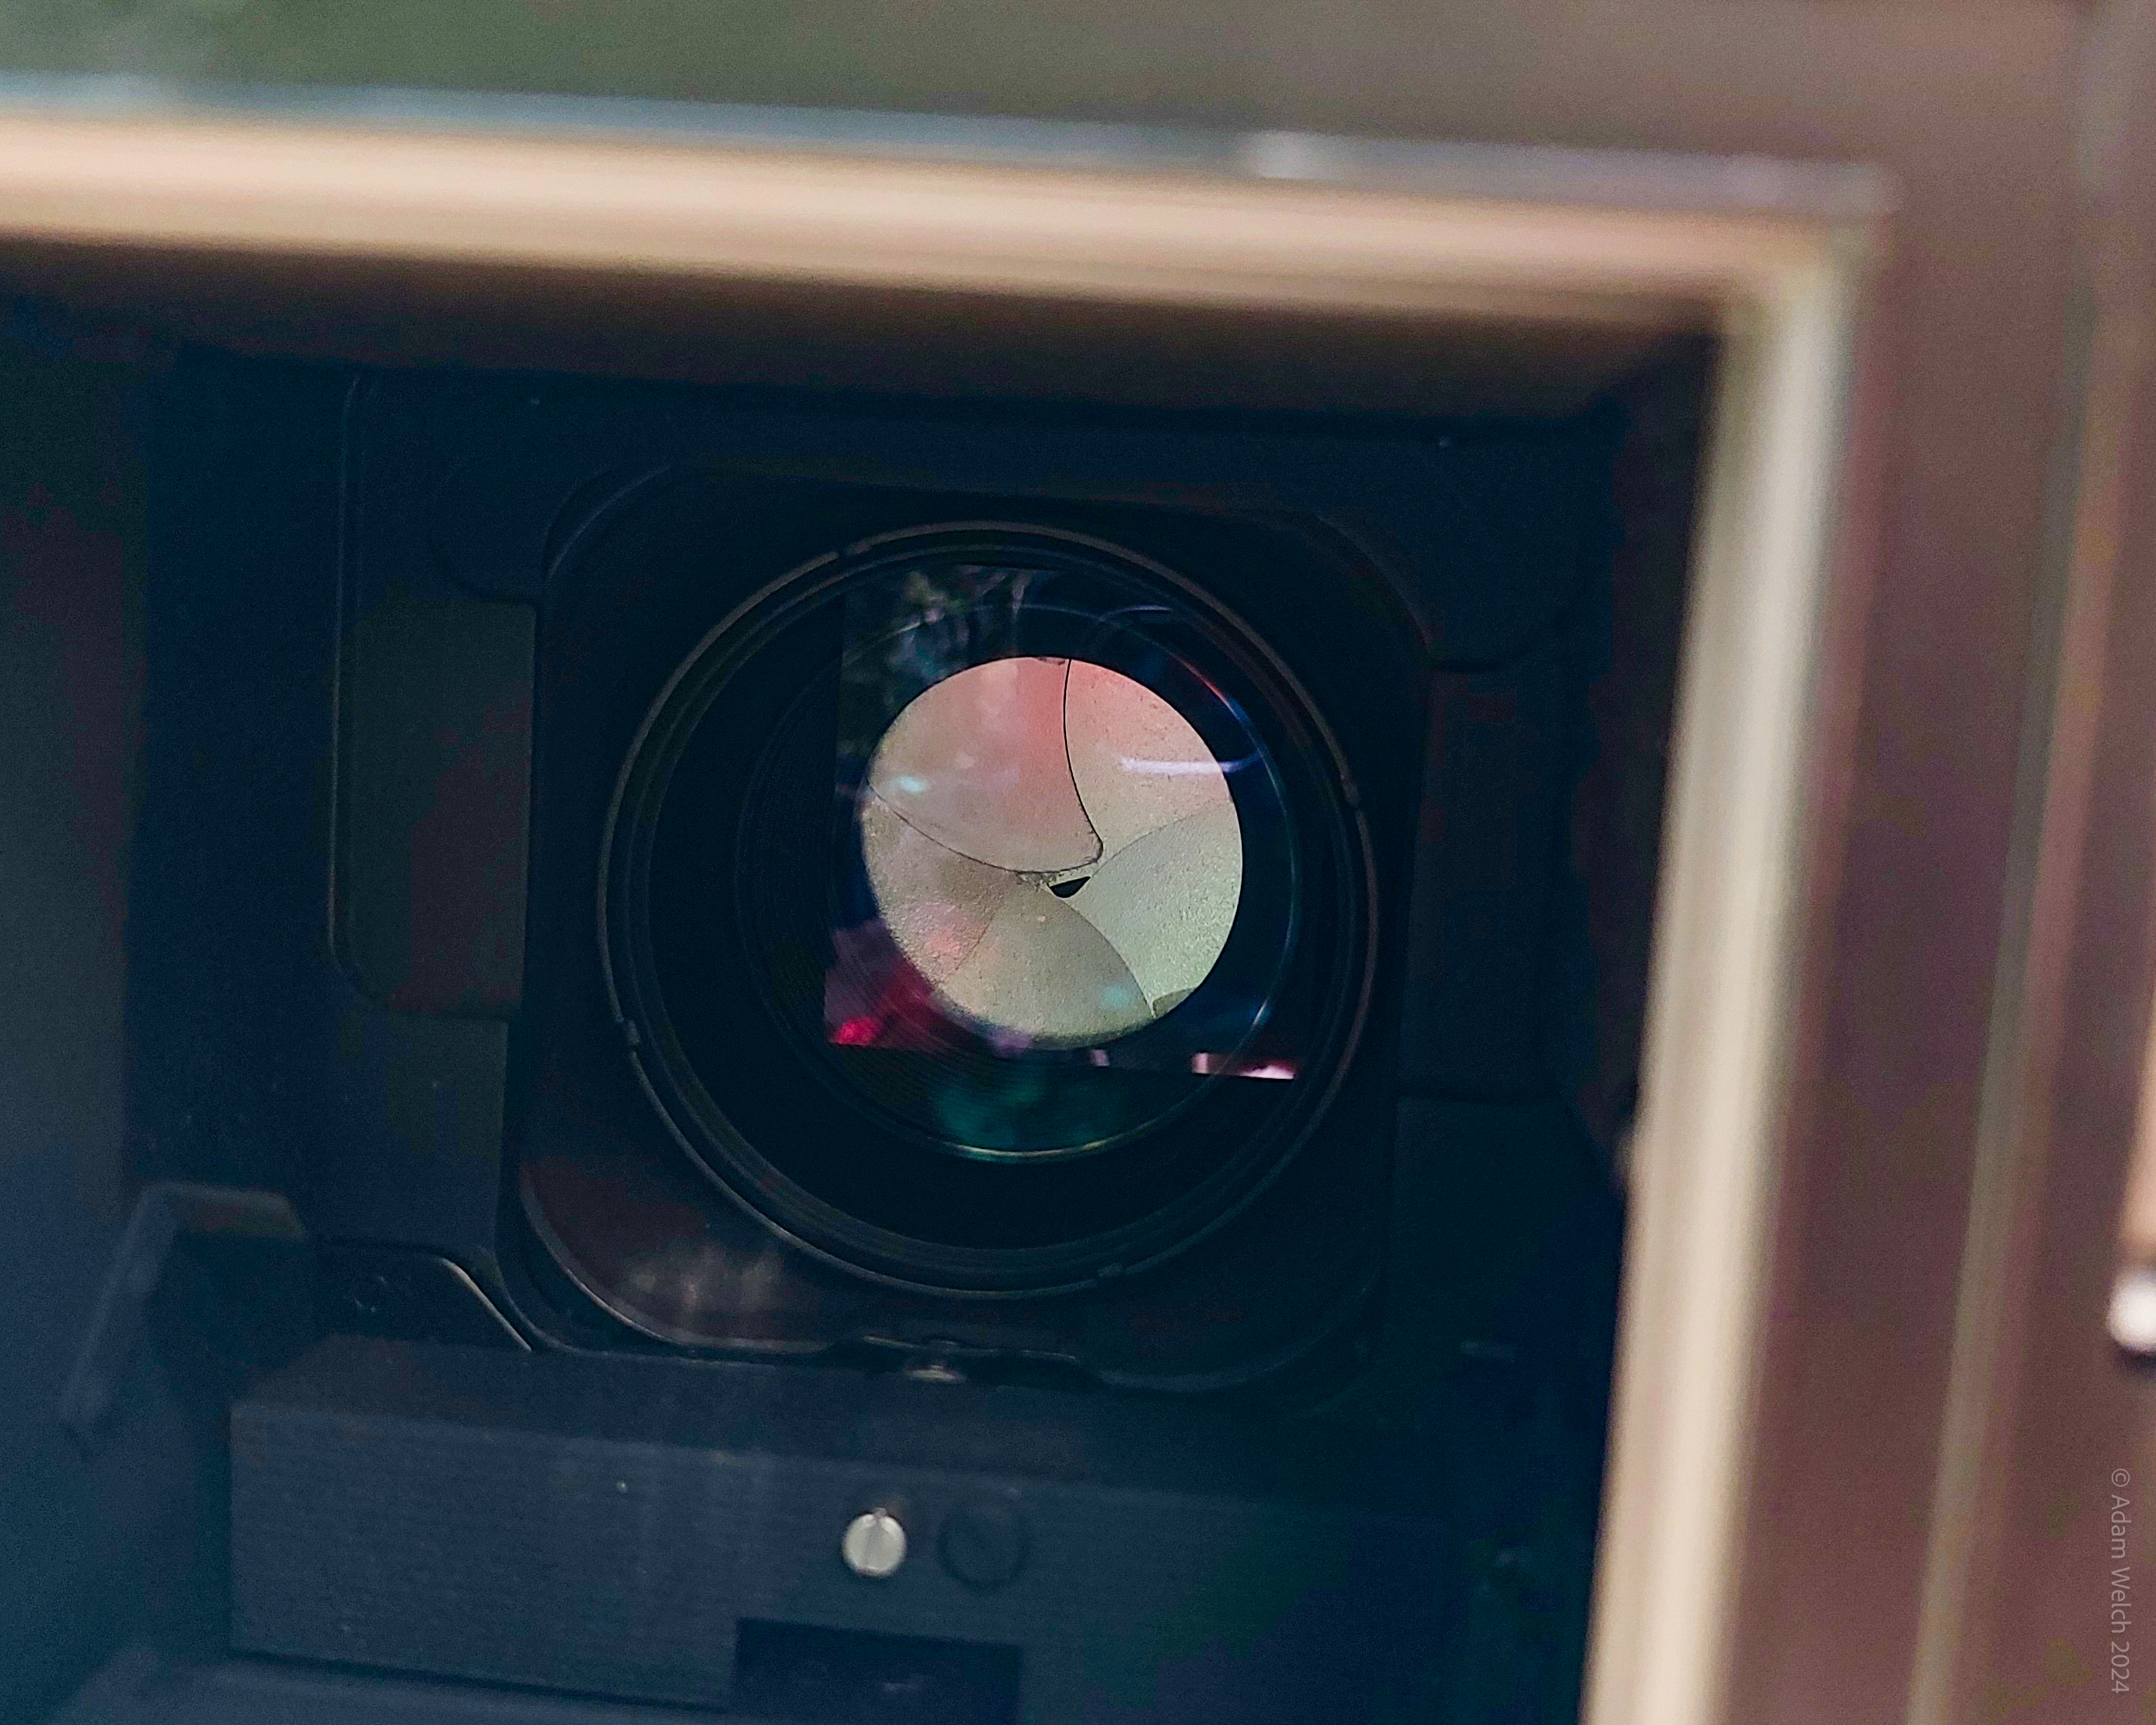
Remember I mentioned the last total solar eclipse I photographed back in 2017? Well, I was shooting primarily digital along with my 4x5 large format view camera.
Despite my best efforts, I still managed to burn a literal hole into the surface of the camera’s ground glass. I had removed the filtration to expose, and in the brief 1–2 seconds before I could replace the lens cap, the focused sunlight burned right into the glass.
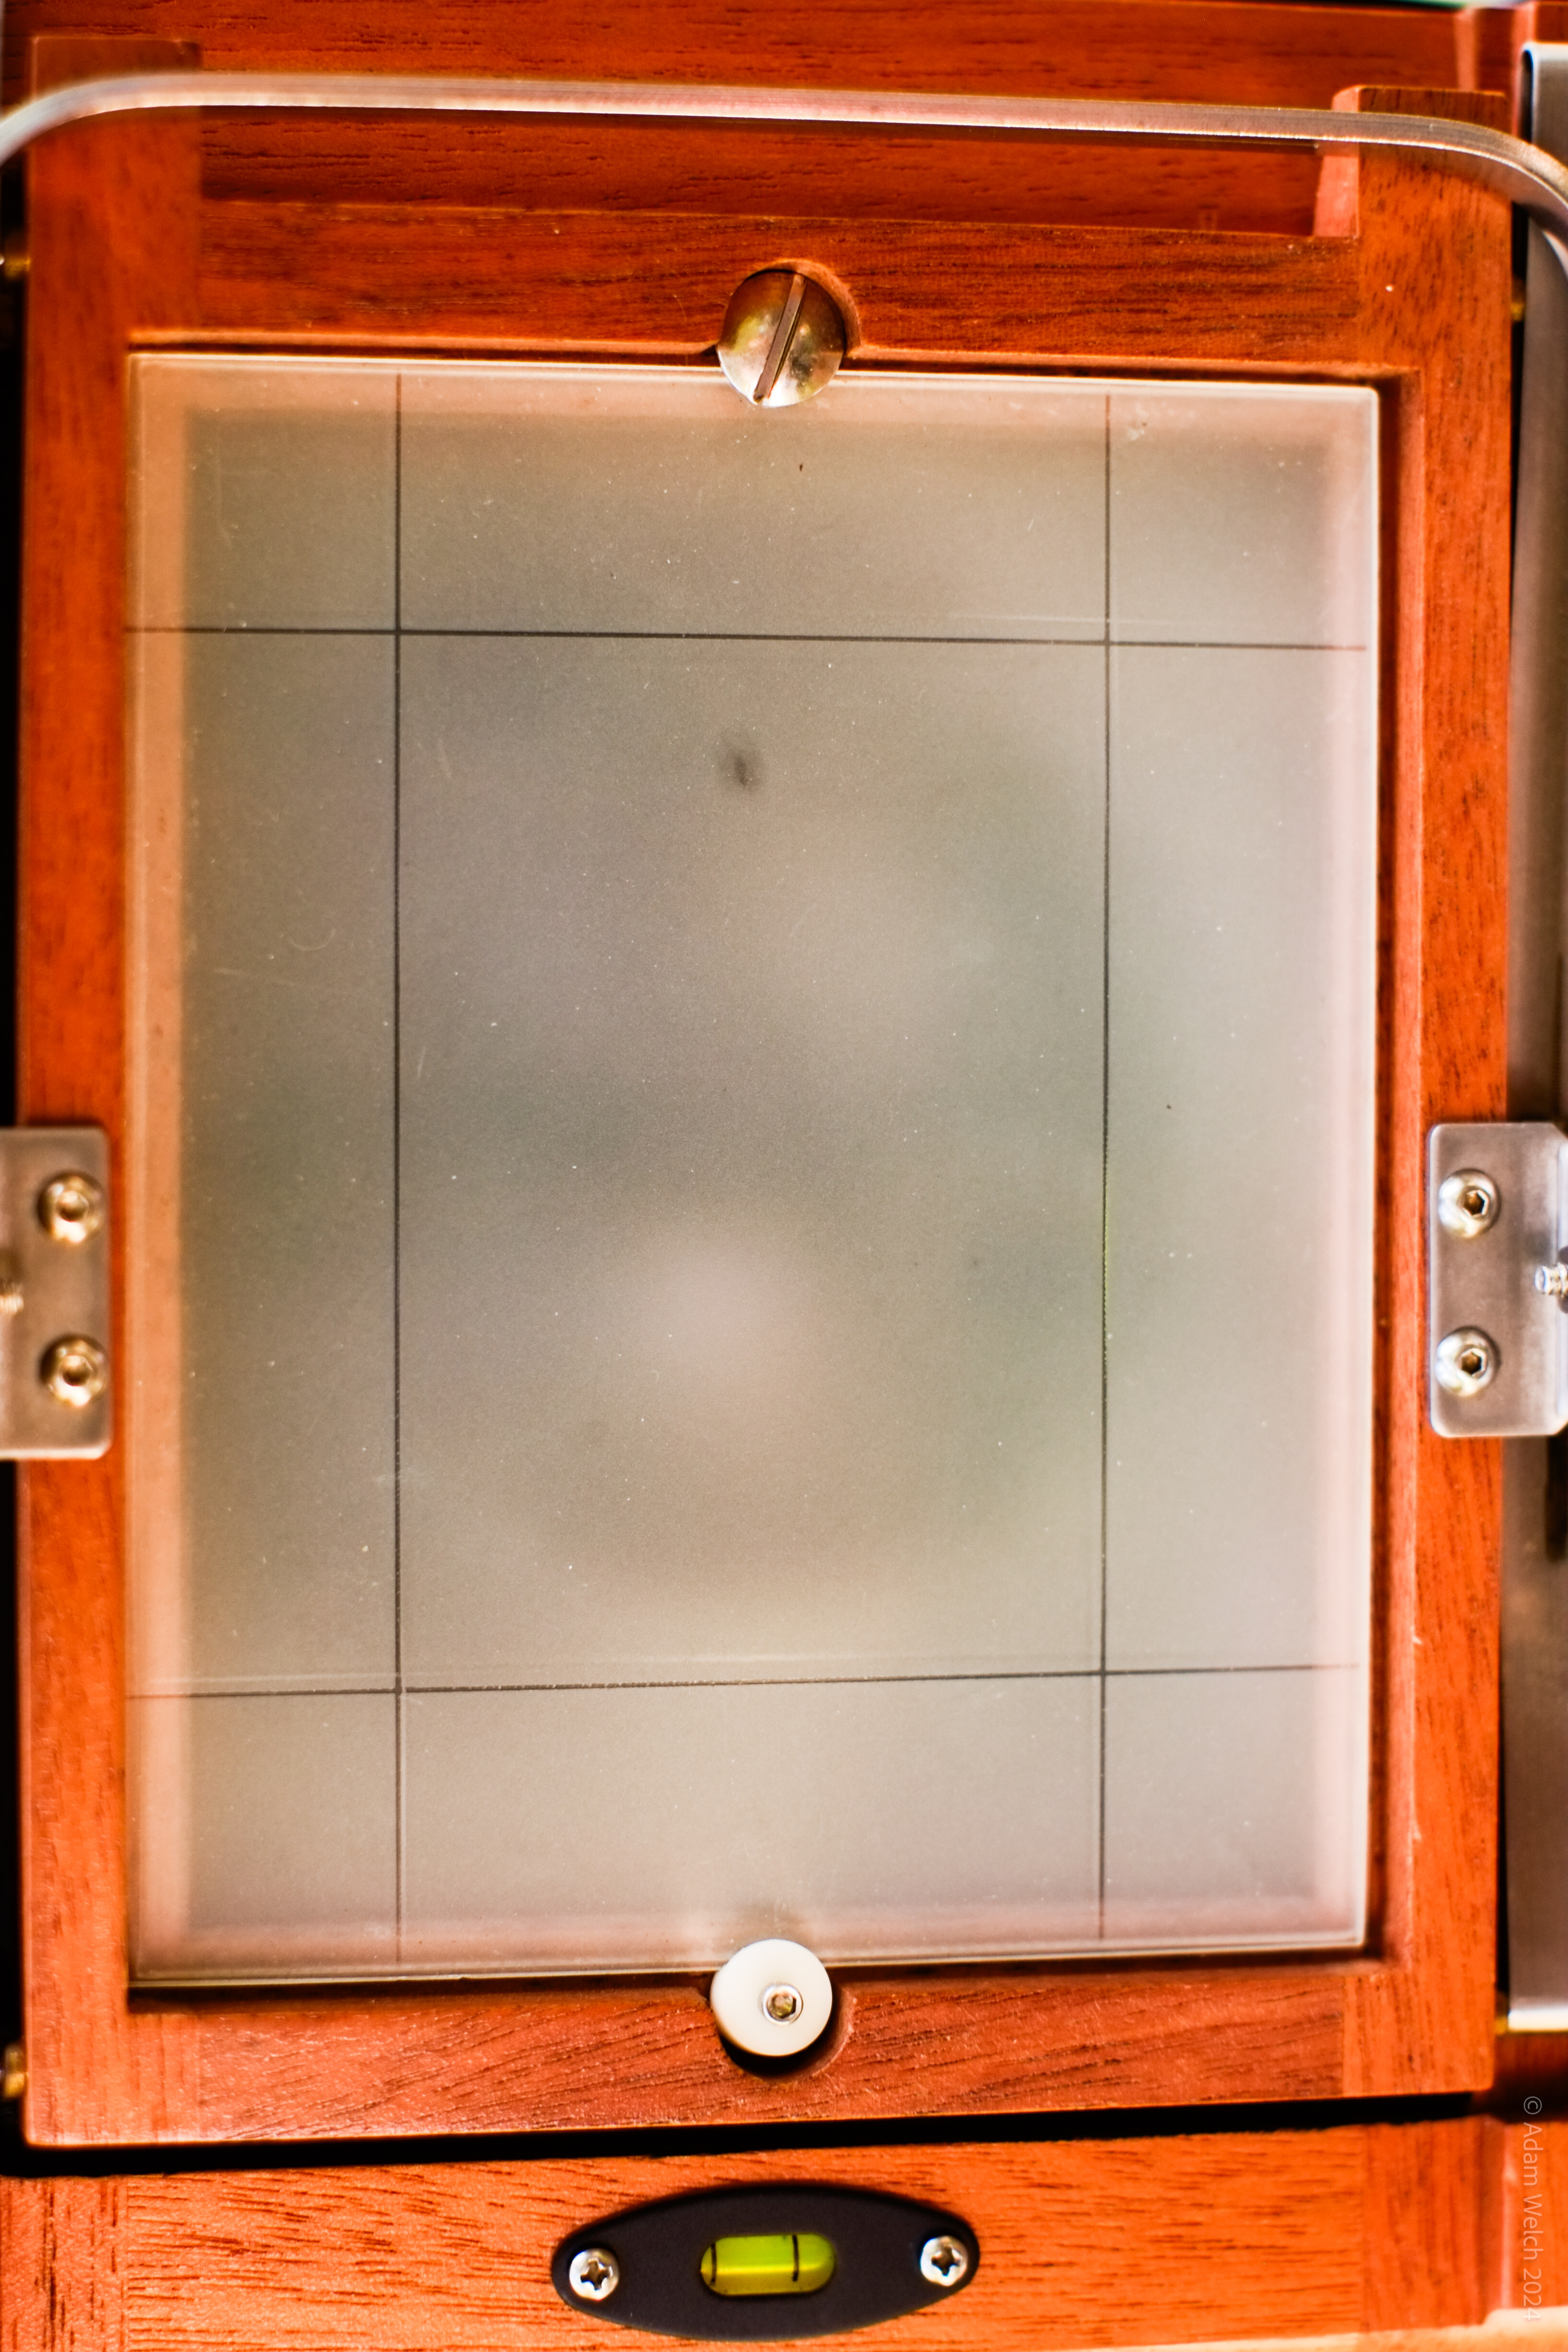
Imagine the damage should I have been peeping through a viewfinder. Always respect the unforgiving power of that giant ball of fire in the sky.
The Setup
It just goes to show you that where there’s a will, there’s a way, and if there’s a way…some eccentric photographer will probably use that way to make things ten times more difficult than they need to be.
This entire camera setup was conceived of and put together in the span of roughly 20 minutes.
Always remember: it’s only insane if it doesn’t work.
Camera
At the heart of the setup is the camera. As I’ve mentioned already, I decided to go with the Hasselblad 500 C/M.
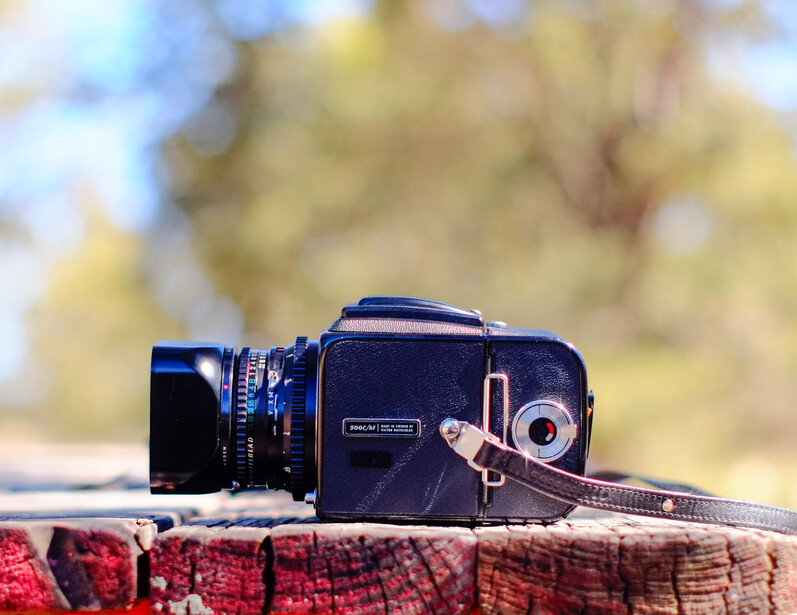
For many, the Hasselblad 500 series requires little introduction. Arguably, these cameras maintain the reputation of being the finest medium format film photography systems ever produced. This status now carries over into the modern era with the advent of Hasselblad digital medium format sensors.
Diane Arbus, Michael Kenna, Richard Avedon, Sid Avery, the list of legendary photographers who have favored Hasselblad cameras is lengthy.
Even Ansel Adams, long viewed as the most famous large format photographer of all time, primarily shot medium format film with Hasselblad 500 cameras for the majority of his work in the final two decades of life.
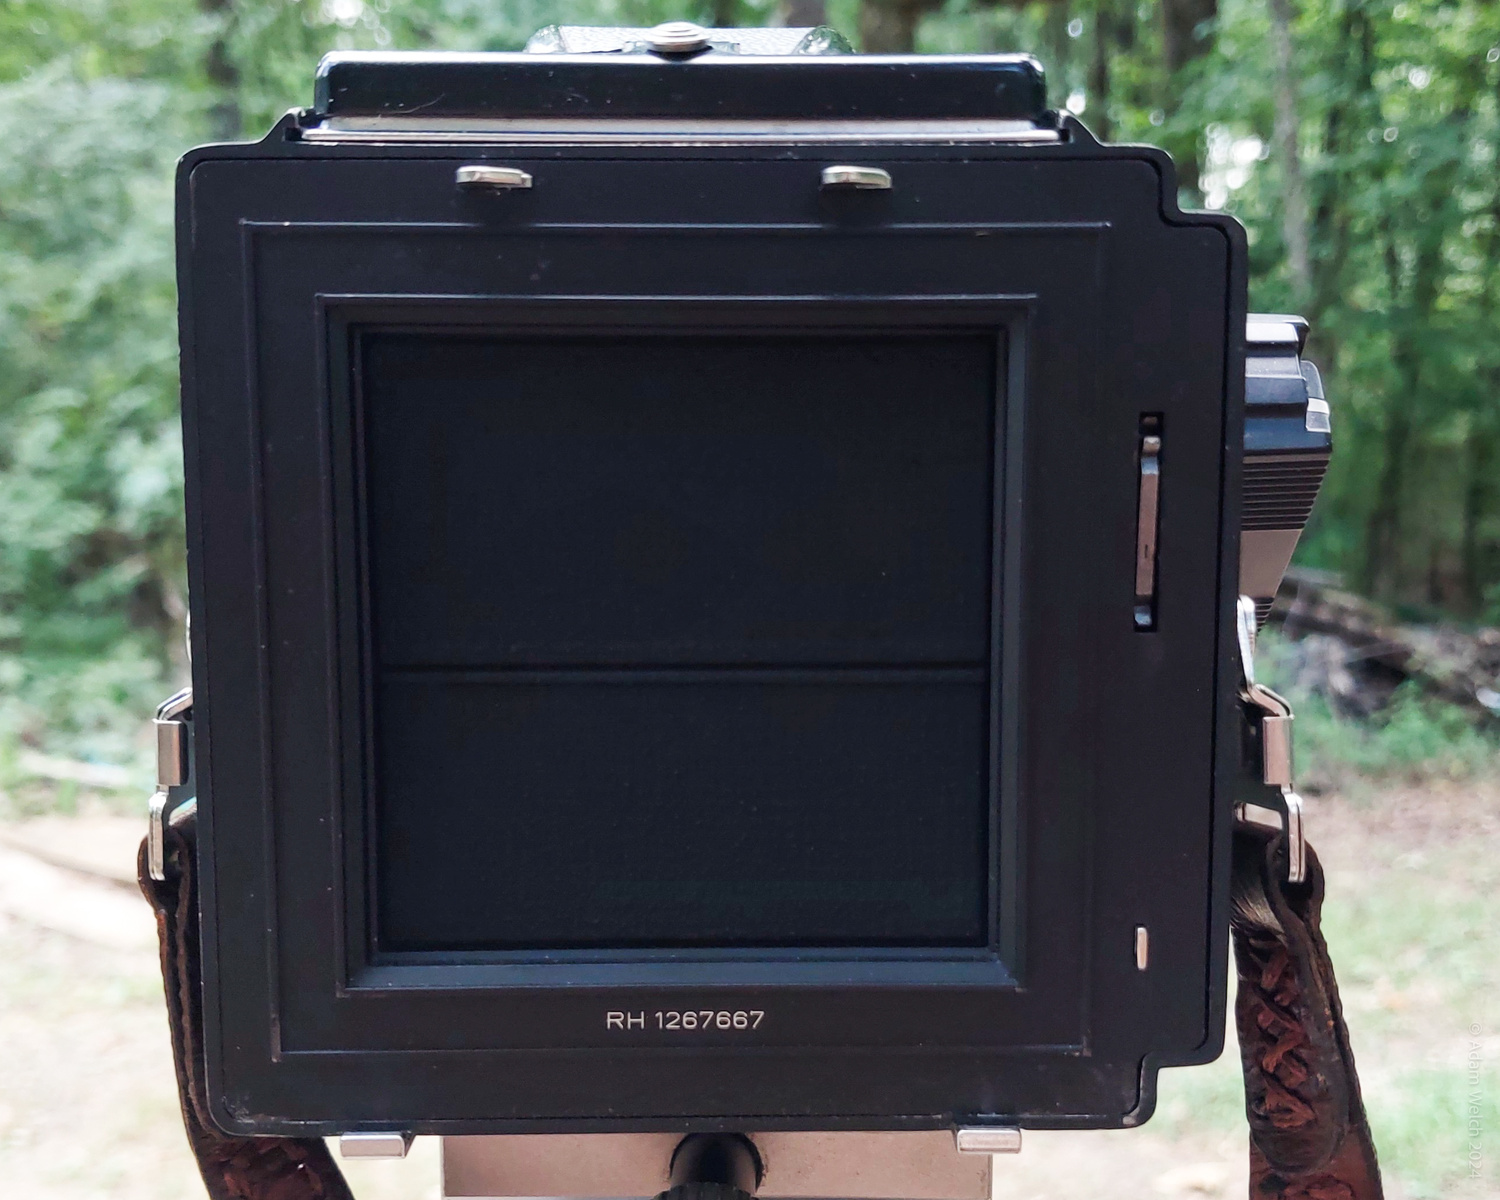
In our case, my Hasselblad 500 C/M was used in conjunction with the classic A12 film back. This will produce a 6 x 6 cm negative in 1:1 square format.
Lens
The longest lens I own for my Hasselblad is the sublimely beautiful Zeiss 150mm f/4 Sonnar.
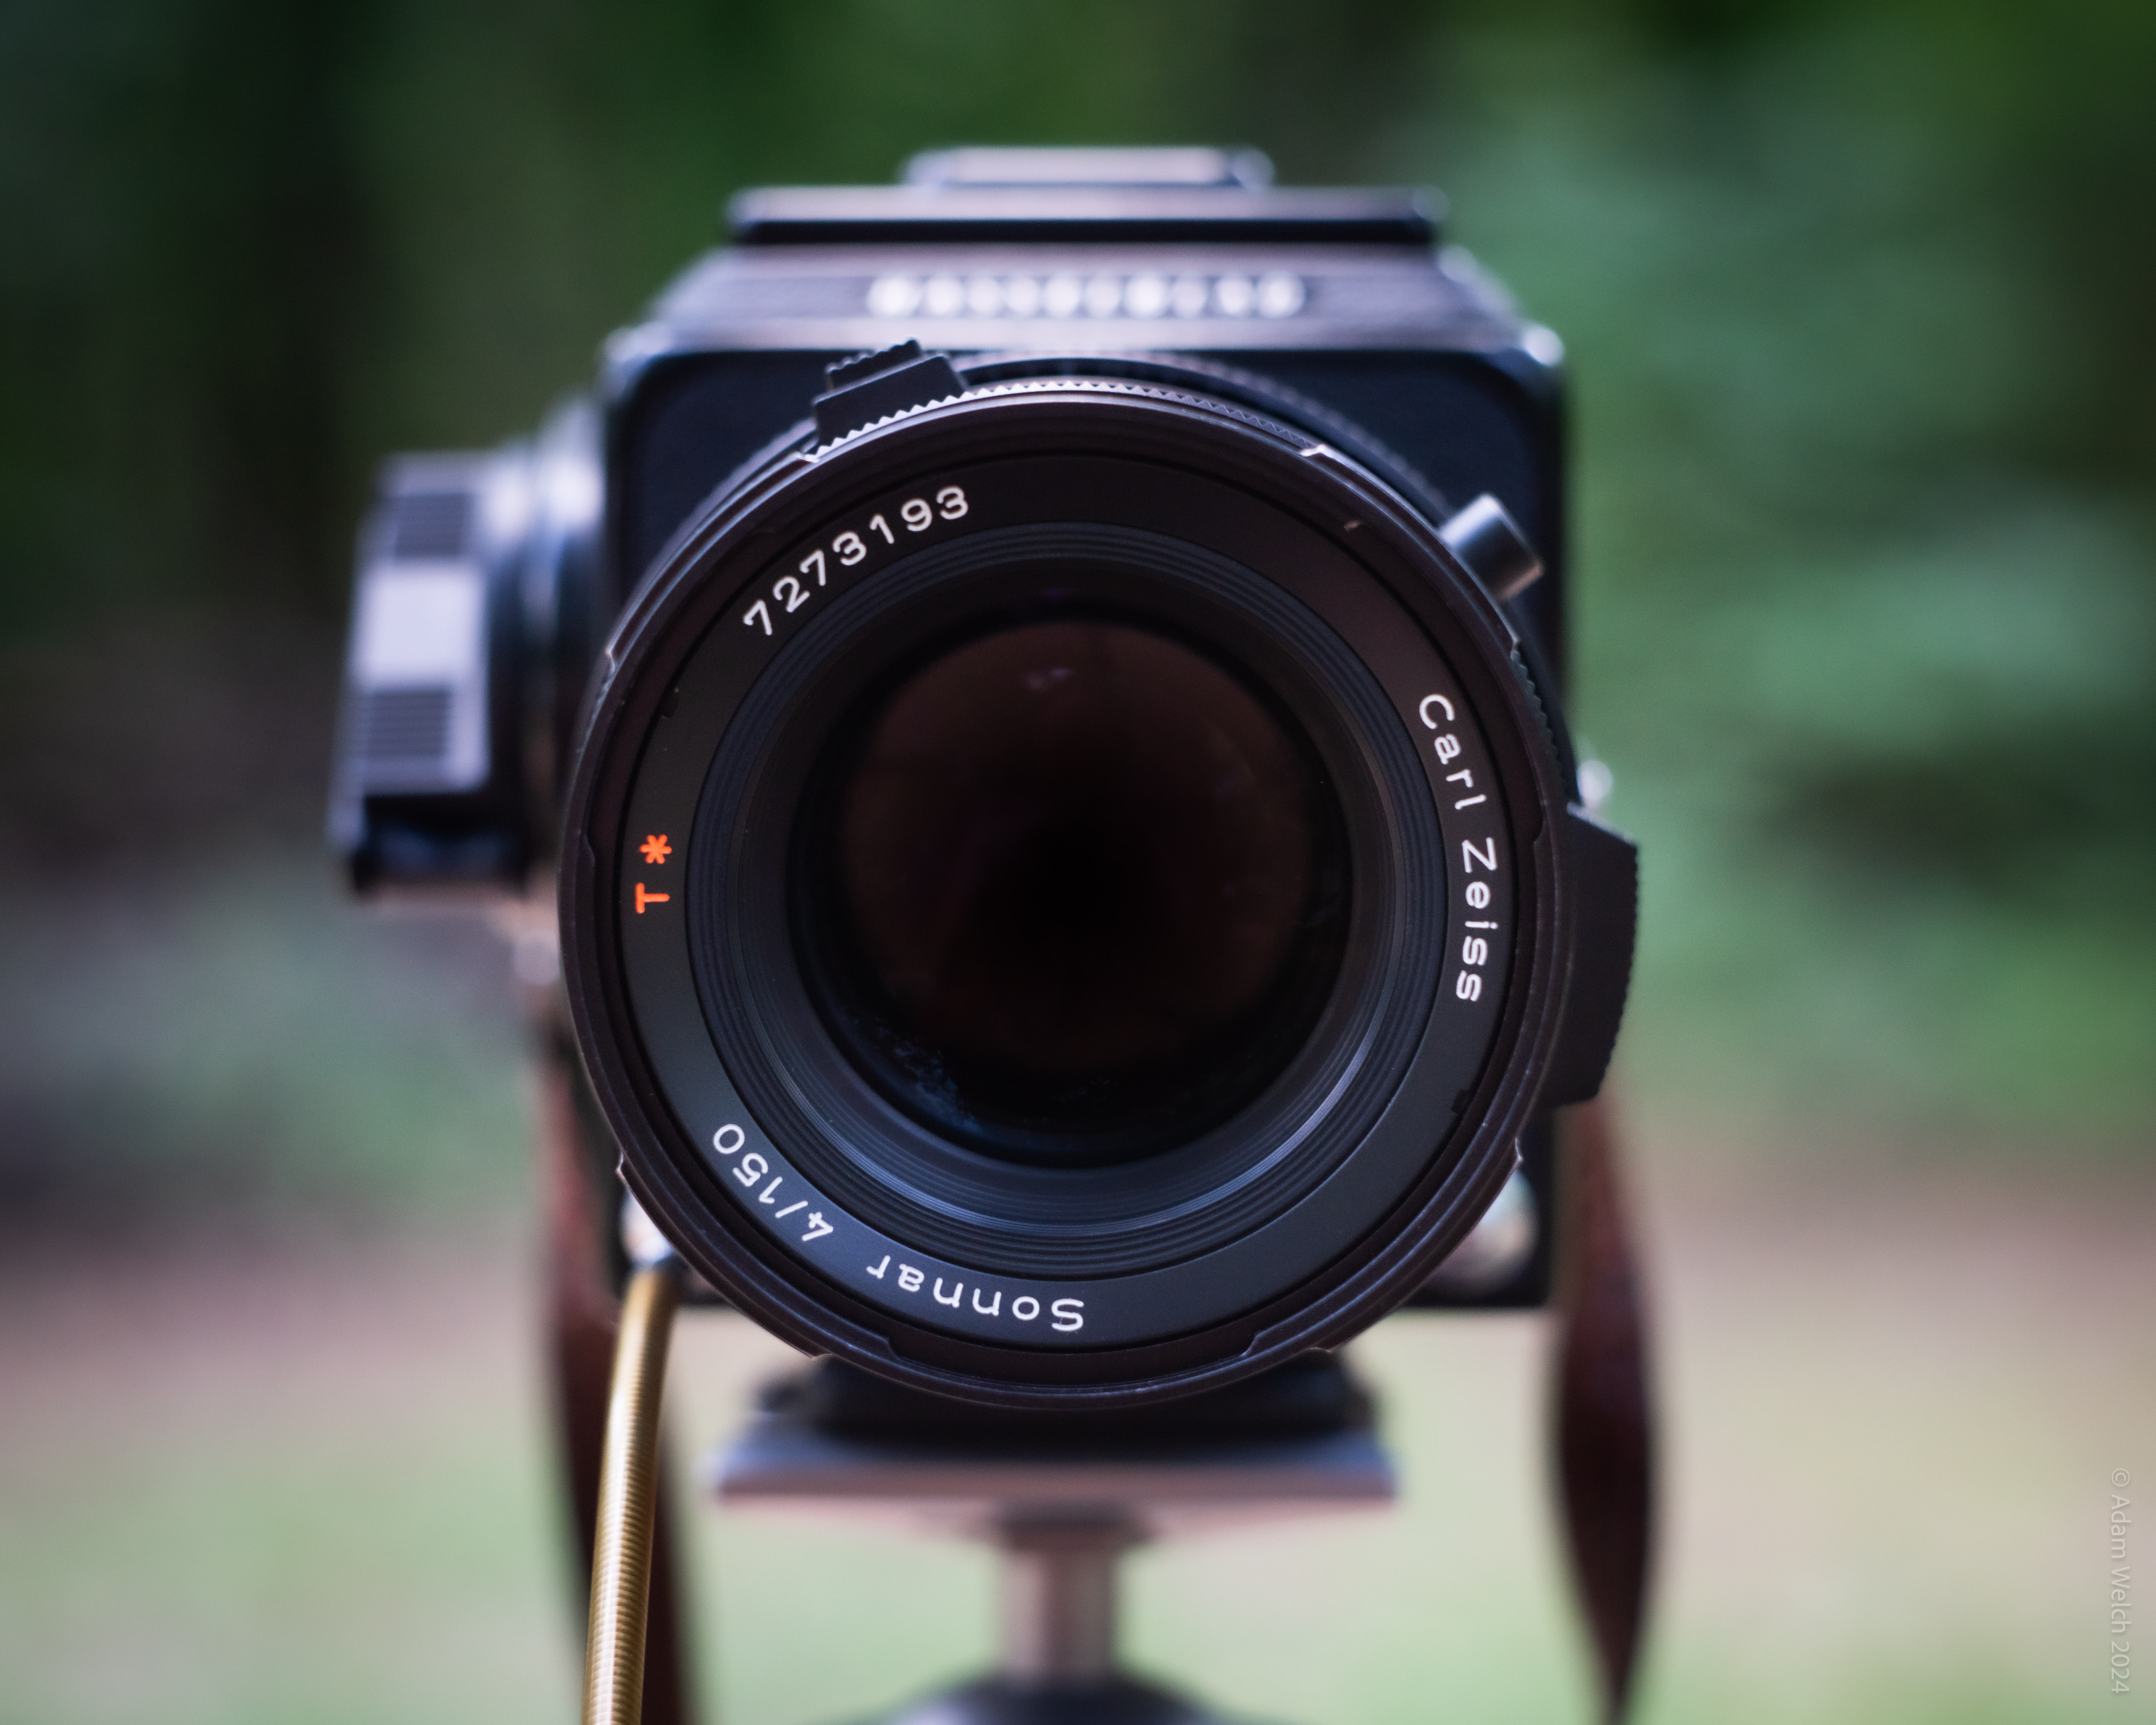
Keep in mind that with the crop factor taken into consideration, the 35mm focal equivalent of this 150mm lens is roughly 82mm. I would have preferred a lens upwards of 300mm with this format.
Unfortunately, I have no extension tubes to increase the focal length, so there was no choice but to incorporate elements of the natural environment in with the view of the eclipse itself.
This was something that I would likely have done anyway. However, I would have loved to come away with at least one ultra-close-up of the corona as the moon sauntered past the sun.
Donations towards a 500mm F/8 Tele-Tessar can be directed to my OnlyFans.
Filtration
Any type of solar photography revolves (haha) around utilizing proper filtration. Ample filtration is required to not only protect your eyes and camera but to also impart creative effects to the final photograph.
I desired an ethereal feel for these photos of the eclipse. On the day, some might even say I was leaning towards the moody side of things.
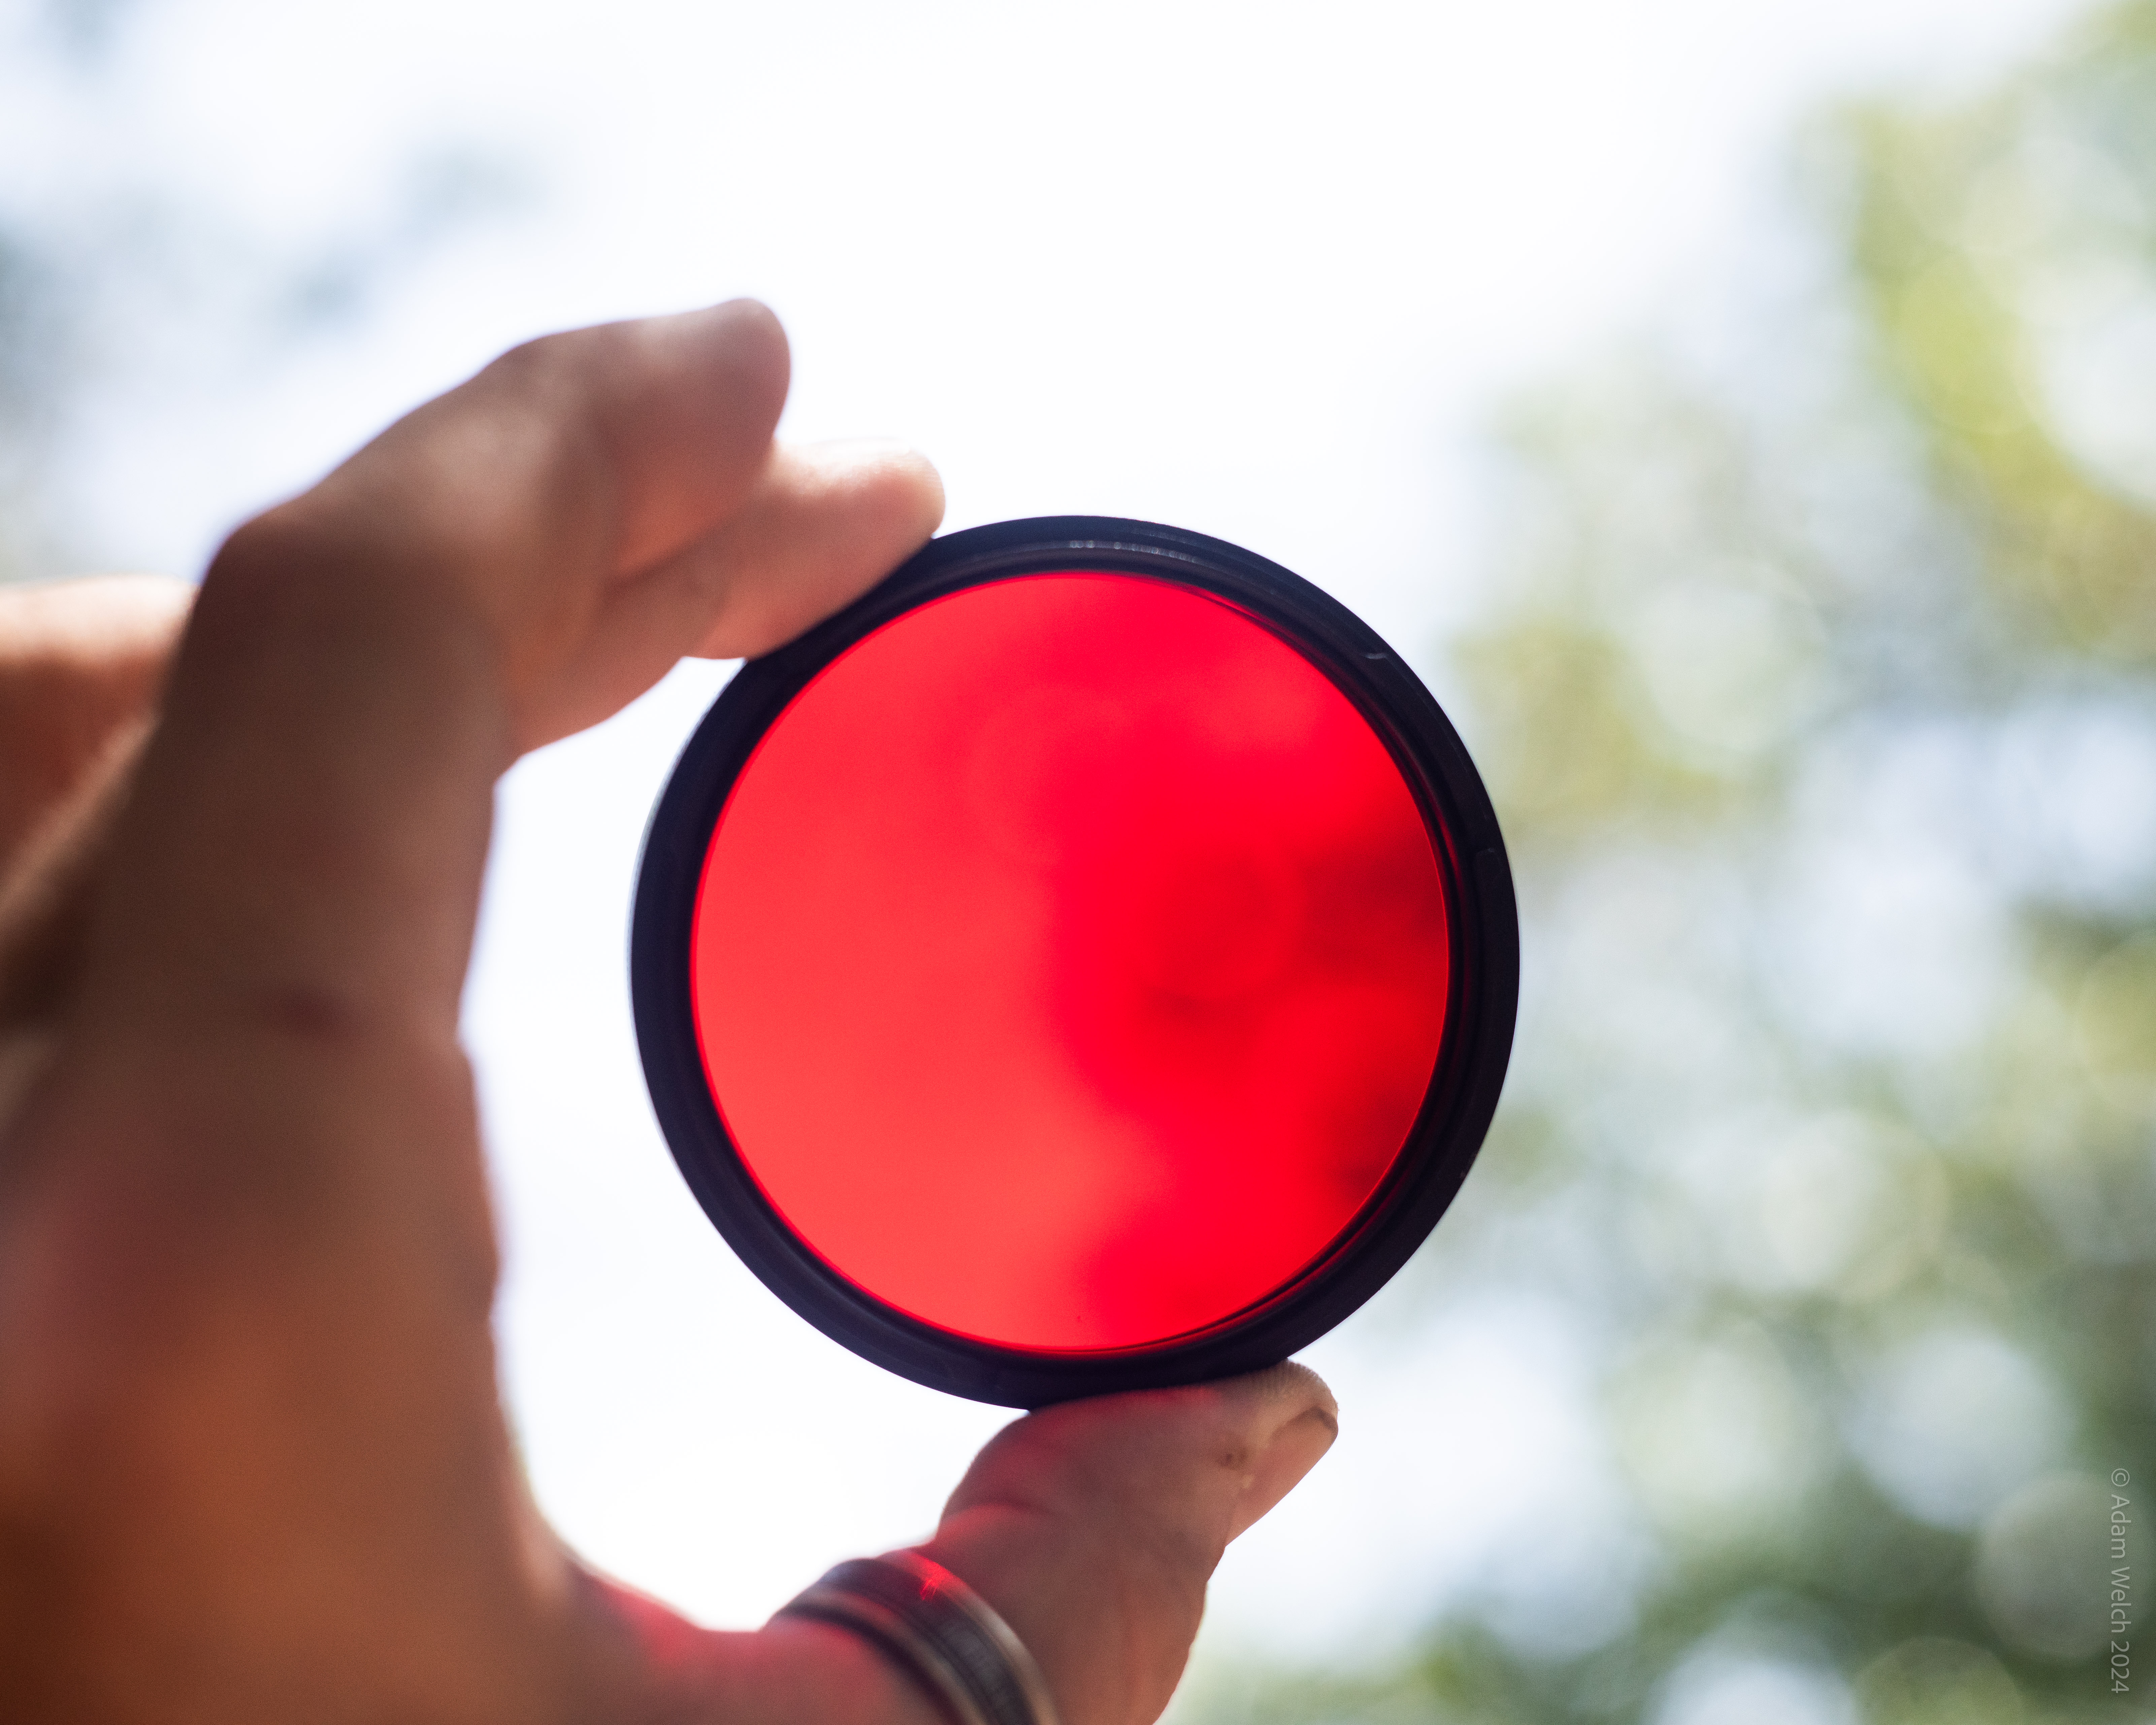
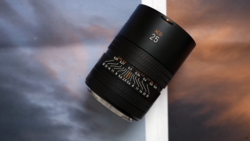
Given the cloud cover, I decided to base the filtration around a #25 Red black and white filter. The red filter will add contrast to the sky by helping to separate the clouds from the background. I also left the UV filter attached as well.
While the #25 Red does provide roughly 3 stops of light reduction, that is nowhere near the dimming effect I’ll need to safely compose in the bright sunlight. For that, we’ll need some neutral density (ND) filters, two ND filters to be exact. I used an ND1000 and ND64 filter stack to provide the needed protection for the camera and my eyes.
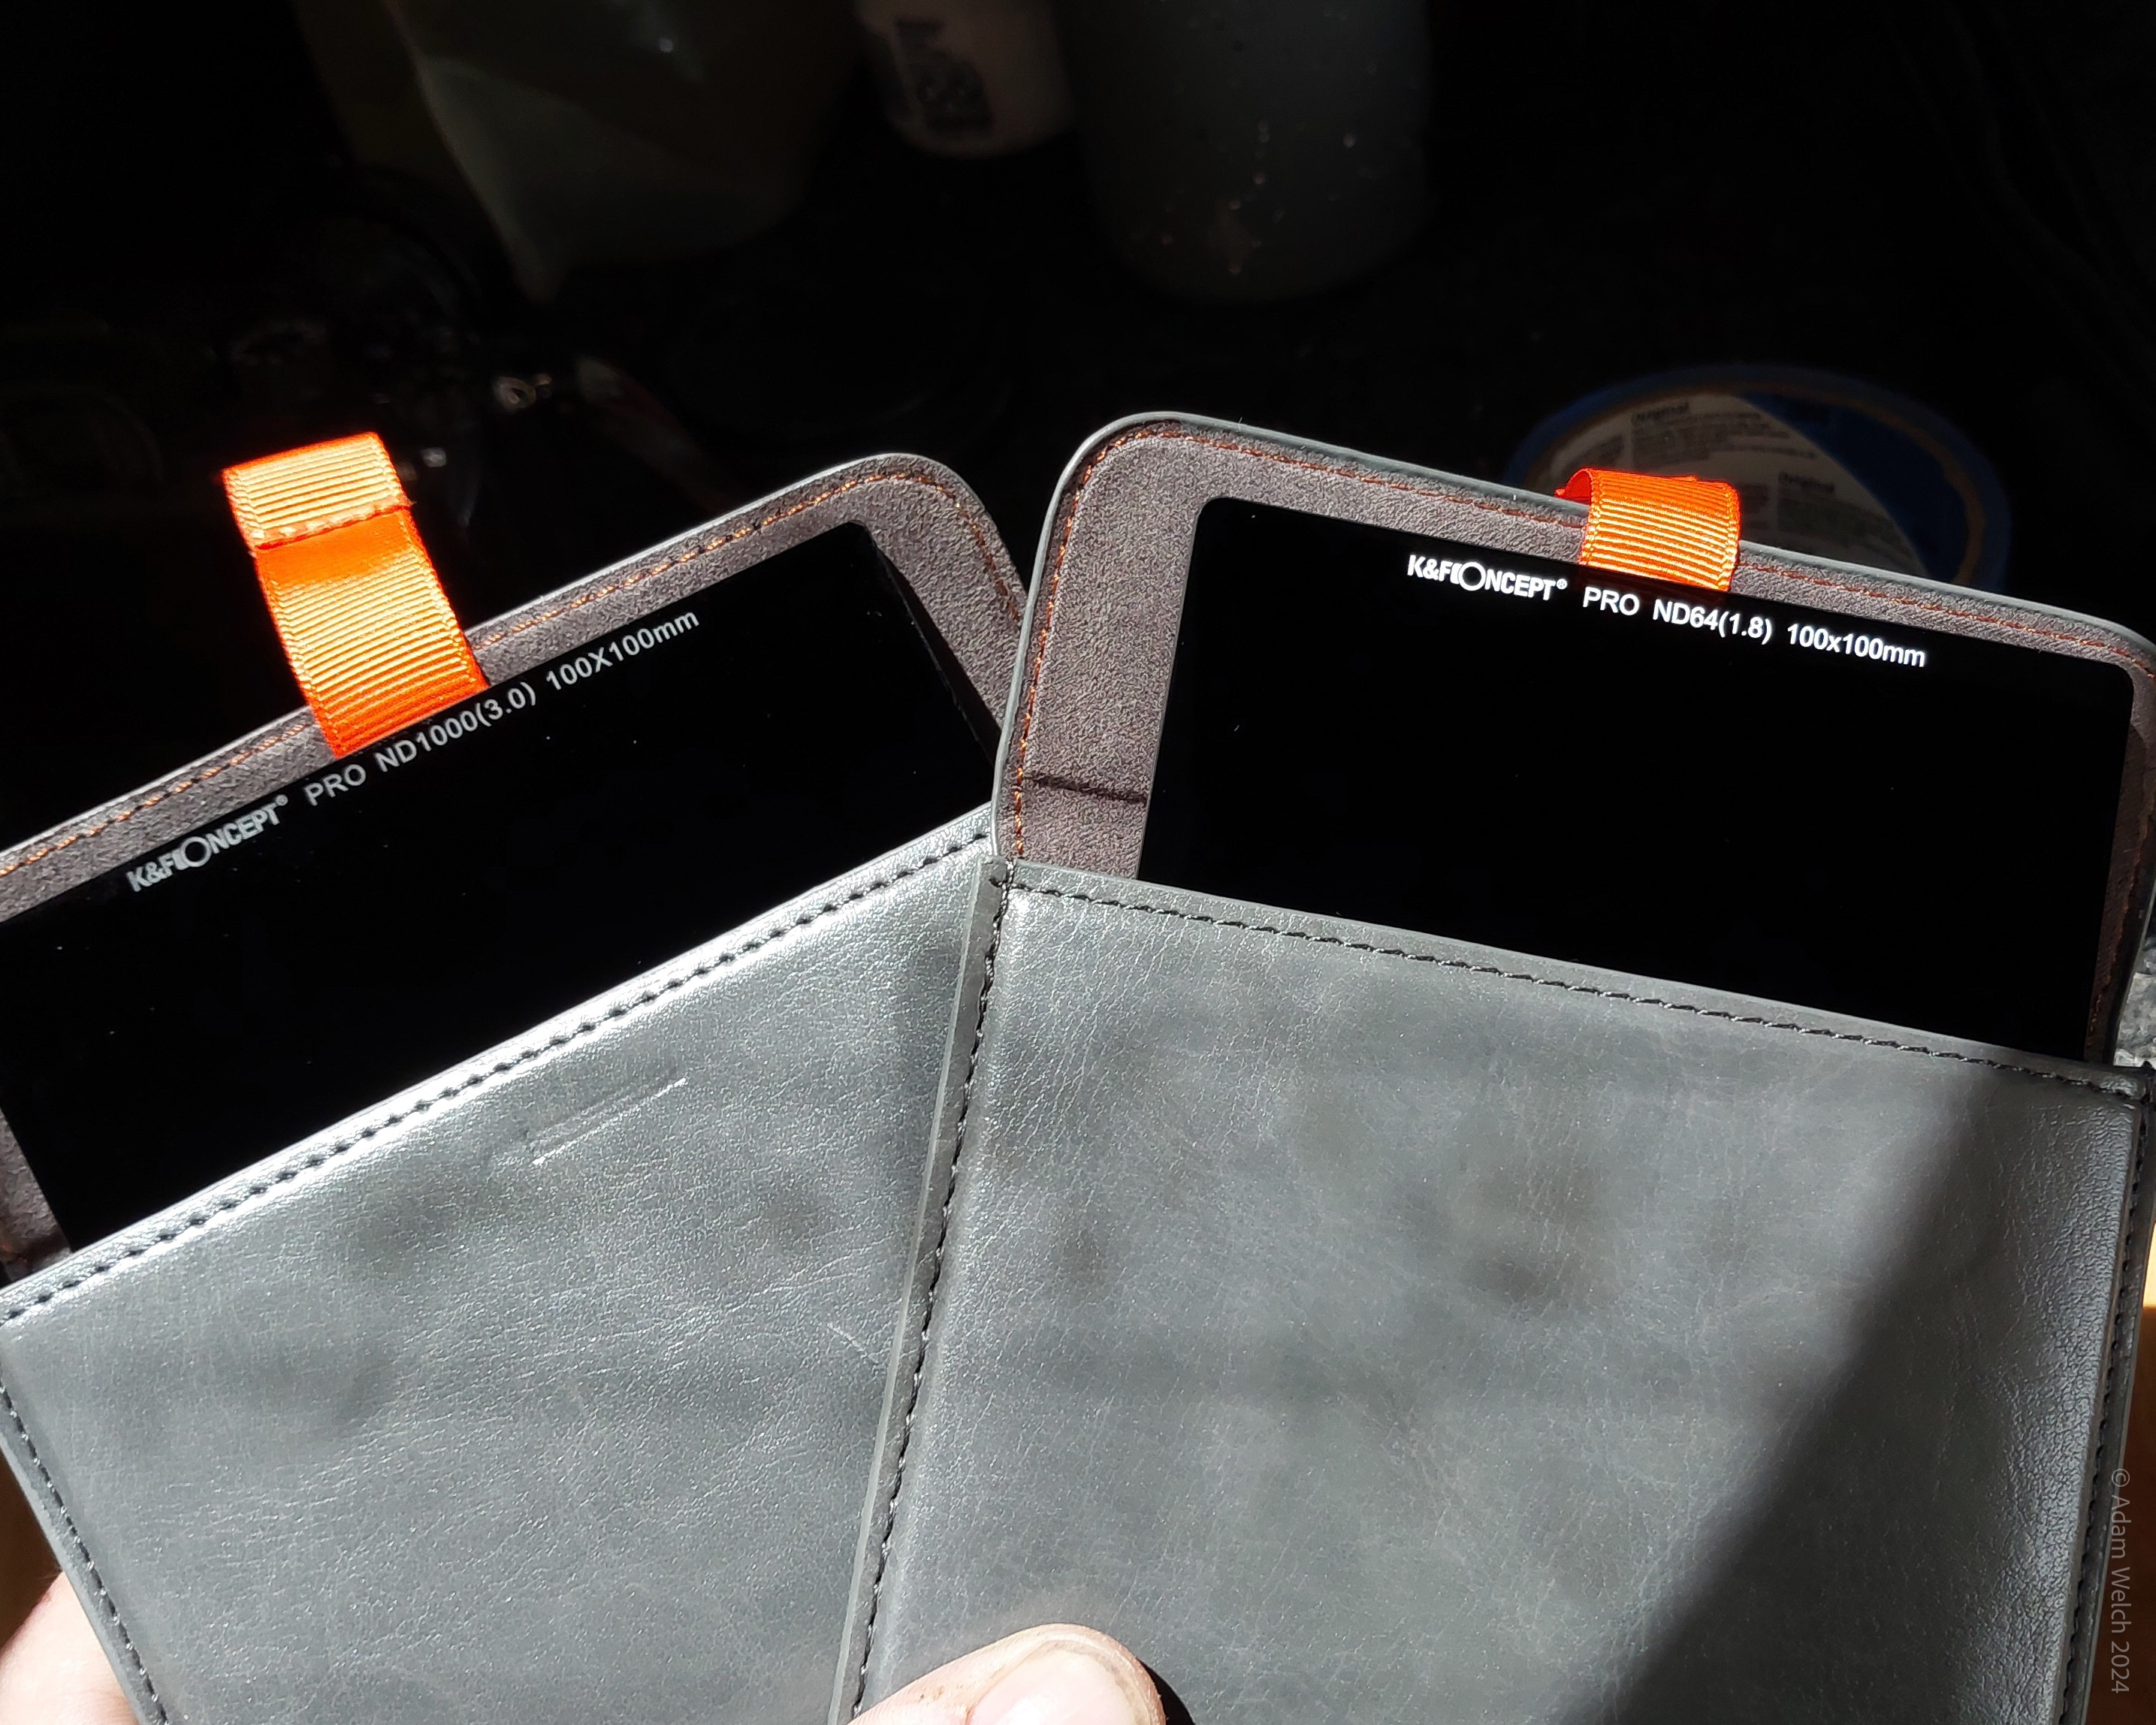
Combined, the two ND filters plus the #25 Red filter offers approximately 19 stops of total light reduction.
It's here where I encountered the first speed bump during our little Hasselblad eclipse adventure. You see, Hasselblad V-series lenses (such as the 150mm Sonnar) feature bayonet accessory flanges as opposed to the threaded, “screw-in” design found on the majority of both modern and vintage lenses. They look like this:
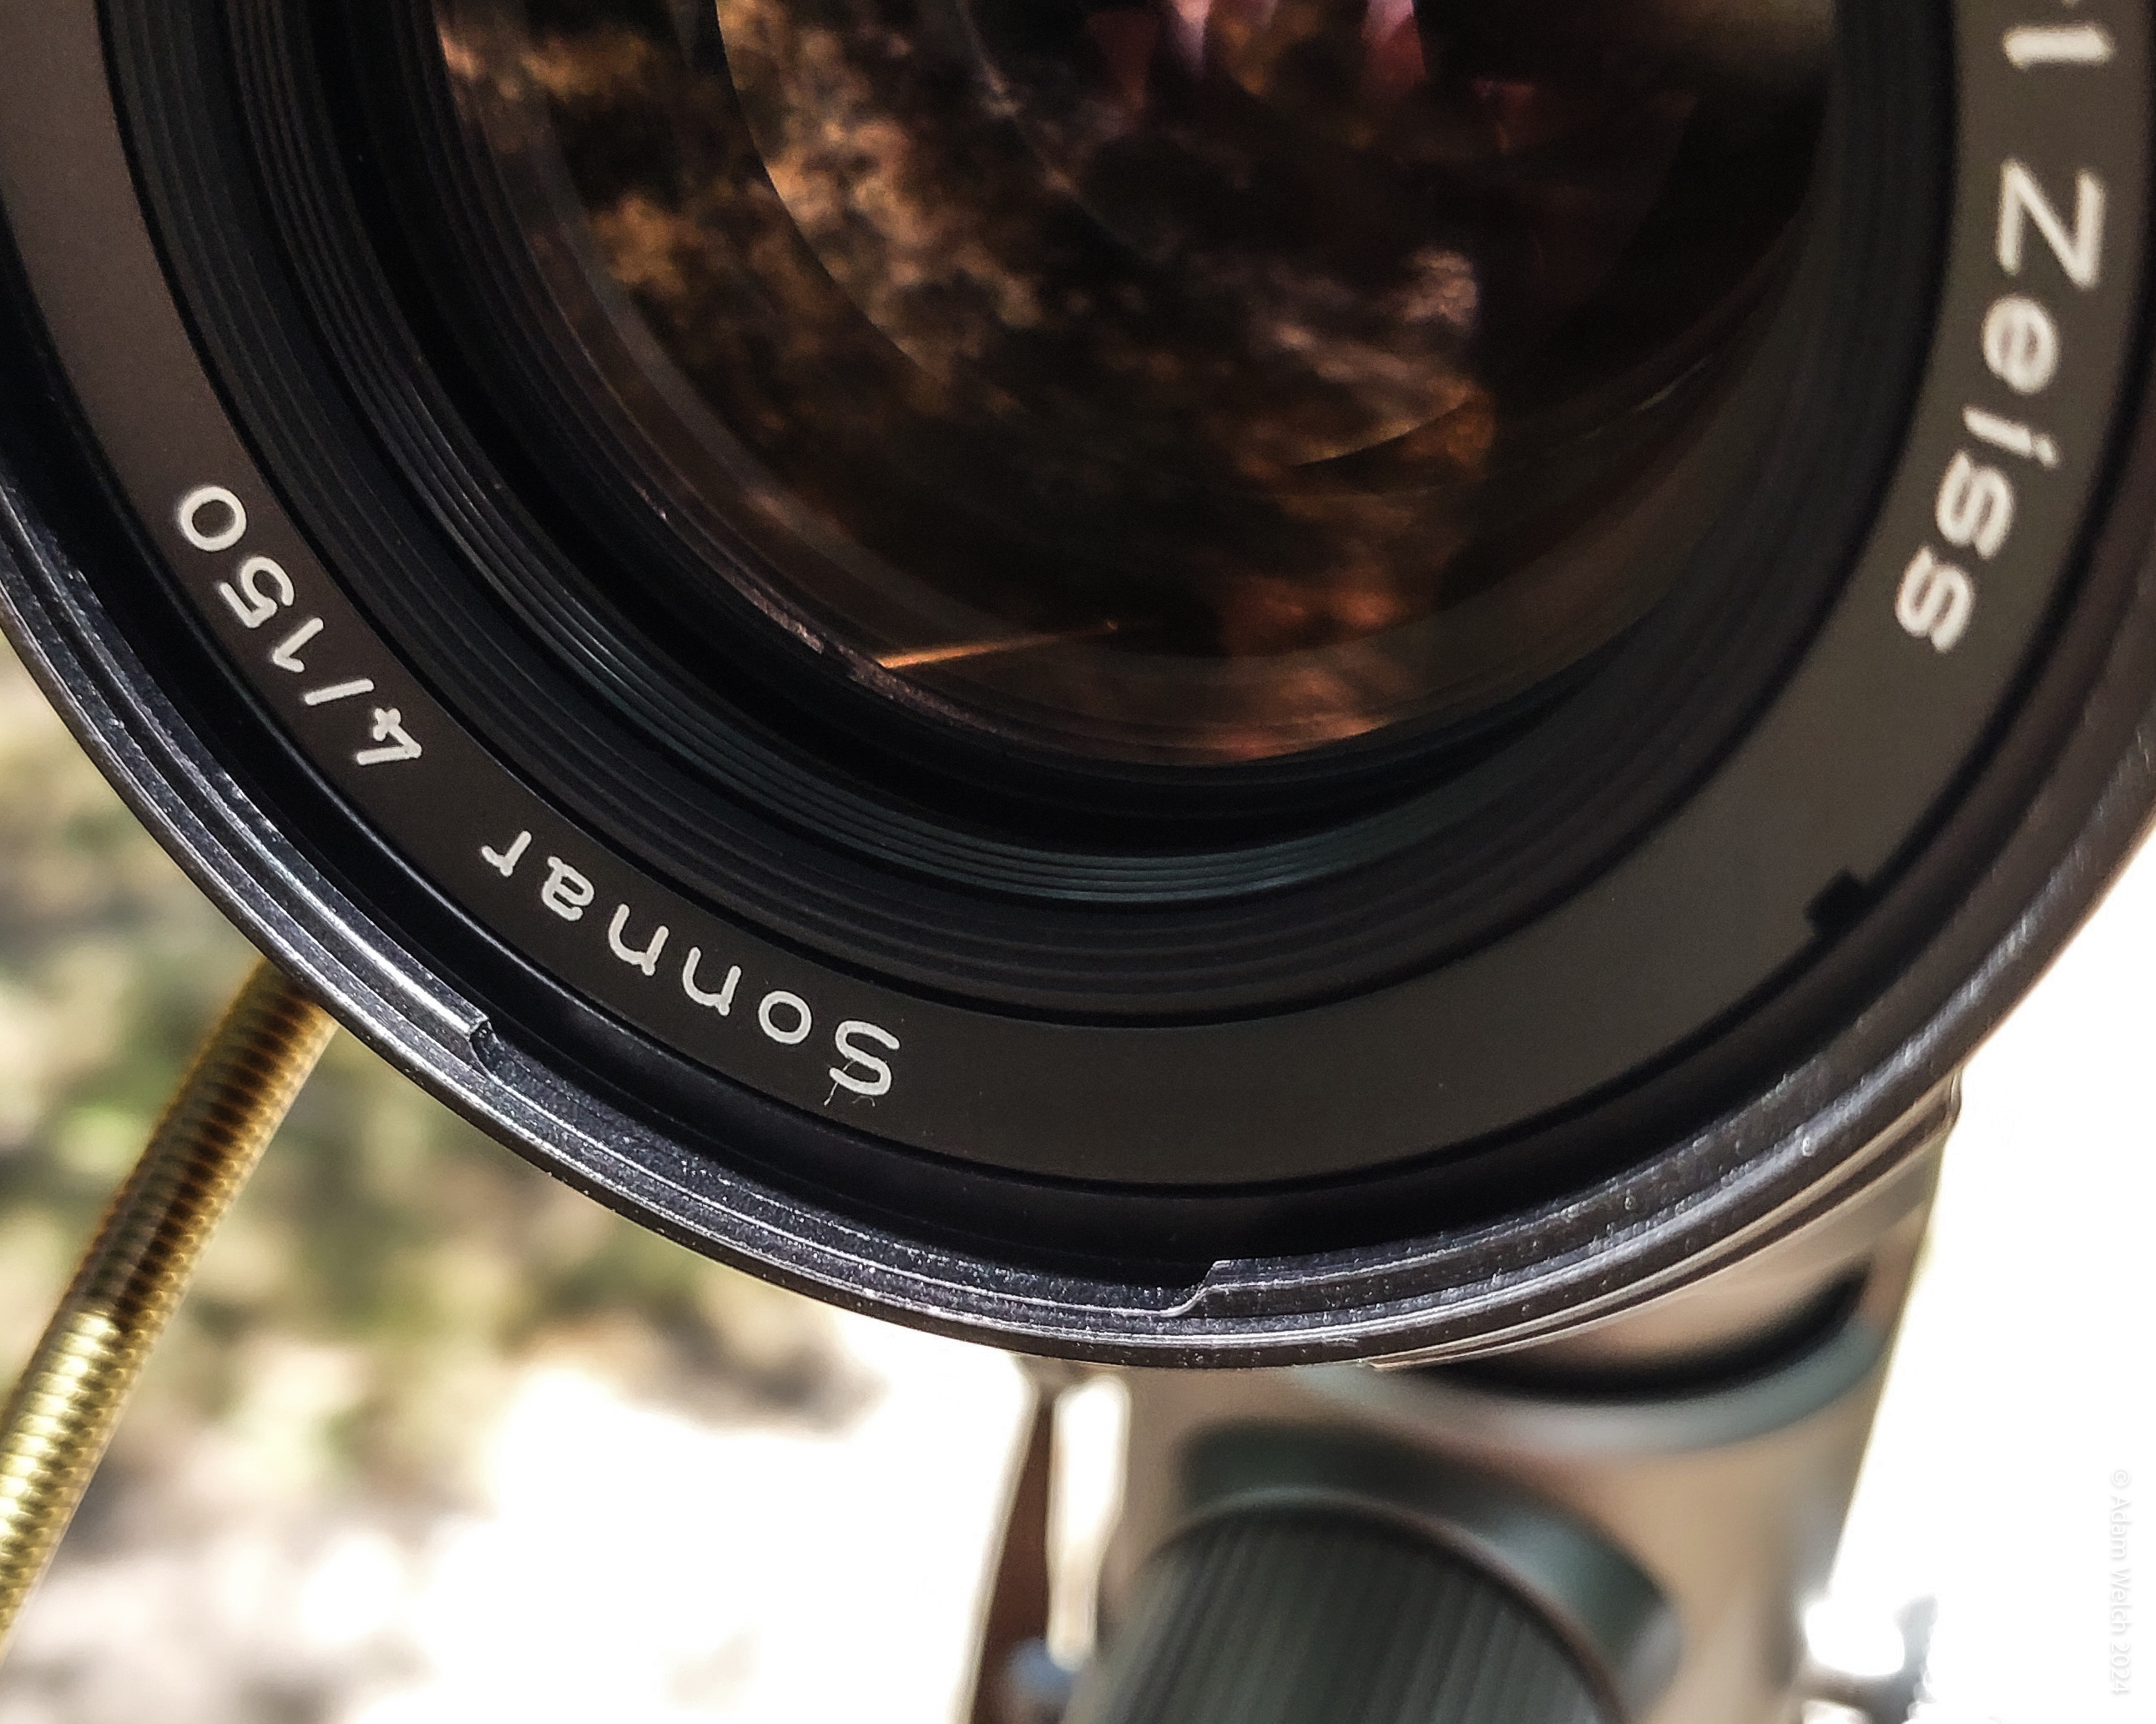
The #25 Red filter is the native Bay 60 mount size and attaches directly to the front of the lens, but my ND filters are the 100mm square type. I will need to stack the ND filters on top of the red filter.
Generally, using these square filters along with native Bay-mount filters on any V-series lens is a non-issue. I carry a Bay 60 to 67mm thread adapter for this exact scenario.
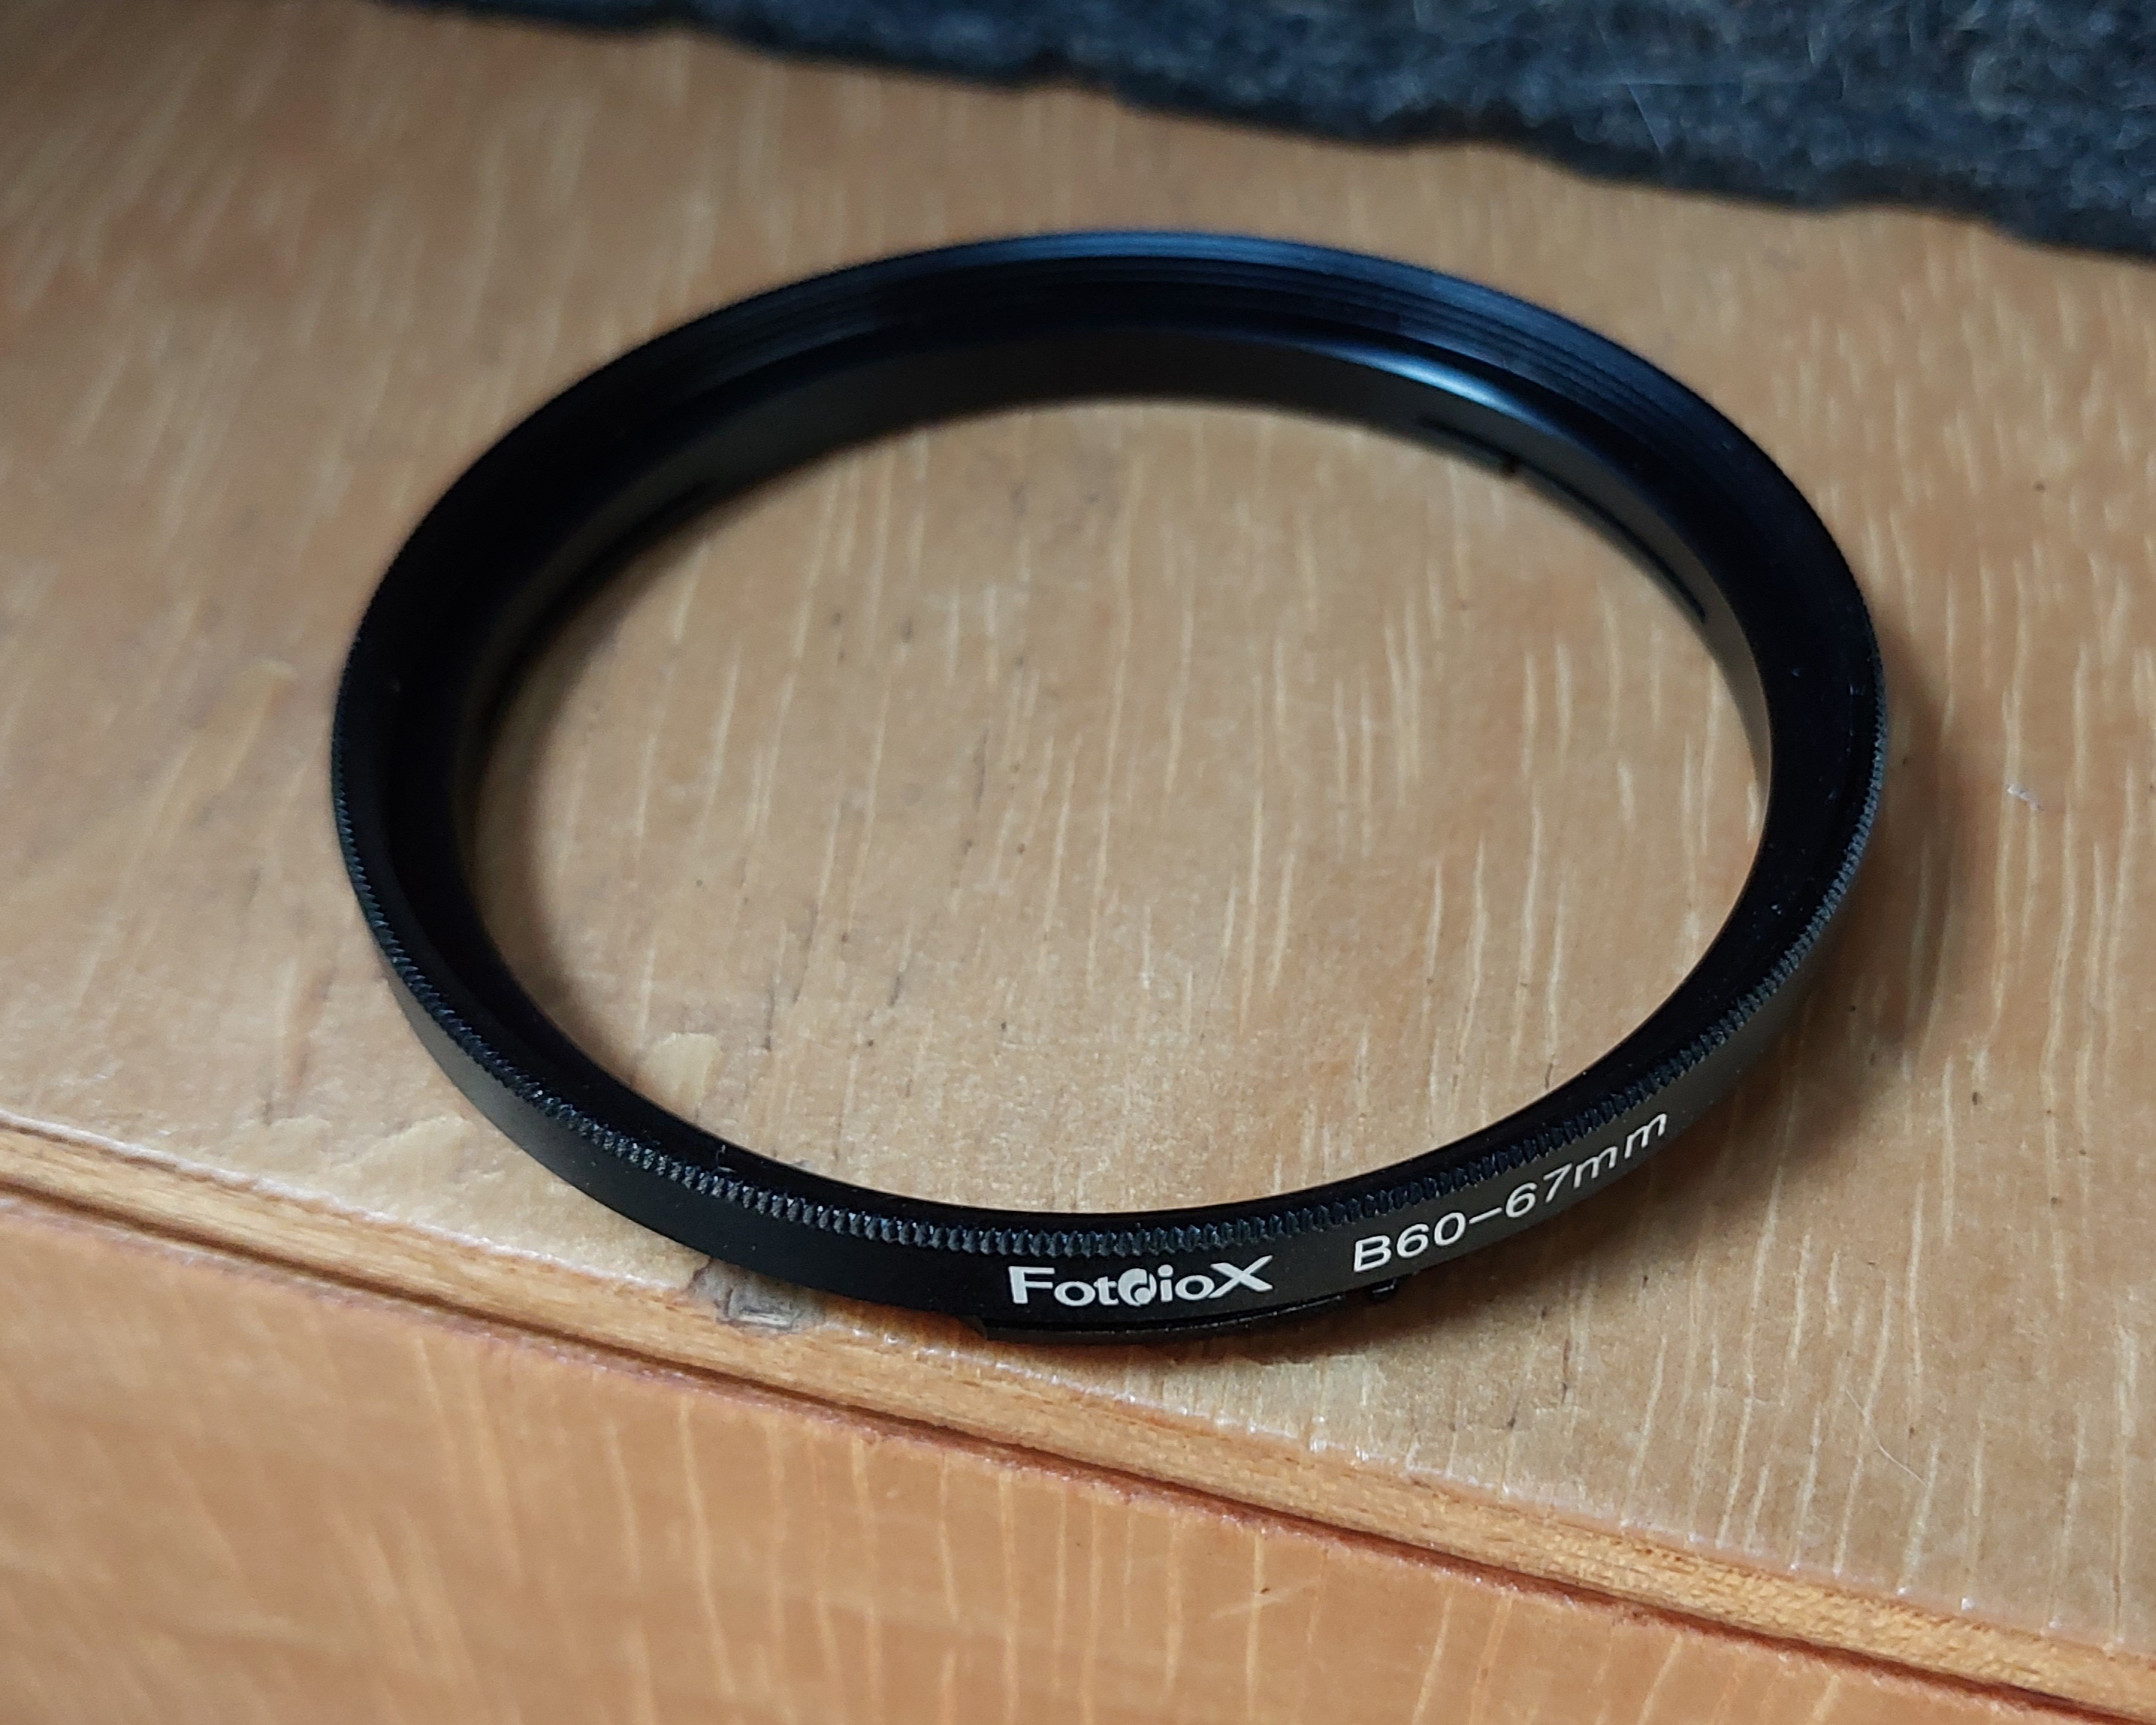
However, that adapter only works if you can find it. Unfortunately, on this very occasion when I needed it most, it was nowhere to be found.
As it turned out, I left the adapter attached to another filter. Still kicking myself.
What was I to do? The sky was gradually growing darker. I knew I was running out of time. How can I make two entirely different mount attachments work together without the adapter?
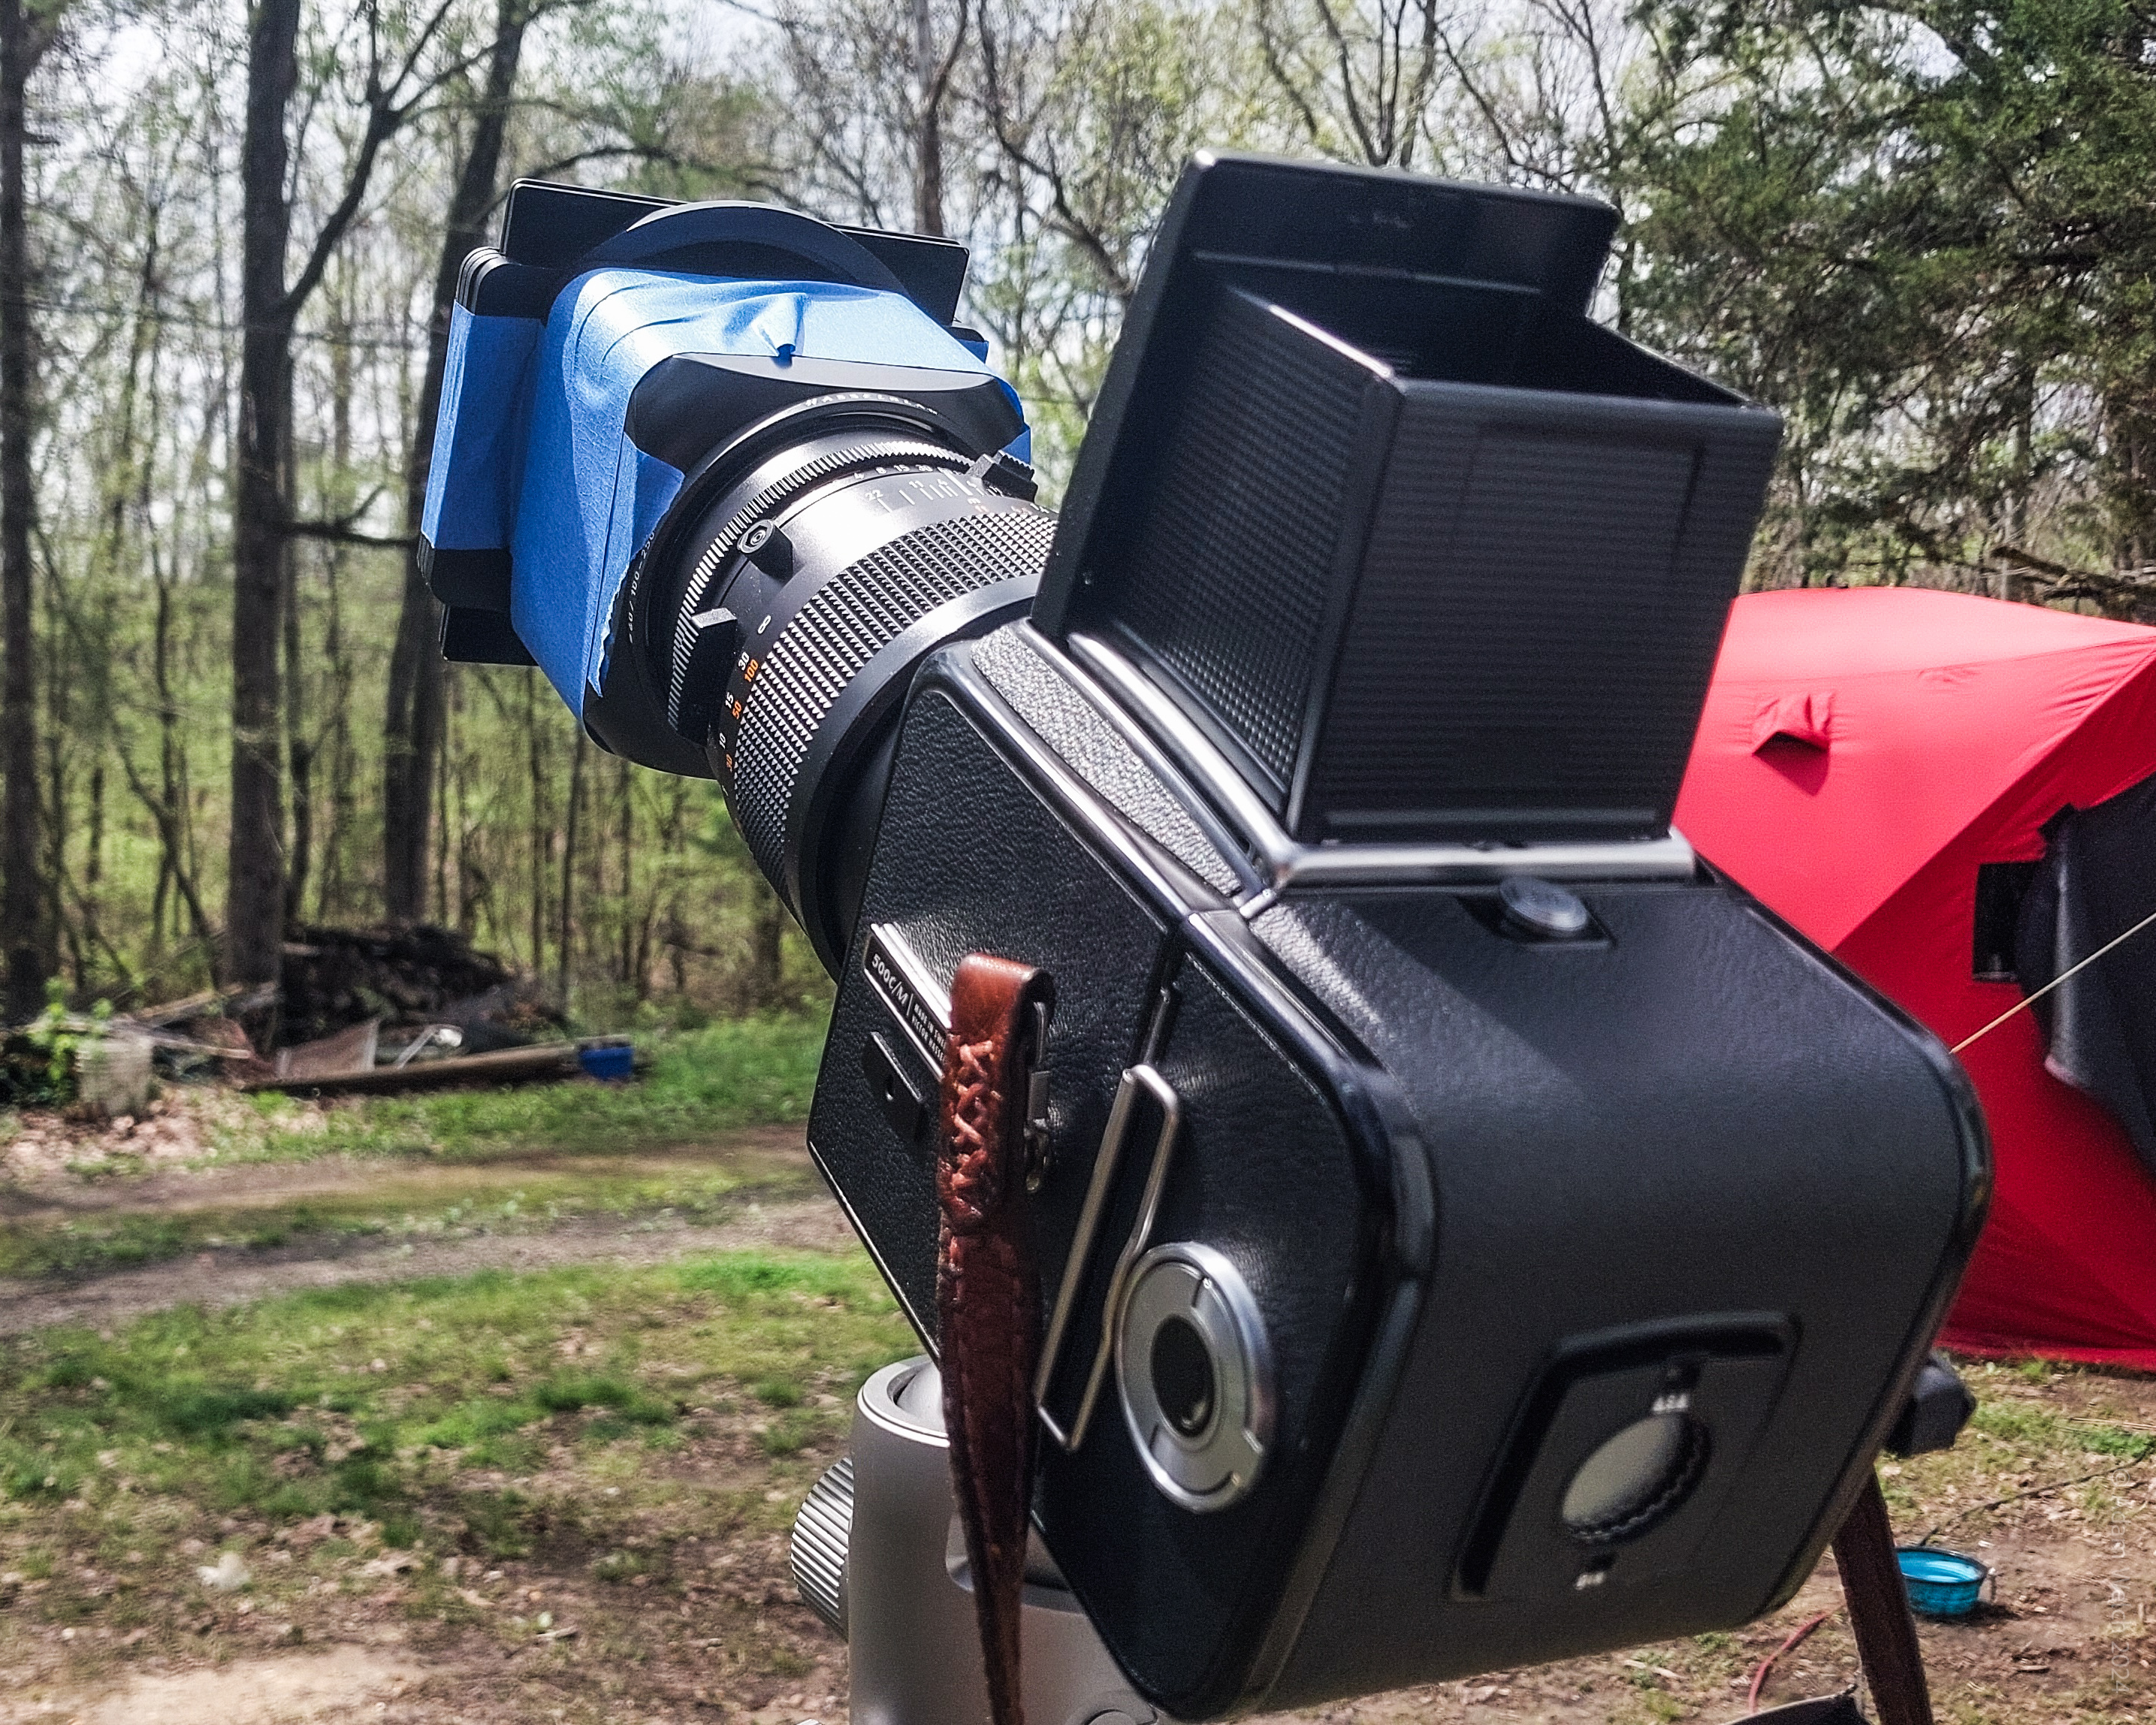
When All Else Fails, Tape It
I have no doubt a special reservation is now held for me at a quiet corner table near the bathroom of hell for the atrocity I committed that day.
Yes, I taped the entire ND filter holder, along with the two ND filters, directly to the lens hood.
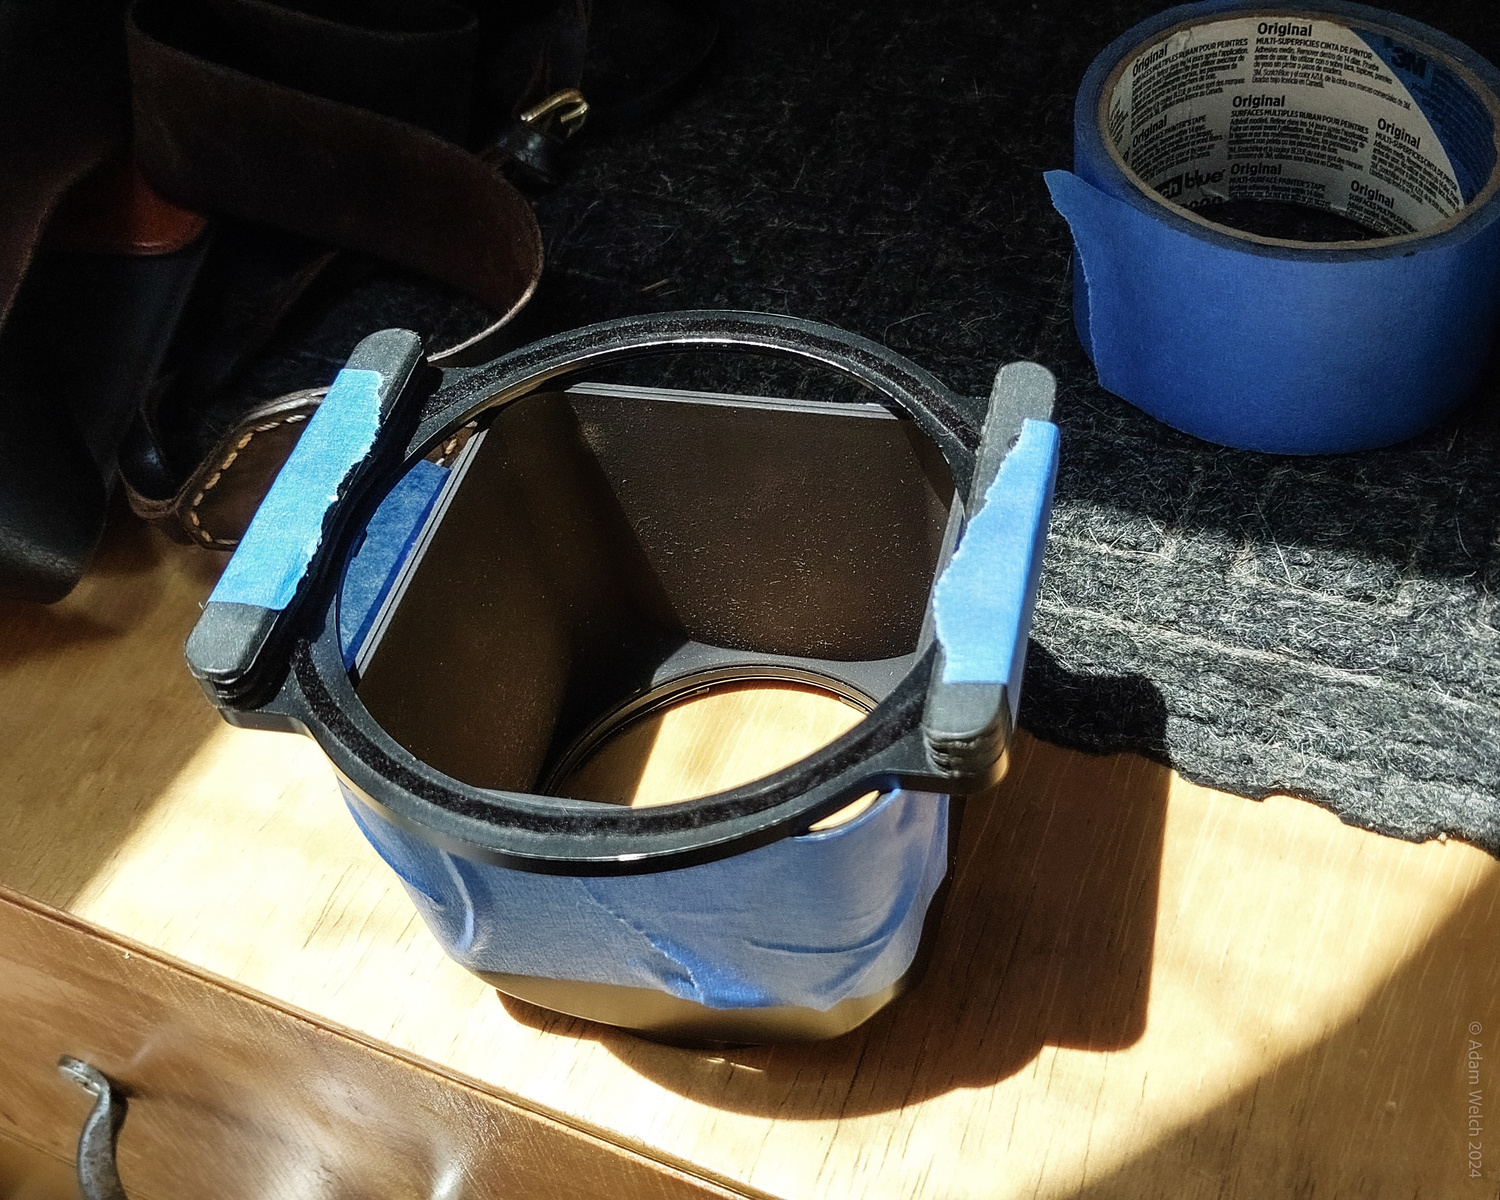

Since the hood is an original Hasselblad make, it features interior flocking, which greatly reduces potential reflections caused by the air gap and creative filter stacking.
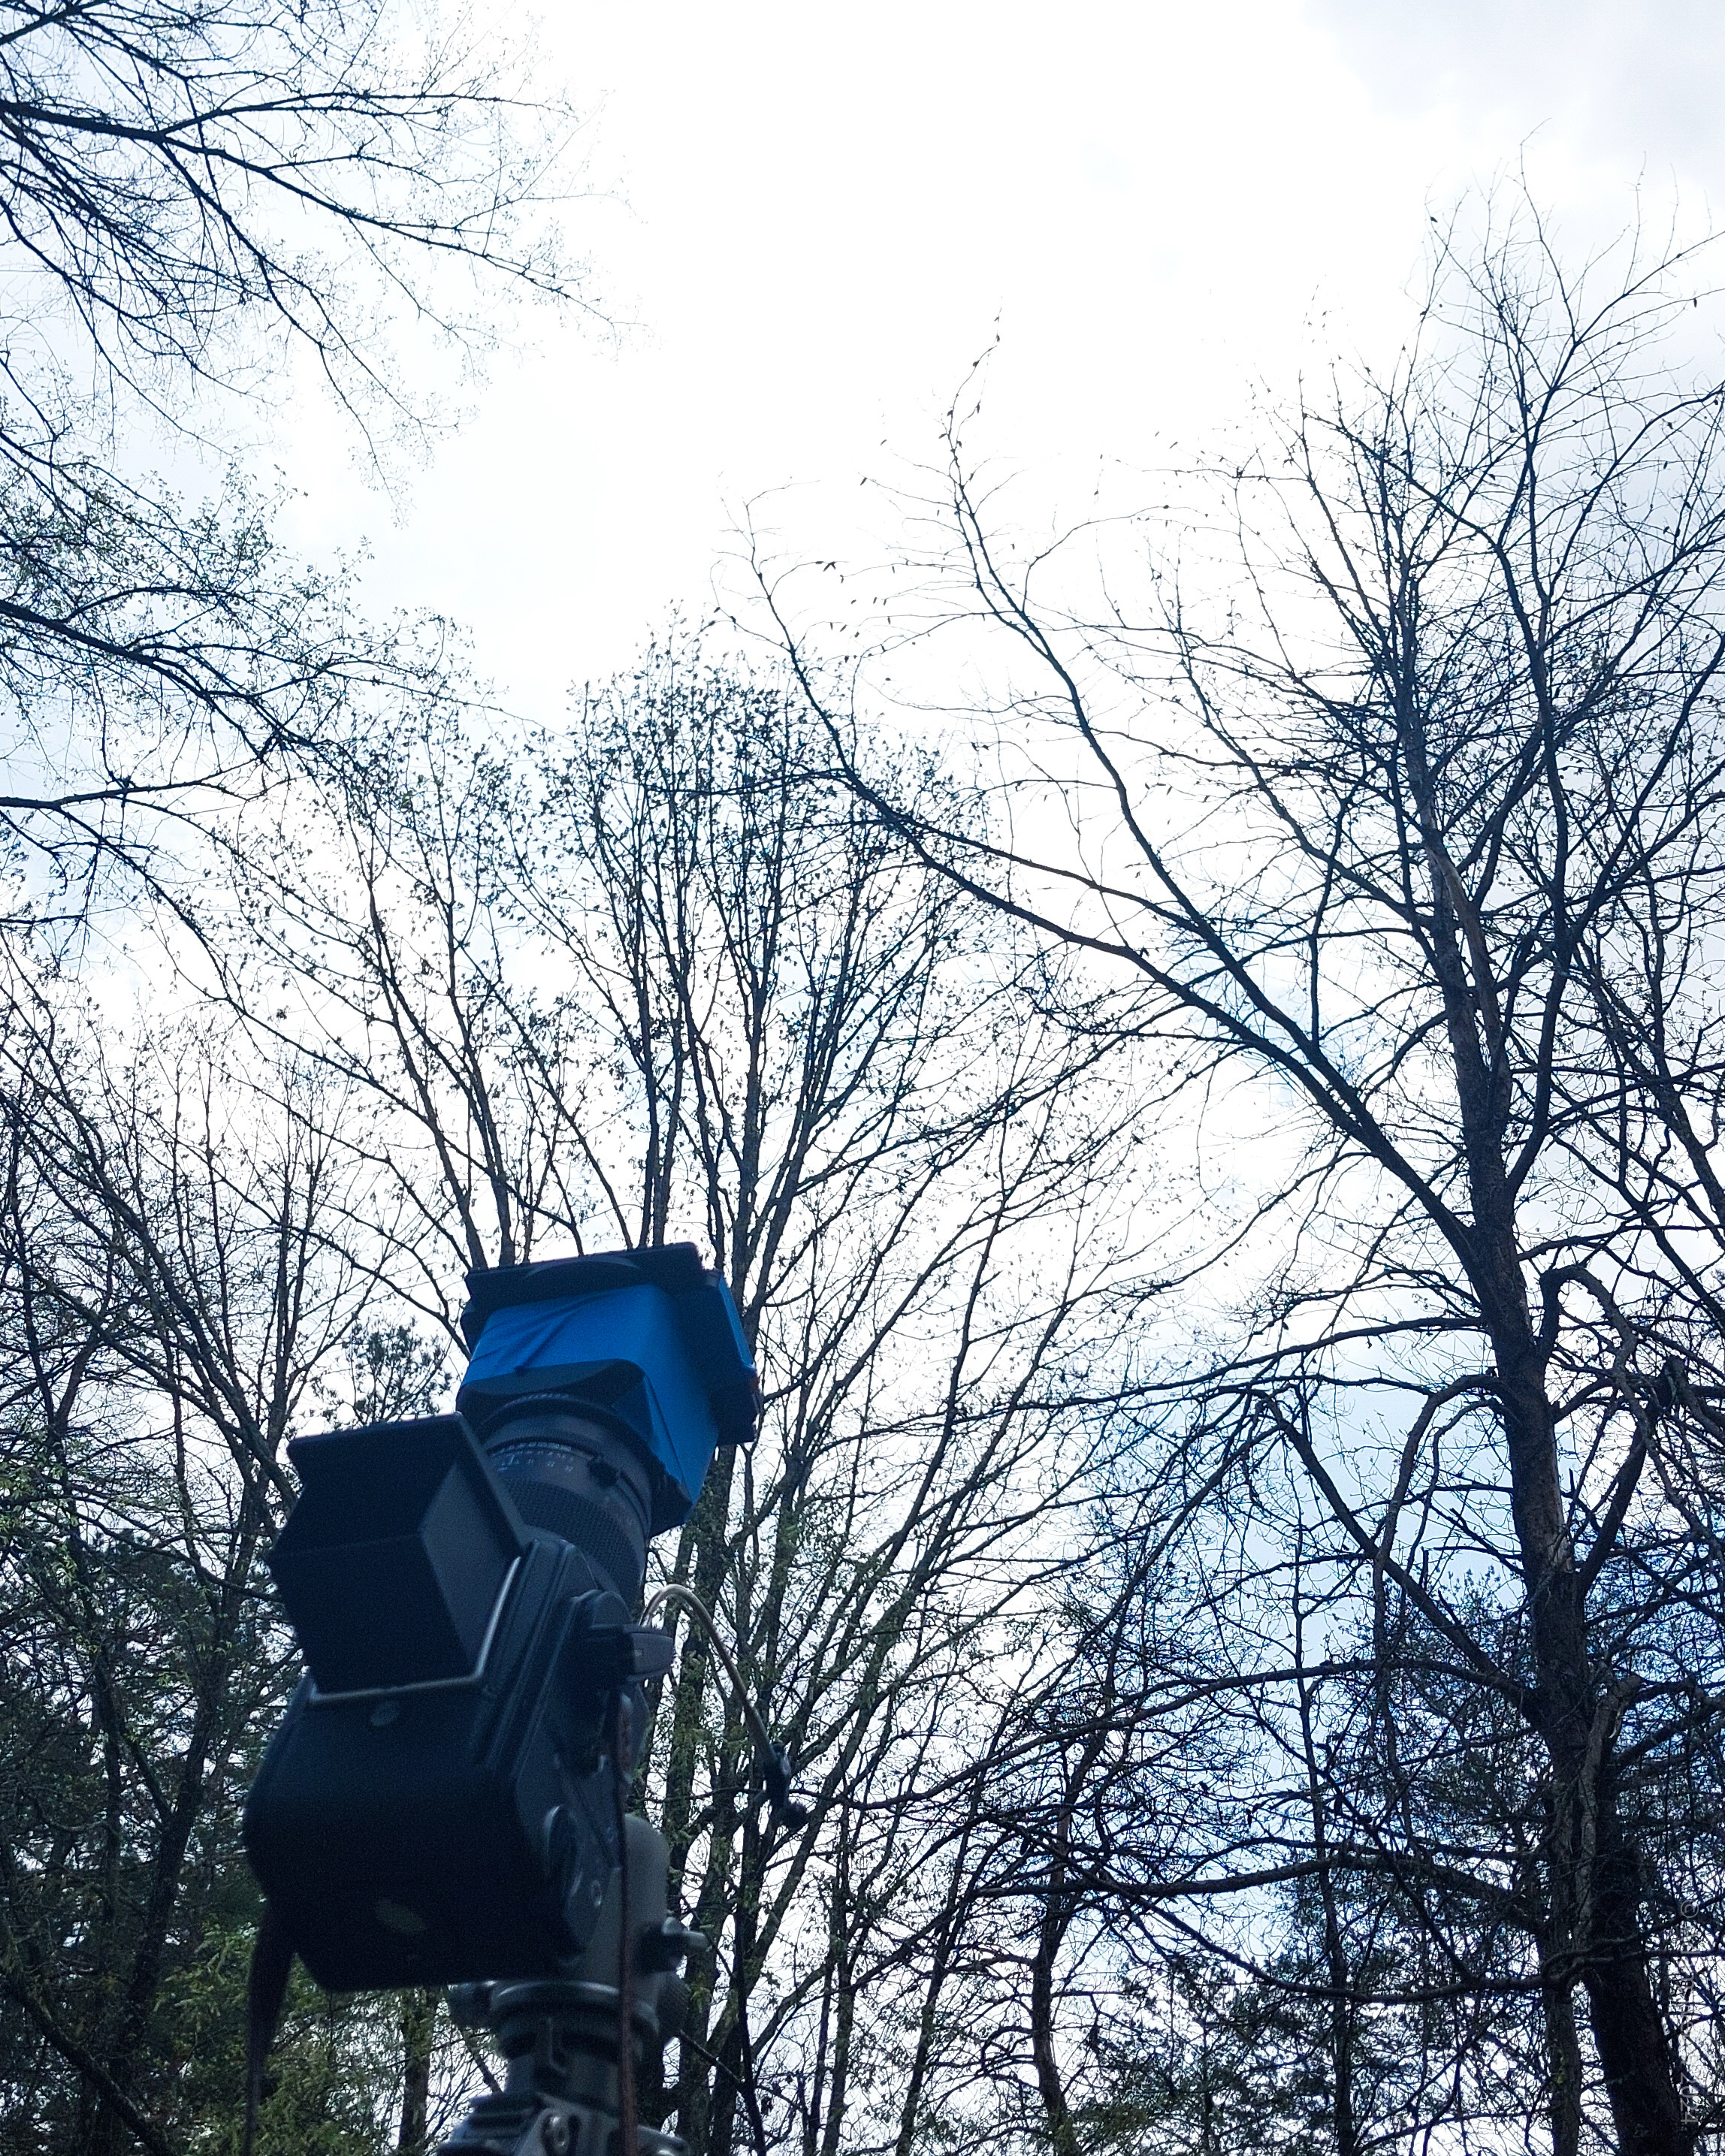
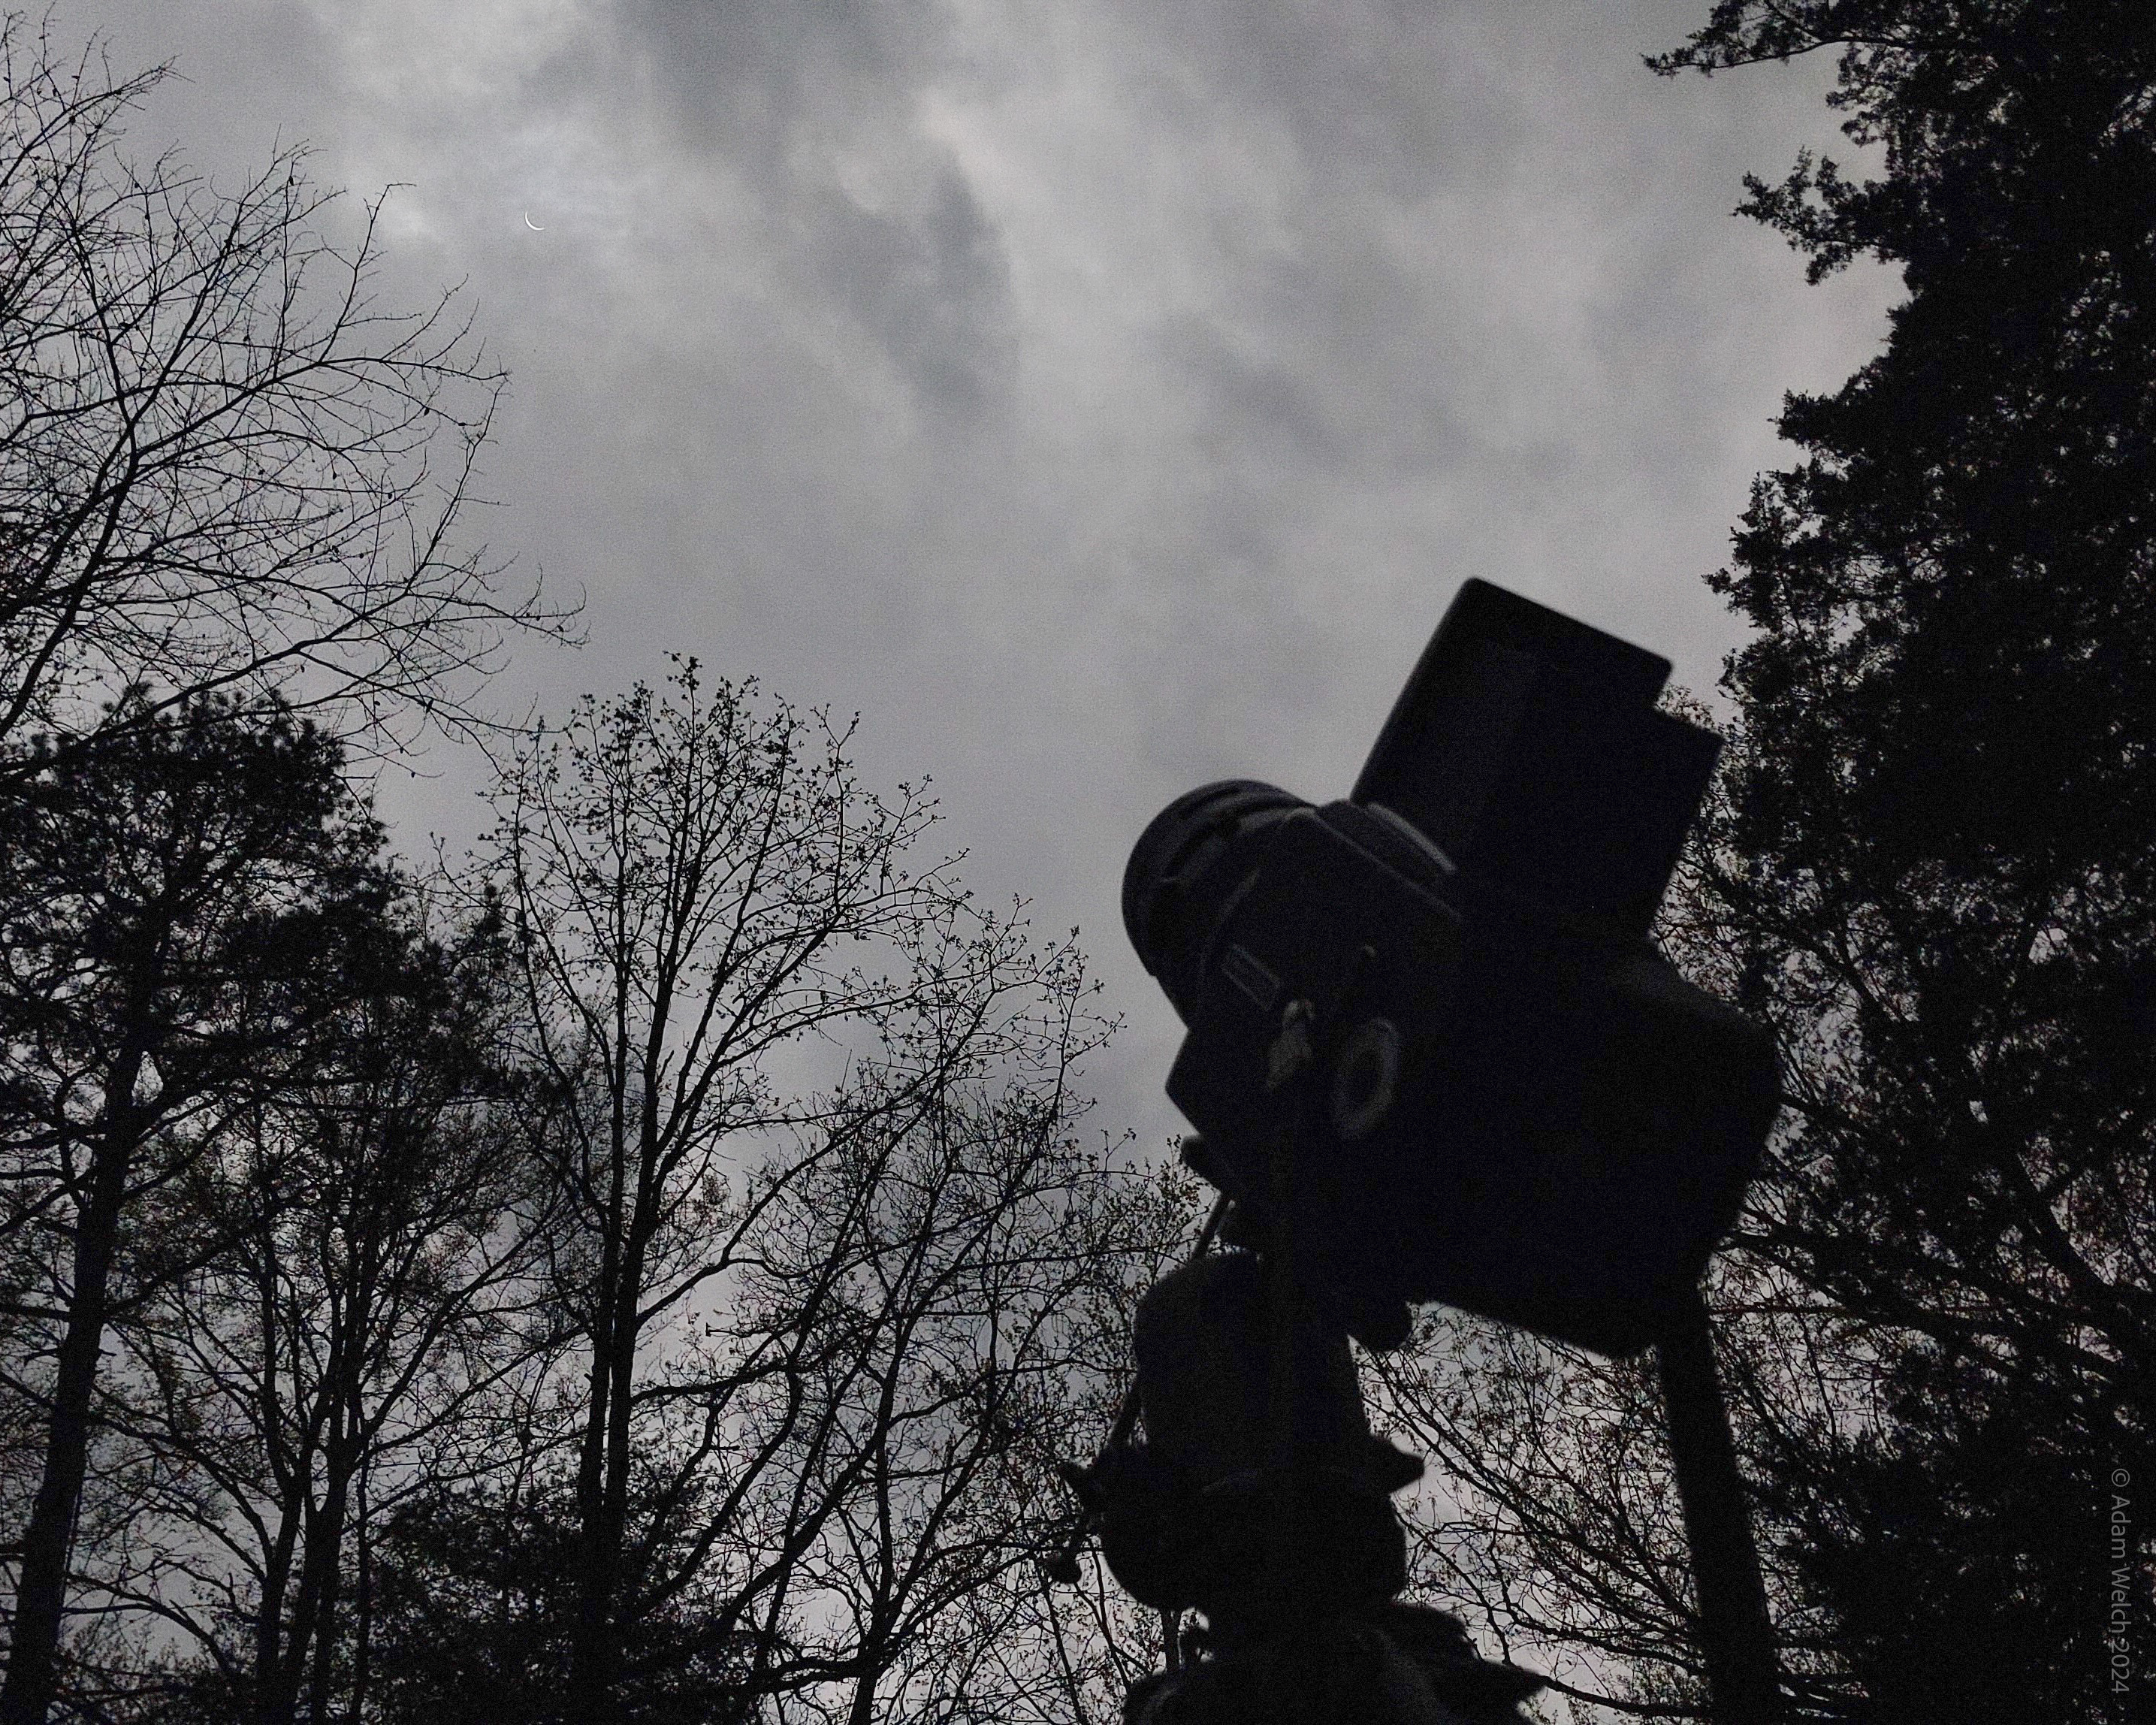
With the camera positioned and the poor man’s filter contraption at the ready, it was finally time to make our photographs of the eclipse with the Hasselblad 500 C/M.
Additional Particulars
It goes without saying, but this type of work requires a stable shooting platform, such as a tripod or the bonnet of a ’72 Buick. I settled for a tripod.
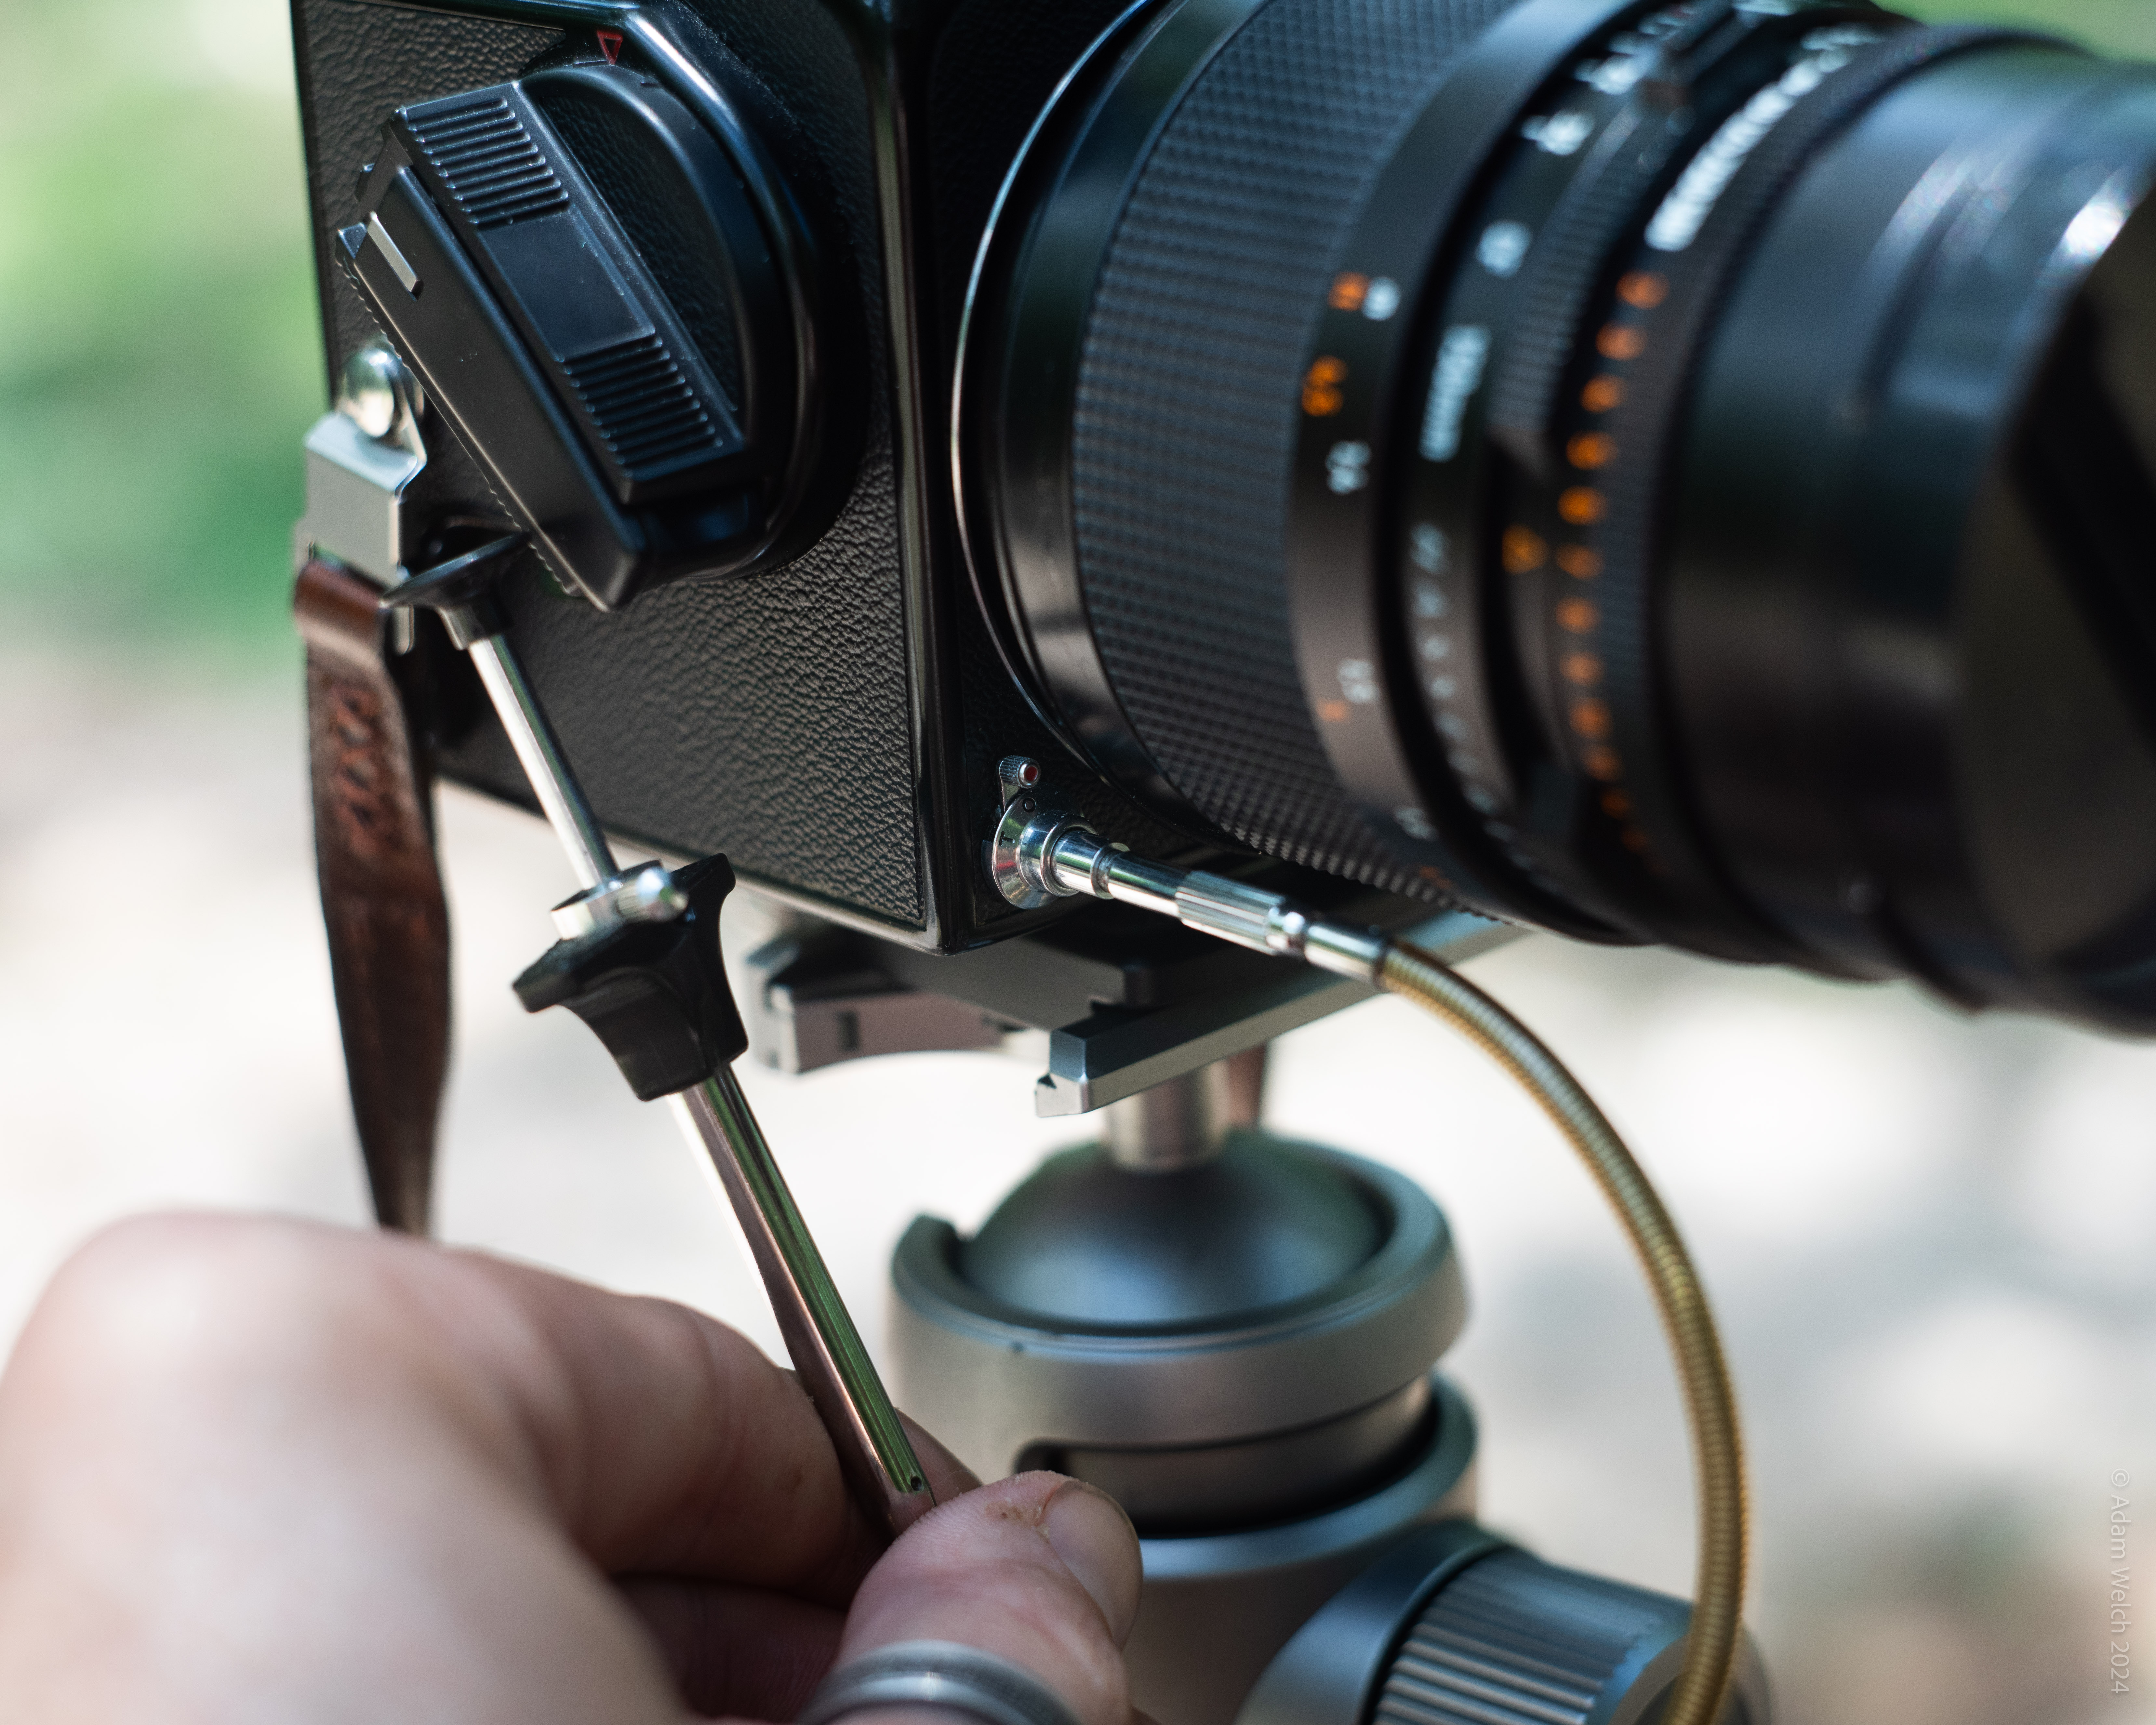
A cable release was also employed. Camera shake is the thief of sharpness. Making use of a cable release allows the shutter to be tripped with minimal vibration from the shutter button itself.
Speaking of vibrations, part of the so-called Hasselblad charm is that hypnotic “ka-thut” sound of the shutter. However, this wildly satisfying auditory event is completely misunderstood by the majority of shooters, even by some who shoot Hasselblad cameras.
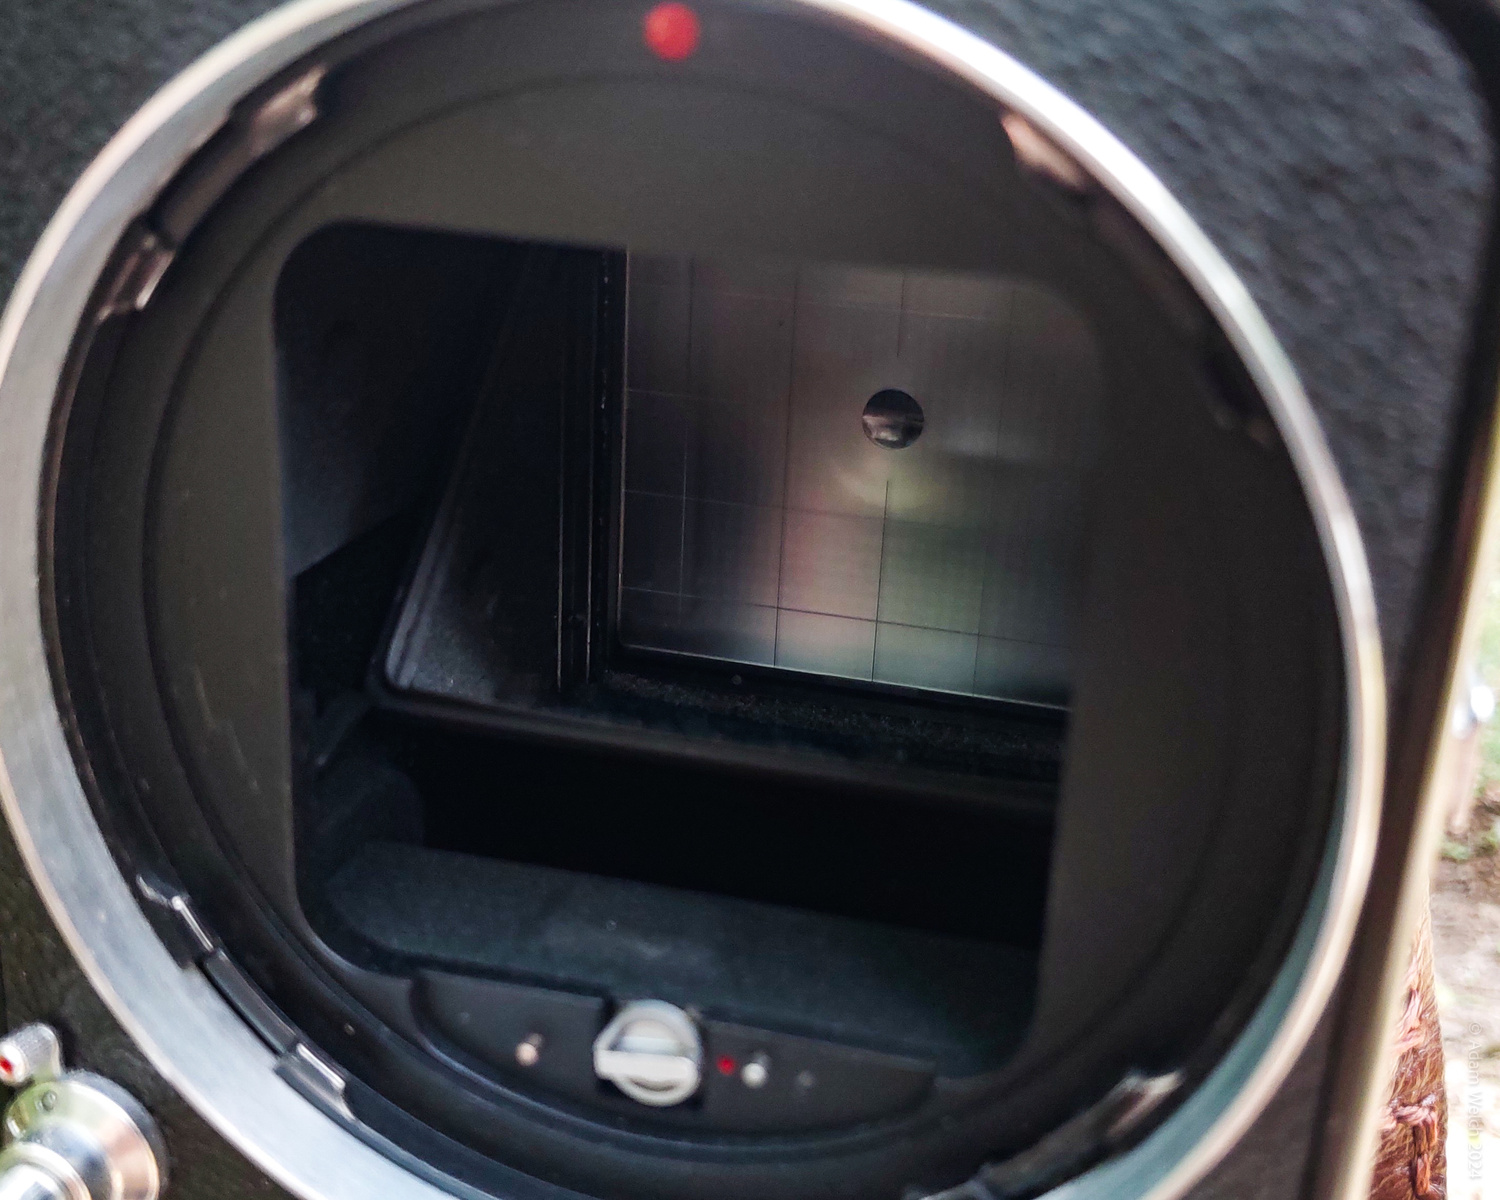
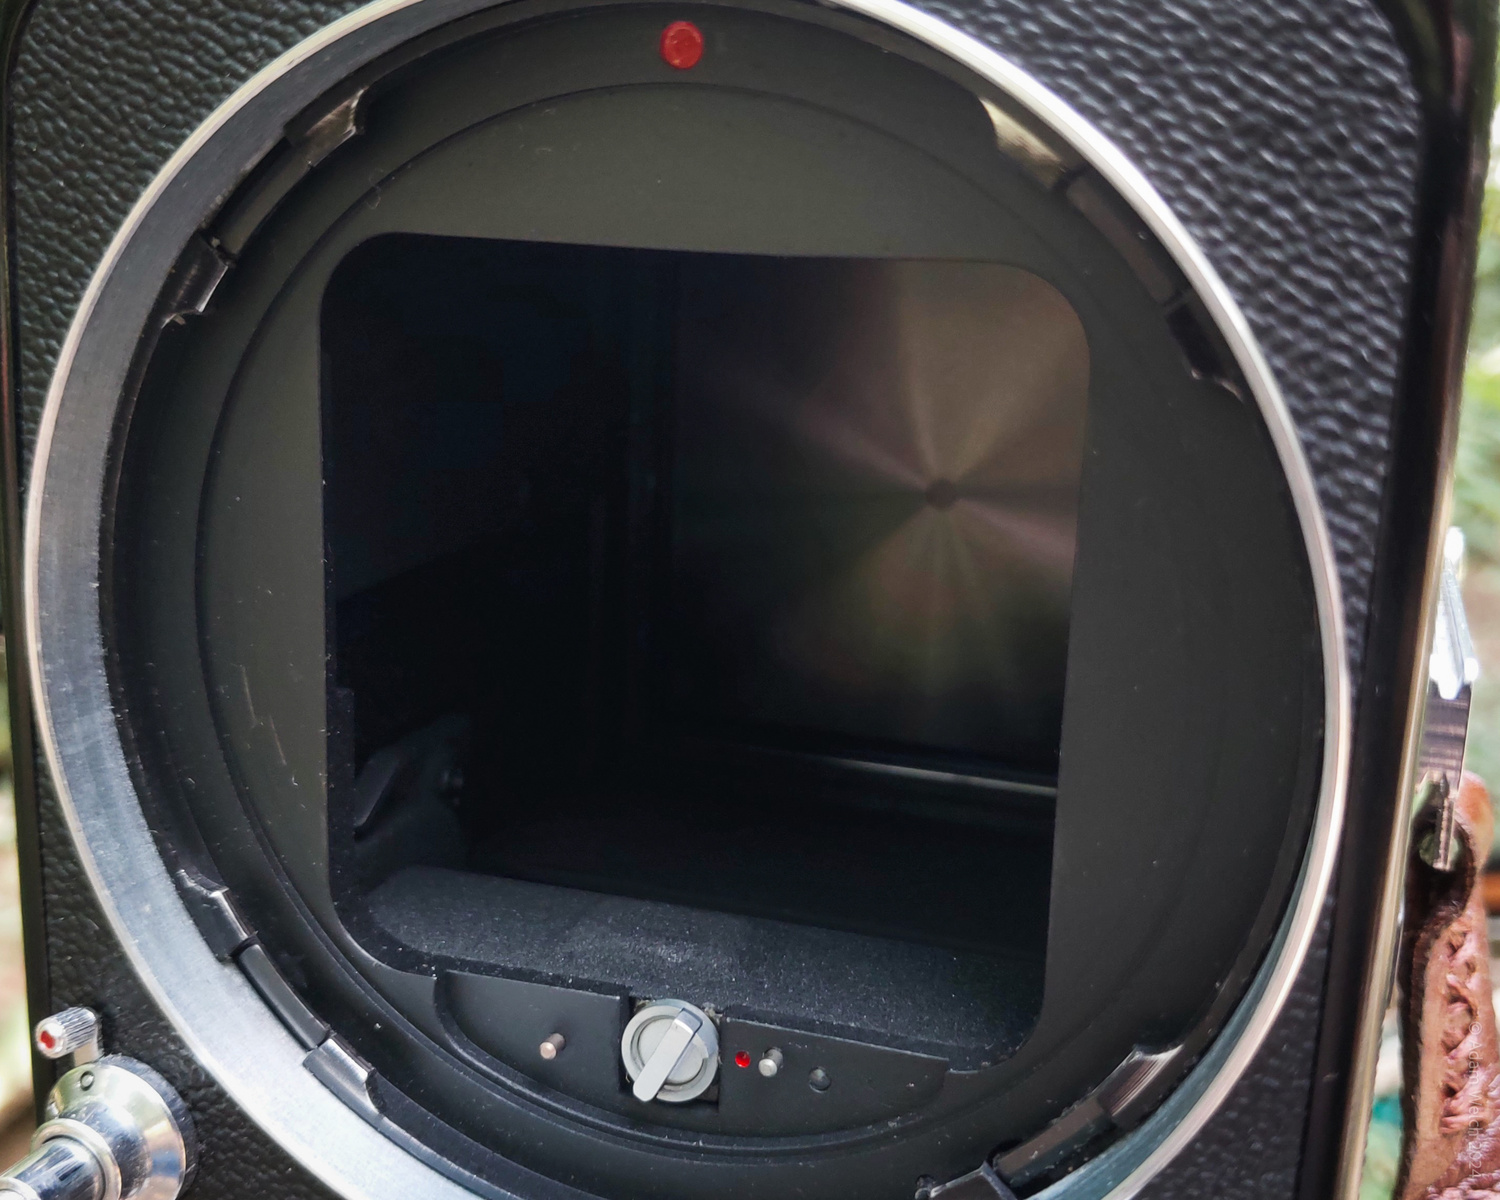
The physical shutter of the Hasselblad 500 C/M is located not in the camera body, but in the lens. This is known as a “leaf shutter.”
Upon actuation, the leaf shutter makes a barely audible “click,” which introduces virtually no camera shake. The legendary Hasselblad sound comes from a combination of mirror slap (it is an SLR, after all) and the rear “barn doors.”
When the shutter is tripped, the mirror swings up simultaneously as the barn doors open.

Combined, the medium format mirror and barn doors generate a relatively enormous concussive impact. This can introduce a surprisingly large degree of image blur at slower shutter speeds depending on the weight of the lens used.
That’s why this little switch comes in handy. That’s right, the 500 C/M has a mirror lock-up function.
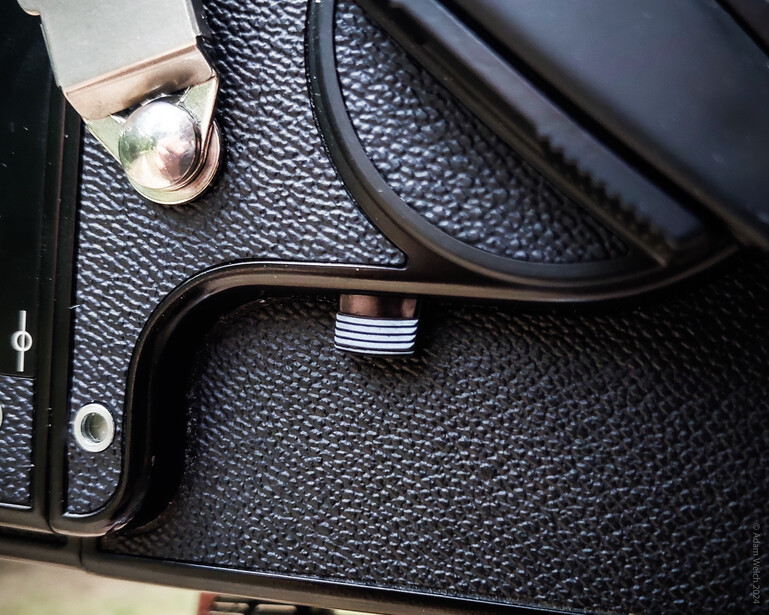
After the shutter is cocked, pressing the mirror lock-up switch swings up the mirror and opens the barn doors prior to exposure from the leaf shutter.
Ensuring the mirror and barn doors are already flipped up prior to shutter throw eliminates the “slap,” thereby reducing camera shake and robbing the photographer of the only bits of happiness they derive from operating a camera such as this.
The Shooting
It sounds counterintuitive, but the safest time for viewing (or photographing) a full solar eclipse is during the few minutes at the apex of the event.
Once the moon is fully positioned in front of the sun, lens filtration is no longer required due to the greatly diminished brightness. This makes metering for the actual eclipse particularly tricky, especially when calculating for dynamism (movement of the clouds).
The #25 Red filter would be left attached for all exposures, which reduces light transmission by roughly 3 stops, as we’ve previously stated. Being a disciple of simplicity, I was grateful the filter factor was a whole number for the sake of my brain’s digestion.
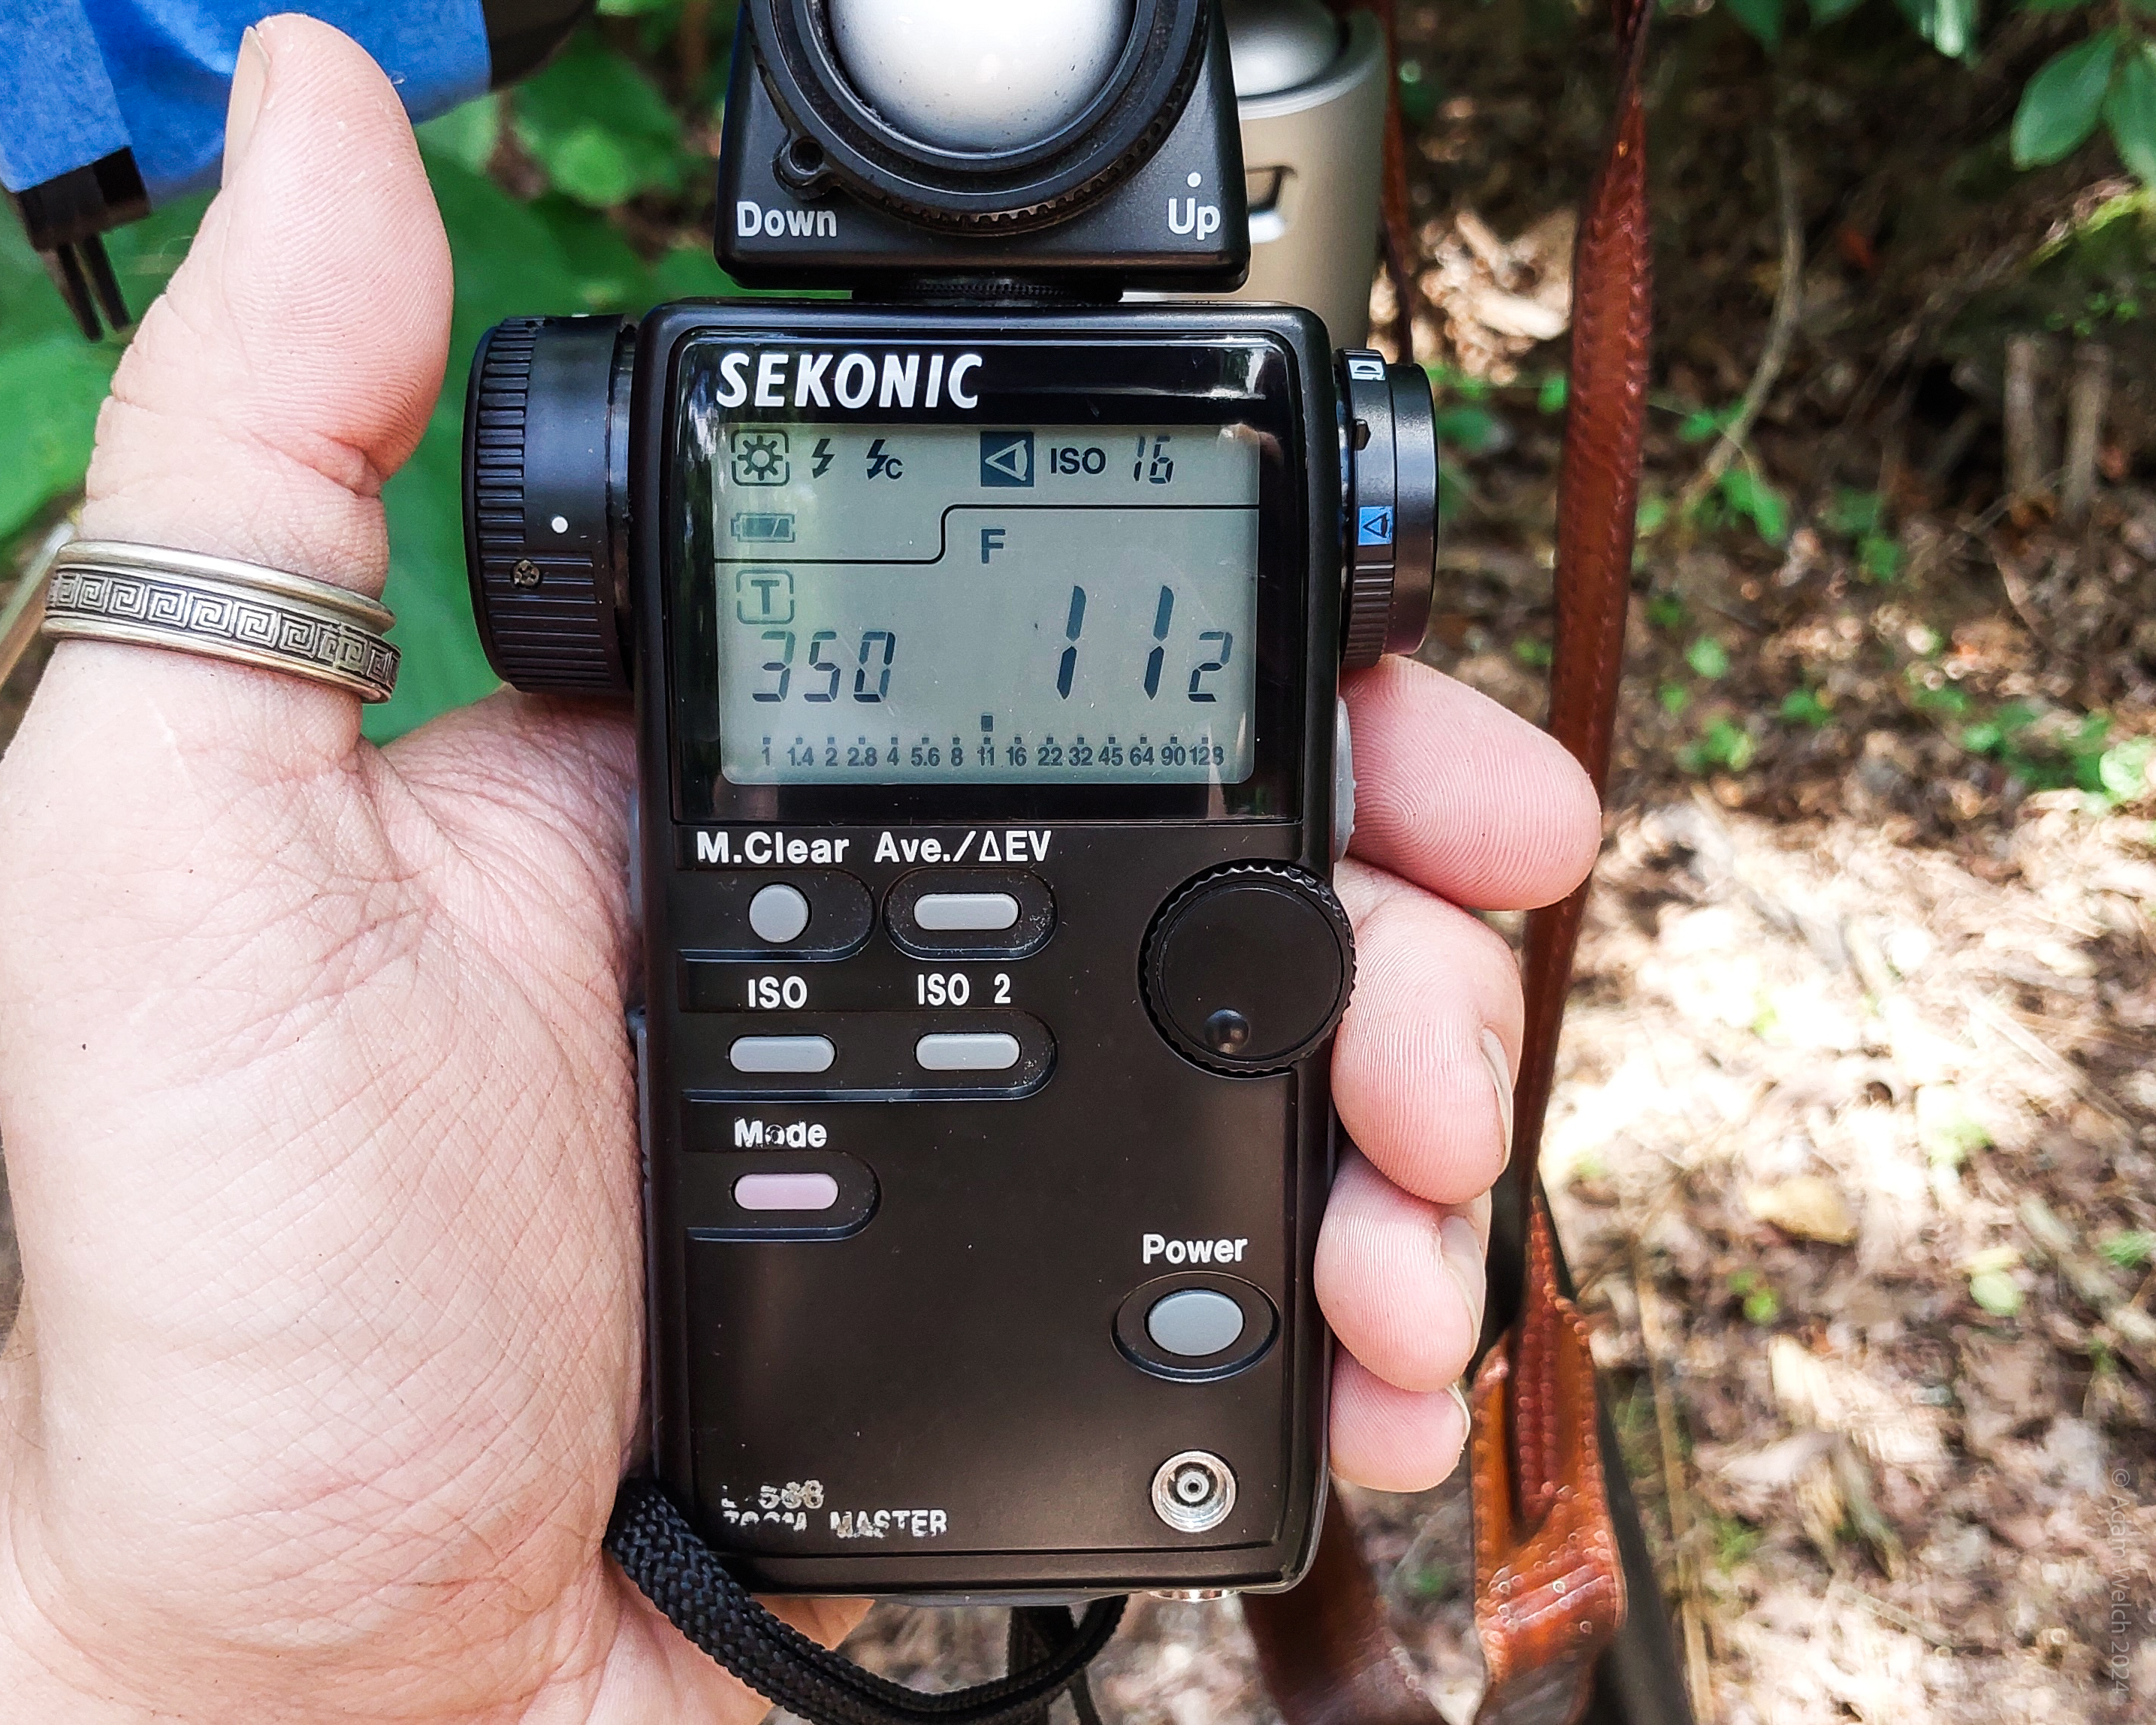
Seeing as I was shooting Ilford FP4 Plus 125 black and white film, I metered for the highlights on a bright patch of cloud at ISO 16 to compensate for the #25 Red filter. This gave me a baseline exposure of 1/350th second at f/11.
I would build any subsequent exposures around this general calculation and compensate for added exposure time (to incorporate cloud motion) by either stopping down the lens or adding/subtracting ND filters.
To that end, there was a conscious consideration for potential filtration added by transient cloud cover. This is something inherently non-quantifiable. As such, all exposures were adjusted “by feel” at the time of capture.
I shot a single roll of film through the Hasselblad during the eclipse; that’s 12 frames. They all turned out well.
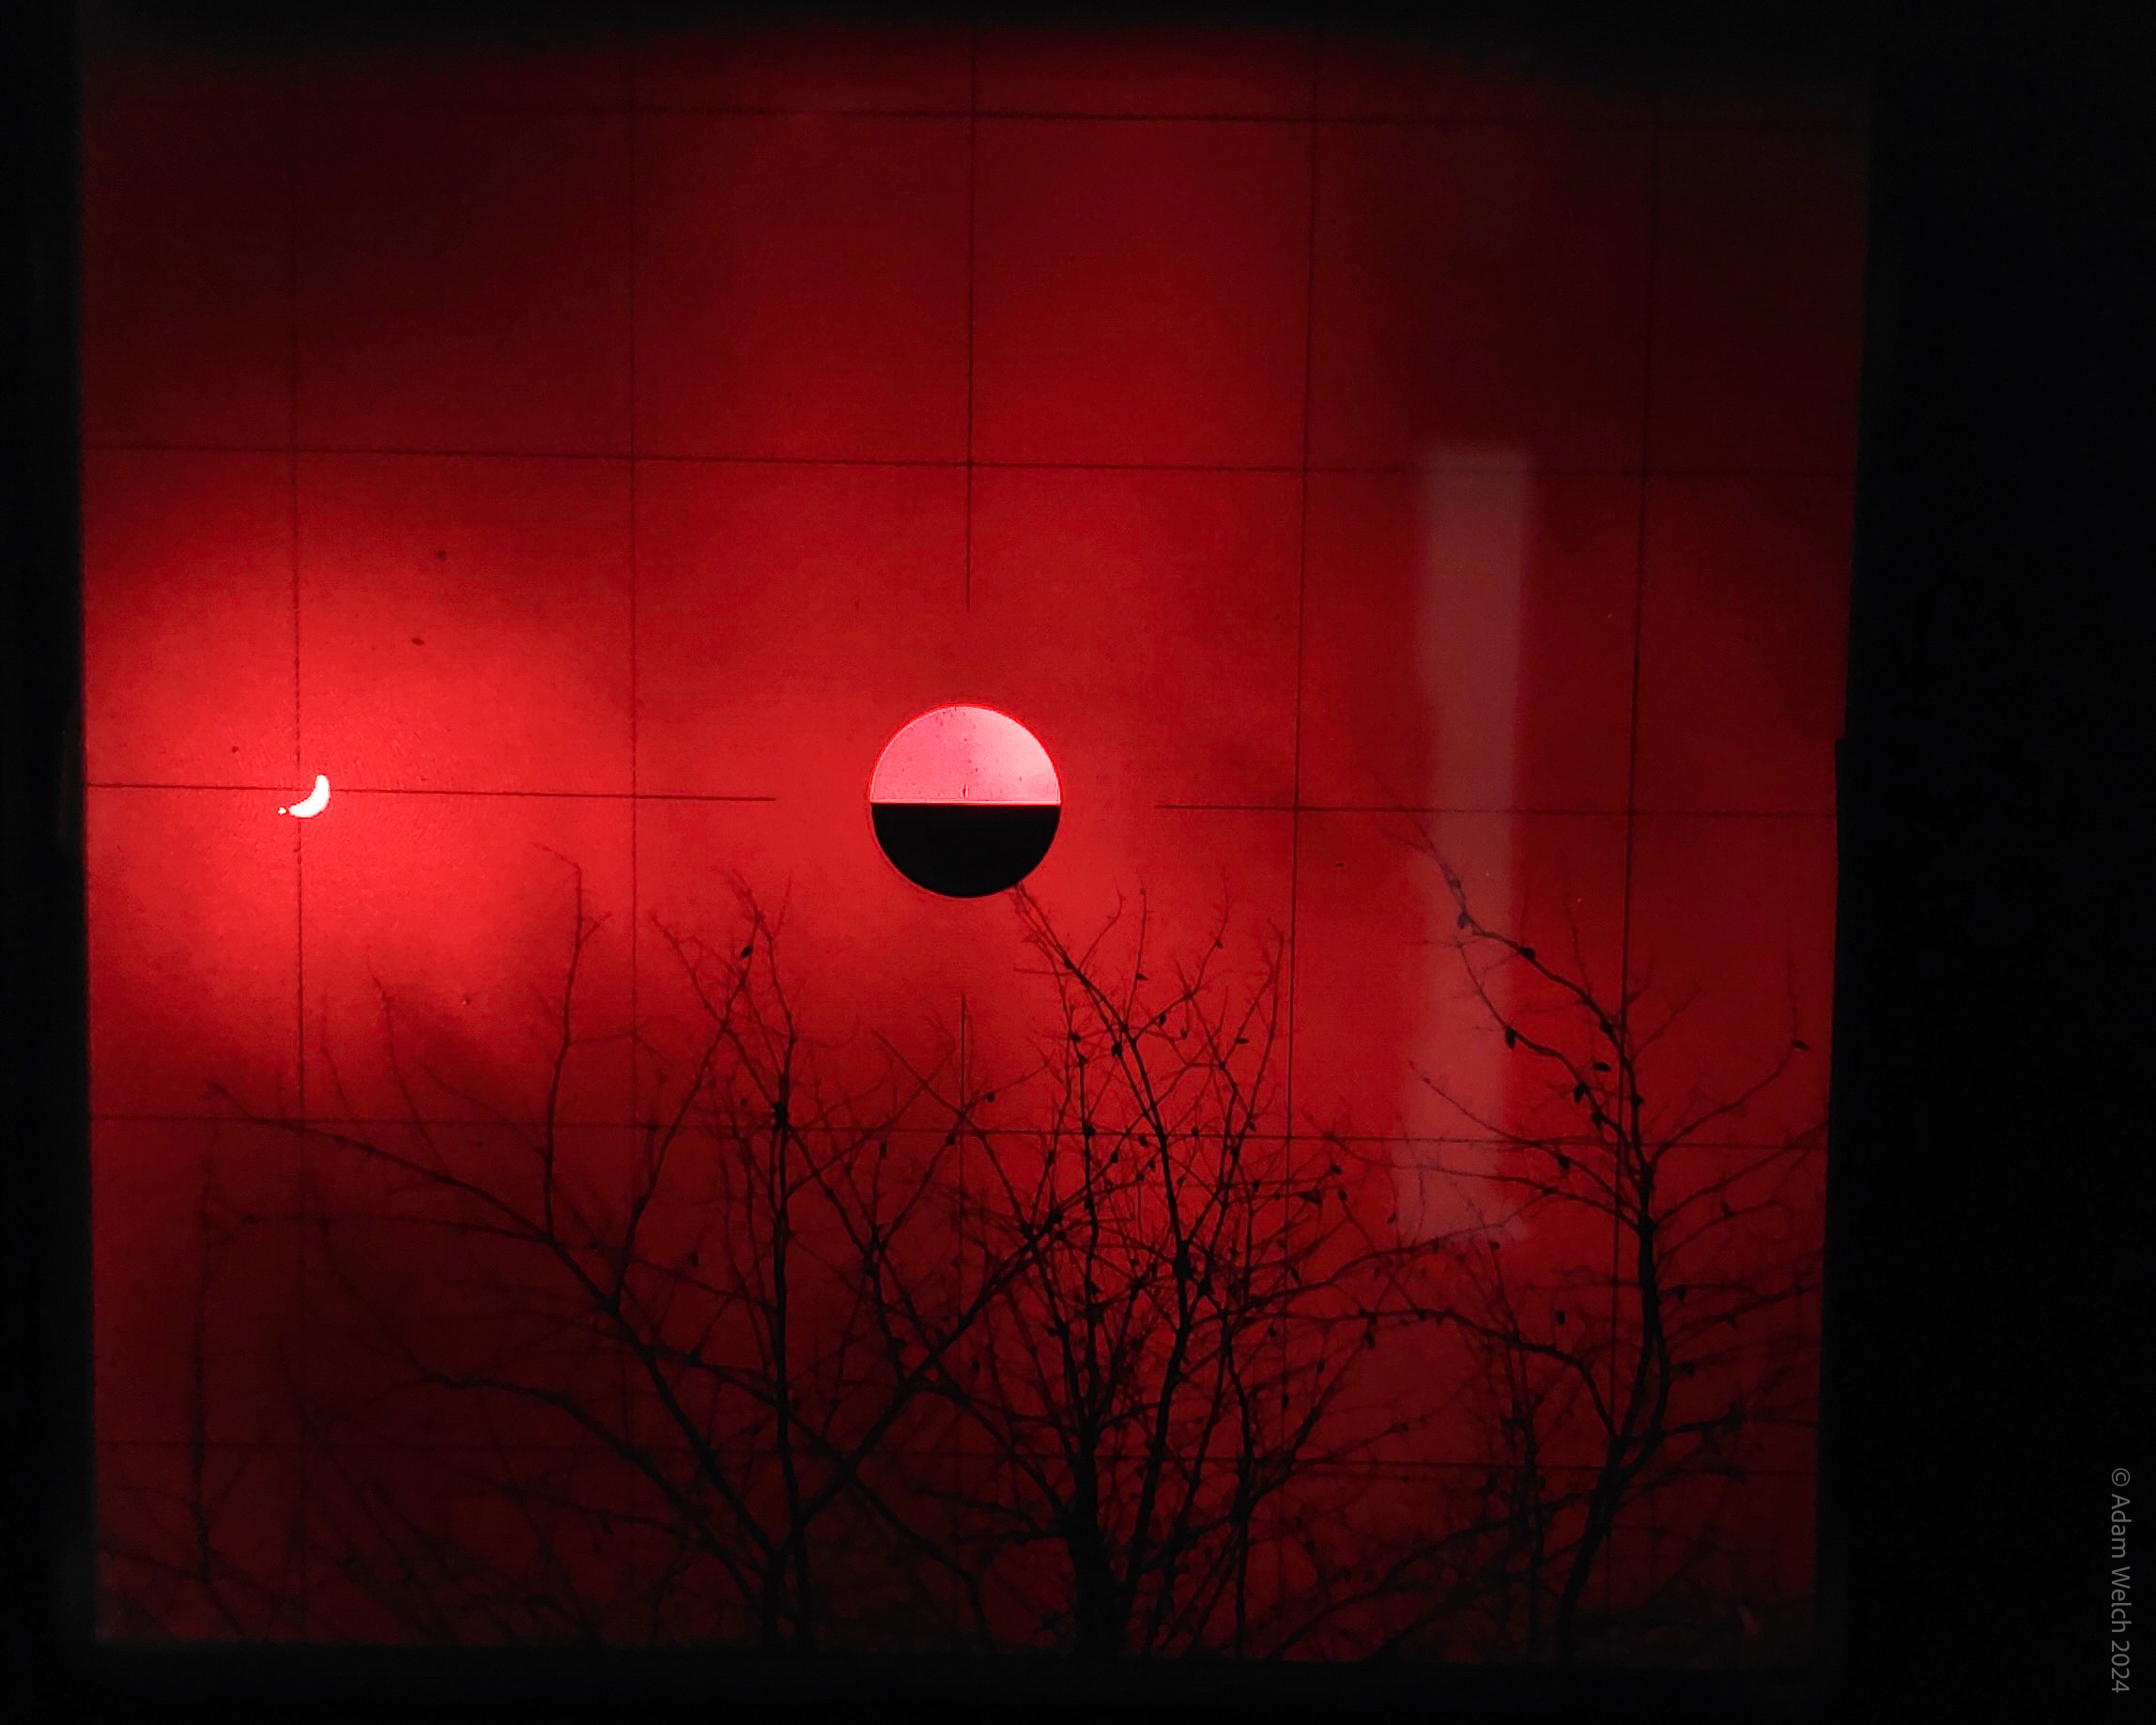
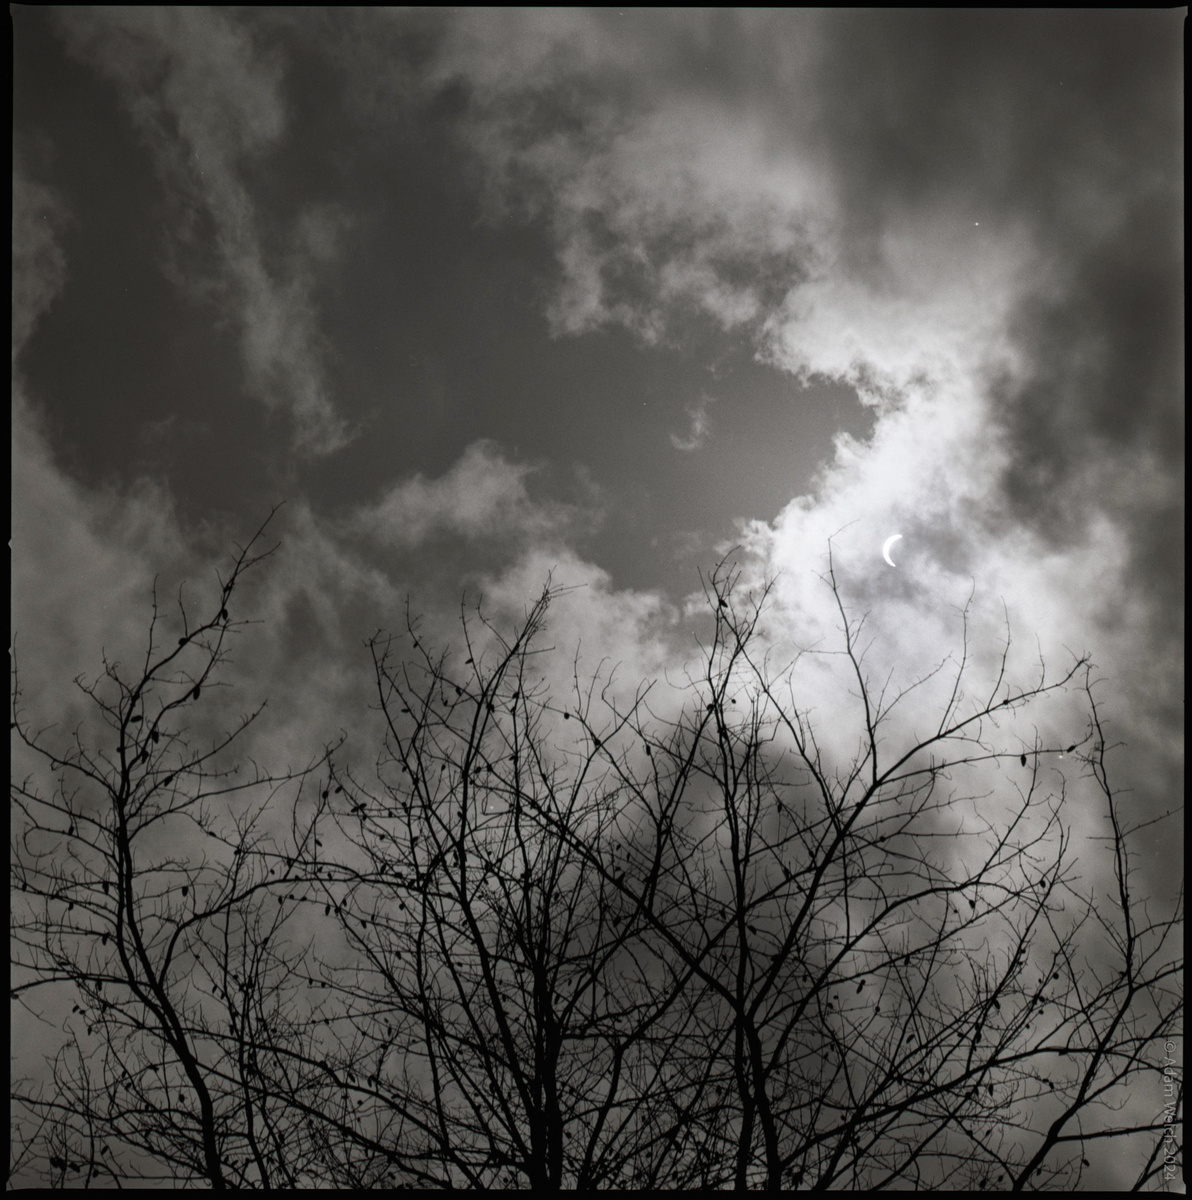
Here is a selection of the photographs from the 2024 solar eclipse shot on film with the Hasselblad 500 C/M.
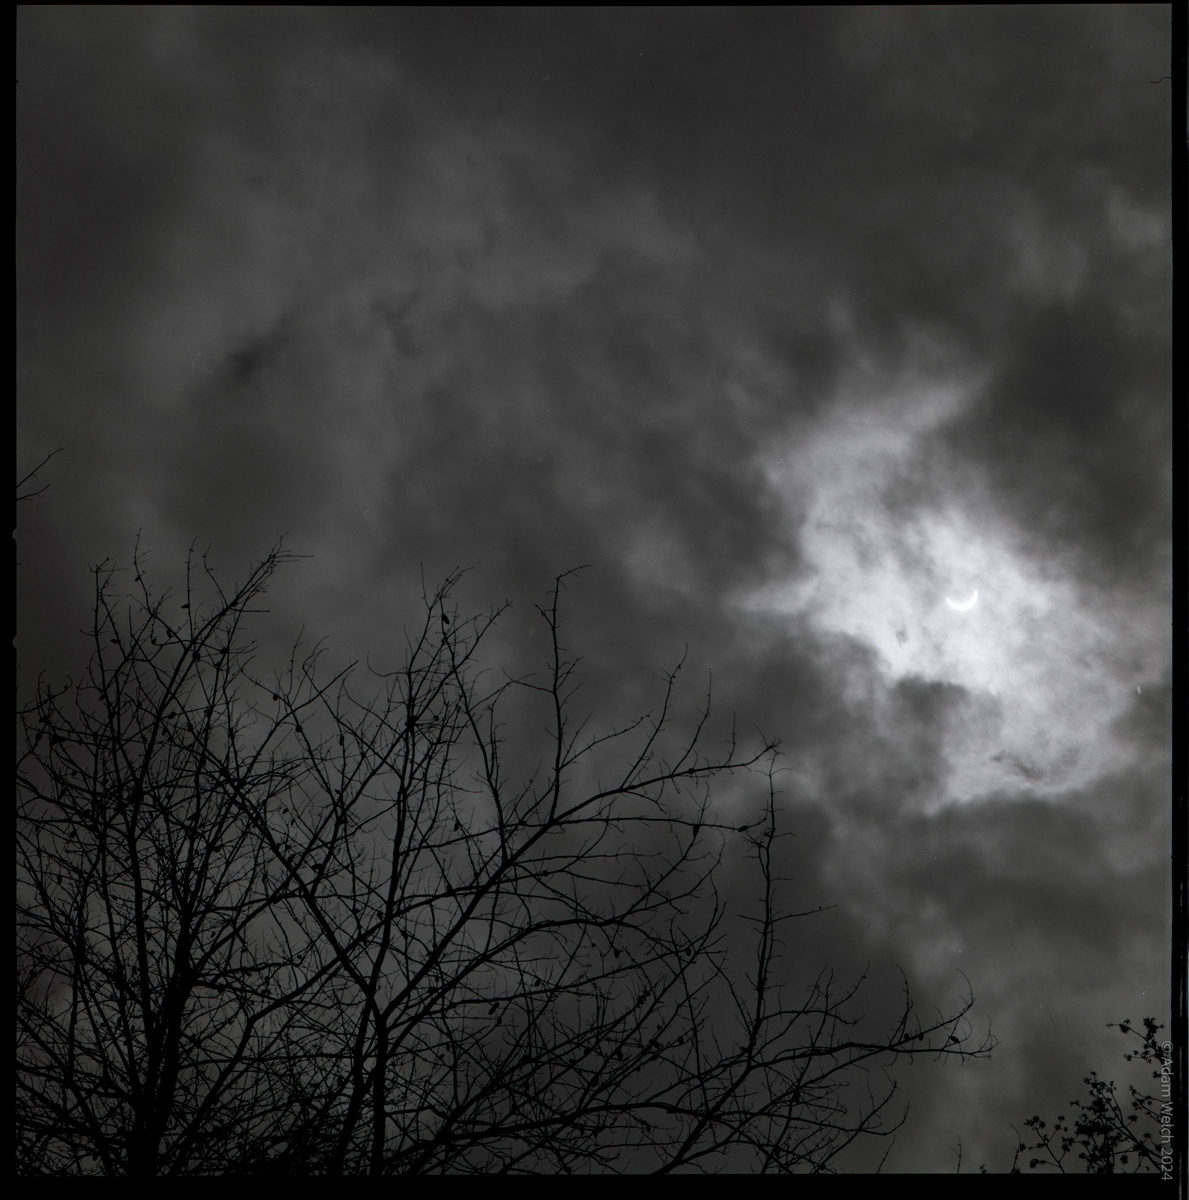
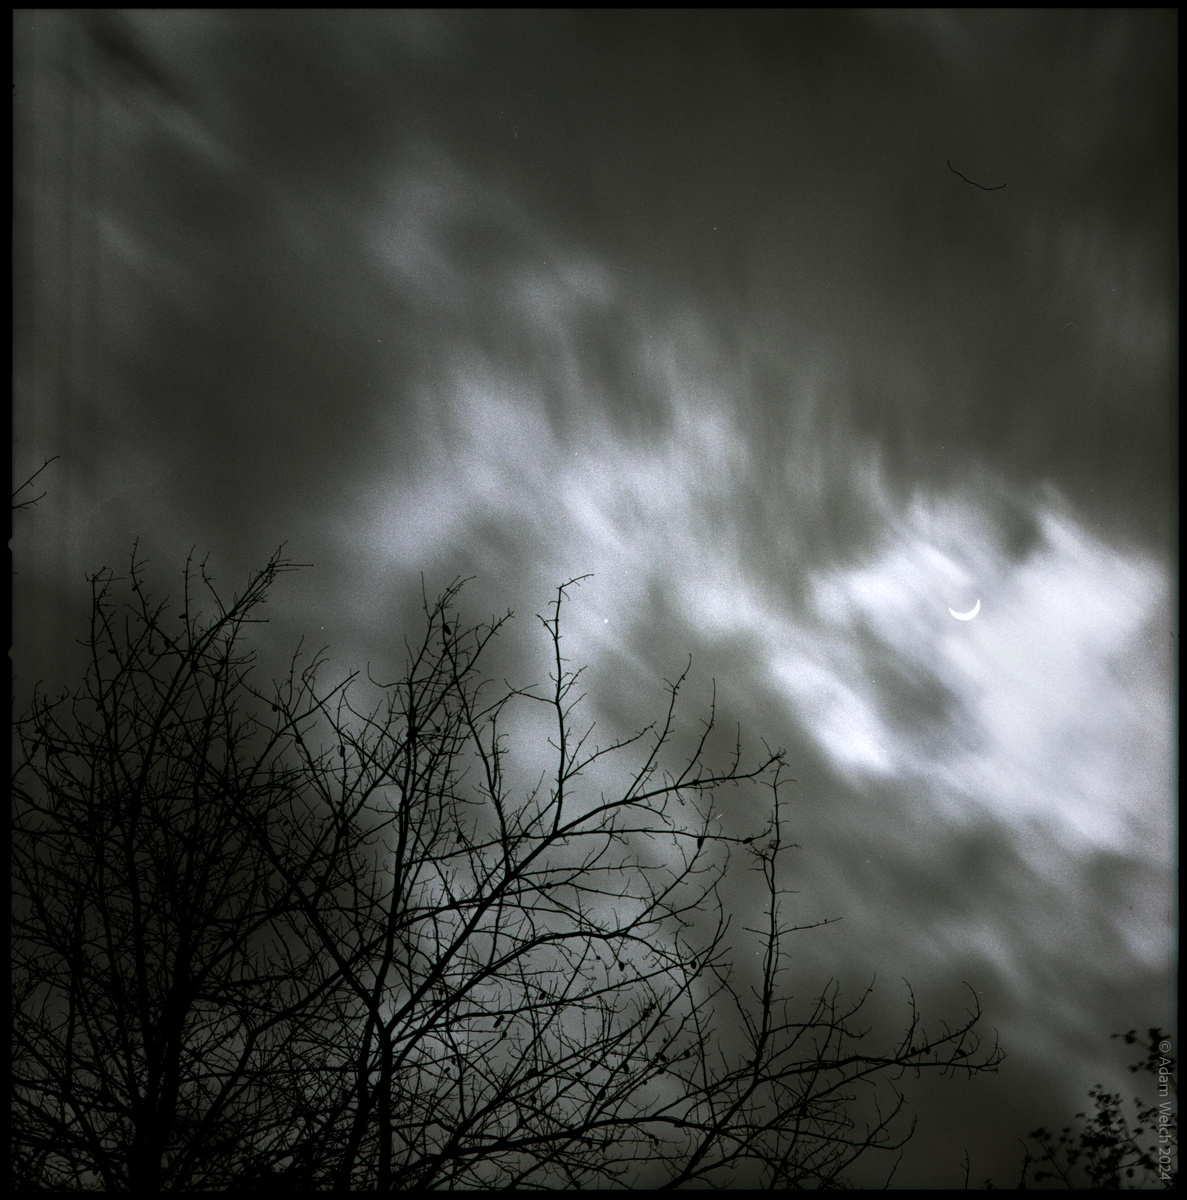
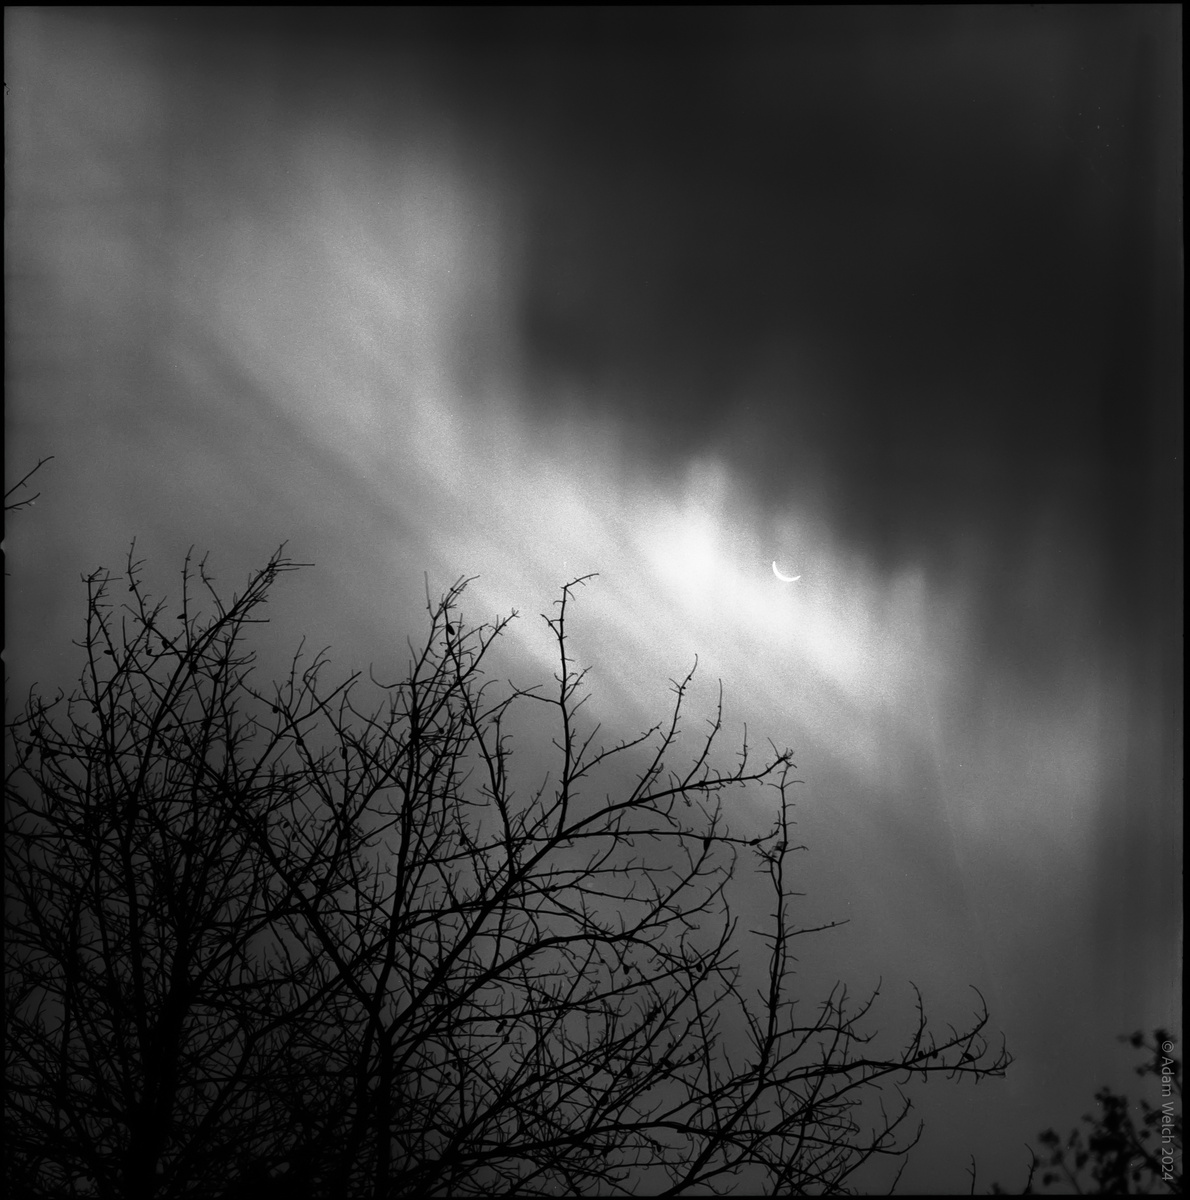
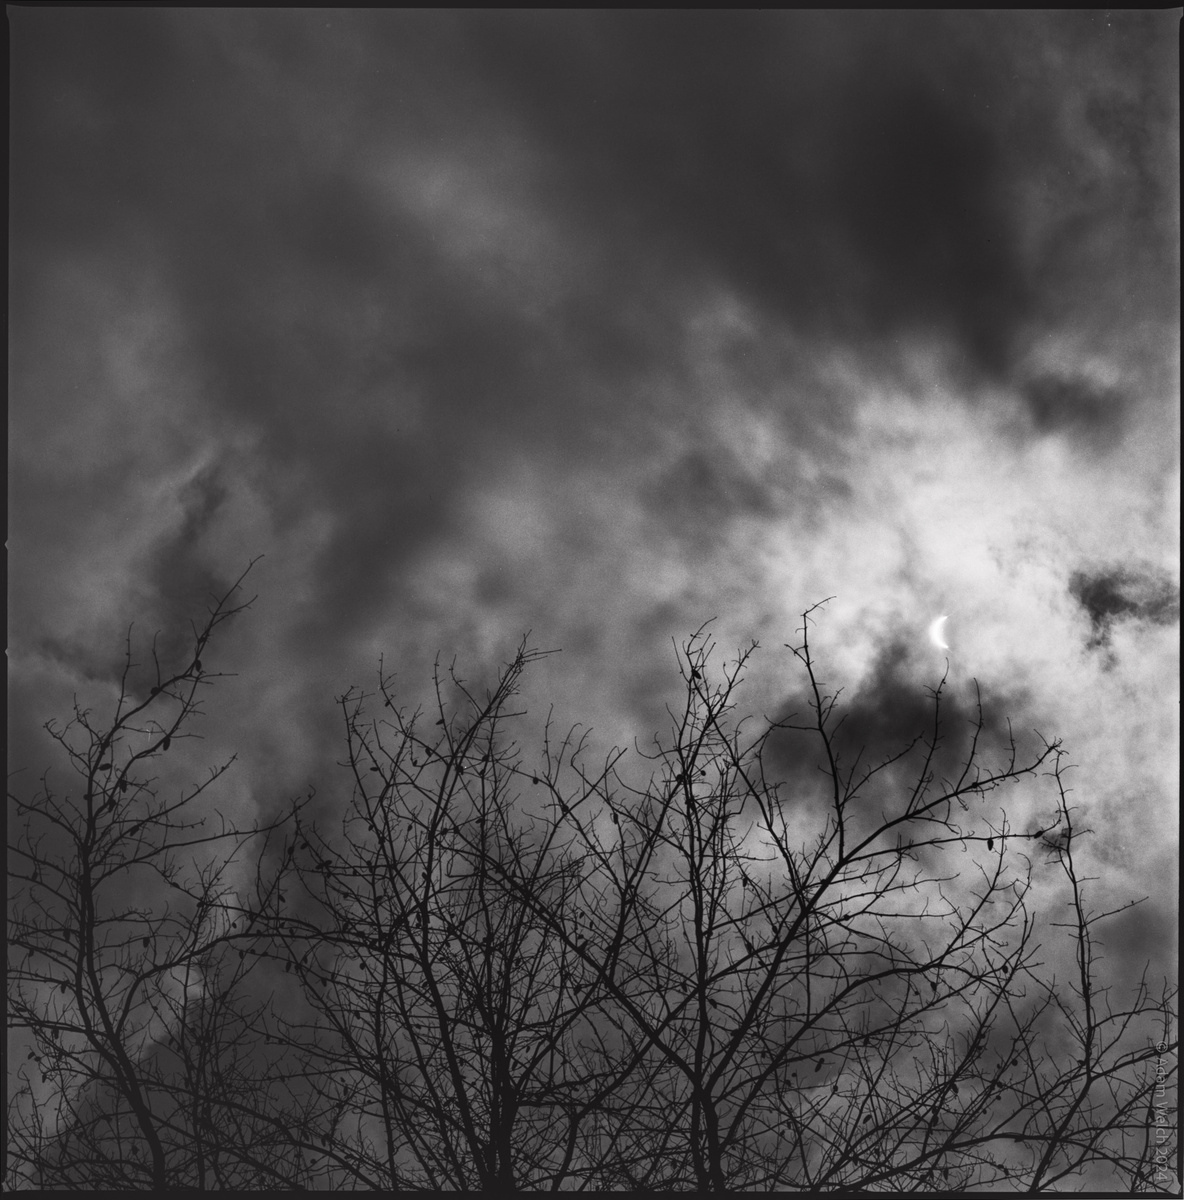
Although 12 photos were made, some images appeared identical and have been excluded. It’s customary for film shooters to hedge our bets and shoot multiple frames just in case something goes awry.
But Why, Though?
I hear you, truly I do. Why go through all this trouble to take just a few photos of the eclipse? It could have all been done so much easier, so much better — and with much greater certainty, if I would have just whipped out my Sony a7R III.
Much to the disapproval of Jeff Goldblum in Jurassic Park, I chose to take photos of the solar eclipse with the Hasselblad 500 C/M not because I should, but because I could.
I felt the muse for experimentation. I yearned for the challenge of implementing brute ingenuity.
There’s no arguing that these photographs could have been obtained using my digital cameras. However, I can say without a shadow of a doubt that I would not have had nearly as much fun.
I thoroughly enjoyed shooting the eclipse on film this way. In my opinion, the photographs turned out like something pulled straight from a Lynchian nightmare–in a good way.
I hope you enjoyed going along for the ride with me and Alice. We’d love to see any photos you’ve made during this past year’s solar eclipse or any other.
Just click the camera icon in the comments to share your own photos of our sun and moon’s big show.

Join the Fstoppers community for free
-
Post comments and join in the discussions
-
Browse the site ad-free
-
Share your work and get featured in the community
-
Compete in the photo contests for fun and prizes
9 Comments
Because you showed your janky DIY setup. I’ll be courageous to show you my last minute solar filter setup.
Cut a circle into aluminum foil and taped it to the lens hood (lens hood so I could easily take it off during totality) with a pair of solar glasses covering the hole in the aluminum foil.
Ps. I used this contraption on my old camera and lens that has mold in it so not much harm if something went wrong.
These are the results with that camera. I was pleasantly surprised because I wasn’t expecting much to begin with this setup and yeah there are better setups/images out there but this one is mine. I hope this sparks some inspiration for others with lesser setups.
Sometimes it’s the creative problem solving along the way that brings the satisfaction and joy of photography.
Composite taken with a Nikon D3100 with 18-200mm lens.
Looks good, and you didn't even use film; wink wink.... I shot film for 40 years, professionally for 32 years. I don't miss it at all.
The irony is I don't miss film when I shoot digital either. Then like any true addict...I always crawl back haha
WOW. This is fantastic in my opinion. Impressive results regardless of the methodology.
Loved the story, your creativity and your humor. Despite the nabobs of negativism who just don't get it, I hope to see more of your analog adventures in the future.
Thanks a lot, Jim. I truly am glad to hear you enjoyed the piece.
Pretty funny...all the shots of the camera setup show the dark slide still installed. Makes the results even more amazing. ;-)
I never pull out until the last possible second.