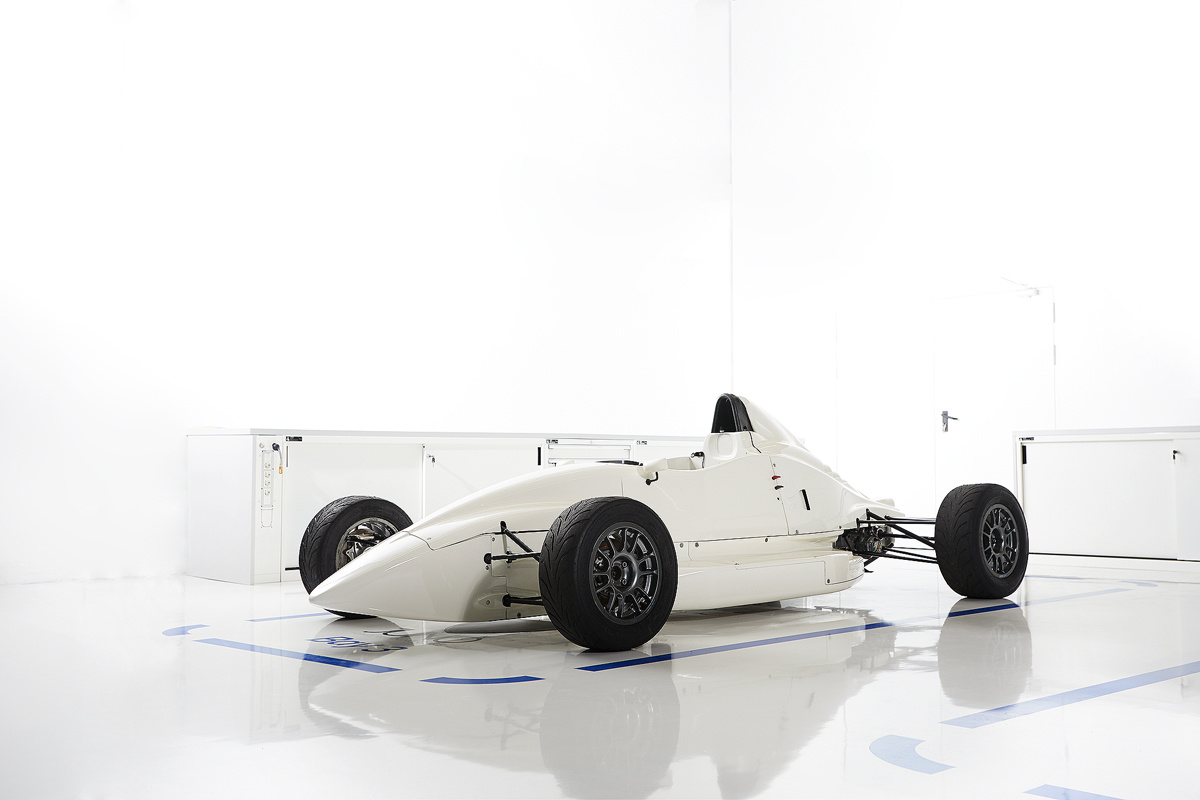
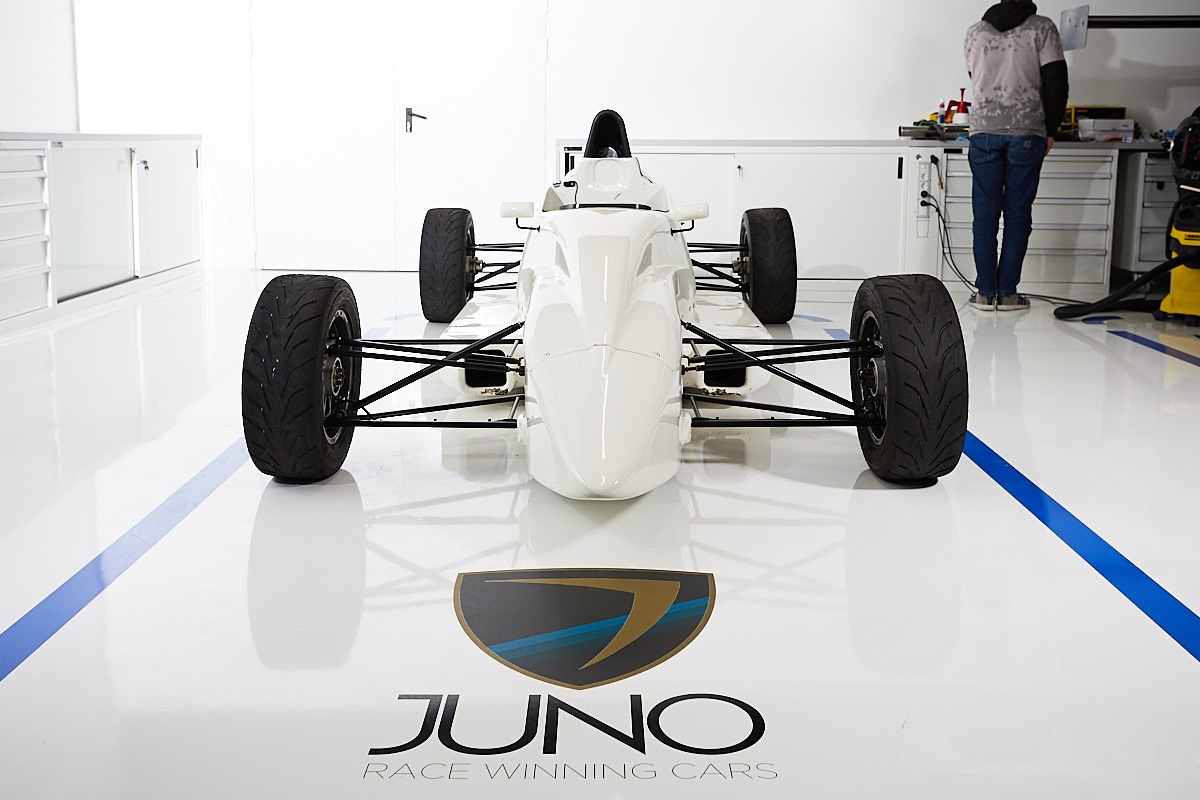
An agency I work with for product photography hired me to photograph not one, but two race cars. I had already photographed motorbikes, but cars was going to be the first time. With cars the problems are almost always bigger: the surfaces are bigger, the reflections are bigger, the areas to be illuminated are bigger. Everything is bigger.
The indications that the agency gave me were the following:
- The cars should be photographed in the manufacturer's shop, Juno Cars Racing.
- The manufacturer shop has white floor and walls and I should keep the background as clean as possible.
- I should do some images of the details and some of the exterior of the car to show the body lines.
- I should make two "hero shots," one for each car. Here I had some creative freedom.
- While photographing, the manufacturer's shop would be operating, so it was necessary to disturb as little as possible its operation. I would have one of the three construction bays to photograph.
How I Prepared the Session
As one of the cars were still being finished, the session had to be split in two days. The first day would be the Formula Ford and in the second day the Mercury R car. Since I had no assistant available for those days, I would have to do all the work myself.
I decided to reduce the equipment to the maximum, which would also be good because it meant less distractions for the shop. As I had never photographed cars, I decided to look at this job as a product photography session. After all, a car is a big product and presents the same problems I encounter when I photograph products: reflections, textures, shapes, and colors. I also use this approach whenever I photograph motorbikes. I opted to take only two studio strobes and to have the camera on the tripod and make several exposures by moving the strobes so as to illuminate all parts of the car. To avoid camera shake I used the Canon Camera Connect app on the tablet so I did not have to touch the camera and also to go through the images.
On Set
When I arrived to the set, I started by choosing the area to shoot. I chose Bay 3 that is on the edge of the shop because that way I did not disturb anyone and because one side has a gray gate that would give me more options for the background. After talking with the agency and the Juno car racing engineers we decided what details I should photograph. They know better than me what is important to show to their clients.
After confirming that the car was clean and ready to be photographed I started to prepare the lights. I chose to have one of the strobes for the background and the second would be moved from frame to frame in order to illuminate the various parts of the car. For light modifiers I decided to go with one white umbrella for the fill light and a grid for the light that would be moved around. The light with the umbrella was placed high and on the left of the camera for the black car. This would be fixed for all the exposures. The other strobe with the grid was the one that moved around on every exposure. This way I could have light in all parts of the car and would give me several exposures to build a composite in Photoshop for the final image. For the white car I removed the umbrella and used a standard reflector. Then I defined the aperture of the camera, which was practically ISO 100, f/8, and 1/125 s for all shots. Then I defined the power of the background strobe. The moving strobe would have the power, the position, and the distance to the car changed as needed for each shot.
The camera was fixed on the tripod and would be controlled by the tablet using the Canon Camera Connect app. This way I could guarantee that I did not have any movement in the camera, which is fundamental to later combining the images in the composite. After making the detailed images and the general ones, which in terms of lighting would be simpler, I went to the "hero shots" where the light would be more complex. For the hero shots I chose to use the gate as a background and add some color with a gel; blue for the white car and red for the black car. As the gate is very large I had to make several exposures to be able to illuminate and color the whole background. For the car I was moving the flash in order to have images with all the parts of the car illuminated. To ensure that nothing was missing, I made more images than I needed.
Gear
- Two strobes (really cheap ones), one with an umbrella and the other with a grid.
- Two PocketWizard Plus II
- Canon 5D Mark IV
- Canon 17-40mm f/4L
- Tablet with Canon Camera Connect app
- Tripod
Postproduction
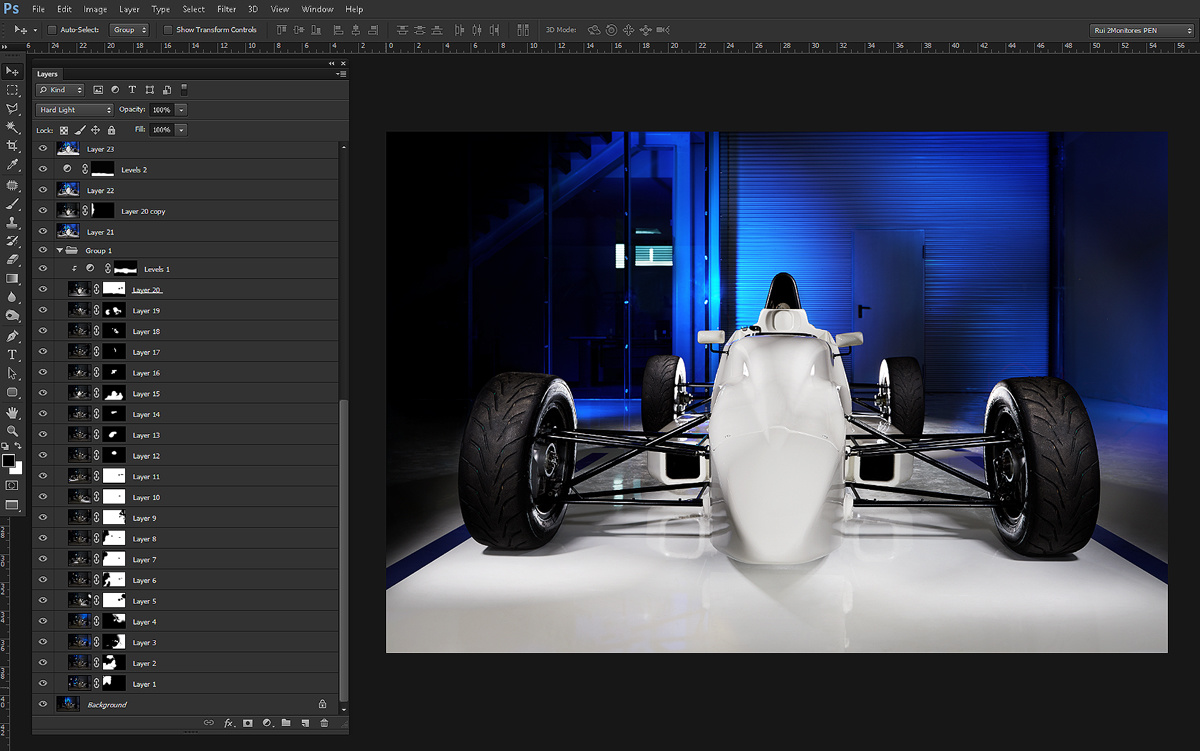
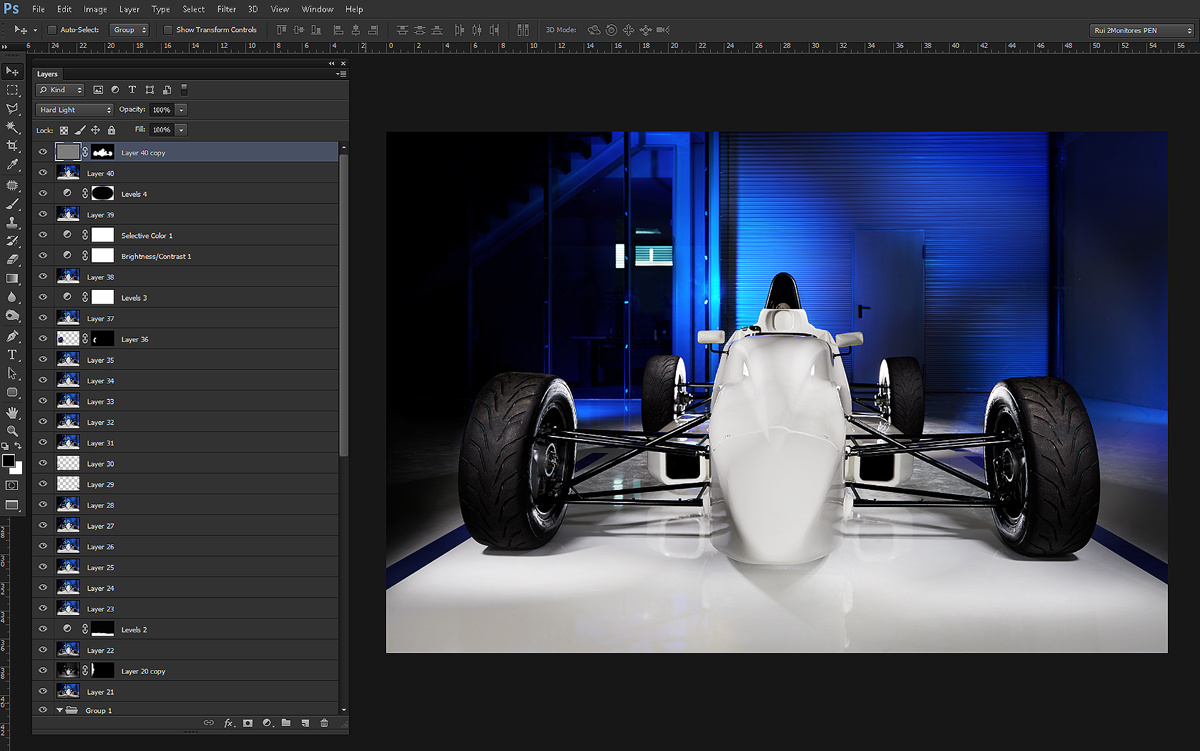
Below shows all the layers used to create the final image.
To select and edit the raws I used Capture One, my favorite raw editor. After selecting and editing the images for each composite, I exported as TIFFs to Photoshop. Generally, I export one image at a time; I export the one that will be the base image of the composite and then I add one by one. I then mask it until I have the whole car illuminated. Only after this phase do I start cleaning the image, and I leave to the end the adjustments of levels, contrasts, and the color. Before exporting the final image I will do some sharpening. The trick here is to spend some time refining the masks. Every exposure will be one layer and all layers will have this mask. In the end I ended up with a few layers and masks only for the car.
You can see how all the layers came together in this animation.


Hi Alexander.
The photo shoot toke me one morning for each car. i had to shoot the White While they were finishing the black car, the idea was to shoot the white in the morning and the black on the afternoon of the same day, but they couldnt finish it in time.
I did more images for each car, they needed some detail images and other perspectives.
For editing this this hero shot of the white car i thing it took me almost one day of editing.
Great article. This is the approach I use frequently when I photograph motorcycles. Yes it takes more time at the computer but when I have little time on site and it's just myself I find this approach works well. The blue really compliments the Formula Ford.
thank you Douglas.
i also use this on motorcycles, i think that, like you sayd, when we work alone and cant carry lots of gear this is a way to simulate a very complex light set up.
Well done- the work and the article!
thank you
As an automotive photographer, this could've been better. I use one light and use less exposures and get better results. The body of the car is patchy. No smooth transition between the layers. This could've been much better.
Thank you Brandon.
Im not an automotive photographer, so your comment is really appreciated.
I saw your profile here on Fstoppers and you have some killer images,
Thank you