
Lighting can make or break a fitness portrait. Our goal is to highlight the form and definition of your subject as well as the movement if the intended photo involves action. In this tutorial, I'm going to walk through a few basic fitness photography lighting techniques.
Throughout this tutorial, we'll be using lighting techniques and frameworks found within our comprehensive Lighting and Portrait Photography Workshops on SLR Lounge. For each final image edit, we'll also be using Visual Flow's lighting condition-based presets for Lightroom. Let's dive in.
Gear Used:
- Canon EOS R5
- Canon RF 28-70mm f/2 L
- Profoto B10 TTL Off-Camera Flash
- Profoto OCF Grid
- Profoto Air Remote
- Manfrotto Nanostand
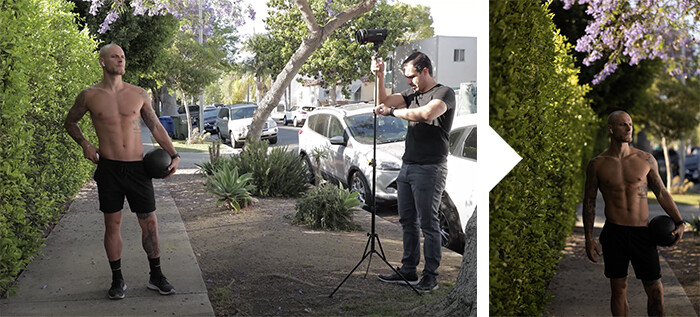
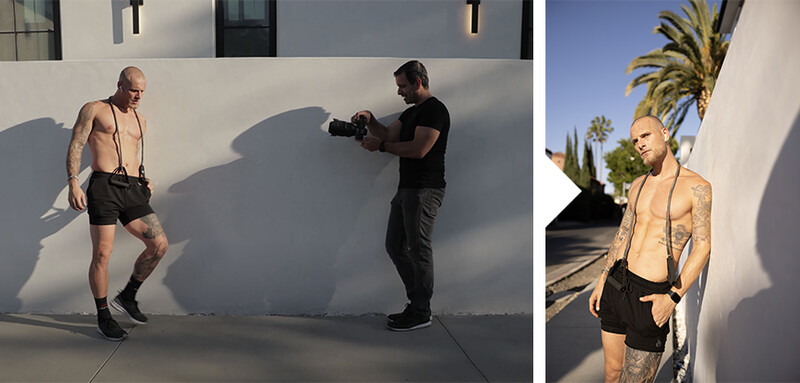
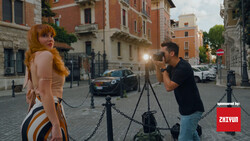
Scene #1: Find/Use Natural "Bounces"
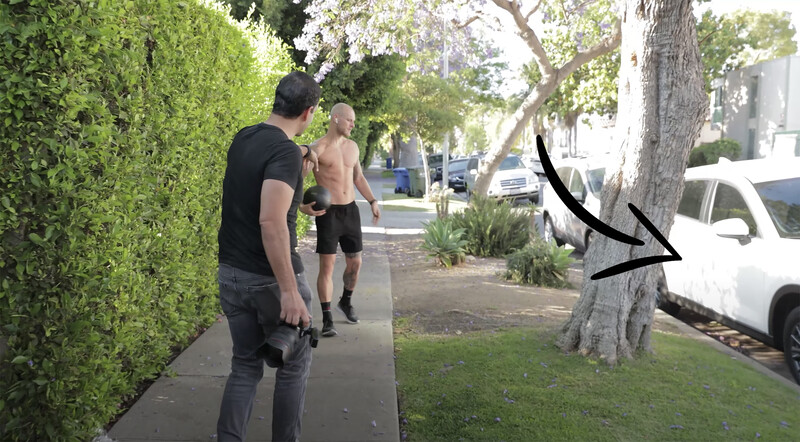
The white car provides a natural bounce for Derek.
For convenience, we decided to use a nearby neighborhood as our shoot location. It wasn't ideal, but I figured it would make for a good challenge. I began by placing my subject Derek near a hedge that I thought could use to add a little visual interest to the image. Then, I moved him into some bounced light coming off a car to enhance the existing light direction.
It's interesting to look at the shift in light direction with and without bounce from the car. All I've done here is move my subject back a few feet.
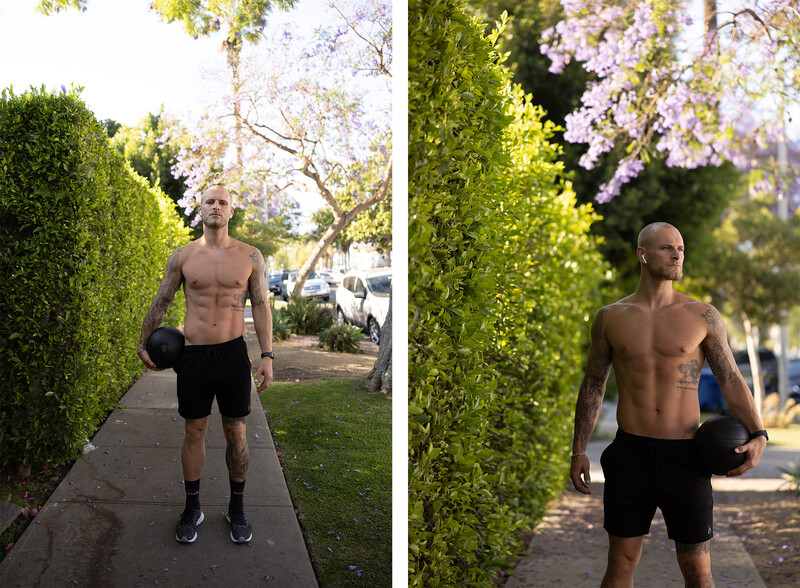
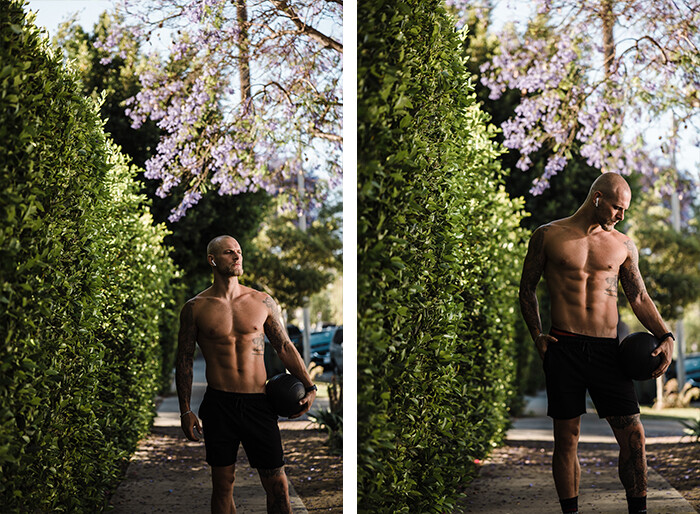
Angle your subject to help define the shadows and highlights.
Looking into a light source will create flat light. While this can be great for beauty and portrait work, it's not so great for fitness portraits where we want to see muscle definition. To avoid flat light, turn your subject away from the light source to create depth and contrast to his/her form. Pay close attention to detail when you're doing this.
With my subject facing the camera, the medicine ball came in handy to hide some of the background distractions. To hide them even more, I used a low angle and a wide aperture. Now that I have my composition and ambient light exposure dialed in, I can see that I need to add a "bump" of light to Derek himself. While I love the direction of light, I need him to be a bit brighter to stand out from the background.
Now this part is important. I like my existing light quality and direction, I just need a little more light on Derek. Because of this, I'm adding a Profoto B10 to the right of my subject. In fact, I'm matching the exact angle of the bounced light to maintain the existing light pattern. As always, be sure to place a sandbag or a heavy bag on your light stand to prevent it from falling over. Using High-Speed Sync and the flash set to 1/4 power (approximately 50-60 watt-seconds) here's what we get.
Edited with VF Presets > Pastel Pack
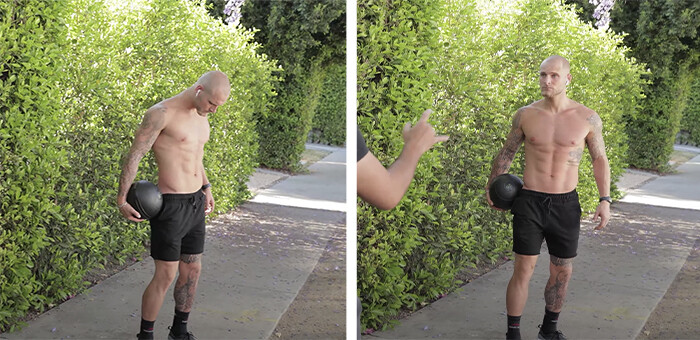
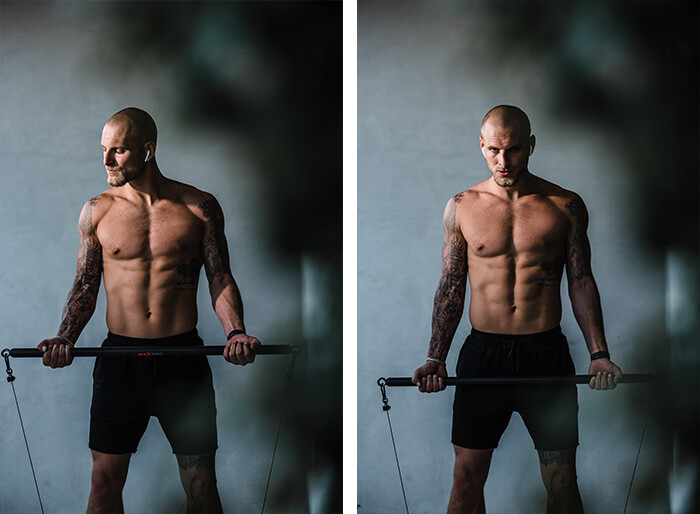
A quick tip for any fitness shoot is to take the photo after your subject exhales and engages the core. Photographing during inhalation can cause the subject to lose muscle definition. See the difference below.
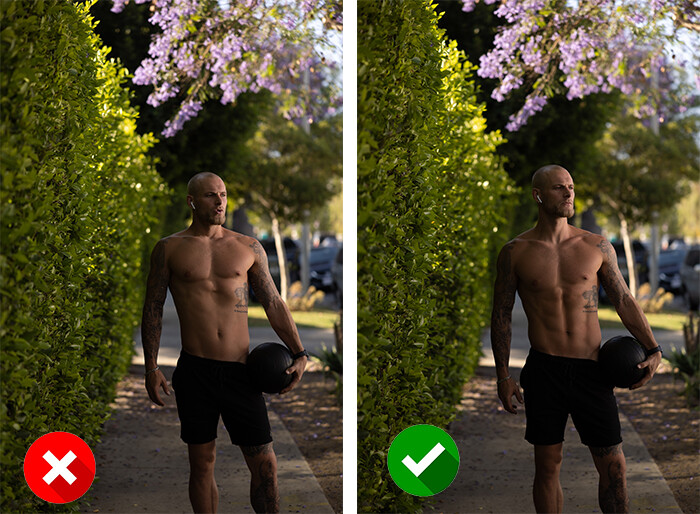
Exhaling before taking the shot helps with muscle definition
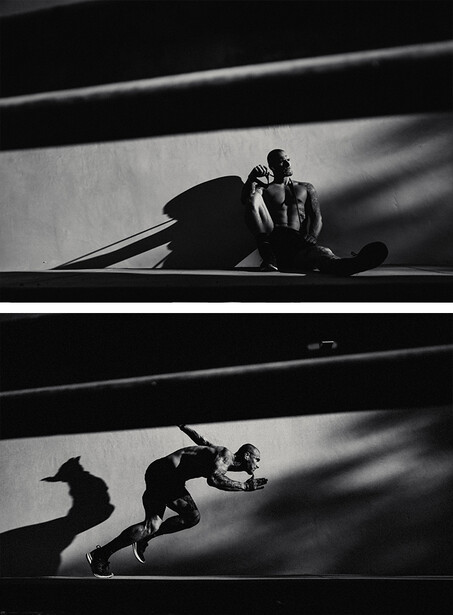
Last tip here. For action images, I recommend low angles. Doing so increases your subject's presence and allows them to have control over the frame. With this particular action, the low angle exaggerated the motion. See the comparison between the two.
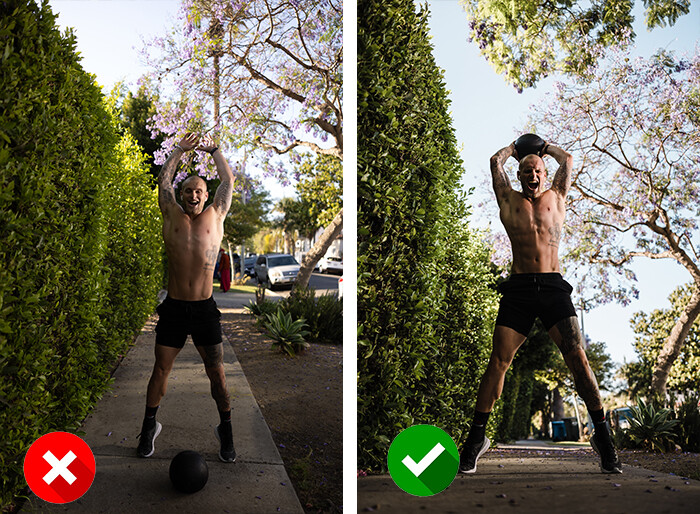
Low camera angles increase presence and allow a subject to dominate the frame
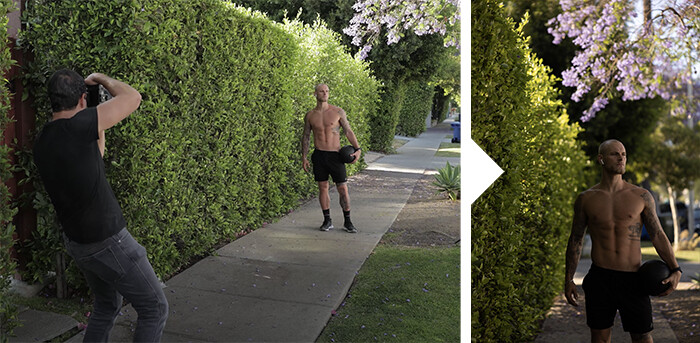
Scene #2: Use Direct Sunlight
This next scene was by far my favorite set of images from our shoot. A few feet away from the hedge I noticed a clean white wall that was catching some nice angled sunlight.
Again, before we jump in I wanted to face Derek into the light just to show how flat light erases definition. Instead, face your subject into the camera at an angle or perpendicular to the sun. With just that subtle shift in angle, look at the contrast and definition within the images below.
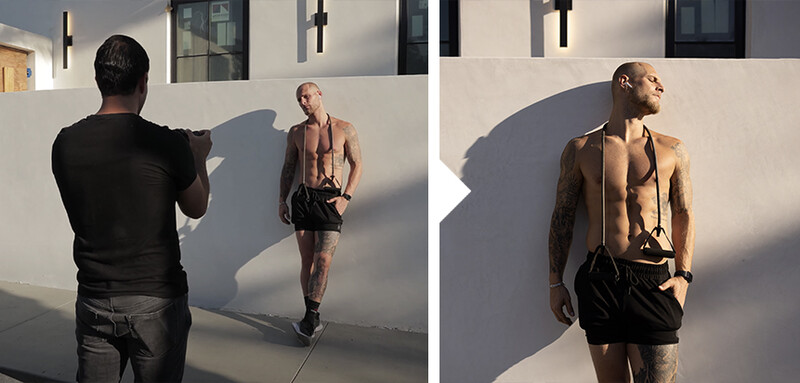
Shooting perpendicular to the light creates contrast and depth.
One important detail, in the next two images you can see how hand positioning can carry shadows across the body in a way that conceals definition.

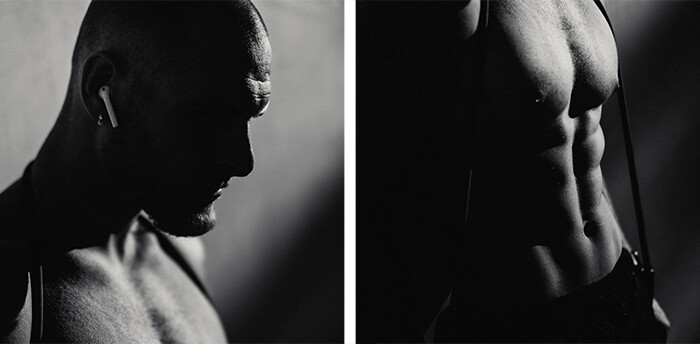
With your subject in position, shoot away! But before you finish, make sure you step in and capture some of the details as you see below. I like the image above in color, but I'm definitely a huge fan of taking this set fully to black and white. Here I'm using Visual Flow's new B+W Mixer for Lightroom to create these cinematic black and white edits.
Another thing I love to do before leaving a location is walking around looking for other angles. When I did, I spotted this guard rail that was catching a beautiful highlight.
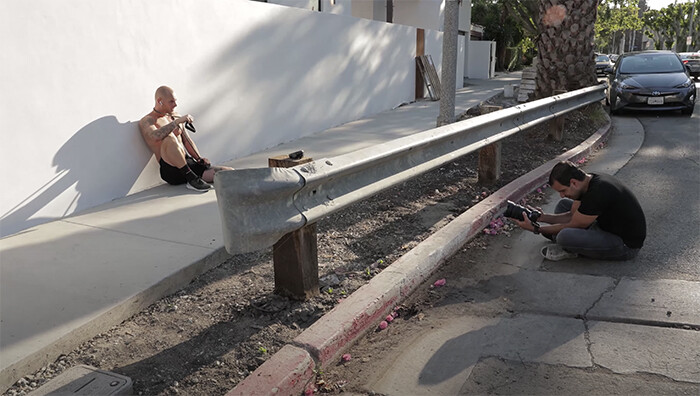
Used as a foreground, here's what it does for the image.
This second scene beautifully demonstrated just how much can be done with natural light and a simple background.
Scene #3: Using a Boring Scene
For our last scene, were working in Derek's home gym. With only natural light, we end up with a flat and uninteresting image.
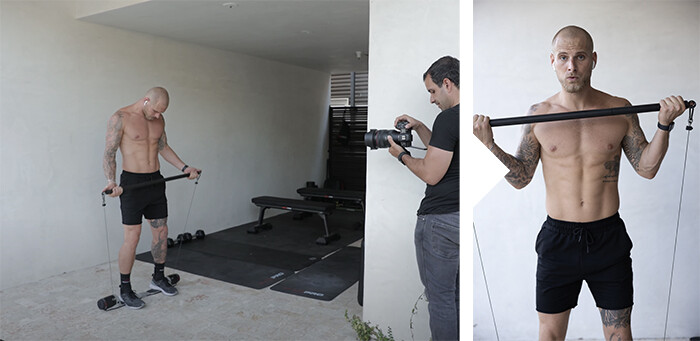
With only the ambient light, the image looks very plain and flat.
For me, the key in a scene like this is to simply pull down the in-camera exposure to darken the background while adding a little light to lift out the subject.
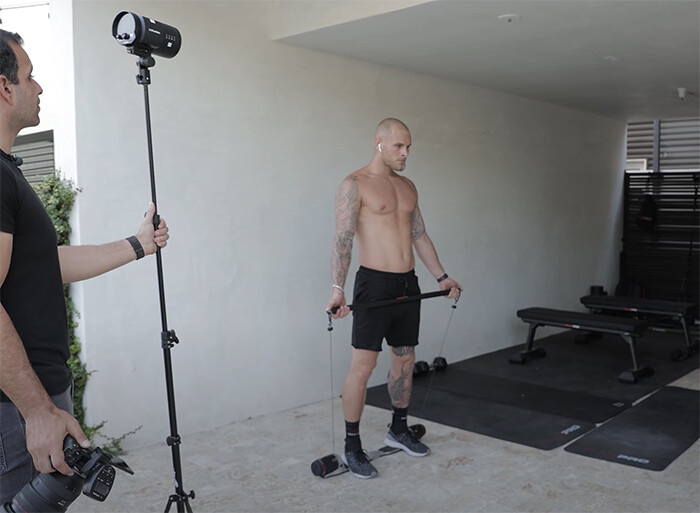
I darkened the image to set the stage for my flash. I added the light from the same direction to emphasize the existing light.
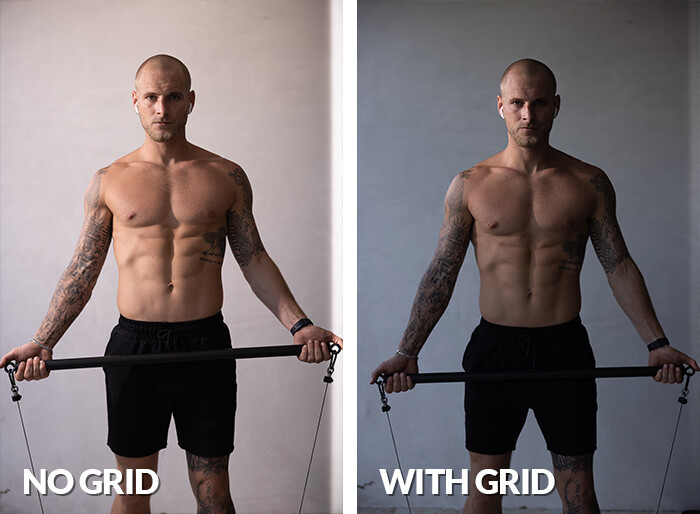
Placing the B10 at a slightly forward angle, our initial image came out like the above-left image. This perfectly shows the importance of a grid. Without a grid, the light will spill back onto the wall and you'll lose your dramatic effect. Once the grid was placed, I angled the flash to highlight Derek's face. Use your Highlight Alert to make sure you don't blow out any skin tones.
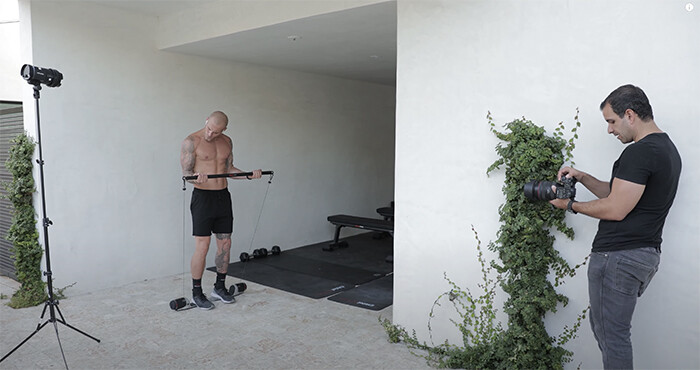
Lastly, I used this small bush as a framing device to add a foreground to the scene.
Edited with VF Presets > Pastel Pack
Conclusion
I hope you all enjoyed this tutorial and found some solid takeaways! For a more thorough guide on flash photography, be sure to check out our the Flash Photography Training System within the SLR Lounge Premium Library. If there are any topics you all would like me to cover next, feel free to comment below!
Join the Fstoppers community for free
-
Post comments and join in the discussions
-
Browse the site ad-free
-
Share your work and get featured in the community
-
Compete in the photo contests for fun and prizes
4 Comments
Great tips.
One of methods I also like is down-lighting...(I don't know what it's technically called).
https://youtu.be/XggZLkOvF1c?t=80
Thx for the comment and video! That's dope
It's all about the shadows as beautifully shown in the black n white's above. Great shots!
Definitely! Appreciate the comment!