
In-camera special effects are a great and fun way to emphasize a story in photography. Many of these special effects that seem high production are actually quite easy to accomplish using the tools we already have or are easy to get. Today, I'll be showing you how to create one of my signature portraits, the Day vs. Night.
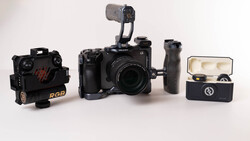
This is a sneak peek into our new course available on SLR Lounge Premium where we dive into how to create our signature portraits such as the Ring of Fire. Let's get started. To create the Day vs. Night effect, you'll need the following:
- Wide Angle Lens
- Tripod
- 3-4 Stop ND Filter
- Strobe Light
- Grid + CTO
Step #1: Composing the Shot
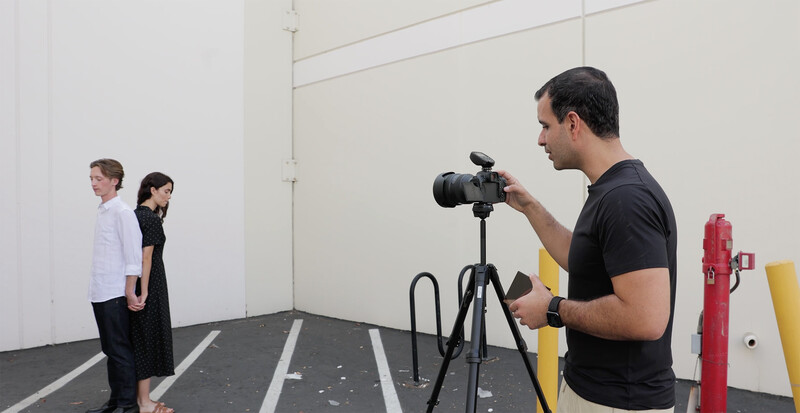
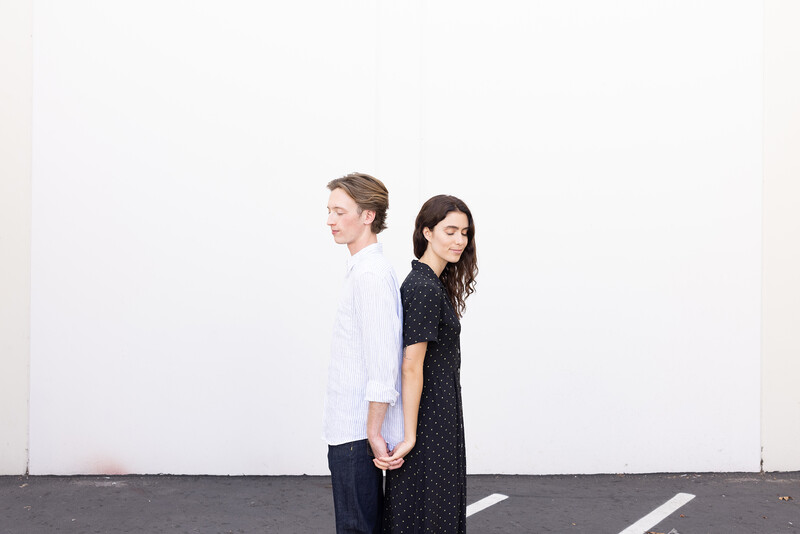
I kept my composition simple. Using a plain wall as the background, I placed my couple right in the center. The camera I'm using is the Canon EOS R5 with the RF 28-70mm f/2 lens mounted on a Peak Design Travel Tripod.
Step #2: Set Your Ambient Light Settings
Our goal is to darken the left half of the image while keeping the right half bright. To do this, I first set the exposure for the bright side.
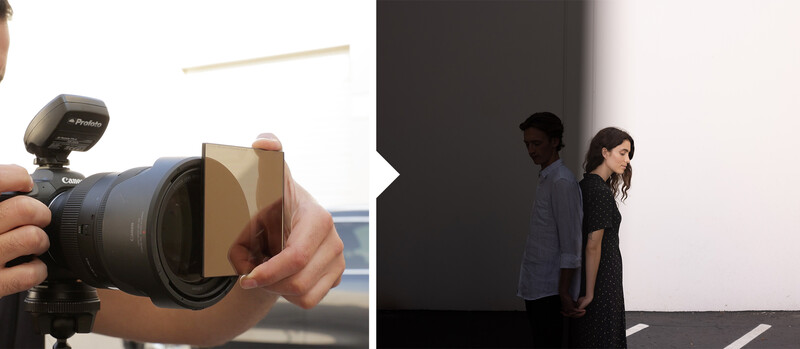
Then, to darken the left side, I held my Tiffen Water White 1.2 ND filter in front of the lens and cut the image right down the middle.
Step #3: Modify/Add Your Flash
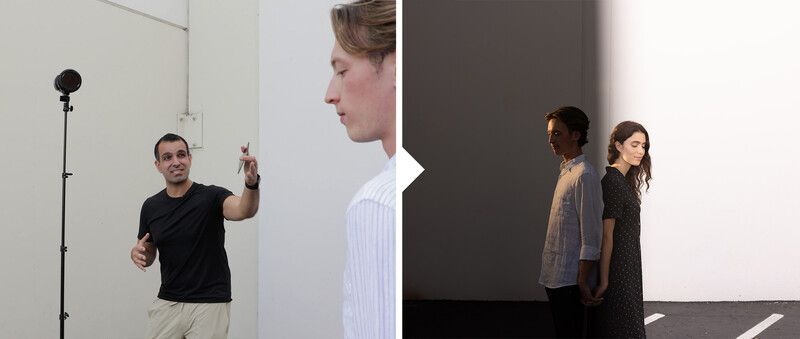
To light up the subject on the dark side of the image, add a flash just off frame. I placed my Profoto B10 Plus and aimed it directly at my model, Will. I used a CTO and Grid kit to focus the light on his face and to add warmth.
Step #4: Take Your Photograph!
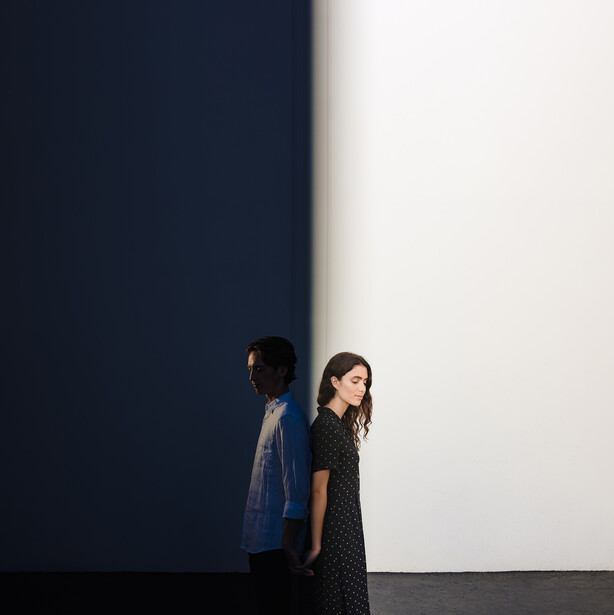
Edited with VF Presets > Crush Pack ; Image by Lin & Jirsa
Now it's time to photograph away. Adjust the ND filter to get it right down the middle and check out the awesome results!
Conclusion
I hope you enjoyed this tutorial! As you saw here, great special effects photography can be done using simple tools we likely already have. I encourage you to give this a try during your next couple's portrait shoot! Be sure to check out SLR Lounge Premium to get access to the full SFX Photography Course. In addition, check out VF Presets for intuitive lighting based presets such as the Crush Pack that we used for today's final image. Thanks for joining us and we'll see you next time!

Join the Fstoppers community for free
-
Post comments and join in the discussions
-
Browse the site ad-free
-
Share your work and get featured in the community
-
Compete in the photo contests for fun and prizes
1 Comment
This is great, Pye!