
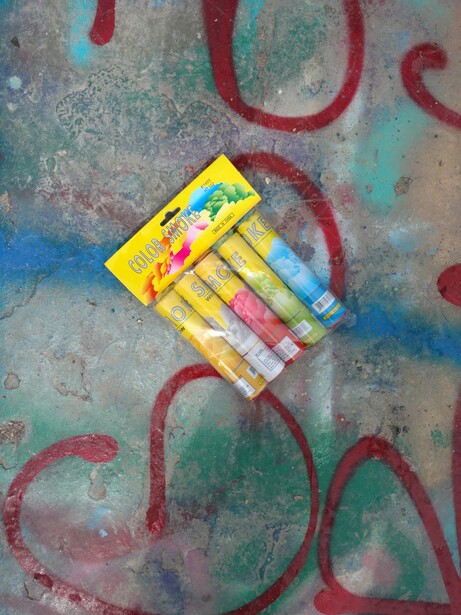
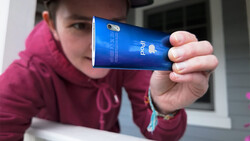
Smoke grenades: foul smelling, clothes staining, and a primary tool for celebrating the birth of our nation. Recently, while in Austin Texas, I was introduced to a model, Valerie who suggested we use smoke bombs during the shoot. I was immediately intrigued at the creative possibilities...First thing's first: where do you find smoke grenades in the off season? Well, it's not as easy as it sounds. A quick search on the web uncovers very few sellers, one of which is a company called Enola Gay. But at $14+ a pop and only 60 seconds of burn time (if you’re lucky), this option quickly becomes an expensive prospect. Then there are the DIY articles showing you how to make your own for next to nothing but after panning through a few search results, I started to feel like the terms smoke, bomb, and DIY were setting off alarms at the FBI. Luckily, I found what appeared to be a well-reviewed product called Smoke Fountains through a website called Sparkle Rock Pop. This particular set included five colored sticks of green, red, blue, white, and orange and promised sixty seconds of burn time-all for $12; worth a shot at that price and in my case, they ended up working perfectly.
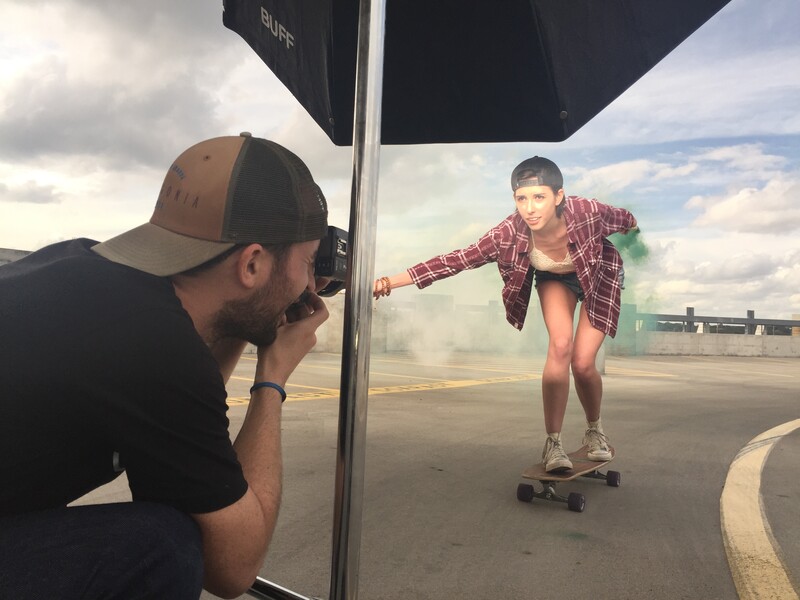
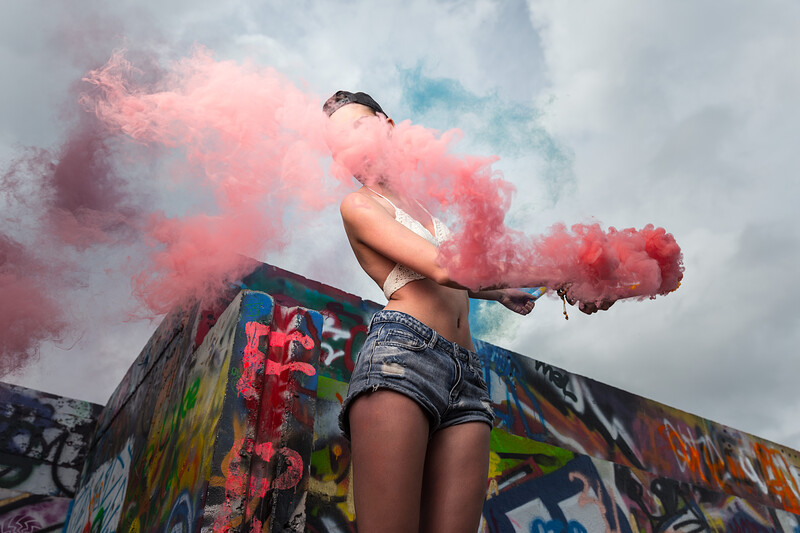
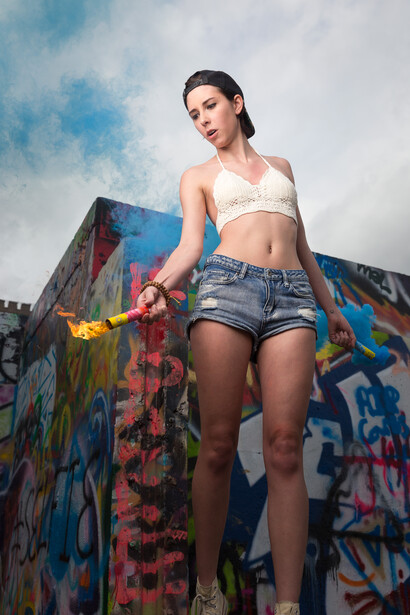
Other points to consider are proper ventilation and wind. Smoke grenades are intensely potent and release a very acrid smell into the air that when inhaled, can be overwhelming. At one point during our shoot, the area we had chosen incased the model in smoke making it difficult for her to breathe, let alone pose. Conversely, too much wind completely ruins the effect of the smoke. Despite being very concentrated, even the slightest breeze will dissipate the smoke and ruin the dramatic effect that can be obtained if it is simply allowed to float and envelope your model. Finding a happy medium is difficult but it is unlikely you will nail in on the first try regardless of how well you plan, so just start shooting.
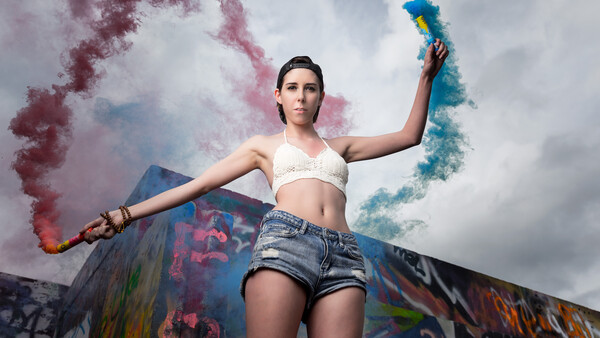
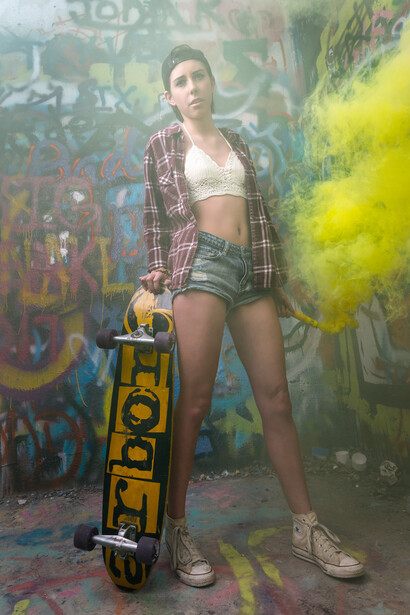
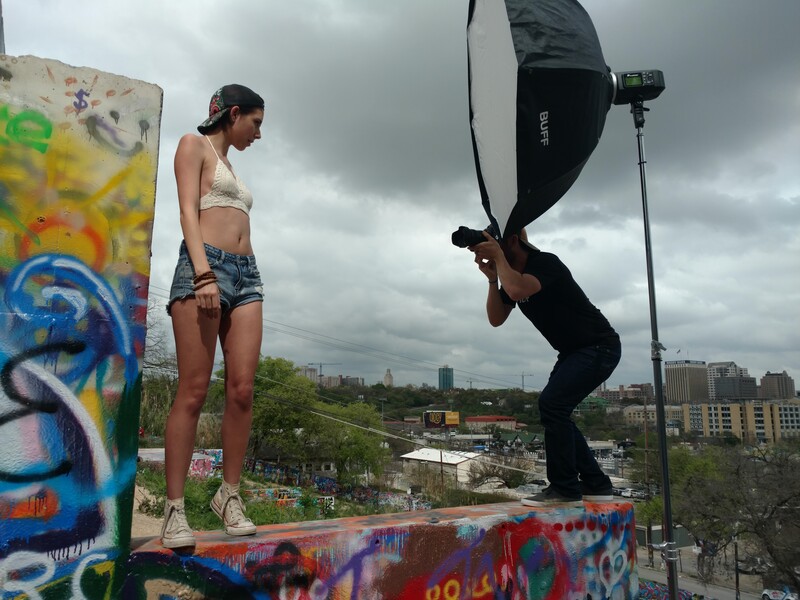
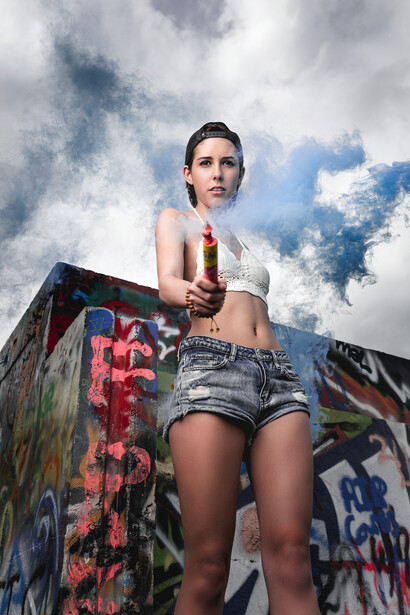
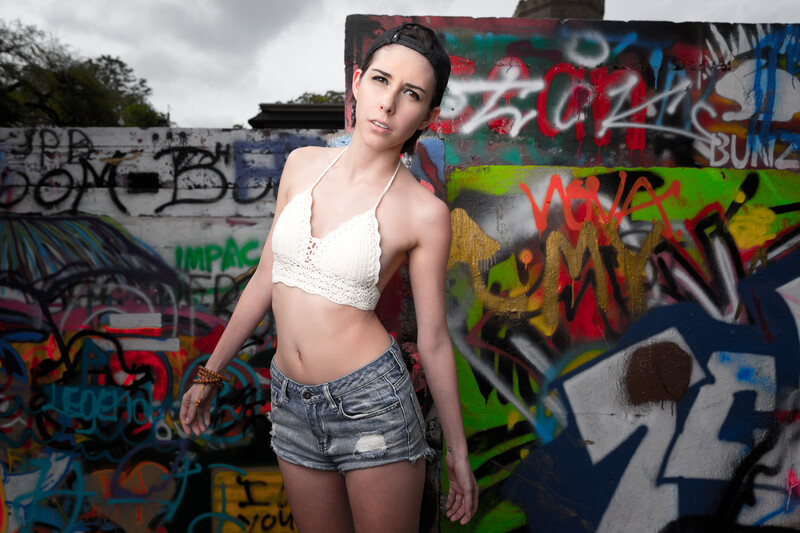
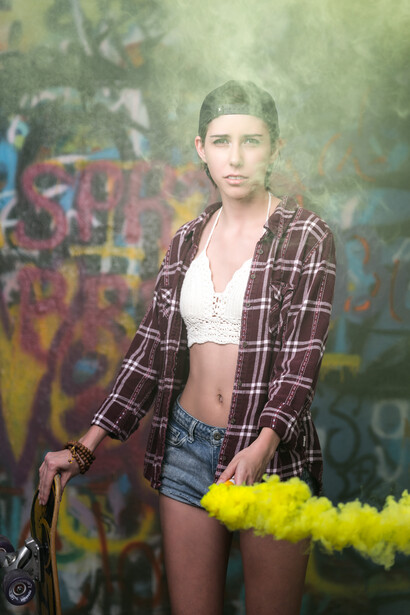
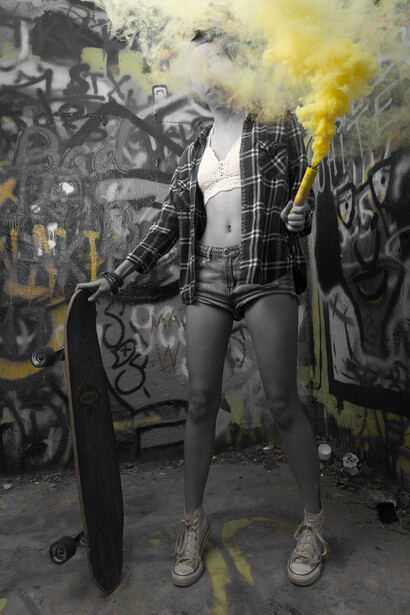
My creative concept for this shoot was to produce something dramatic and edgy. I felt as though the smoke would feature best in an urban environment so I sought out a location that was concrete, graffiti clad, and abandoned in appearance. I brought along my new Xplor 600 strobe which shoots high speed sync and allowed me to underexpose the ambient light for a significantly darker background and a shallower depth of field. In addition, I used a 47” Paul C Buff Octobox, set on an Avenger C Stand, as I intended to shoot full length portraits and wanted the light to cover not only my model but some of the smoke around her as well. For the first shot we stuck with a single stick and because of the enclosed space we were in, the smoke did not have much room to dissipate. It was a bit stifling for our model and the smoke was so thick at times, it was hard to see any of her features or the colorful background.
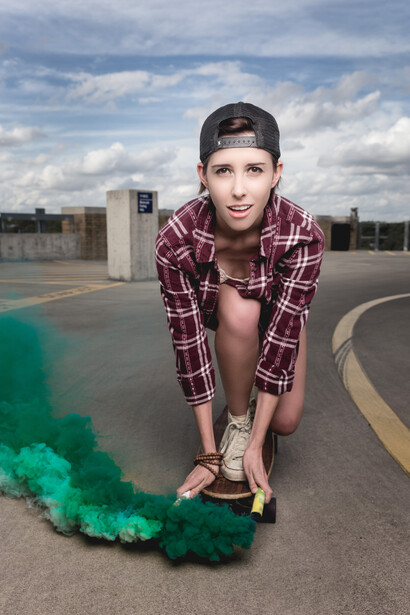
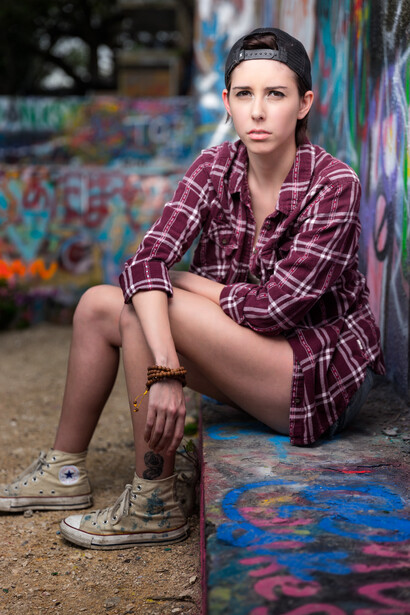

You can see more of the model Valerie Riels on her Website or Instagram.

Join the Fstoppers community for free
-
Post comments and join in the discussions
-
Browse the site ad-free
-
Share your work and get featured in the community
-
Compete in the photo contests for fun and prizes
14 Comments
You're so lucky you found a cheaper alternative to Enola Gay smoke grenades. I couldn't find anything else last year and I found them very expensive (plus one of them didn't fire)
Seemed way overpriced for some reason, the cheap ones worked very well for me surprisingly. Fantastic shot BTW!!
Thanks ! And thank you for the tip I checked if the grenades are available in Europe and they are... with $36 shipping to where I am in Spain !!! Hehehe
I'm based in spain too and I managed to find the Enola Gaye ones from here: https://www.justpaintball.co.uk/grenades-etc/wire-pull-smoke-grenade.ht… for only £4!
Thanks for the tip man !
I LOVE THIS PHOTO!! can i please use it for my youtube channel banner? i will not take ant credit for the photo!
Love what you did with these too by the way !
These guys do them really cheap (at the moment anyhow!) https://moderncombatsports.co.uk/collections/enola-gaye-smoke-grenades (different colours and styles as well.....
Nice project. I'm curious how you got a Buff Octobox on the Flashpoint, I thought the Buff mount was proprietary, and the Flashpoints are Bowens.
Thx for reading Spy! You are right, I had to modify the mount to fit the Xplor. I had ti buy this Bowens adapter mount: https://www.bhphotovideo.com/c/product/854850-REG/Bowens_RD_6210_BOWENS… . The Buff mount is held on by screws that clamp down, as you may already know, and can be removed fairly easily with this mount fitting right in its place. Works perfectly IMO and the Buff octo is a beast
OK, that makes sense. Incidentally, distributors of the Godox/Flashpoint Xplor Adorama have a pretty cool set of self-collapsing octa softbox unbrellas that set up and break down in seconds. Not sure if you've seen them, they can fit either speedlights or full strobes. Very cool: https://www.adorama.com/glsbsm38pp.html
Sweetness. Love all things smoke and fire.
Thx Ken!
Please be careful using these around flammable materials... they will spark and shoot fire sometimes which can ignite their surroundings.
You don't want to be the jackass photographer that burned down a cool old building like happened in Florida last year.