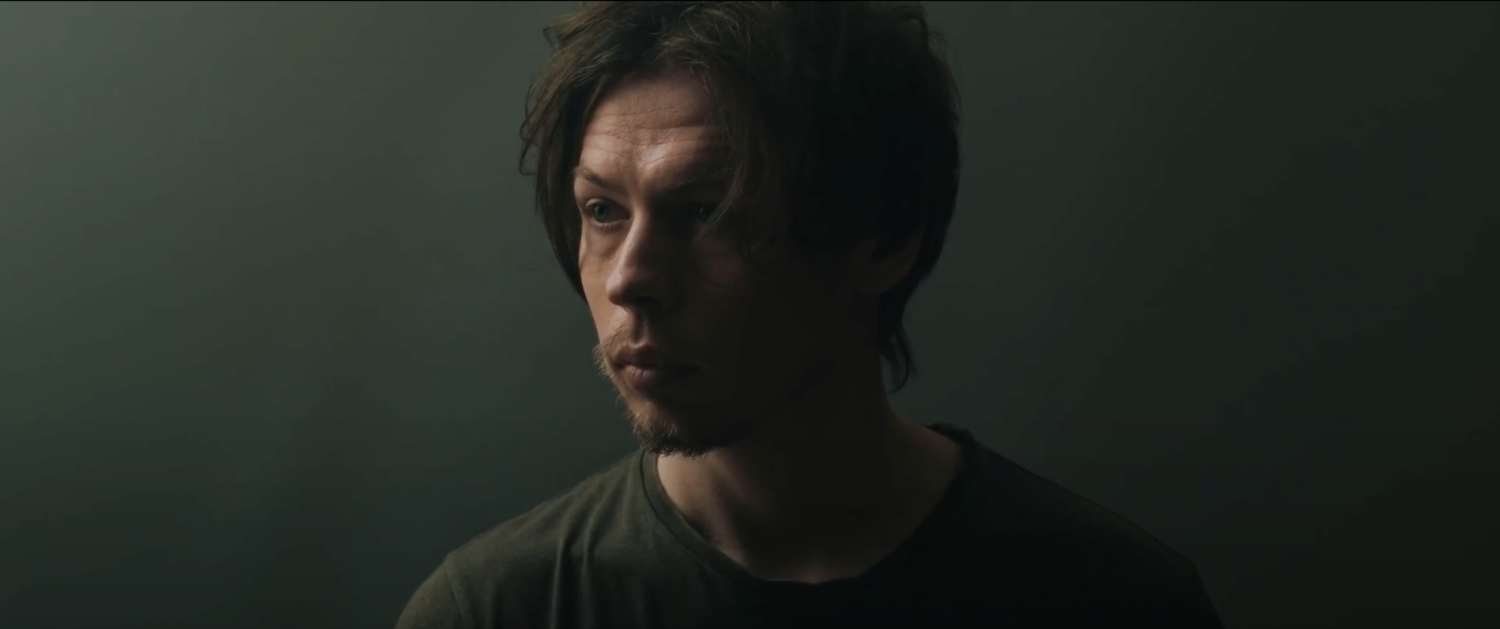
As filmmakers, we have a vast array of tools in our kit, and it's always good to expand it and try new and innovative setups. Learn to take your lighting to the next level by using reverse key lighting on your next shoot.
While there is an abundance of tools at our disposal to tell our stories like using lighting, it's important to note that, before employing any technique, it must be motivated and used with intention. With that being said, if you're looking for a versatile cinematic lighting setup, the reverse key lighting technique is one you should add to your books.
In this eye opening video released by YouTuber, and filmmaker Rob Ellis, he walks through a scene he lit, and breaks down his process. He divides his approach into two categories: short lighting, and broad lighting. Broad light he explains, is the light that is coming from the side of the face that is closest to the camera. This often produces a harsh un flattering light on the actor. 
But, if you put the light on the opposite side of the face, which illuminates the part of the actor that is farthest from the camera, you get short lighting, which is crucial for achieving a cinematic look.
Seeing the reverse key lighting technique used, was extremely useful to me. When I typically shoot, I fall into the habit of shooting into the highlight side of my models face, and placing my light too front on, causing my shot to sometimes fall flat as well as lacking motivation for the key light. But by using this simple technique of placing the light slightly behind the subject, which helps give dimension and shadow to my subjects face, made this a setup something I will be trying out on my upcoming shoots.
Have you ever used the reverse key lighting effect on any of your shoots? Leave your results in the comments below.


I discovered his videos about a week ago; even though I'll never shoot video, I'm learning a lot about lighting.