
The nostalgia of film and the decades gone is fascinating so no wonder film presets and looks are popular to buy for your editing software. They’re pretty easy to make yourself if you put a little bit of time into understanding what elements in editing make the film look different from digital. Follow my tutorial to make your own vintage film presets for Capture One, Lightroom or PhotoShop.
Study Images First
I think a great way to learn what it is that you love about the film look is by studying photographs shot using it, particularly from the 20th Century. My personal favourites are nostalgic images from the 70s and 80s, but I also love the early black-and-white prints from the 1930s.
When you study images look at colour — is it saturated, desaturated or tinted with a specific hue? Another thing to look at is the overall colour balance — are the images cool or warm? Sometimes the highlights are warm and the shadows are cool. Look at the overall high dynamic range — are the images high in contrast or faded?
The images that appeal to me appear a little faded and warm. I appreciate the black and white faded look from the 1930s. Having said that I also love the saturated colours of the 1990s and the 2000s from photographers such as Philip-Lorca diCorcia. A very simplified analysis is that the earlier film photographs have a faded appearance with fewer details in the shadows and highlights and that later film prints had more colour and contrast.
Vintage Presets
I’m going to generalise a little bit here and say that the colour film look is commonly lower in contrast than what modern digital cameras are capable of producing. When using film your whites will never clip, no matter how hard you push them. When I make my presets I’ll be flattening both the highlights and the shadows for a vintage effect. Early Kodachrome film also appeared warm and some colours faded easily. Grain was present in most film photography and adding it will instantly bring out the film-like effect. If you study film photography closely it quite often doesn’t appear as sharp as modern digital photography.
I’m going to base my presets almost entirely on using curves, levels and grain. I’ll be using Capture One, but these adjustments can be made in pretty much all professional editing software.
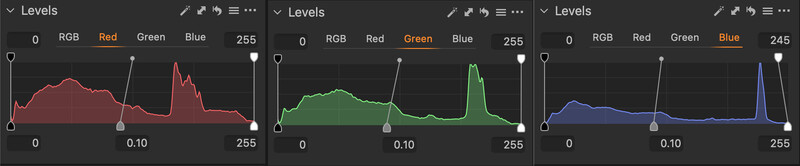
We’ll start with curves. I usually make my initial curves in the Luma panel and colour adjustments in the specific channels for red, green and blue (and their counterparts). To make things easier to follow I’ll apply the colour adjustments using levels.
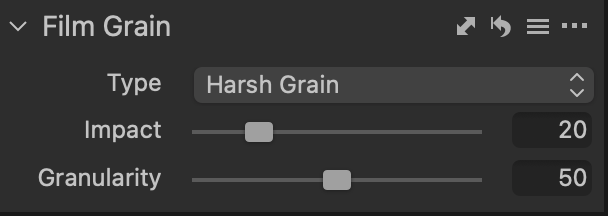
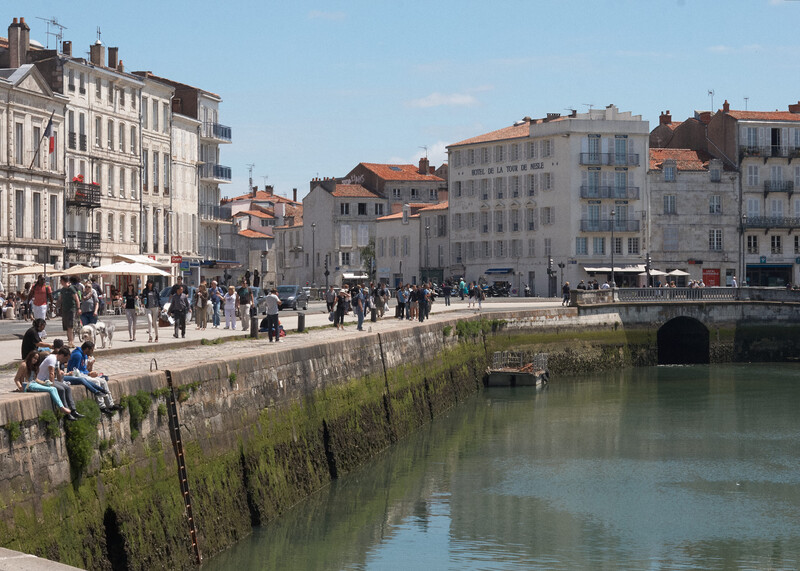
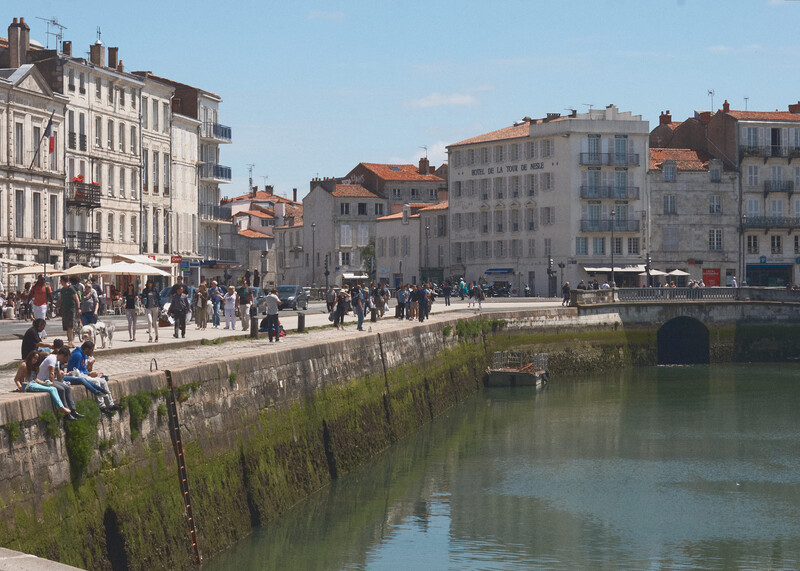
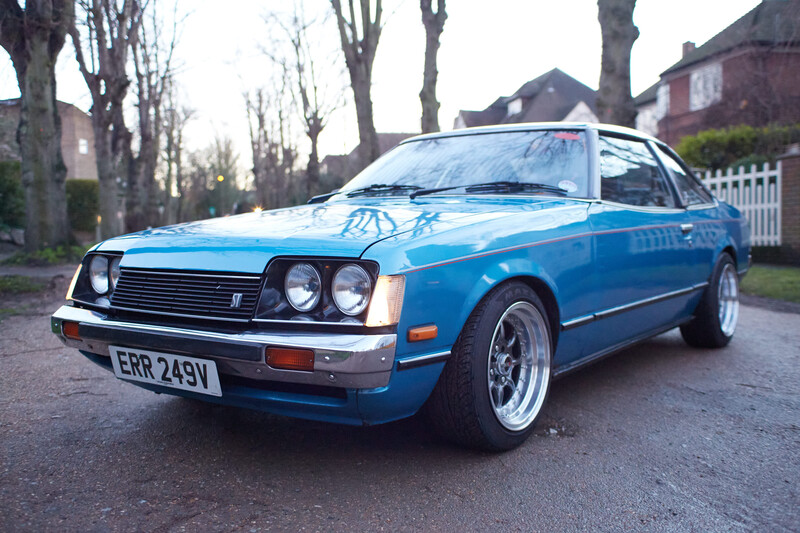
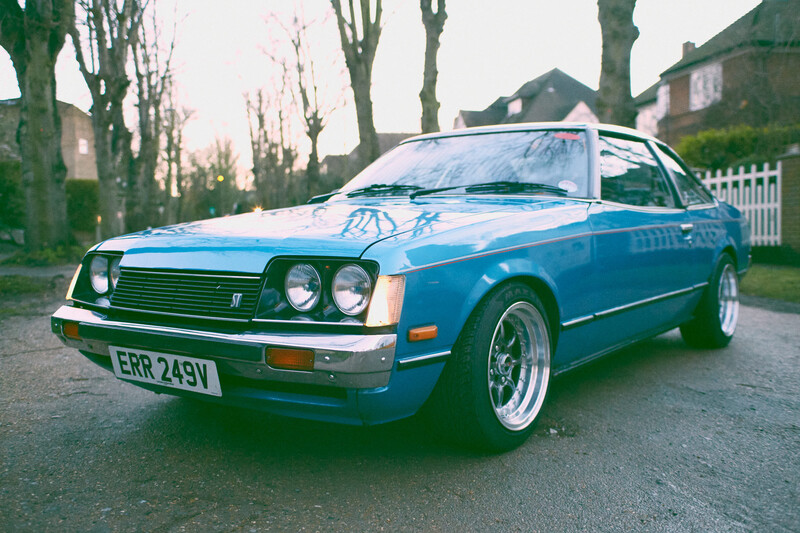
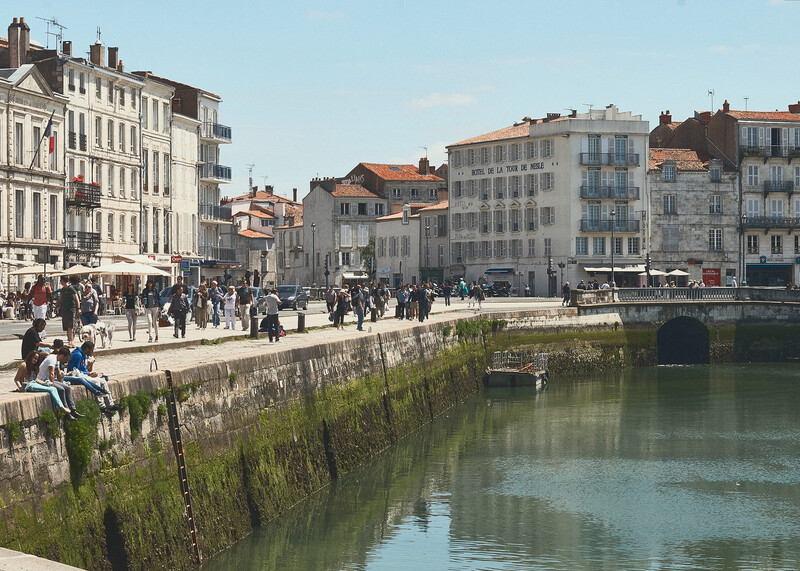
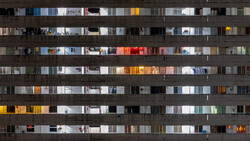
I took this cityscape (below) in France a few years back, but it could have been a long time ago as the buildings would not have changed. To make it look vintage I will make it a faded and grainy image. With the curve, I am moving the white point down from 255 to 235 so 20 points down, and then I’ll do the same with the black. I am moving the black point up from 0 to 20, then I’ll shape the line from a linear to a curved shape as seen below. After I am happy with my curve I will add the film grain.

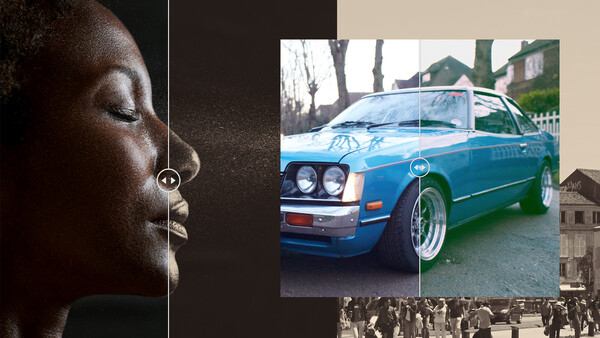
I like this and will save it as my base Vintage preset. Then I’ll be making variations with colour tints and a black and white version. But for now, enjoy the before and afters below.
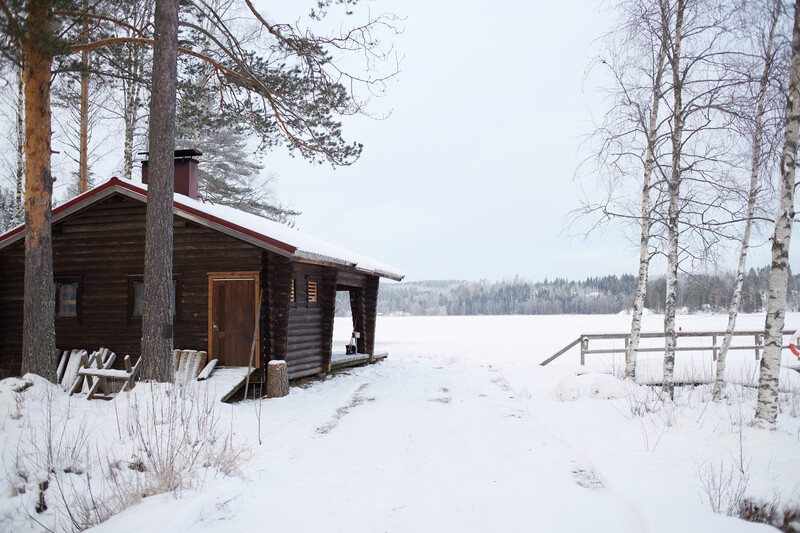
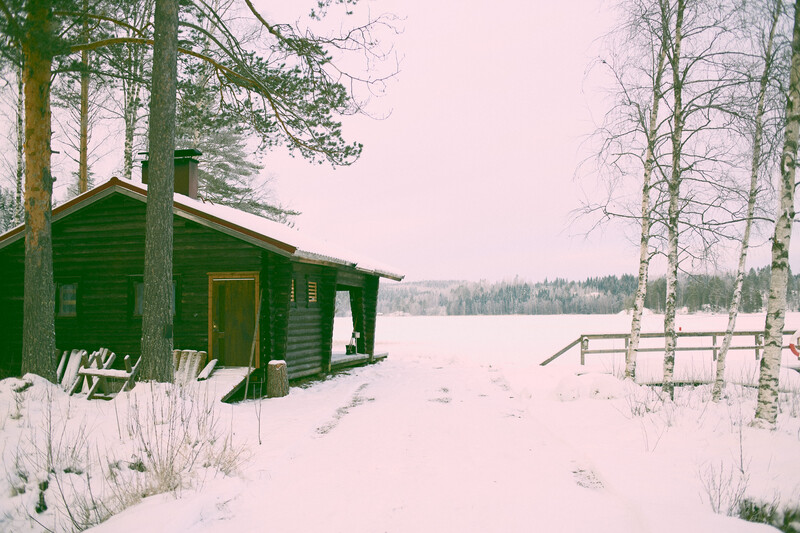
The second preset I’m going to make is not inspired by any specific film but by my preference for baby pink hues which I’m going to complement with green shadows. I will start with the Vintage preset I just saved and add colour adjustments in the levels panel. The results are below.

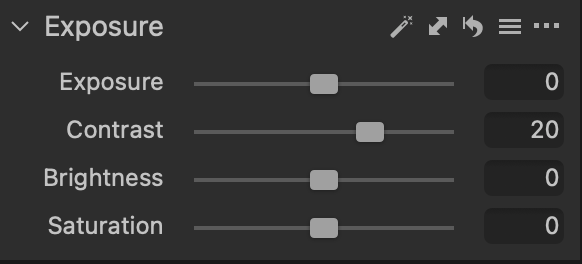
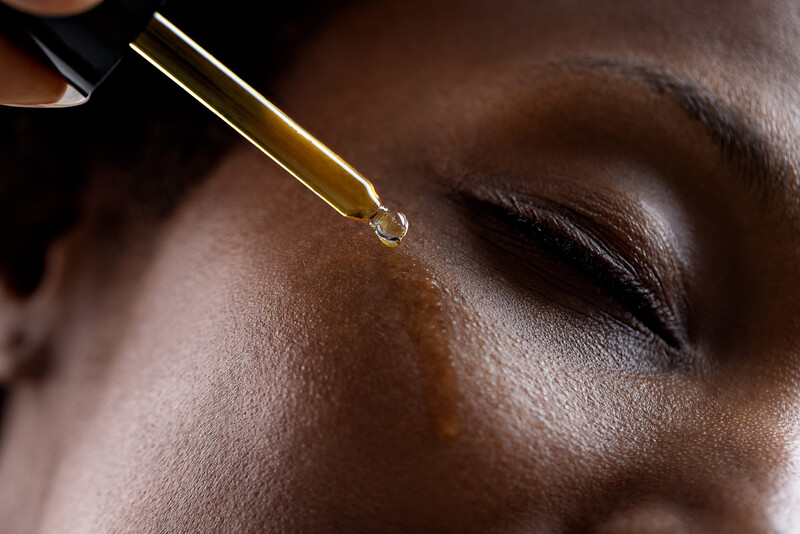
What about specific films you ask? Well, there are a few that are very popular with the preset crowd and I’ll be looking at Kodak Portra for inspiration in creating my second look. I’ll open my image again with the Vintage preset applied, and then make colour adjustments on top. I’ll be using the levels panel for colours as the adjustments made there will be easier to recreate for you as readers (just type in the numbers). I’m going to warm up the highlights on the blue channel, lighten mid-tones on all channels as well as add more contrast.
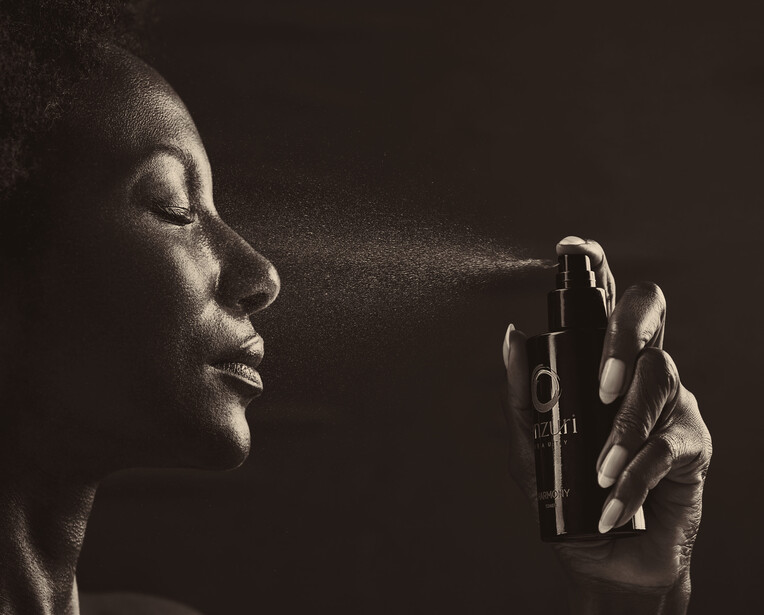
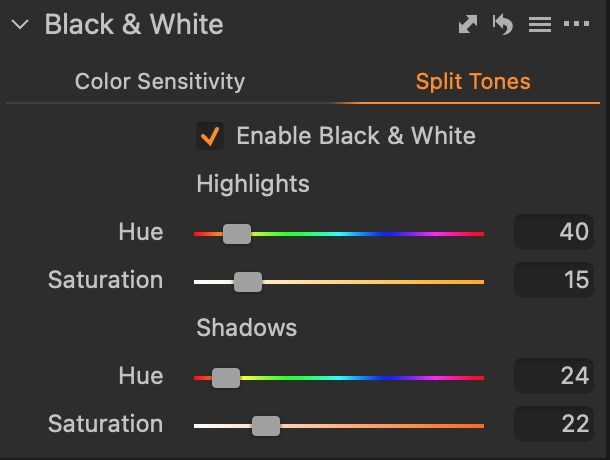
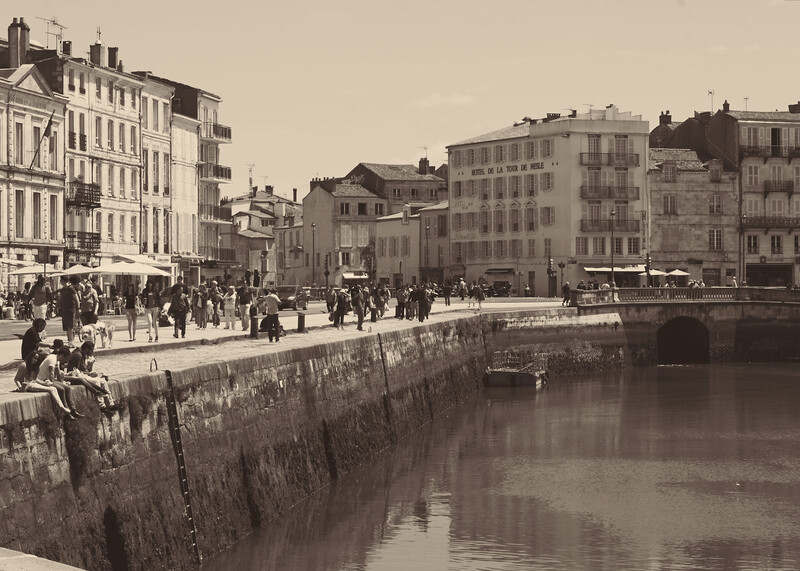
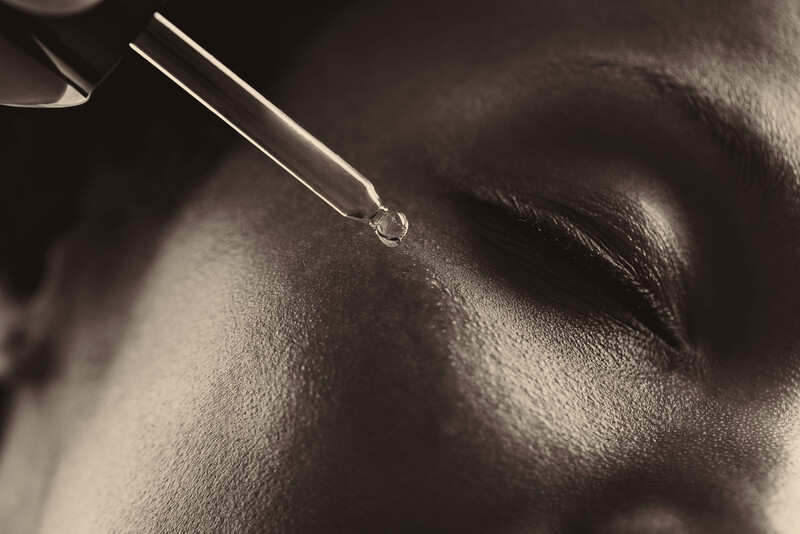
Now we have our vintage presets with colour variations. For my last preset I want to make a black-and-white style with faded tones of yellow. I again start with the first Vintage preset I created. I then change the image to black and white in the Split Tone panel and add warmer yellow tones. Enjoy the before and afters below.
Saving Presets
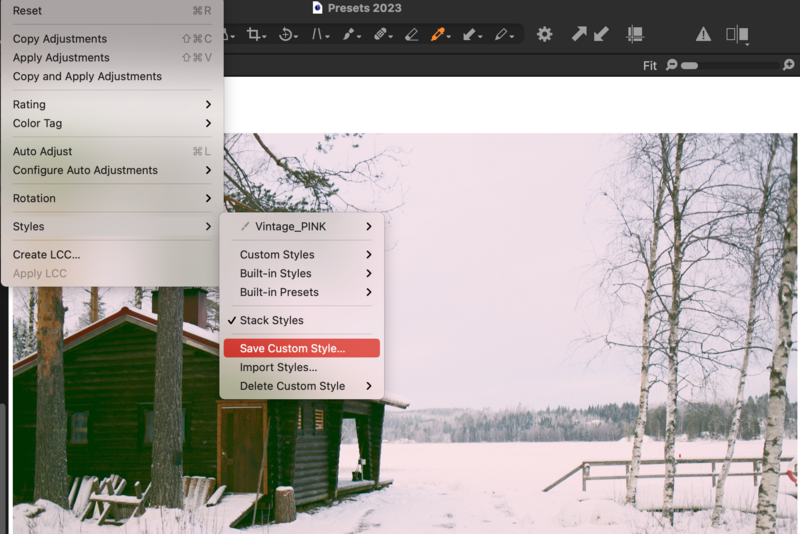
On Capture One to save a preset or “Style” as it is called in this software, I simply click on Adjustments, Save Custom Style and then select only the adjustments that I have changed, never the crop or white balance.
That's all four presets done with a simple set of adjustments.
- Vintage: curve and grain
- Vintage Pink: curve, grain and levels
- Vintage Portra: curve, grain, levels and contrast
- Vintage Black-and-White: curve, grain, black-and-white split toning
Film presets can help impart a sense of nostalgia and so can lend themselves well to the idea of storytelling. With my commercial work, I tend to use much less editing but for specific projects or editorial shoots, they are great.
There are many sources that you can buy presets from. My advice is to keep in mind the sellers are often using beautiful source images with a specific look suited to the presets being sold. They make it very tempting to buy into the idea that they will
I’m not saying that you shouldn’t buy presets. There is a reason most people don’t make their own bread — it’s easier to buy it. Buying film presets might be the right choice for you but I do hope you’re able to create what you are after with my techniques in this article.
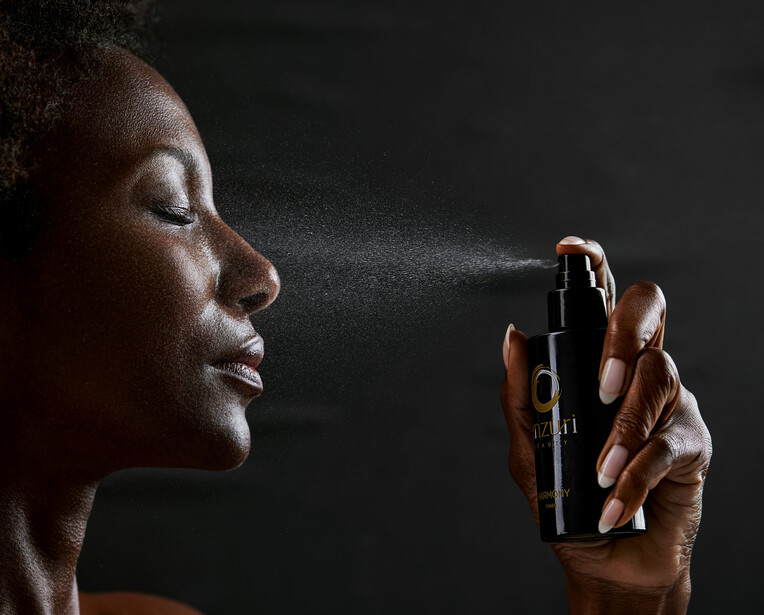
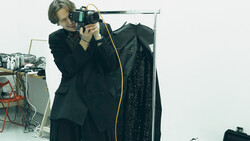
Beauty images used with permission of Michelle Vantine.


Join the Fstoppers community for free
-
Post comments and join in the discussions
-
Browse the site ad-free
-
Share your work and get featured in the community
-
Compete in the photo contests for fun and prizes
2 Comments
Yes, I believe every photographer should develop his/her own presets, it gives consistency in your style which is very important if you work as a professional photographer. From my experience, that is not a quick task, it can take years to get the perfect preset for you
I always have presets. One each for landscapes, portraits, and B&W. It's not that time-consuming and you save a lot of time if you need PP on the computer.