
This is a simple yet very personal and special project you can do at home for your clients, family, or your own walls. Traditional online canvas sales proceeding a photo session can be bland and impersonal. So if you have some time to spare for this project, it creates a connection like no other with your clients. I think of projects like this as the cherry on top of a photoshoot. It's one of the few ways to carry your artistic ability all the way through to the hard copy. This technique is usually used in the fine arts and street art world, so adding this to digital photography is a cool way to merge the two worlds. Essentially, with this you will separate your photo's ink from the paper to leave it floating in clear acrylic medium.
What You'll Need
The supplies needed for this project are available at your local craft store and other stores like Walmart. Since the possibilities with this project are endless, you may even have what you need laying around.
- Acrylic medium. Any gel medium will work, some better than others with varying results. For this, I'm using Mod Podge. It's the cheapest and can be sold anywhere they sell school supplies. I suggest starting with this for your first couple tries so you don't waste any expensive artist-grade acrylic.
- A canvas. You can get creative with this one or use traditional canvases. I've used pieces of wood, plastic, and glass. I like to use the thin gesso artboard canvases from Michaels since they have a mild amount of texture, and are warp resistant and double primed. Because the final acrylic transfer is flexible like fabric you can put it on rounded items as well such as glass bottles.
- Paintbrushes. You can use any brushes but I find the thicker sponge or bristle ones work best. You can throw in a few smaller ones to add textures to your project. Different brushes put the medium on the paper differently. I'm using the cheapest pack from Michaels.
- A tray large enough for your image to lay completely submerged in water. You can fill your sink with water if you can't find anything for this step.
- Scissors for if you need to cut your printed image. I added a little flair to the top of my image to make a border.
- An image to transfer. You can use any image, but I recommend using a color photo print on regular uncoated paper as it transfers the best.

Optional Supplies
- Materials to mix with your acrylic medium like glitter, sand, flour, sugar, or dyes. Once I mixed dried flower petals from a brides wedding in with the acrylic medium. The bride was overjoyed that I had thought to keep the petals and make something she could enjoy forever out of them. I added a bit of silver makeup glitter to add some roughness to the transfer.
- A fan or hair dryer.
- Fixative spray to cover your photo with before applying acrylic. Depending on the printing process, the ink may run when you apply the first layer of acrylic. I don't personally mind the color bleeds but if you are worried about this pick up any type of spray adhesive and make sure it's safe for paper materials.
The Process
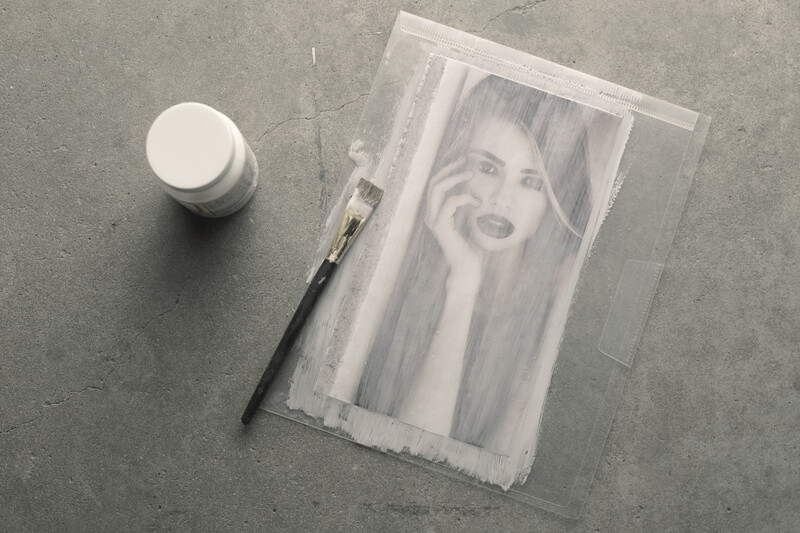
- Place your photo on a plastic mat or another work surface. I just used a sheet protector. This is so the photo is easy to peel off.
- Then you'll start by painting an even thin first layer of medium on the front of your printed photo. Make sure to be thorough and paint in one direction over the whole image.
Step one - Wash your brush each time or let it soak in water while your work is drying.
- Let it dry. You can let your work air dry, but if you're impatient like me you can dry your work a foot or so away from a fan or dryer to finish your piece in double time. You'll be able to tell when it's dry because the medium will be clear.

Drying your own photo canvas - Repeat steps 1 and 2 somewhere between 6 and 10 times. If you are applying thinner layers then do a few extra coats. Brush in the opposite direction each layer.
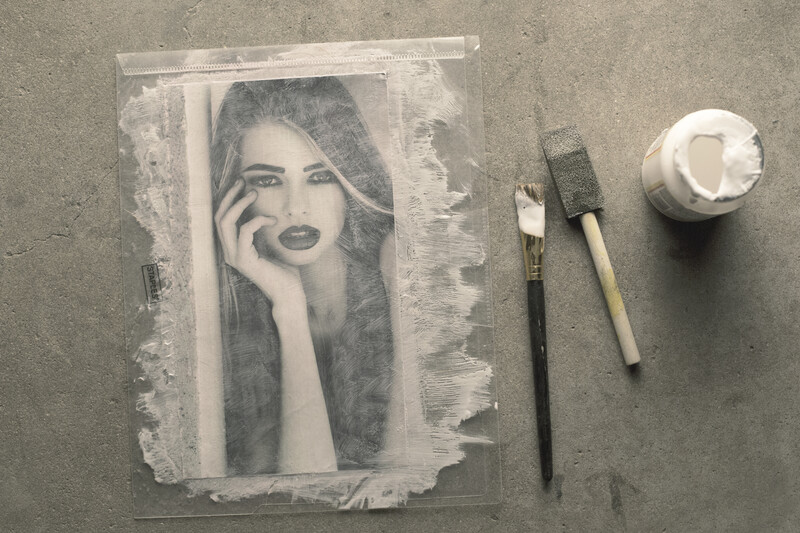
How to create your own photography canvases - Make sure each layer is fully dried before applying the next one.
- After every layer is fully dried, peel your acrylic off of the surface you were working on. Be careful because the acrylic may rip if you pull it off too fast.
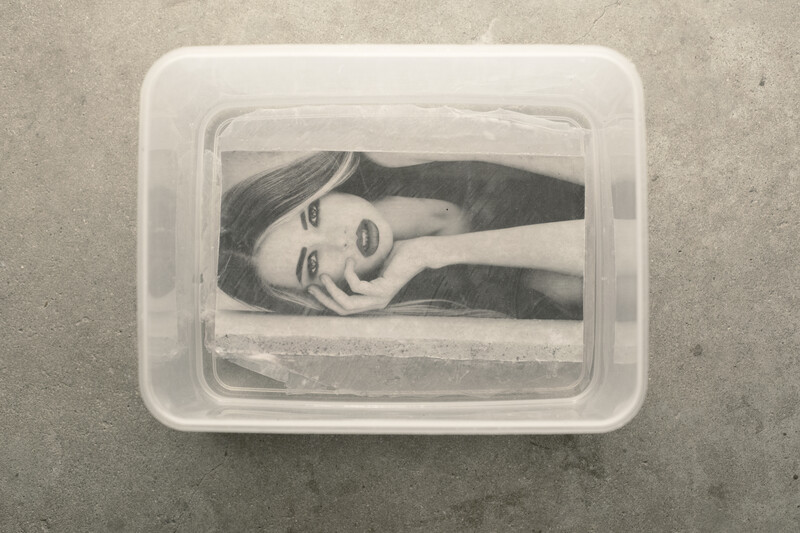
Photography print in plastic - Next, you're going to soak it in hot/very warm water for about 10 to 15 minutes, or whenever the paper becomes easy to rub off. When you do this the paper will actually dissolve away from the image. If your image isn't fully dry you will lose some acrylic as well. If the water is cold you won't be able to get the paper separated from the image.
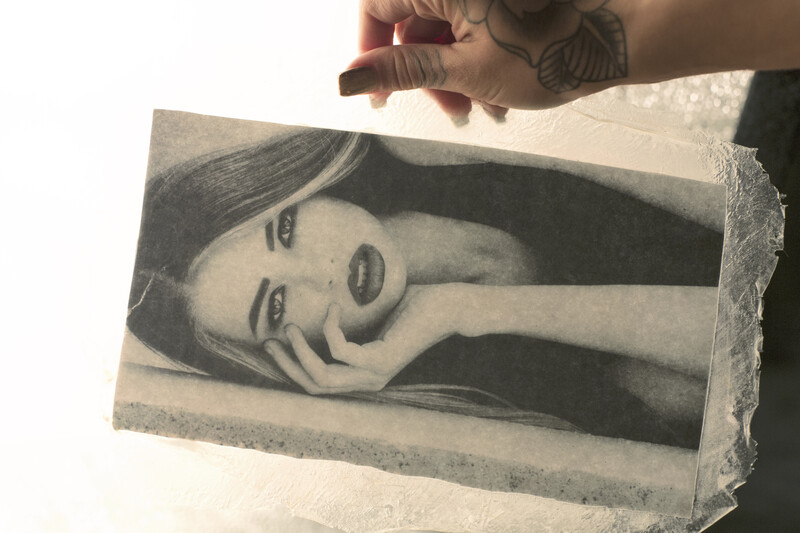
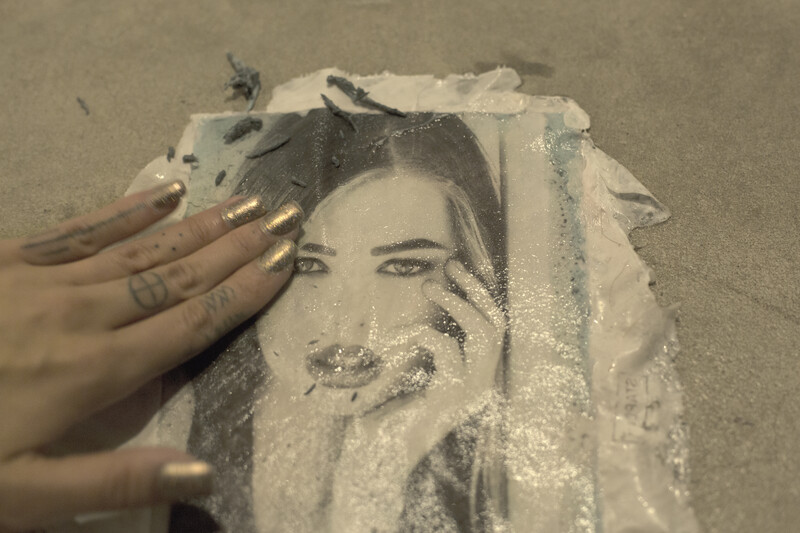
Soak image for about 15 minutes - Carefully scrub off the paper from the back of the gel with your fingers or a sponge. The more pieces of paper fibers that you work to scrub off, the cleaner the image will look. I chose to leave some on the borders because it turned out a blueish tint when I soaked it and ended up liking it.
Carefully rub off the paper from the back of your image - Rinse in fresh water to remove any leftover scraps of paper.
- Wipe with a paper towel and air dry completely.
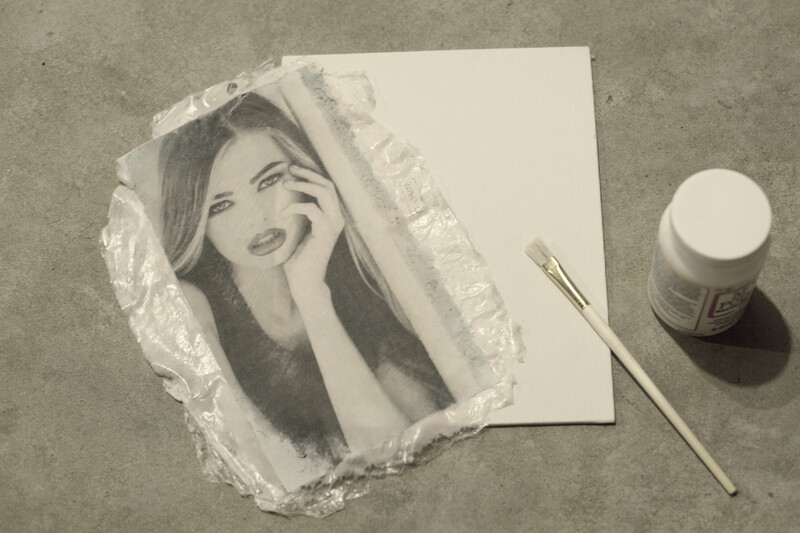
- Your photo is ready to place on whatever you'd like. The final transfers stick best to glass or plastic. When transferring to the canvas I paint a coat of medium on the canvas or board first and let it dry before using the medium to adhere the transfer to it. To transfer the acrylic on your canvas, brush acrylic on the back of your image and lay it on your canvas.
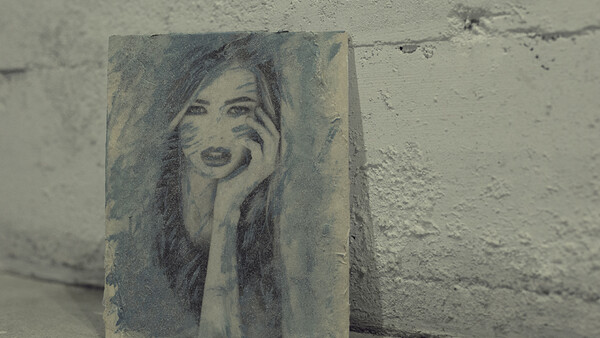
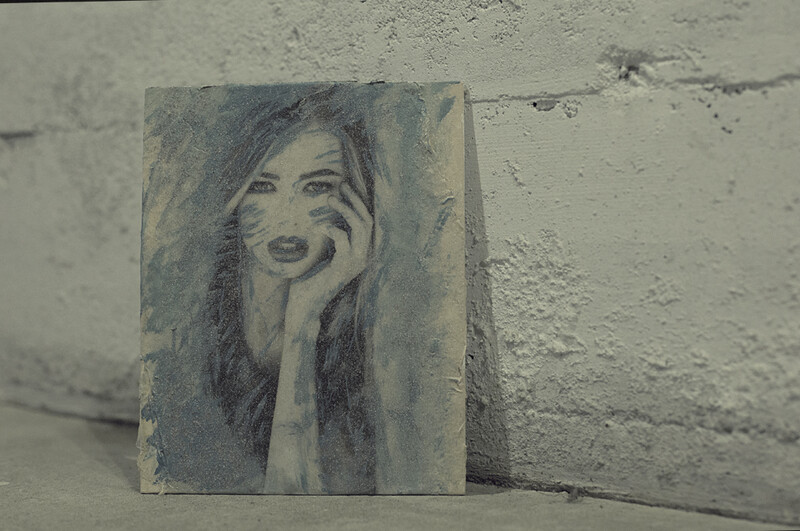
How to make your own photography canvas - You can customize your final piece any way you can think of. I chose to fill my borders in with some paint and glitter.
My Finished Product
Feel free to share your own projects like this in the comments.

Join the Fstoppers community for free
-
Post comments and join in the discussions
-
Browse the site ad-free
-
Share your work and get featured in the community
-
Compete in the photo contests for fun and prizes
1 Comment
Well, I'm gonna have to try that! I already have just the project for it. Thanks!