
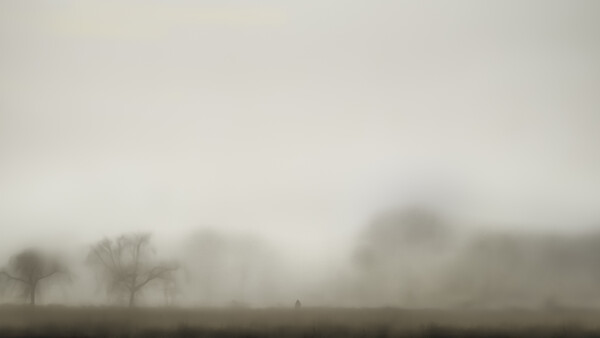
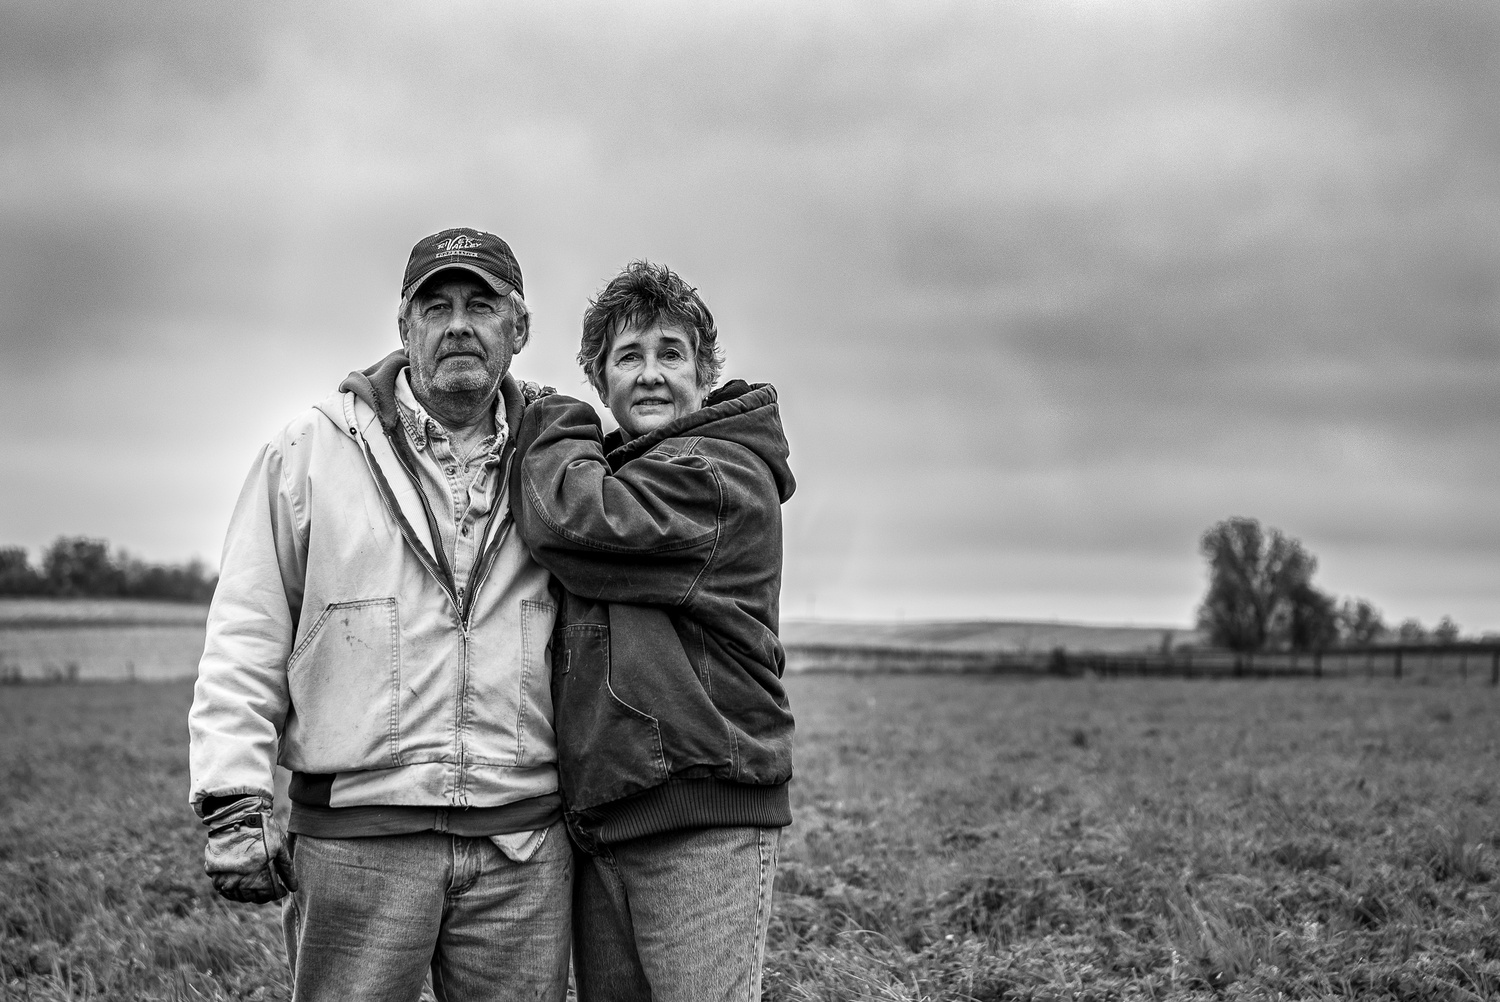
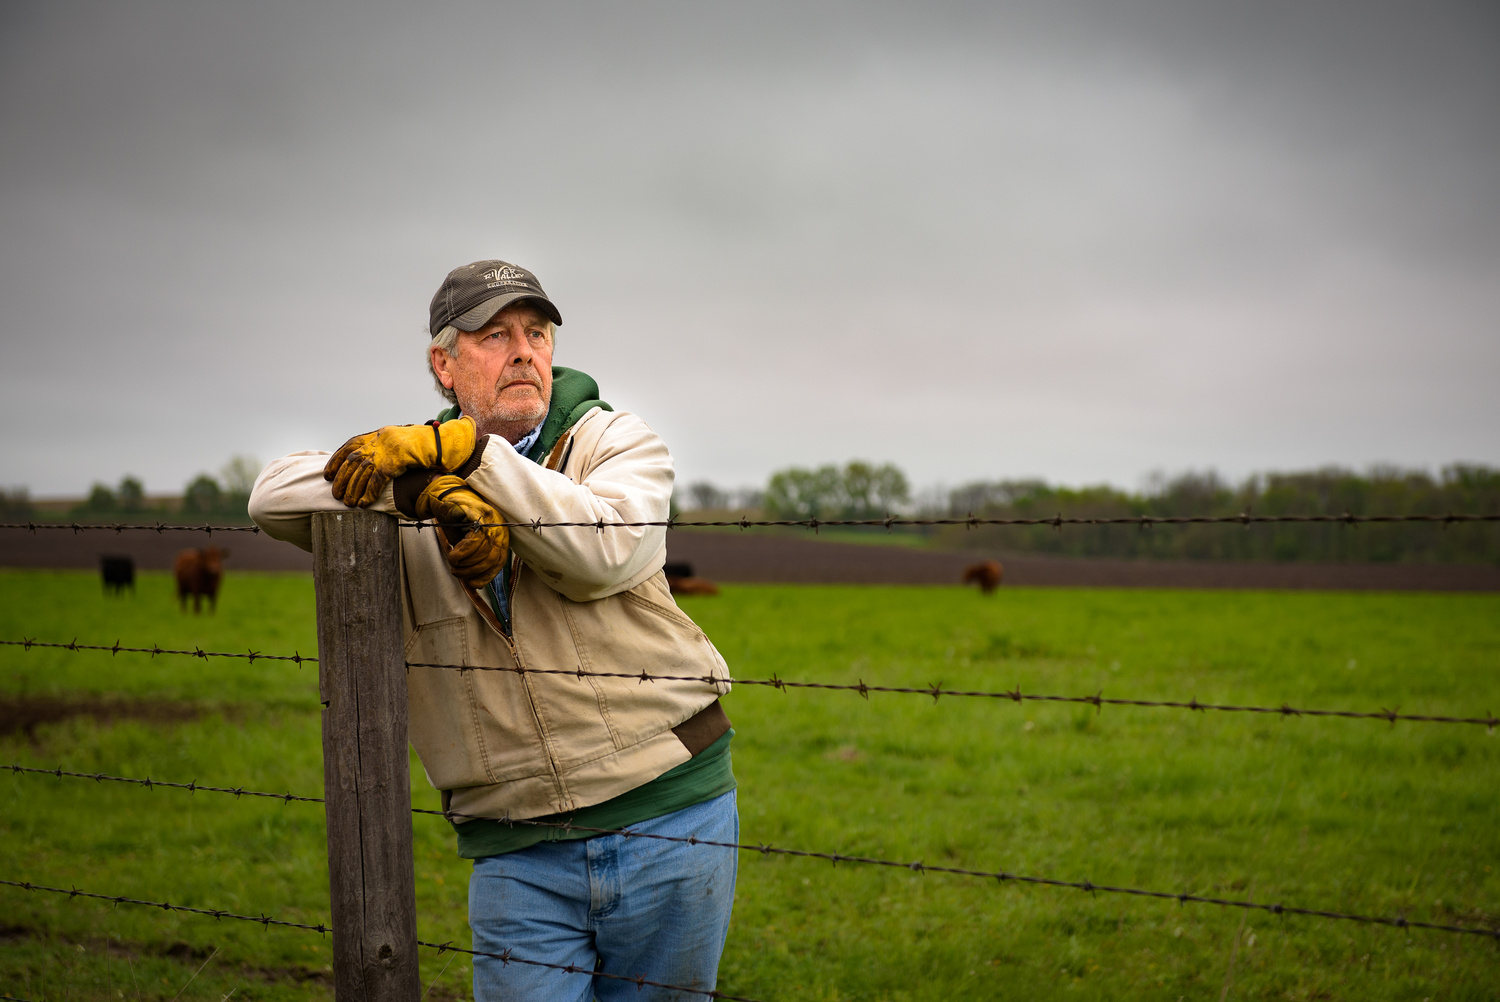
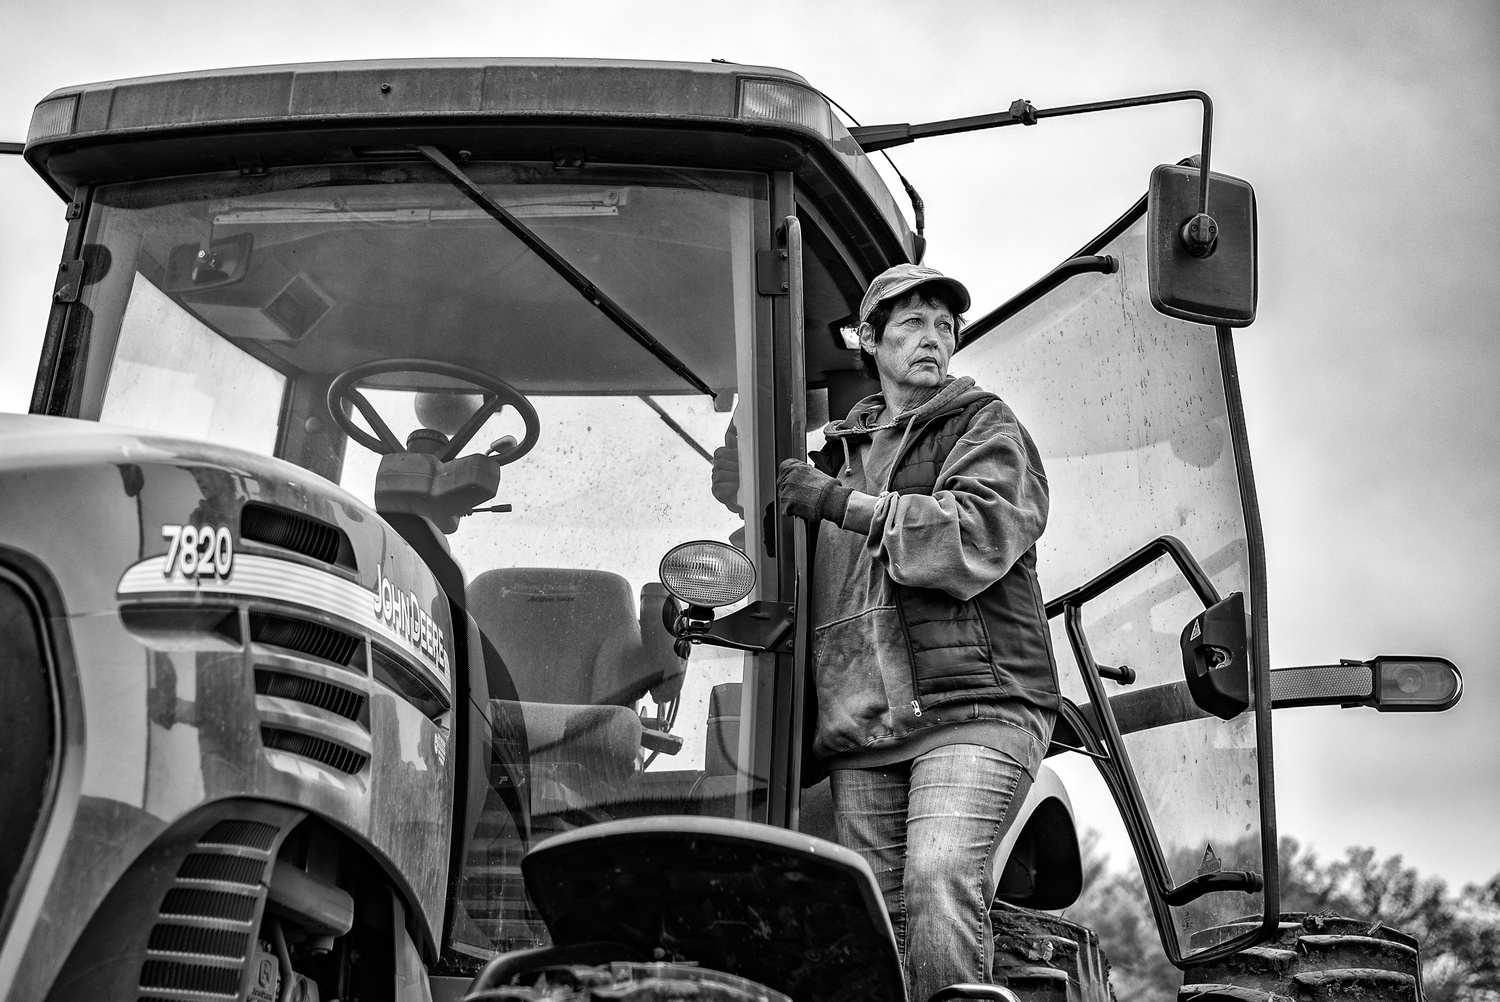
Have you ever had a brilliant photography idea but didn’t know where to start? Planning a photography project isn’t just about taking great pictures—it’s about crafting a vision, telling a story, and making your work unforgettable. If you’re ready to turn your creative spark into a masterpiece, this guide will show you how to bring it together with these eleven steps.
Starting a photographic project is a thrilling yet daunting adventure. It’s not just about capturing images; it’s an invitation to weave together a compelling narrative that showcases your growth as a photographer. Yet, as exhilarating as this journey can be, it’s easy to feel lost without a clear plan—many have wandered too far into the vast landscape of creativity, only to lose sight of their vision.
A envelope full of great pictures is not a project.
- Brooks Jensen
1. Define Your Concept
Find Your Why: Defining your concept is one of the most complex parts of any project. Many photographers, even myself, do not delve into the idea of the project deeply enough. We only scratch the surface and don’t think about the deeper meaning. It may feel like it has already been done and probably has been photographed. But one thing is certain—you haven’t photographed it. Each photographer brings a new and different perspective to a project that may have already been done.
Narrow Your Focus: There will be ideas that can’t escape your mind, and these are the ones you are drawn to work on. Ask yourself, “What story or message am I trying to convey? Is it a social issue, a personal story, or a visual theme?” Write or type these questions out and start writing down what comes to your mind. This will ensure your project is not too broad—a typical pitfall for most projects—and will make your work more cohesive.
Think About Your Audience: How do you want your audience to feel? Remember that the project is not about them or a specific sect of people. At this point, we are trying to determine how we want the audience to feel. This will help create a cohesive body of work and, overall, help brainstorm photos for the project. This may even define the message you are trying to send the viewer. What are you trying to tell the world if it’s a social issue?
Draw Inspiration: This is where the slope gets tricky. Researching and drawing inspiration will tell you if it’s been done, but to what level? You are trying to get inspiration to guide your project here, not to research and copy images others have done. I like to draw inspiration from others’ work, but be careful—this is the slippery slope I was talking about. Overconsumption will cloud your vision. Look for inspiration outside of photography: books, music, art, or even personal experiences.
Write a Project Statement: Take your concept and write a solid one to two sentences that summarize your idea to clarify your intentions. This is helpful when you feel the project has stopped or taken a different path. That said, if the project starts following a different route, let it go. Letting a project flow naturally won’t hurt; you must still be flexible.
2. Set Your Goals
What to Determine: This is mainly for you. Is this a project for personal growth, a portfolio, a publication, an exhibition, or a book? Many photographers use projects for personal growth more than anything else. This allows you to photograph what you are passionate about and gives you a creative break, especially if you are a professional shooting client work.
Outcome: This is the final result. Is it a book, an exhibition, prints for sale, a gallery show, or even a zine? Don’t let this part hold you up initially—this is something you can return to later. You may not even have an idea yet, and that’s okay. The outcome is not crucial at this point in the planning.

3. Research and Inspiration
Study Projects: As discussed earlier, this can be a slippery slope. Do not consume too much. You may subconsciously start copying others’ ideas, thinking they are original. Use this stage to look at approaches and techniques others have used in projects that are not similar to yours.
Inspiration: Draw inspiration from wherever it may come—don’t let even the smallest thoughts escape your mind. Write things down on your phone or in a notebook. We can’t control when inspiration will strike. I have a notebook in my truck to jot down ideas and have even been known to use my iPhone’s notes app while at the grocery store.
Gather References: Don’t just collect photos. Look at literature, music, and other art mediums that align with your concept. Take photos of things that catch your eye with your phone, save links to websites, or cut out images from print materials. I use Milanote to organize all my thoughts, ideas, and reference materials. It offers a free version as well as a paid plan. This tool allows me to create boards for individual projects and add to-do lists, links, notes, tables, images, and columns to keep everything organized.
4. Plan the Details
As we say here in the Midwest, this is the "meat and potatoes" of the project. This phase is where you will spend the most significant amount of time, besides actually creating photographs.
Subjects: This is the straightforward part of any project—your subject. Think about who or what will be involved in your project from a subject-matter perspective.
Style and Aesthetics: Decide whether your images will be black-and-white or color, and consider your lighting style: natural vs. artificial, dark and moody vs. light and airy. Keep in mind that these decisions could evolve as the project progresses.
Locations: As you plan individual photos in your project, locations will become more apparent. Look for places that fit your theme. Spending time scouting these locations will help refine your plan. The more detailed your planning, the better your project’s outcome will be.
Gear: What gear will you need for each shot and location? What focal lengths will you use? Will you need flashes, reflectors, or a tripod? Only buy gear that you will use beyond this project. For specific gear you may not need again, consider borrowing or renting it.
5. Create a (Realistic) Timeline
Realistic is the keyword here. You might think, “This project will take 6 months,” but it’s more likely to take a year. If you plan for 12 months and end up taking 18 months, it’s no big deal. That just means you’re exploring the concept and telling the story! Don’t let the timeline rush or stop you—take your time.
6. Budgeting Your Project
It is the most overlooked aspect of any project. There are many things to consider, such as gear rental, travel expenses, printing costs, etc. The length of your project and how you present the final project can affect these costs. For example, creating a photo book of the project can be costly, so plan this part accordingly. Books require a lot of planning. I recently wrote a recent article on the processes of books, and you can check that article out for more information here. You do not have to dive extremely deep into planning your budget; just be aware of the associated costs your project will incur.
7. Prepare for the Logistics
Another aspect of projects that is overlooked is the logistical side of things. We forget that there are many moving parts in any project, and when it comes down to the things that are not fun—budget, logistics, marketing, and the sorts—we tend to forget or not put in the needed time.
Access: Will you need access that may require permissions or permits? I wanted to create a specific image when visiting White Sands National Park a few years ago at night; I needed permits. By the time I figured this out, it was too late to apply for the required permits to stay at the park after dark. The park is not open 24 hours a day.
Communication: A challenge within itself. You may have subjects or models that you need to reach out to plan and make appointments with to go over the logistics or expectations of the shoot. If you're not communicating clearly or communicating at all, your project won’t be as successful as it could have been. Try having a contact form on your website if you are having people reach out to you to participate in your project. This gives you and the project an organized, professional, and polished look. People are more likely to reach out and participate. You can also add questions or need information to help you in initial contact with the person who reached out, saving you both time! I have found that the easier you make it for someone to participate, the more likely they will!
Equipment and Techniques: Plan, test, and repeat! If you are experimenting with equipment you have never used or trying a technique, ensure it will work. You don’t want to get on location and discover that you have no idea what you are doing, especially if others are waiting for you! Nothing is more frustrating than trying a new editing technique that won’t work for you. Or you bit off more than you can chew!

8. Execute the Project
Vision: Stick to your vision while staying flexible! As I mentioned earlier, let things flow naturally and avoid all restrictions. If something is working for you and was not included in the original plan, it's okay to start moving in that direction. No harm, no foul; it may help make your project more successful.
Review and Reflect: After each shoot, review the images created and reflect on how it went. This will help make the next shoot more successful and better prepare you. After reflecting, you will see what is going well and what may need to change. All the little things while executing a project add to significant and major changes in the end and for the better.
9. Edit and Curate
Images: Each time you create images for the project, upload the pictures and let them sit for a few days. Go through the images and cull the ones that align with the project and the statement you created initially. Select those that align with the project and put them aside. Now, don’t delete everything, as what you thought wasn’t a great idea today might be later. Keep working on your project, and periodically go back through the images to see if there were any you missed or thought didn’t align with your project statement. You may have missed one or two diamonds in the rough. This will also allow you to reflect on the project over a more extended period and see your progress.
Editing: Consistently edit your images, giving you a more cohesive body of work. Now, with that said, it's okay to change the style as you go and, ultimately, decide on the final tone of the images. It’s all about being flexible along the way! Our primary goal is to have a unified and cohesive body of work; this can all be decided later on. The more you say you have to stick to the original plan, the less likely things will end up how you want them to. How many times have you thought you had the most incredible idea, and once you started the execution of said idea, you found out that it was not the best idea overall? Once you started working, things became more evident and better.
10. Share Your Work
Format: Find a format that best suits the body of work. It could be an online gallery, exhibition, book, or zine. This is all up to you; make sure it fits the project. Speaking of format, this doesn’t have to be decided early on. This could be the final phase. The project, once completed. Don’t worry about this initially, as it detracts from the whole project’s good. Too much focus here early on is only detrimental.
Promote: Promote, promote, promote! Get the word out there that you're working on a project. I would hold back on sharing images. Share the ideas, behind-the-scenes photos, and your story along the journey. If you post and share all the final images over time, everyone has seen them, and there is no mystery. Everyone has seen the photos once that book is hot off the press or zine, so why must they purchase it? They have seen it already! I found success in posting the behind-image photos of projects I had worked on and kept referring to a “secret project” for almost two years when my first book was published. People loved and hated it; they wanted to know what was happening. Mystery created hype, and hype created sales of my book!
11. Finally, Reflect and Learn
For many, a project is personal. Its goal is to improve as a photographer and artist. After all the dust has settled, take the time to evaluate the work; see what went well and what didn’t. What did you learn? What did you love? What did you hate? Ask yourself all the hard questions and reflect on those answers.
We've Reached the End
Finally, we made it through the eleven steps I use while planning a project! As I mentioned, projects are personal, and many use them to push their craft and get better at what they love: photography! If you have ever thought about starting a project and have felt fear or intimidation, the best advice I can give you is to do it! You will find it an enriching experience, become a better photographer, and help tell the world a new story! Have you embarked on a project? Leave a link to your project in the comments, and I would love to see what you have or are working on!


Join the Fstoppers community for free
-
Post comments and join in the discussions
-
Browse the site ad-free
-
Share your work and get featured in the community
-
Compete in the photo contests for fun and prizes
5 Comments
Justin, this is such a well-structured and insightful guide to photography projects. Defining a clear concept and setting realistic goals is something I’ve found essential in my own work, especially when juggling personal and client-driven projects. Your emphasis on flexibility is a great reminder—sometimes, the best images come when a project takes an unexpected turn.
I also appreciate your point about the final format. Too often, photographers focus on the end product too soon, which can limit creative exploration. For The Melbourne Portraits Project, I let the narrative unfold organically before deciding on the photo book format. That freedom allowed for more authentic storytelling.
https://kisau.com/the-melbourne-portraits-project/
Another layer to consider is collaboration. Bringing in other creatives can add new perspectives and elevate the project beyond what one person might envision. Have you found collaboration to be a key element in your own projects?
Paul Tocatlian
Kisau Photography
www.kisau.com
Thanks for the comment and kind words! Yes, I am collaborating with another photographer on my new project, Lost in Orbit. I am exploring mental health. Its been very helpful!
I think I came across your project online when I was researching for another project that I ended up not going through with it!
Great article Justin Tedford -- these are very helpful tips! As I've been working through a project for this year, I started to add more restrictions to my work. I thought I was doing it to help create a more cohesive final product. And so I really appreciate the insight (and reminder!) to not only avoid placing too many constraints on a project, but to maintain flexibility throughout the project.
You're welcome! Feel free to reach out to me at anytime if you need any advice or have questions. Would love to see your project!