For many photographers, the first type of photoshoot they will ever book is an engagement session. In this extended tutorial, I will walk you through four different setups that you can use regardless of your location or skill level.
This video is part of a sponsored series. A few different manufacturers are paying us to make video tutorials using their products. In some cases, they are asking us to showcase certain features, but they are not paying us to "review" their products. Instead they have asked us to just go out and create helpful content for our audience in exchange for using some pretty cool photography equipment. Today I will be shooting on the FujiFilm X-T3 Mirrorless Camera with a variety of their zoom lenses and using the Profoto B10 strobe as supplemental light. All of this gear fits nicely into the Manfrotto Manhattan Mover30 Backpack and all of the images will be processed in Acdsee's Photo Studio Professional Software. If you watch the video above, all the music was provided by Musicbed which is a lifesaver if you produce videos or slideshows for clients.
What is an Engagement Session?
An engagement session is usually a short 1 -2 hour photoshoot that features a newly engaged couple in a more casual environment. Unlike the bridal session that features the bride in her dress, or the formal group photos taken on the day of the wedding, the engagement session is extremely relaxed and the styling is much more casual. Engagement sessions are a great add on for your business since you can charge anywhere from a few hundred dollars to thousands of dollars. This photoshoot is also great because it allows you to work with the bride and groom before the actual wedding day. Since this session is relatively low pressure, it allows you to build a relationship with your clients long before the actual wedding so both you and them feel comfortable taking photos together.
What's the Purpose of an Engagement Session?
I've had many clients ask me if they absolutely need an engagement session. That answer depends on the couple and if they have many photos of themselves that they feel proud about using in their wedding. Typically engagement photographs are used for wedding invitations or as "save the date" cards. If your particular client is in need of engagement photos for these invitations, my approach is to get many more photos that they can use on social media, in memory albums, and ideally print for their new home together.
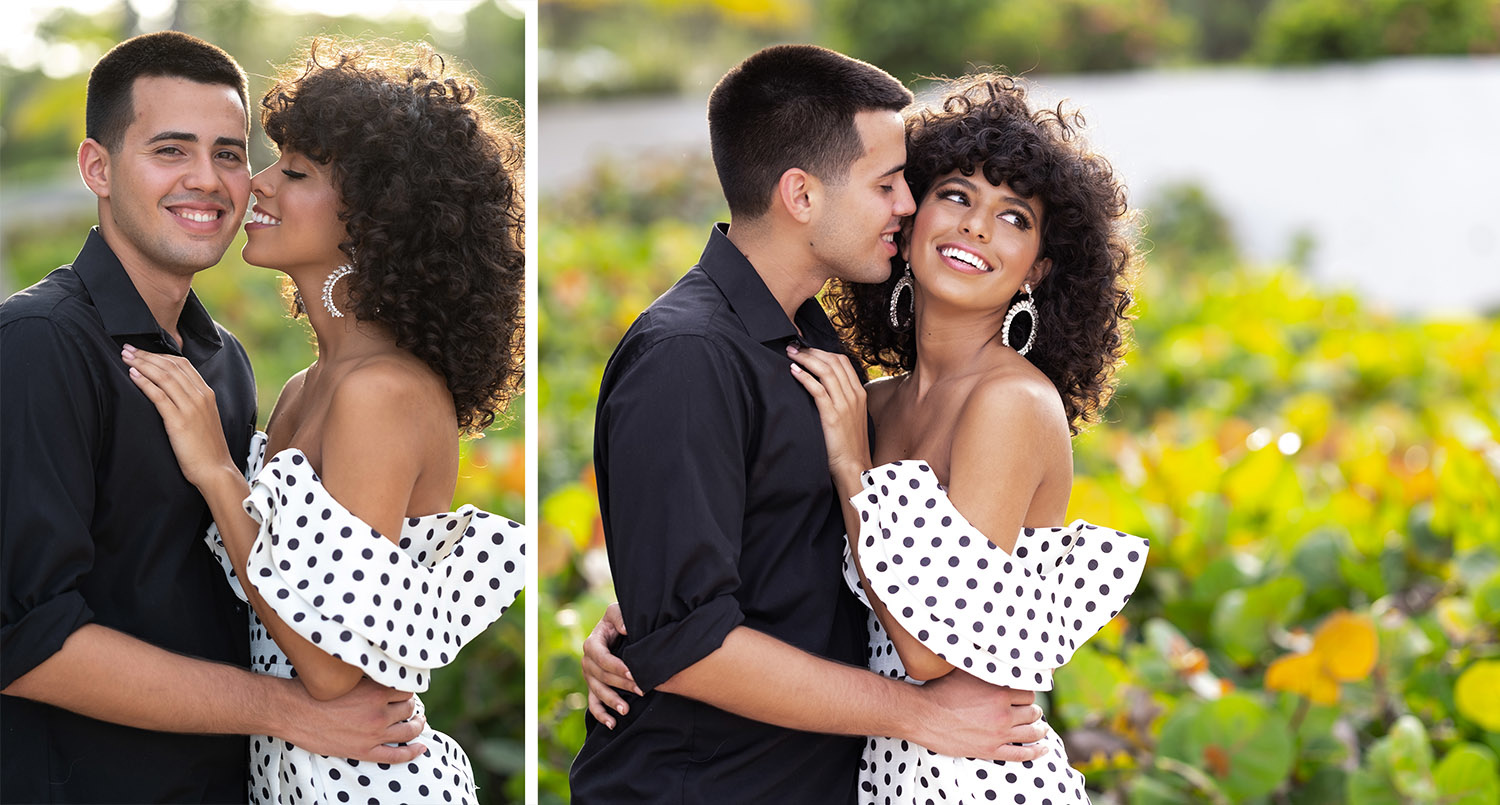
Since these images can have so many uses outside of just wedding invitations, my personal goal is to get as much variety in these photos as possible. Part of that means asking the couple to bring a change of clothes or two, but it also means taking photos in a lot of different environments and lighting styles. Some of these locations can be as easy as turning your camera 90 degrees to the left to find a new background, or completely changing scenes altogether. If you live in a more urban environment, you might want to just casually walk around downtown or if you live in a more rural area, this could mean driving to a few of the couple's favorite spots to capture the natural scenery.

Engagement sessions are the perfect time to connection with your clients
In the end, the engagement session is a great time to push yourself photographically because there isn't the same time constraint that you will soon face at the wedding. The stress level of your clients is super low too because they are just hanging out and don't have any of the other pressures that come with an actual wedding itinerary. Therefore, my suggestion is always to get a couple of safe mini sessions knocked out early and then towards the end of the session, experiment a bit more and try to create those truly epic shots that might be a little over the top for a wedding invitation but are still images your clients will love years to come.
Changing up the Background
The number one tip I have for any photographer looking to maximize their time with a client is to change up the background often. The best way to do this quickly is to recommend a location that has a lot of variety and cool elements near each other. If you or your clients head out to a location that really only has one usable element, you are going to have to work hard to make sure the lighting and scene come together perfectly for that one single shot. On the other hand, if you start off shooting in an area with a lot of character, you can easily switch things up if something is not working or if you knock out a handful of awesome frames in just 5 minutes.
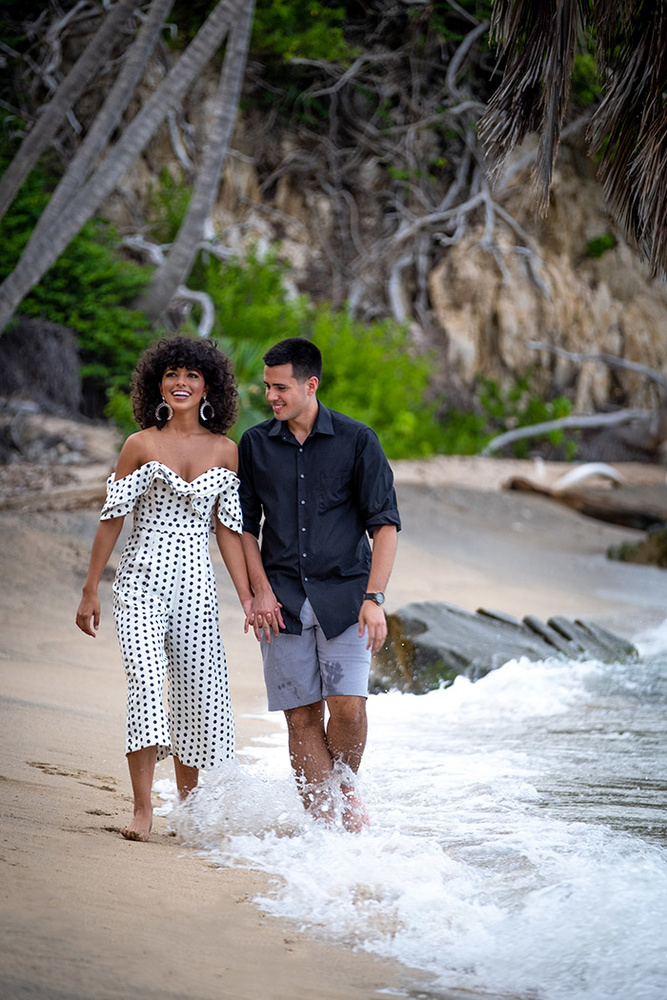
Here in Puerto Rico, we have the option for a lot of different locations. Although Old San Juan is pretty far away from my home, it would probably be my go to location simply because of the vibrant colors and large amount of variety in a single location. Since I am less than a mile from the beach, this session near the water made a lot of sense because our beaches here have a lot of unique topography, shade from the sun, and beautiful colors that work well for these types of shoots. As you will see in the video, even when I'm shooting on a beach, I rarely shoot straight along the coastline because most of that backdrop will be a straight horizon line and a blown out sky. Instead I like to find cozy little backgrounds around the beach that can add more interest and colors than the coastline typically offers.

Variety in your background and composition are key
If you've seen any of my YouTube videos or our full wedding tutorial, you know I really prefer zoom lenses for wedding work. They are fast, easy to use, and can get you out of a bind when you find yourself too far away or in too small of a room for a normal prime lens to work. The Fujifilm 16-55mm f/2.8 zoom lens and their 50-140mm f/2.8 zoom lens are two lenses that I would most definitely have in my camera bag if I were shooting an engagement session and definitely if I were shooting a full wedding. The fast aperture allows you to blur out the background if you desire, and the zoom range on both of these lenses would probably cover 99% of any shot I would take at a wedding. That being said, I did enjoy shooting with FujiFilm's extremely sharp 90mm f/2.0 lens. Compared to the 50-140mm f/2.8 lens, the 90mm f/2.0 allows you to open up even more for super creamy blurred backgrounds and it's also slightly sharper since it's a prime lens that doesn't zoom at all. I also find that for me, a prime lens makes me really focus on my composition a bit more than a zoom lens, and I was happy to say I had a lot of great photos taken on the 90mm lens during this session.
Wedding Photographers Need to Use Strobe
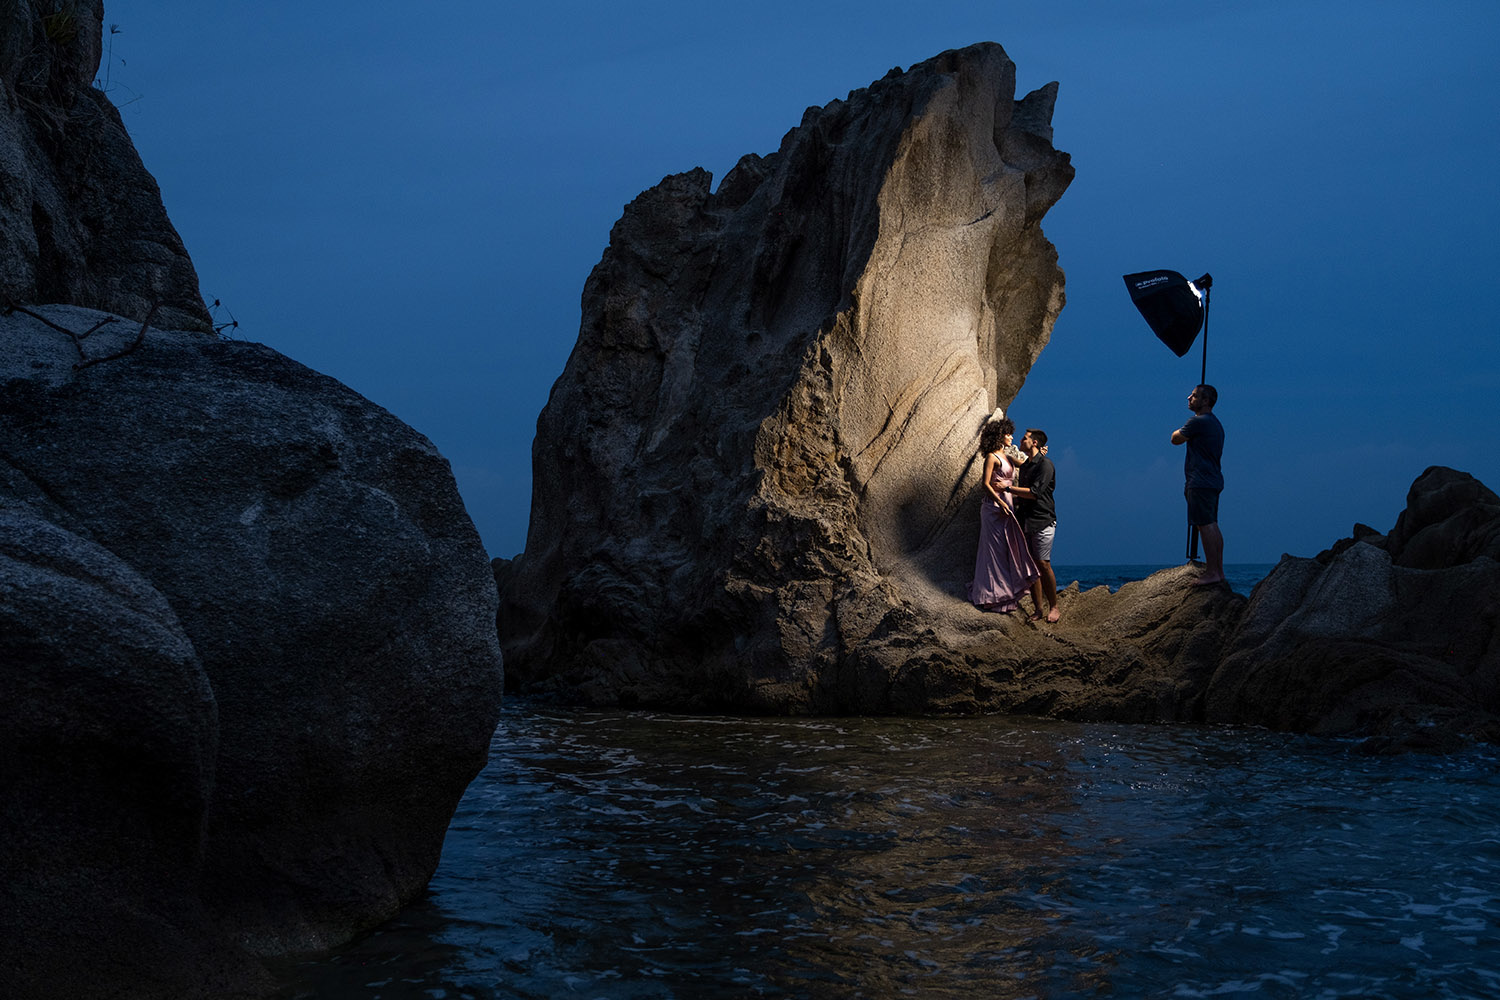
There is a joke among photographers that those who only use natural light do so because they don't know how to use strobe. The truth of the matter is all wedding photographers need to know how to use artificial light or flash. Flash can help make your outdoor portraits more dramatic as in the case of the photo below, but once you have to move indoors with little or no natural light available, strobe is going to be the only solution for lighting a reception. Years ago I released a free tutorial on how to shoot an indoor wedding reception that covers four different ways to use strobes indoors, and I really think any wedding photographer charging money needs to master most if not all of these techniques.
Today we aren't lighting dark wedding receptions but that doesn't mean we can't still use a little flash to create much more pleasing photos. I've used a ton of different strobes over the course of my career but my favorite company has always been Profoto. Their light modifiers are the best in the industry and their fast mounting speedring makes changing modifiers quick and easy. Years ago I was using their much heavier portable flash units but when the Profoto B10 was released a few years ago, I replaced everything I had with a few of these units. They are small, lightweight, free of cables and battery packs, and despite being super small they still offer enough power for pretty much any lighting situation I find myself in. As for light modifiers, I do love using white umbrellas for lighting up reception halls but when you are at the beach, their 3' Octa Softbox handles wind a lot better than an umbrella.
For most of the engagement session images I created in this video, I want 90% of the light to be natural. Natural light is the easiest light to see and use and it is often the most beautiful. However, sometimes you will find yourself in a situation where the natural light looks amazing but it's not quite hitting your couples in the most pleasing way. This is where a little bit of strobe light can turn that 90% near-perfect light into 100% perfect light. By having a strobe with you, it also means that you don't have to sacrifice your background in order to get good light on your subject. Because of this, my process is usually first to find an amazing background, place my couple in that amazing scene, and then if the light on them isn't flattering, I can add light to them as the last step. In much of this video I didn't need any additional lighting at all but it's always nice to know it's there if you need it. Of course once the sun sets and the natural light fades away, flash is going to be the only real way you can create any kind of portrait outside.
Putting It All Together
The final step with any engagement session is to cull and edit the photos and find a way to deliver a final product to your client. For this session I wanted to try out the software Photo Studio Professional by Acdsee as an alternative to some of the more expensive subscription based photo editors out there. Photo Studio Professional allows you to quickly keep or delete the final images you want to deliver as well as batch process all the raw files once you've perfectly color corrected them and added your signature editing look to them. Acdsee also offers video editing software if you ever decide to venture down that road, but if you are just looking for a simple photo editor, give Photo Studio Professional a try.
When I used to shoot weddings, I'd often just email my clients a zip folder of final images so they could download them instantly and start using the photos however they needed. I have to admit though, this is not the most professional and elegant way to deliver your photos. Some photographers might prefer to mail the client a USB drive with all the images or package everything up in a fancy box and include a few prints.
Another smart idea is to also deliver a slideshow or video montage from their engagement session so that they can share it on Facebook or through email. By creating an engaging video product, your clients can enjoy something a bit more than just digital files or prints, and the big advantage is they might share this session with their friends and family and hopefully help you market your services to future potential clients. Of course all slideshows need music and Musicbed is a great resource to use for wedding slideshow music. They have different subscription services starting at just $9.99 so depending on how you are using their music, you can always find a way to pair their music with your photos and videos before sending them to your client.
Make It Your Own
Part of the reason photography is such a fun career is because it's so subjective and it allows everyone to put their own spin on it. These tips and techniques are tried and true as I've used them for over 10 years when I was focusing strictly on wedding photography. That being said, these techniques are meant to be taken, borrowed, bent, and molded into your own style so you can create images that speak to you and your clients. If you rely heavily on flash photography, challenge yourself to shoot more natural light. If using flash intimidates you, pick up a strobe and experiment with a simple umbrella and see what you can create.

My personal goal was to always be well rounded enough that I always had a photographic solution no matter what situation I found myself. Wedding photography, in my opinion, is the toughest genre of photography because you not only have to know how to shoot all genres throughout the day, but you have to know how to pull off those images quickly and effectively. Hopefully this video was able to give you a few extra tools in your own back so that you can focus more on making incredible images.


Great work and great video. Your tutorials are some on the best on the Internet.
Awesome stuff Patrick. You should consider getting back in to shooting weddings mate!
I did love shooting weddings and wouldn't have stopped if I could have continued. The issue I ran into was booking dates so far in advance. With Fstoppers, there are so many awesome opportunities that pop up a few weeks or months out that I couldn't justify missing say a Photographing the World excursion because I had a single 4 hour wedding on day in March.
The money you can make in wedding photography is great and if you get to a point where you can outsource your editing, it's one of the most relaxing lifestyles. That being said, I still needed more flexibility. Plus now I'm living in Puerto Rico which would make it nearly impossible to shoot weddings back in the states.
I hear ya. And I have been thinking of taking this route myself in the near future. Currently I am a design lead for a commercial company which I do find rewarding - leading a team and all that. But, wedding photography just has it all. I find it rewarding professionally, socially and also a healthy work lifestyle to boot.
I never used to outsource the post but I would 100% if/when I get back into it. Add to that the ability to edit on the ipad pro anywhere you want away from the dreaded home office desk and the appeal grows even more.
Technology has made wedding photography a top career choice in the photography industry.
I if I bite the bullet the x-t3 system does look tempting.
I really enjoyed this tutorial Patrick, the models were fantastic and the pictures were stunning, especially those on the rocks were my favourites