
Landscape photography is the art of seizing the beauty of the outdoors through images. Landscape photographers aim to make their viewers feel as if they’re walking into a scene without having to get out of a sheltered building. But what is composition, and how is it helpful in landscape photography?
Composition, as defined by the Merriam-Webster dictionary, is the “arrangement into specific proportion or relation and especially into artistic form.” In photography, it is the way that the photographer intentionally arranges or frames various elements around the chosen subject in a scene. Composition hooks the viewers’ attention and keeps their eyes roaming around the image. It also highlights the creativity of the photographer.
To guide photographers and help them hone their skills in taking landscape shots, here are eight landscape photography composition tips to keep in mind:
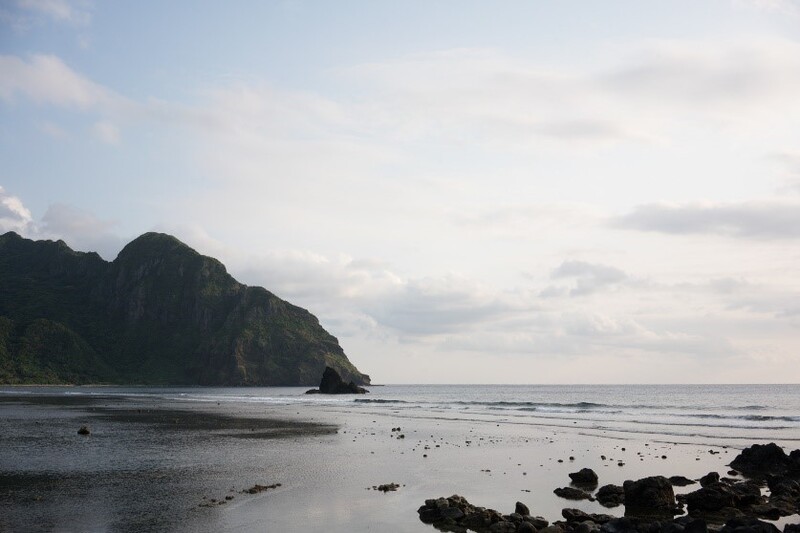
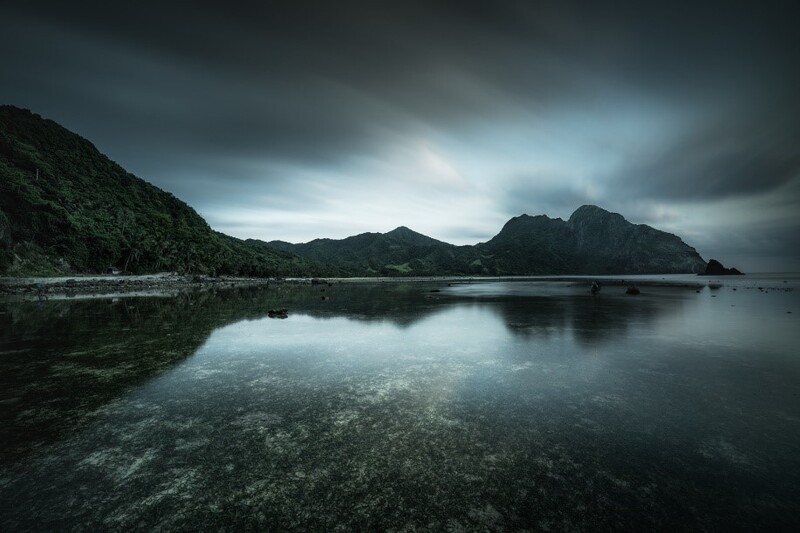
1. Shift Your Point of View
The first thing to remember in doing landscape photography is to change one's point of view (or POV). For a more diverse set of shots, avoid just zooming in and out of a scene. Try to get up, sit down, lie on the ground, or use a tripod to achieve a variety of images that narrate their own story. The images below are of the same location, but different POVs.
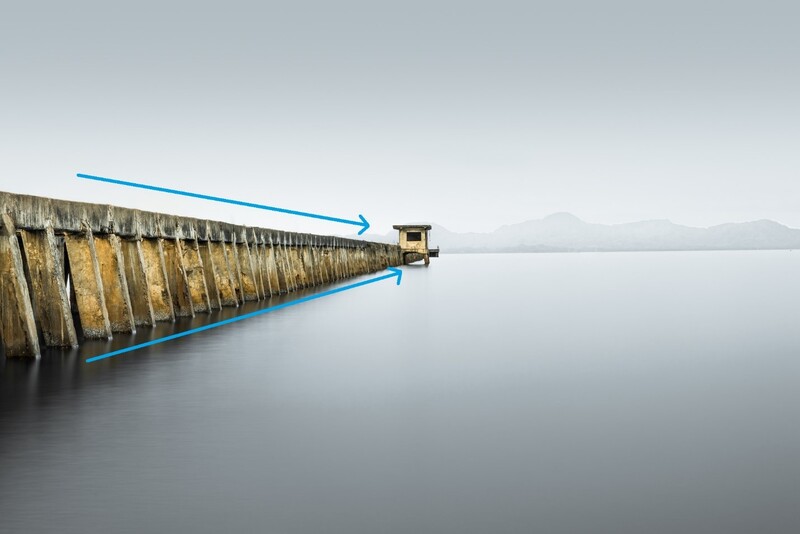
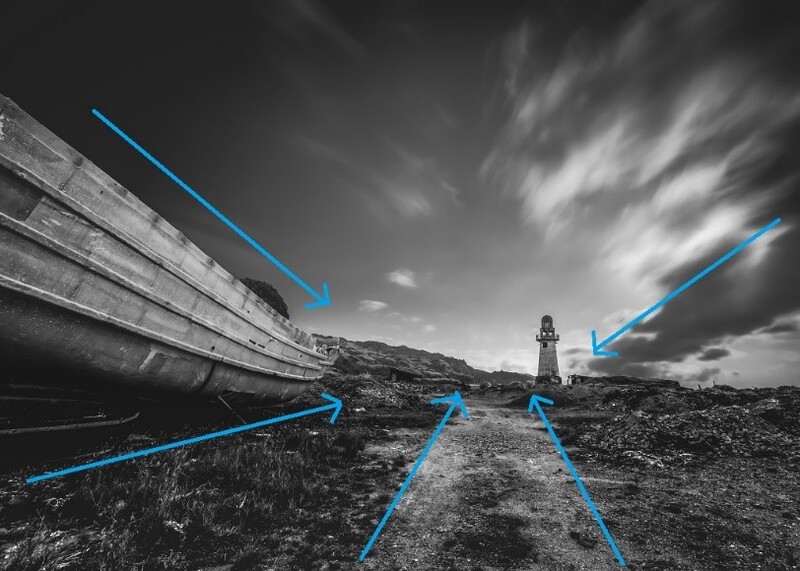
2. Find Leading Lines, If Any
Leading lines are lines that lead the viewers’ eyes where you wish them to go. These lines add movement and depth, since they accentuate the distances between the elements in the foreground and background. Roads, rivers, fences, and power lines are great leading lines that could add a three-dimensional look and prevent the image from being static. Leading lines are great for creating vanishing points or a spot where two parallel lines seem to stop and converge.
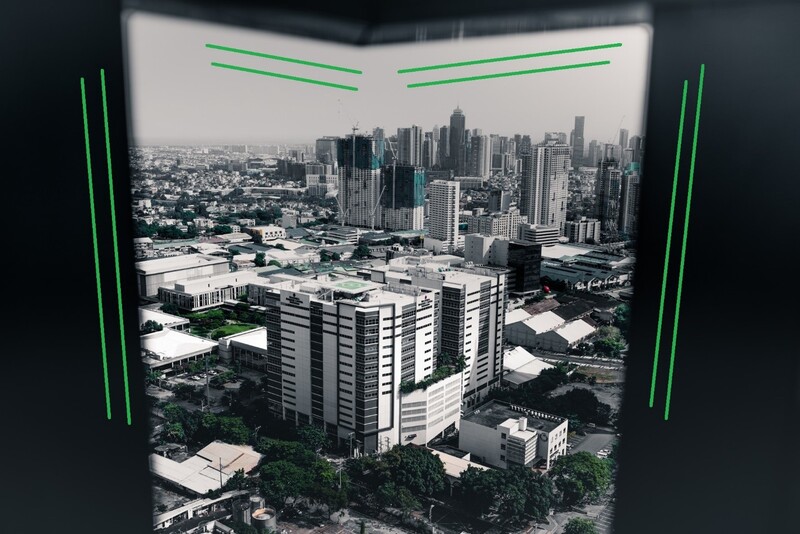
3. Use Elements in the Foreground for Framing
Framing is a method that uses elements in the foreground to frame the subject that is in the background. Vertical objects, such as trees, plants, lampposts, and even archways usually act as excellent frames that emphasize the point of interest that is in the background of an image.
4. Position a Striking Element in the Foreground
Placing an engaging object at the foreground of a shot adds depth and impact to an image. It draws the viewers further into the scene. It also helps in making the photo feel alive, as if the viewers are walking straight into the chosen environment.
5. Have Negative Space
Negative space is the area surrounding the photo’s subject. Having this can prevent the image from looking busy and cluttered and allow the point of interest to stand out and speak for itself. Negative spaces of photos also suggest minimalism and mystery, which encourage the viewers to interpret the shot in multiple ways.


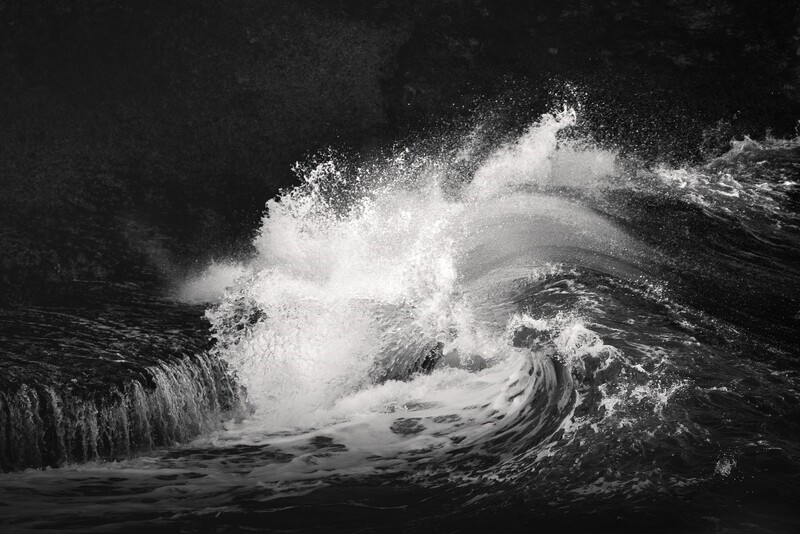
6. Varying Your Shutter Speed
Fast shutter speeds are best with fast-moving objects such as waves or flying birds that come across the frame, while slow shutter speeds are best when you want to achieve a minimal look or get that water smooth and glossy-looking.
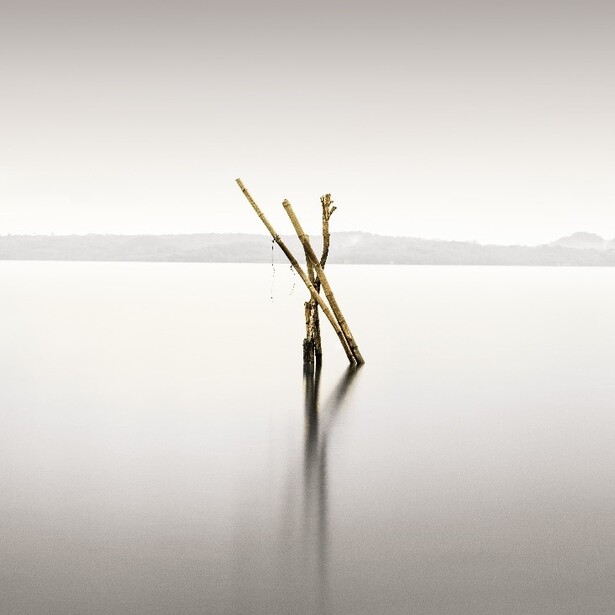
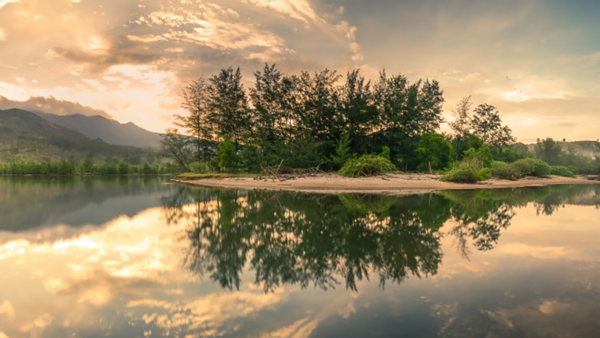
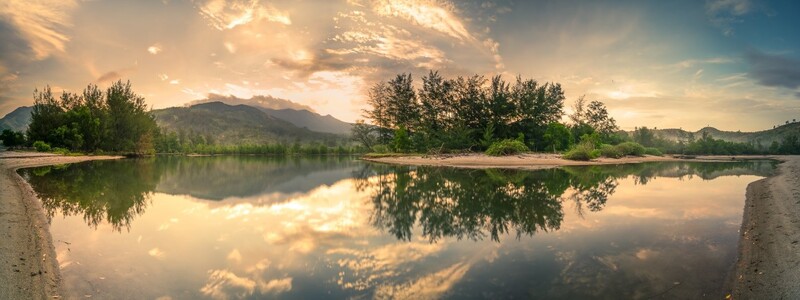
7. Let the Reflection Show
Reflections of a subject in a body of water add an interesting texture and personality to an image. This technique may break the rule of thirds by placing the horizon line at the center of the shot, but it is worth a try for the added character that it offers the photo.
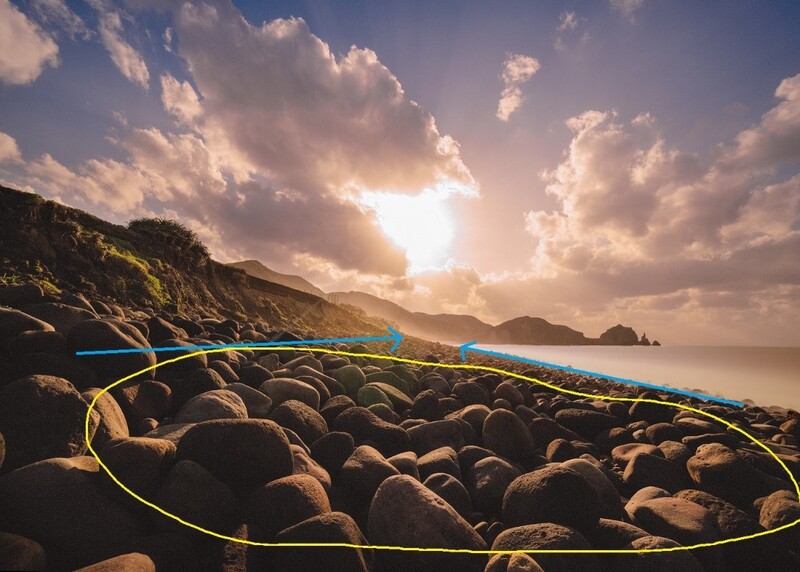
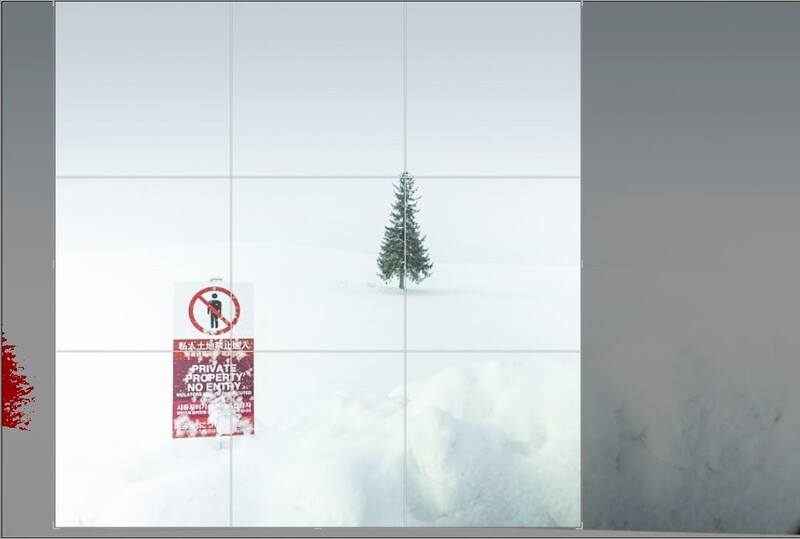
8. Follow the Rule of Thirds — or Not
The rule of thirds is probably the first technique that everyone encounters the first time they enter the world of photography. This rule divides images into thirds vertically and horizontally, guiding the subject to the intersection of these lines, which are known as the focal points. The rule of thirds discourages the photographer from placing the subject right at the center since it hinders the viewer in exploring other elements surrounding the point of interest. Some photographers even believe that having the subject at the center makes the image appear dull.
However, the rule of thirds isn’t necessarily a rule but more of a guide that can be broken, especially if the photographer wants a symmetrical shot. For example, they could choose to have two boulders side by side at the dead center of their image or perhaps have equal parts of the sea and the sky in their shot, and there’s no shame in doing so.
These landscape photography composition tips shouldn't direct photographers on how they should take their shots. These are more of a set of suggestions that could aid the photographer in making a breathtaking landscape shot that emphasizes their creative eye in spotting the beauty of an environment. It's all up to the photographer on which methods to keep and ignore.


Join the Fstoppers community for free
-
Post comments and join in the discussions
-
Browse the site ad-free
-
Share your work and get featured in the community
-
Compete in the photo contests for fun and prizes
2 Comments
the basic , the basic , and again the basic... still always need to work on it and remember it
That's definitely true! We all need to go back to basics every once in a while!