

What percentage of your photos do you discard because they are blurry? The most common question I get asked by photographers is why so many of their images are not sharp. There can be a myriad of reasons, and here are the most common issues photographers face.
Usually, with a photograph, we want either the subject or the entire scene to be sharp. I’m often getting contacted by people who need help because they are having problems achieving that, and it’s invariably something simple needed to fix it.
Crazy Trigger Finger Syndrome
Problem
By far, the most common issue is with the photographer’s technique of pressing the shutter release button. In the excitement of getting the shot, they jab at the button with their finger. Consequently, the camera moves as the shutter opens, and the entire image becomes blurred. This can happen even at fast shutter speeds.
Solution
Rest your finger on the button and gently squeeze it.

The Wobbly Body Effect
Problem
This has nothing to do with my expanding waistline.
The standing human body isn’t stable. Imagine standing on a bus. If you face forward, every time the bus accelerates or brakes, you lose balance. That instability is worse still when you stand with your feet together and your knees locked. We sway back and forth constantly as we face forward. Therefore, when using a camera, between locking focus and taking the shot, the distance between the camera and the subject has changed.
Furthermore, if you hold a heavy weight in front of you for any length of time, your muscles will tremble. Likewise, breathe in and hold your breath, and your chest muscles are under tension and will cause movement.

Solution
Stand at 45-60 degrees to the subject. Keep your feet a shoulder’s width apart and turn your leading foot so your toes are pointing towards the subject. Tuck your elbows in so a strong triangular shape is formed by your forearms and your body, with the camera at its apex.
If possible, support your body against a solid object or lower your center of gravity by crouching down. Grip the camera loosely and take a deep breath in through your nose and out through your mouth. Now, gently squeeze the shutter button.
Focusing on the Wrong Thing
Problem
By default, most cameras have all the focus points activated. That means that whatever is closest to the camera will be in focus. However, that might not be what you want. For example, you may want to shoot through those trees to capture the animal or bird beyond.
Solution
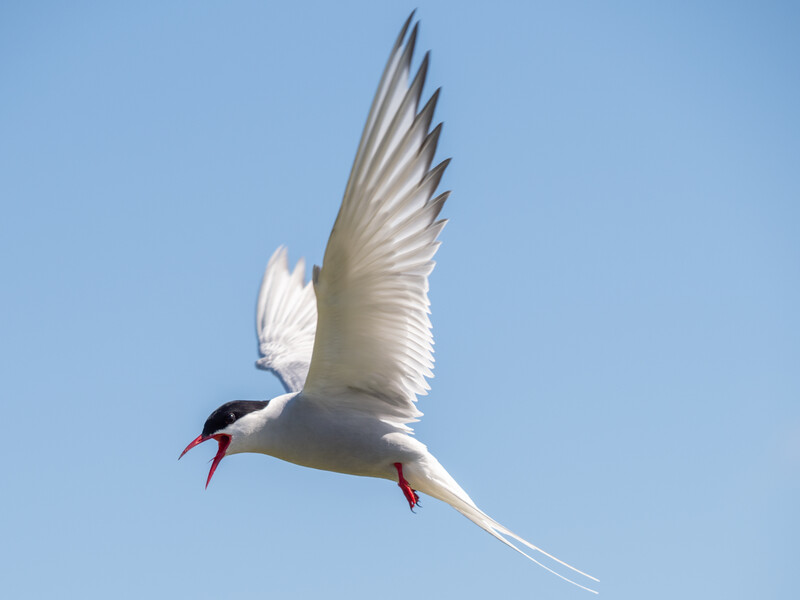
It is possible to select one focus at a time, a small cluster, a large cluster, or all at once. For much of my photography, I am selecting a single focus point, placing it on the subject I want to be in focus. In this way, I can shoot beyond close objects, allowing them to frame the subject. Moreover, quality cameras these days are becoming evermore clever at identifying subjects and will automatically latch onto them, even if there is something in the way.
The Depth of Field Is Wrong
Problem
There is only a small amount of the photograph that is sharp.
Solution
The simple answer is to step down the aperture. But the way to fix this issue depends on the type of photograph you are shooting. There are three things, (or maybe two, or maybe four, or five, or six if I go into depth with this subject, but that’s for another article) that affect the amount of the image that’s in focus for your camera. That is the proximity to the subject, the aperture, and the focal length of the lens.
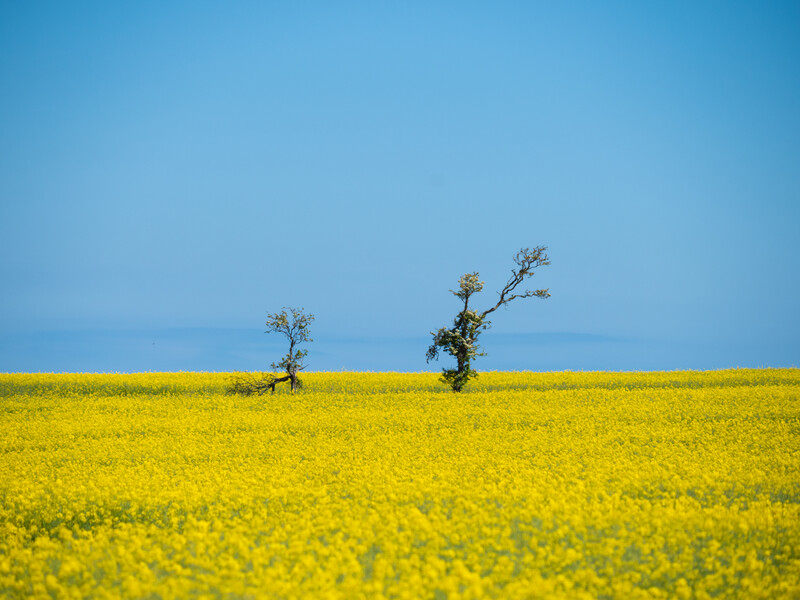
One mistake a lot of photographers make is to buy a fast or a long lens and then always use it with the aperture wide open. Consequently, they end up with too little of the image in focus, like the one above. As you get closer to a subject, the depth of field reduces as well. Likewise, the depth of field reduces as you increase the focal length.
Using the Wrong Focusing Mode
Problem
The camera either doesn't lock focus or it locks and the subject distance moves.
Solution
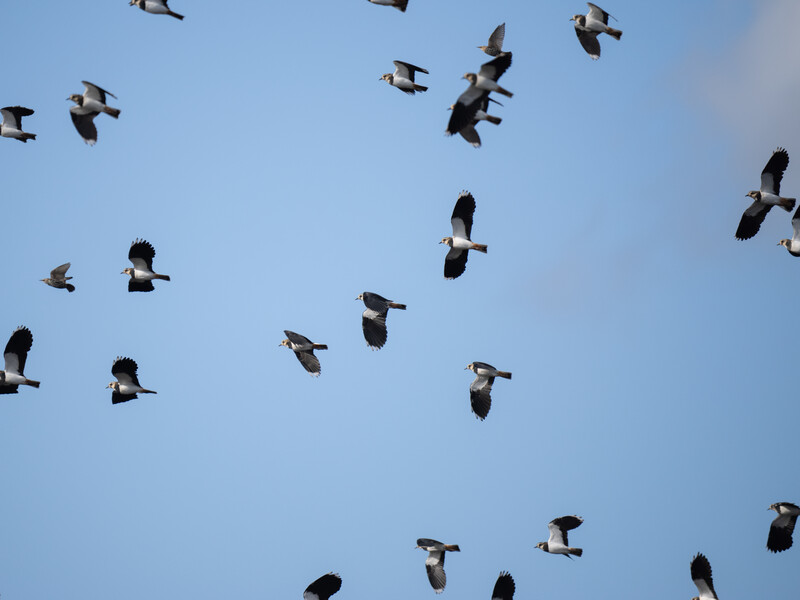
Cameras have two main focusing modes. Single autofocus locks onto a stationary subject and continuous autofocus changes the focusing distance as the subject moves toward or away from the camera but is rubbish for still subjects. If you own a Canon, they chose the slightly ridiculous names One Shot and Servo AI to describe these functions. Some cameras also have a hybrid mode that automatically switches between the two. Although it's getting better, its performance is lacking, and I recommend manually switching.
Tracking follows the subject around the frame and is great for keeping moving subjects in focus.
The Horizon Is Sharp, but the Rest of the Photo Isn’t
Problem
When shooting landscapes, the foreground is blurry.

Solution
With landscapes, a mistake many make is focusing on the horizon. The temptation is to focus on the distant object of interest: the island, mountain, trees, the rising sun, the stars, etc. Doing so will mean that much of the foreground will be out of focus. Alternatively, many will focus too close, and the horizon will be blurred.

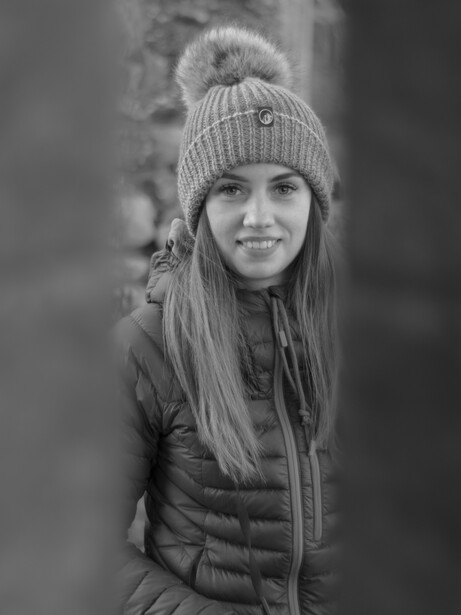
Only a Few People in a Group Shot are in Focus
Problem
One or two people or objects are sharp, the rest are out of focus.

Solution
This is a major challenge for many novice wedding photographers. They have their full frame camera and a fast lens, so they are tempted to shoot at its widest aperture. Consequently, the depth of field is too shallow to get everyone in a shot. The solution here is to reduce the size of the aperture. However, that will also slow down the shutter speed, and there is a greater chance of showing movement and people are constantly moving. Therefore, the ISO may need to increase.
Handy hint: I use my camera’s focus peaking feature that outlines the edges of the in-focus areas to make sure everyone is sharp in the picture.
There's a Lot More to It
This is the first of two articles looking at this topic. Keep your eyes open for the next article that will be following soon. It will have a more in-depth look at some of the causes of blurry photos.


Join the Fstoppers community for free
-
Post comments and join in the discussions
-
Browse the site ad-free
-
Share your work and get featured in the community
-
Compete in the photo contests for fun and prizes
4 Comments
Nice.
Hyperfocal shooting get's you acceptably sharp images, but will disappoint when pixel peeping, at least that was my experience. (Bought a landscape lens to get around that, but, as I don't care about overall sharpness that much, it stays at home most of the time; I use it from time to time in architectural photography.) The wider the lens, the better it get's.
Thanks for the comment Richard. That's really interesting to read. I am more than happy with front-to-back sharpness using the HFD calculations, even when pixel peeping. Although that's something I don't worry about too much. I do sometimes focus stack, too. Which landscape lens are you using?
When I was trying to get things in focus via hyperfocal calculations I was using the old Canon EF 28mm f1.8 lens. It was better when I switched to the EF 24-70/2.8 ii L, but I didn't manage to get it right with 24 mm.
Maybe I did something wrong back then, and stopped way too early.
The lens that worked for me was the 17mm TS-E, but that's a different story: Just a little tilt and sharpness never ends (one has to check focus pretty often though). It's tough to get good compositions, so I left it at home when travelling, it's easier with 24-105/4 to find a pleasant comp. (As an amateur I don't invest that much time, as holidays are always too short.)
When using the Lomography Atoll 17mm f2.8 on my Leica M10 it works pretty well, but with 17mm stopped down at least to f5.6 HFD focusing is all you need.
Thanks! That's interesting.