

In this second article about image sharpness, we will look at some more reasons why your photos may not be as sharp as you would wish.
Your Subject Was Too Far Away
Problem
Atmospheric distortions like heat hazes and water vapor can blur your image.
Solution
Heat rising from the ground on hot days can create heat hazes, altering the refractive index of the atmosphere. As someone who shoots many seascapes, water vapor is a significant issue for me, especially when I want distant objects like islands to appear sharp. Shooting in calmer weather and early in the morning can help, but it's not always my preferred approach. For wildlife photographers, even with a long lens, getting closer to the subject is crucial to avoid atmospheric distortions. However, the welfare of the animal and your safety are more important than the photograph.
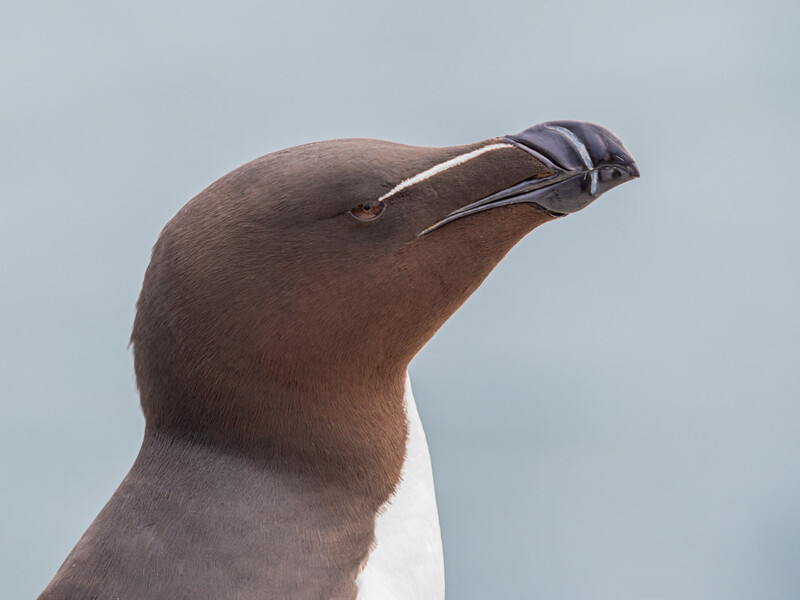
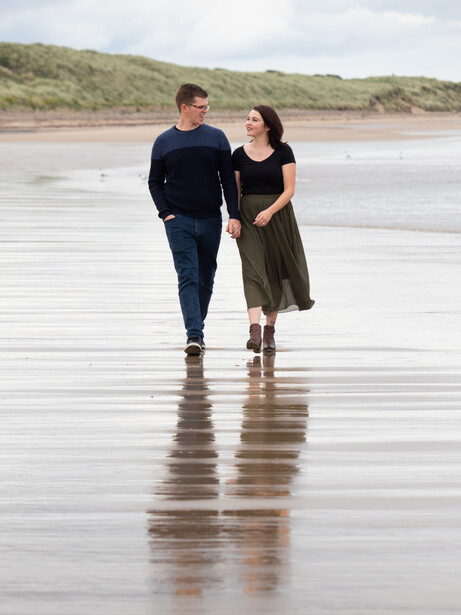
Portrait Photographs Are Not Sharp in the Right Places
Problem
The subject's eyes are not sharp.
Solution
Many advanced cameras have eye detection, simplifying portrait photography. If not, using a single focus point is the best solution, though it may sometimes focus on the eyelashes instead of the eyeball. Adjusting the focus manually or recalibrating a portrait lens could be the solution. Practice is key. Decide how much of the face you want in focus; preferences vary. Set the aperture according to your desired focal length and subject distance to achieve this.
This also is a case of practice making perfect. If you are shooting portraits, decide how much of the face you want in focus. That’s subjective; I like everything from the tip of the nose to the back of the ears sharp, while others blur much more of the face. At your preferred focal length and subject distance, set the aperture to achieve the result you want.
Macro Photographs Have a Tiny Depth of Field
Problem
With close-up and macro photography, only a tiny fraction of a subject might be in focus.
Solution
This is where focus bracketing and stacking comes into play. Very few cameras will actually merge multiple focus-bracketed shots, although some do. Most will require an external program to merge the images.
The Aperture Is Too Small
Problem
The image is soft at high f-numbers.
Solution
Just like the penumbra in a shadow, light waves bend around the edges of the aperture blades in a lens. While this effect is negligible when shooting wide open, it becomes more pronounced as the aperture narrows. Most lenses are sharpest a couple of stops down from wide open, but softness increases at smaller apertures (high f-numbers) due to diffraction. Therefore, opening up the aperture might be necessary.

The Shutter Speed Is Too Slow
Problem
The entire image or moving subjects are blurred.
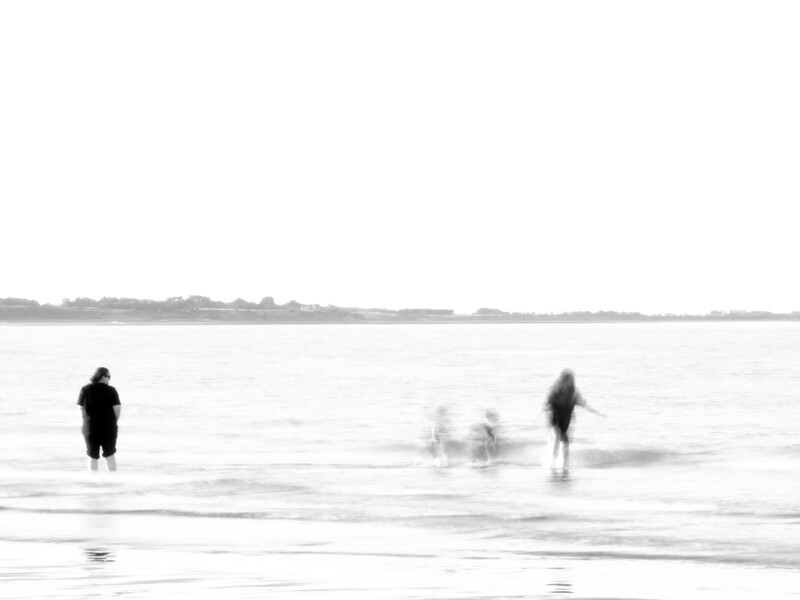
Solution
You must increase your shutter speed. Even if you have shot using a correct stance, if the shutter speed is too slow, then you won’t handhold a shot. Modern in-body image stabilization (IBIS) is tremendous; I have handheld 2-second exposures at 50mm. However, there are limits to what is physically possible. Furthermore, if a subject moves while the shutter is open, then you have two options. The first is to increase the ISO, which will also increase the noise in the image but will stop the subjects’ movement. The second option is to use a tripod. Although that will stop the camera from shaking, it won’t make moving subjects sharp.
Blurry Photos Shot on a Tripod
Problem
You set the camera on a tripod, but the image is blurry.
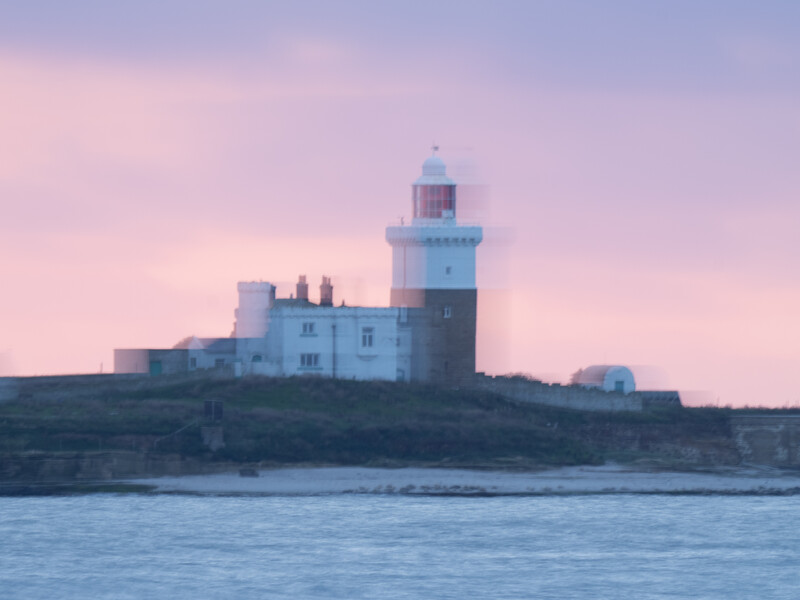
Solutionmy OM-1
I use a tripod a lot for landscape photography because it slows me down and makes me concentrate on the composition. But there’s an obstacle I don’t face with my camera that many of my students do. With most systems, it is essential to turn off the image stabilization (IS) when the camera is on the tripod. Otherwise, it will work against the stability of the tripod and will blur the image. I leave my IS on auto, and I find it turns itself off when the camera is on a tripod. This works for my OM-1 but doesn’t for all other cameras.
Switching the IS off, though, means that it won’t counteract the “flagging” vibration that longer lenses often do when there is a strong wind, as in the image above. To reduce that, remove the lens hood.
Having the tripod standing on a stable platform is also essential. I often wade into the sea with my camera, and the sand can shift beneath my feet with the ebb and flow of the waves. So, I dig the tripod legs into the sand. Also, if shooting on the beach, don’t walk about during a long exposure, as the sand between you and the tripod might move.
Using the camera’s self-timer or a remote trigger also reduces the chance of movement, as does the camera’s silent electronic shutter.

What if the Lens Is Faulty?
Problem
Having tried all of the above, I still have an issue.
Solution
I’ve come across a lot of people who have bought second-hand lenses only to discover they were sold for a specific reason; they would not focus properly. Some camera systems need lenses calibrating – you will know if yours does because there will be a menu item for it.
It’s also worth noting that some lenses are not that sharp. Virtually all budget zoom lenses, especially those with the 70 to 75-300mm range, don’t perform well across the entire focal length range. I had a 70-300mm lens fifteen years ago, and it was not usable at 300mm. When I look at any of its photos now, I can see they are under par. Similarly, the ubiquitous 50mm f/1.8 prime lenses are also not great.
Moreover, many cheap UV filters that people attach to protect their lenses can lead to degraded images.
Send it back and buy something better. However, also check that the lens or filter isn’t dirty.
Softness Caused by Software
Problem
When I process my images, they come out too soft. Good-quality UV filters should not degrade your images. I have tested Urth Plus+ UV filters extensively and can see no difference between them being on the lens or not. So far, that's the only brand I have tried - and I've tried a lot - where that is true.
Solution
I have discovered that the AI-based noise reduction in Lightroom is exceptionally bad at processing images with small faces in the frame when high ISOs are used. On a recent wedding shoot, the high ISO indoor photos of the evening dance became unusable if I used Lightroom. It made people look like something out of a horror movie. Another image I processed resulted in the nearest eye to the camera becoming completely blurred. I used Deep Prime in DxO Photolab 7 instead. It did a much better job. Similarly, ON1 Photo Raw recovered details well. However, the results using Luminar Neo were worse.
And Finally, What Should I do With the Blurry Images?
Problem
You have important images that are blurry.
Solution
If you want to recover blurry images, then both ON1 and Topaz Shapen AI have apps that will recover the details. They work remarkably well.
Have you found a reason that I haven’t mentioned why your photos were blurry that I haven't mentioned either here or in my previous article? Please do read it if you missed it. It will be great to hear your experiences in the comments.


2 Comments
Increasing ISO is not what increases noise. It's the corresponding reduction in exposure time which allows less light into the camera that does that.
Of course, increasing the ISO means you must reduce the light coming into the camera to achieve the same exposure. Being even more pedantic, it's actually the signal-to-noise ratio changing not the increased exposure time. It's all tied together. For all practical purposes, the chain of events resulting from increasing the ISO will lead to more noise. Thanks for taking the time to comment.