
If you've ever wanted to try food photography at home, then use these seven tips to improve your chances of getting some great food photos.
Like cooking, food photography can be a fun pastime. It doesn't take much to create some stunning images, and it's relatively inexpensive to dabble in. All you really need is a camera, a tripod, and a window. Then, get set up with some tasty food and you're ready to go. There are just a few key elements that have to come together if you want your images to look good, so follow along below and see if you can take some great food shots at home. And no, you don't need to be a chef or hire a food stylist for this tutorial.
Clear Some Space
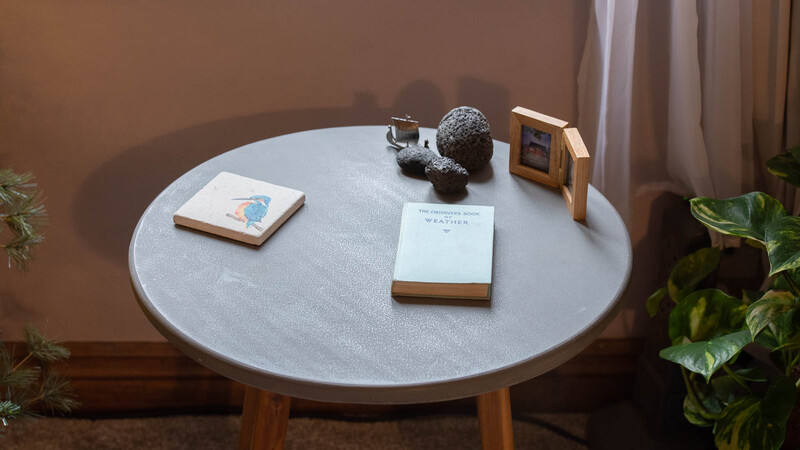
The first thing you'll need to do before setting anything up is to clear an empty space in which to shoot. You don't need anything massive here, as depending on what food you're shooting, there'll be enough room on a small table for everything you need to do. I'm using this small concrete side table where I usually have a cup of tea, so I'll need to move my things before getting set up. Try to use a surface that's either completely plain or at least simple in texture. That's because we want the attention on the food itself and not the table.
Look for the Light
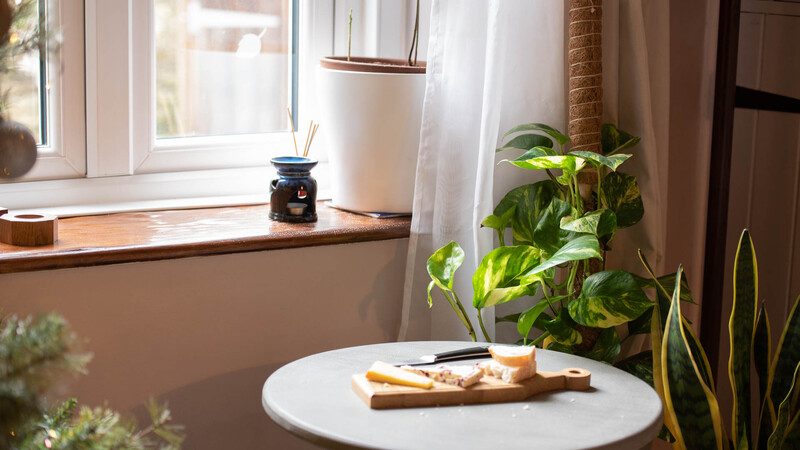
Now, commercial photography is often done using off-camera lighting because of the consistent light output, but we're just taking a few photographs at home, so we don't need anything too complex or technical. I've brought the table closer to this window. The window itself is north-facing, which means I'll get no direct sunlight because I live in the Northern Hemisphere (in the UK). This is key to getting soft, wrapping light that complements the food perfectly, devoid of harsh highlights and sharp shadows. I'll be shooting across the table at almost a right angle to the window to capture the light and shadow as it falls across the food.
Choose Fresh Ingredients
It's easy to fall at the first hurdle by trying to photograph food that doesn't look good. Remember: it doesn't matter how good the food tastes, because no one's going to eat your picture. If you or a friend are masterful chefs, then you should be able to present something beautiful, but if not, then keep things simple. A few wedges of cheese and some fresh bread could do the trick or failing that, a bowl of soup or even a good slice of cake can photograph well straight from the supermarket.
Prep the Backdrop

The backdrop for my food shoot was a little messy. I shot it in my living room, so naturally, I had lights and cables trailing around the place cluttering the scene. So, I moved a couple of plants behind the table to act as a backdrop, but they didn't quite reach high enough. So, I propped them up on some tubs I had laying around. It doesn't matter what you use to get things in the right place if they're not in the frame. The plants now formed a solid but textured backdrop against which to shoot, so it was time to start preparing the food.
Experiment With Styling
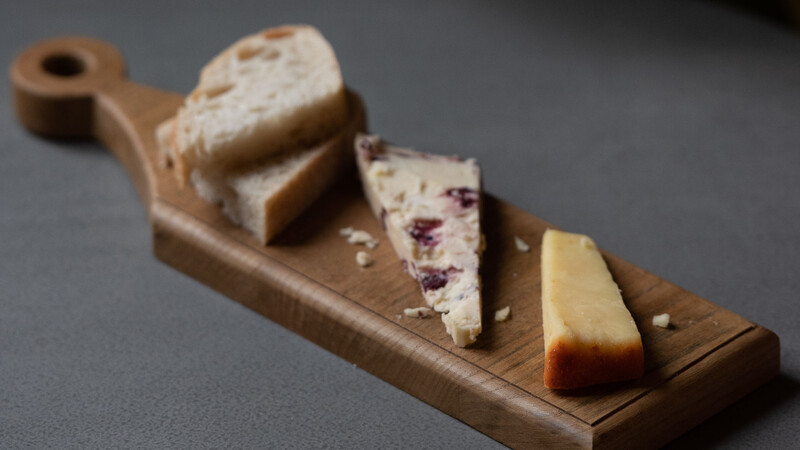
Another crucial step to taking good food photographs is the styling of the food. It's perfectly okay to buy stuff from the shop and start taking photos of it, but there are a few things you can do to kick things up a notch without any comprehensive knowledge of food styling or prep. First off, think about layering your scene from front to back. You want to draw the eye through the frame, so it's a good idea to keep larger items to the back of the shot to avoid obscuring the smaller food at the front.
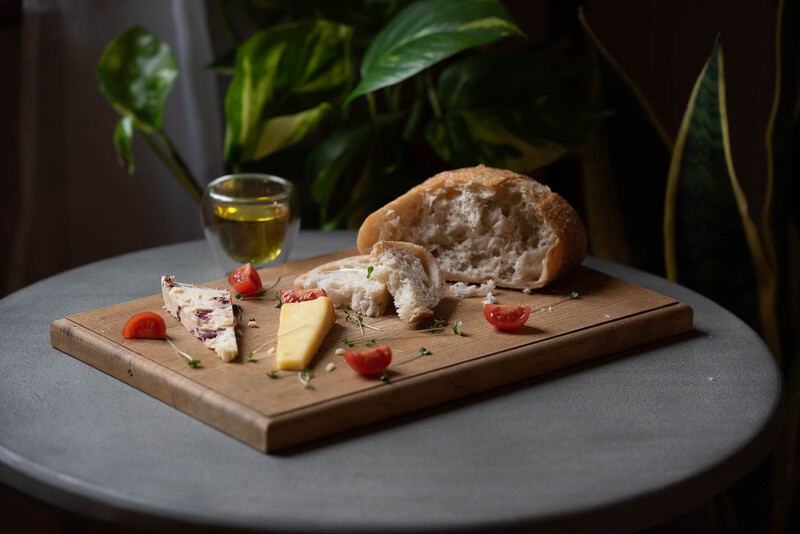
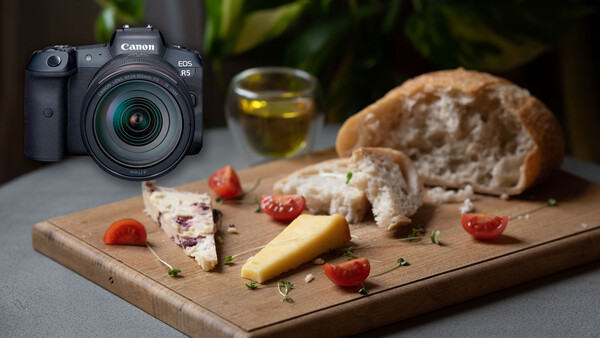
Once you've set out your food from front to back, experiment with different placements of the food between shots. It's funny how many times you'll come back to a photo and wish you'd moved it just slightly while shooting. Try to keep an idea of other foods that complement the main subject. For example, in my cheese and breadboard photo here, I've used some fresh cherry tomatoes and a few sprigs of cress to decorate the chopping board. In fact, I've turned the chopping board at an angle to help create a diagonal line across the frame. I chose these simple chopping and presentation boards, which I personally made by hand, because of the rich, earthy tones and interesting grain pattern in the oak wood.
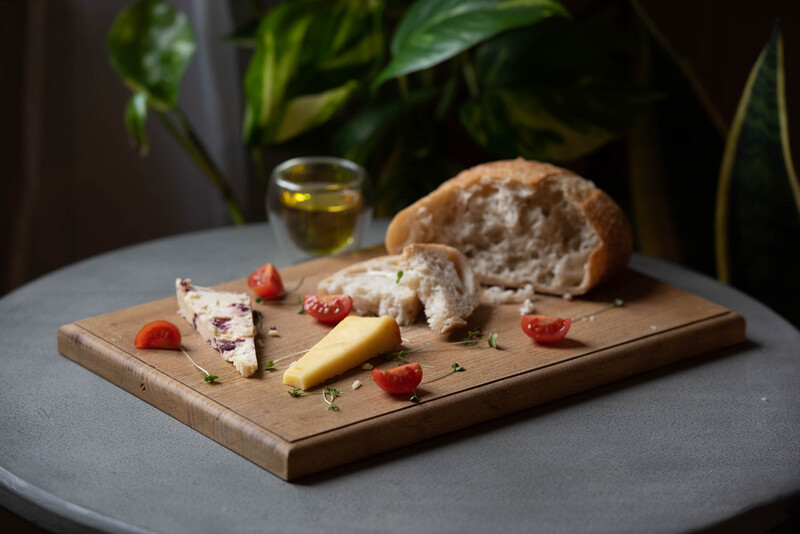
Color is another great way to draw attention to food. The cheese and bread in my photo are all of a similar beige hue, so I dropped in some bright red tomatoes and vibrant green cress to add flashes of color throughout the frame. The red tomatoes pair with the cranberries in the Wensleydale cheese on the left and the cress links up with the green pothos plant in the background. I also included a small glass of olive oil to break up the background between the chopping board and plants.
Include a Human Element
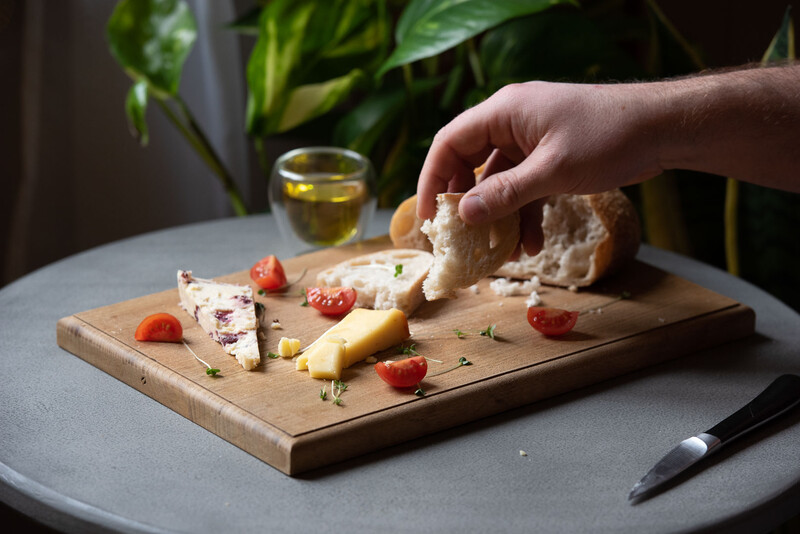
We make food to eat, so why not include a human element by using your hands to interact with the food? Be sure not to block the food with your hands too much, but make them a key part of the scene. I've reached in to grab a piece of bread as if I'm going to eat it, and I've left the knife in the bottom right of the frame to show that I've just cut off some cheese to go with it. Use a self-timer to give yourself enough time to take the photo and get in place.
Aim for a Shallow Depth of Field
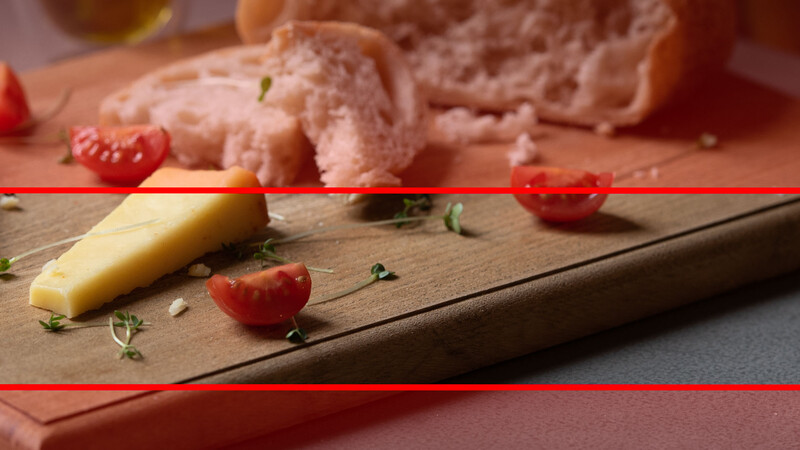
I shot this on a tripod, with a shutter speed set to 1/20 sec at ISO 400. Because the shutter speed was so slow and I was shooting at 140mm, there was an inherent risk of camera shake blur during the exposure, so I used a three-second exposure delay mode to avoid this. Alternatively, use a remote release or a self-timer.

Join the Fstoppers community for free
-
Post comments and join in the discussions
-
Browse the site ad-free
-
Share your work and get featured in the community
-
Compete in the photo contests for fun and prizes
3 Comments
This all may seem like basic stuff, but it really helps seeing it mapped out and illustrated. I don't shoot food, but if the next six months are anything like the last, I will have some time on my hands for a new project. Is there a type of food that is more difficult to look appetizing in photos? Steak maybe? Thanks for sharing. -Alex https://www.photosophic.com
It also helps to know how to cook and plate.
troolee inspiring stuff,
think I will write the final, the best, the real treatise . . . on how to take a better photo;
this is just a precis . . . the chapters will go into much greater detail . . . all for only $199.99
chapter one: wake up
chapter two: get out of bed
chapter three: before doing anything else, go to bathroom for morning stuff
chapter four: find camera
chapter five: put in battery
chapter six: take off lens cap
etc, etc, etc
you know, the regular fstoppers clickbait BS