Before we jump in, it is important to note that I was brought in on this food project to match an already in place look and feel for the client.
The menu at the restaurant was expanding and the client was in need of capturing updated photographs of the new plates that were starting to be served.
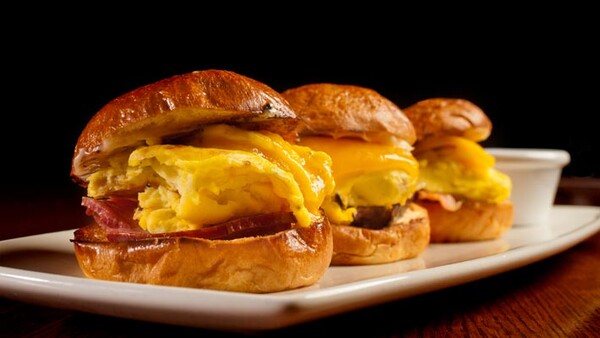
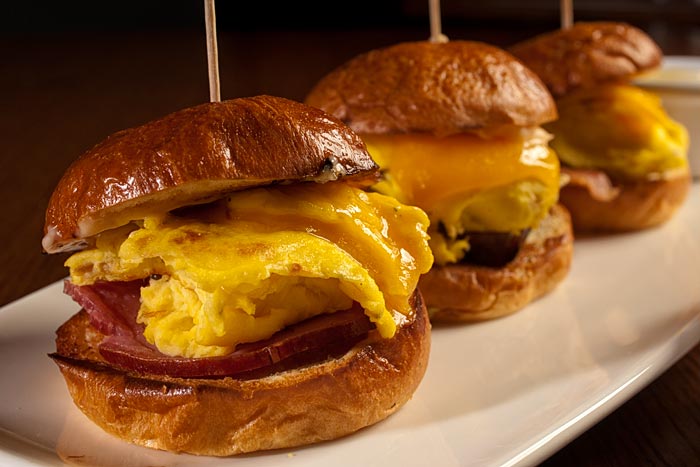
This tutorial is a quick rundown of a two strobe lighting set up that was shot inside a restaurant.
The plate styling was being handled by the kitchen staff and head chef, so they were bringing and taking away the plates. The lighting needed to stay consistent throughout the shoot to keep things streamlined for the small window of time the food was available. Being able to move quickly through the shoot was a large component.
Camera Settings
- ISO 100
- Shutter - 1/250 s
- F-stop - F/8 - F/11
- Lens - 35-70mm with Macro
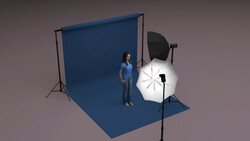
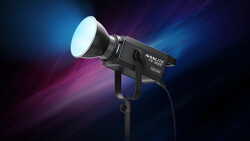
Main Light
- Position - Camera Right
- 5 Feet off the ground (about 2 feet above plate)
- About 4 feet from center of plate
- Set around 3/4 power
- Beauty dish - No diffusion sock or grid
Fill Light
- Position - Camera Left
- 4 feet off ground (about 1 foot above plate)
- about 3 feet from center of plate
- Set around 1/4 - 1/8 power
- Silver reflector - No diffusion

The lighting set up came together rather quickly, knowing exactly what the client was looking for was a huge help in setting up and planning out the shoot. Since this was to match a certain look, it was easy to break down what was already in place and get the lights dialed in quickly from the get go.
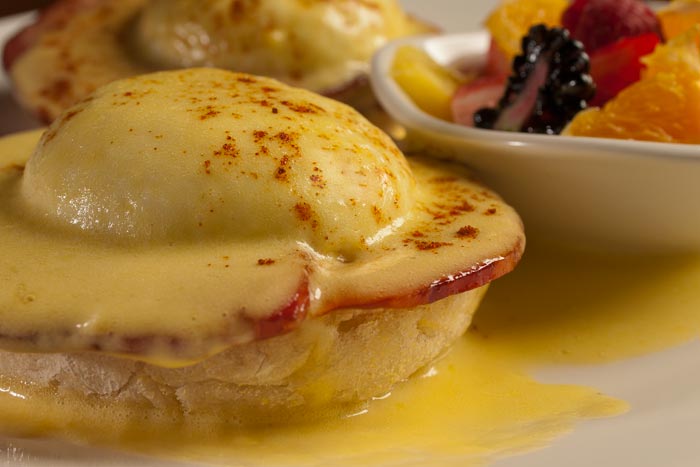
Staring with the main light (camera right,) the beauty dish was attached and power started around 3/4 full. The main light was not aimed directly to the center of the plate but a little off the center line. Because the beauty dish creates parabolic light, shape is added through directional lighting verses the same amount of light through a diffused source. Moving it away from the plate increased the contrast in the main light. The light was placed about 4 feet from the plating and above the plate about 2 feet, giving the food more of a top down light. The fill light (camera left,) was set up with a silver reflector attached which threw light on the food from the opposite side of the main light to fill in the shadows and create highlights from the left which enhancing texture and reflections on the food.
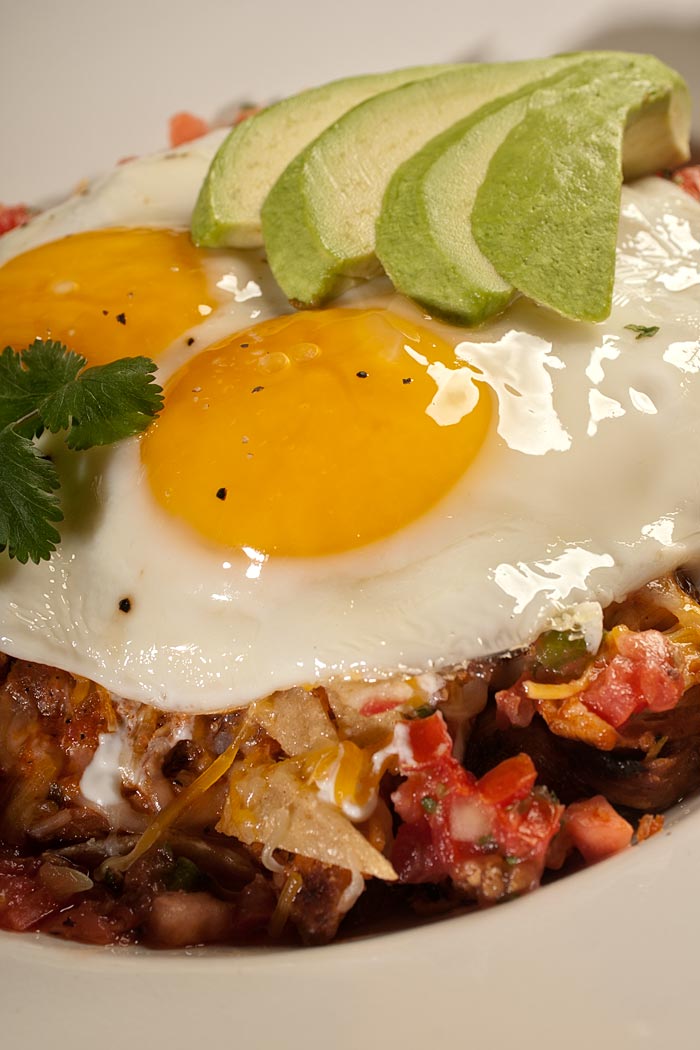
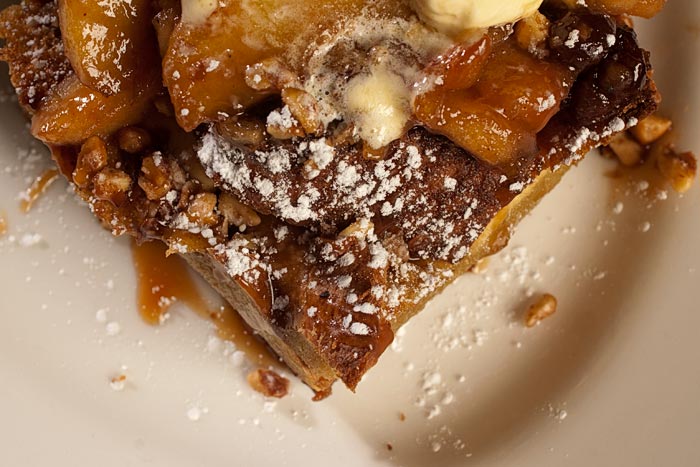
A macro lens was used to knock down the focus and get closer to the front and middle of the plate to keep the focus plane on a smaller part of each plate. The dishes that were brought out from the kitchen had all type of shapes and textures, having unchanging lights kept the direction of light consistant throughout the shoot. That allowed for smoother movement through the photo shoot and gave way to creating more frames before the food shifted or lost its prep.
Again, this project was matching a certain set up I had not originally designed but was hired to mimic. In the end, what mattered most was that the the client was happy, which in turn makes made me happy.

Join the Fstoppers community for free
-
Post comments and join in the discussions
-
Browse the site ad-free
-
Share your work and get featured in the community
-
Compete in the photo contests for fun and prizes
16 Comments
Dude that is breakfast for the champ!
simple , practical, efective results..thanks...
Personally don't care for the choice of the hard bare fill light.
I gotta be honest, I'd rather shoot with indirect sunlight through a nearby window with a reflector on the other side for fill. This tutorial makes for harsh light with tons of shadows and I always felt food looks better with bright, soft light. But to each his own.
Maybe you care, maybe you don't, but the comments in many of your posts should be a clue. Fstoppers has the potential to be a great site, but if you keep posting junk like this, it won't be long before you are a distant memory. That is one of the worst food lighting setups I've seen.
+1
Be good if you could post something from a specialist food photographer to help this discussion along and show how it is done.
Don't see why it's necessary to be so critical. The author states repeatedly that his job was to mimic a lighting setup done previously. A lot harder than starting from scratch. I say well done sir.
Fair enough, but how do you know he actually matched the previous style of lighting?
I think that would have to be determined before any congratulations are given on this one.
alright so styling was not on the author. anyways I'd never eat that food based on those pictures..
but I also know how hard it is to photograph food, and how much of the final look depends mostly on how food is styled, not only on how it's lit.
Tasty!
looks very old, something you would find on the menu's of your local greasy spoon. the post you did about using natural light is a much better option, and gives a much cleaner look.
I'd love to see a tutorial from fstopper with this incredible Canadian food photographer. His natural lighting techniques are simple yet effective and his compositions are endlessly creative and interesting.
http://www.peterbagi.com/works/portfolio/uncategorized/bistro/
Yes, I do photography.
Yes, I am only semi-professional.
Yes, I do make (allot?) of My restaurant menu choices by the pictures that accompany the selections. As a photographer I like some aspects and dislike several-few. However, as a customer I mostly like the depictions of the food.
The point of the paid task is to PRESENT the FOOD, not some highfaluting artistic belief. The restaurant is selling the food, not some idealistic and unachievable photography principle or practice.
wow, really? these food photos aren't close to looking professional at all.
So I guess you're only aloud to post flattering comments about this photographer's work or your posts are deleted. I've never been out of line in these posts, and the one that you deleted here wasn't either.